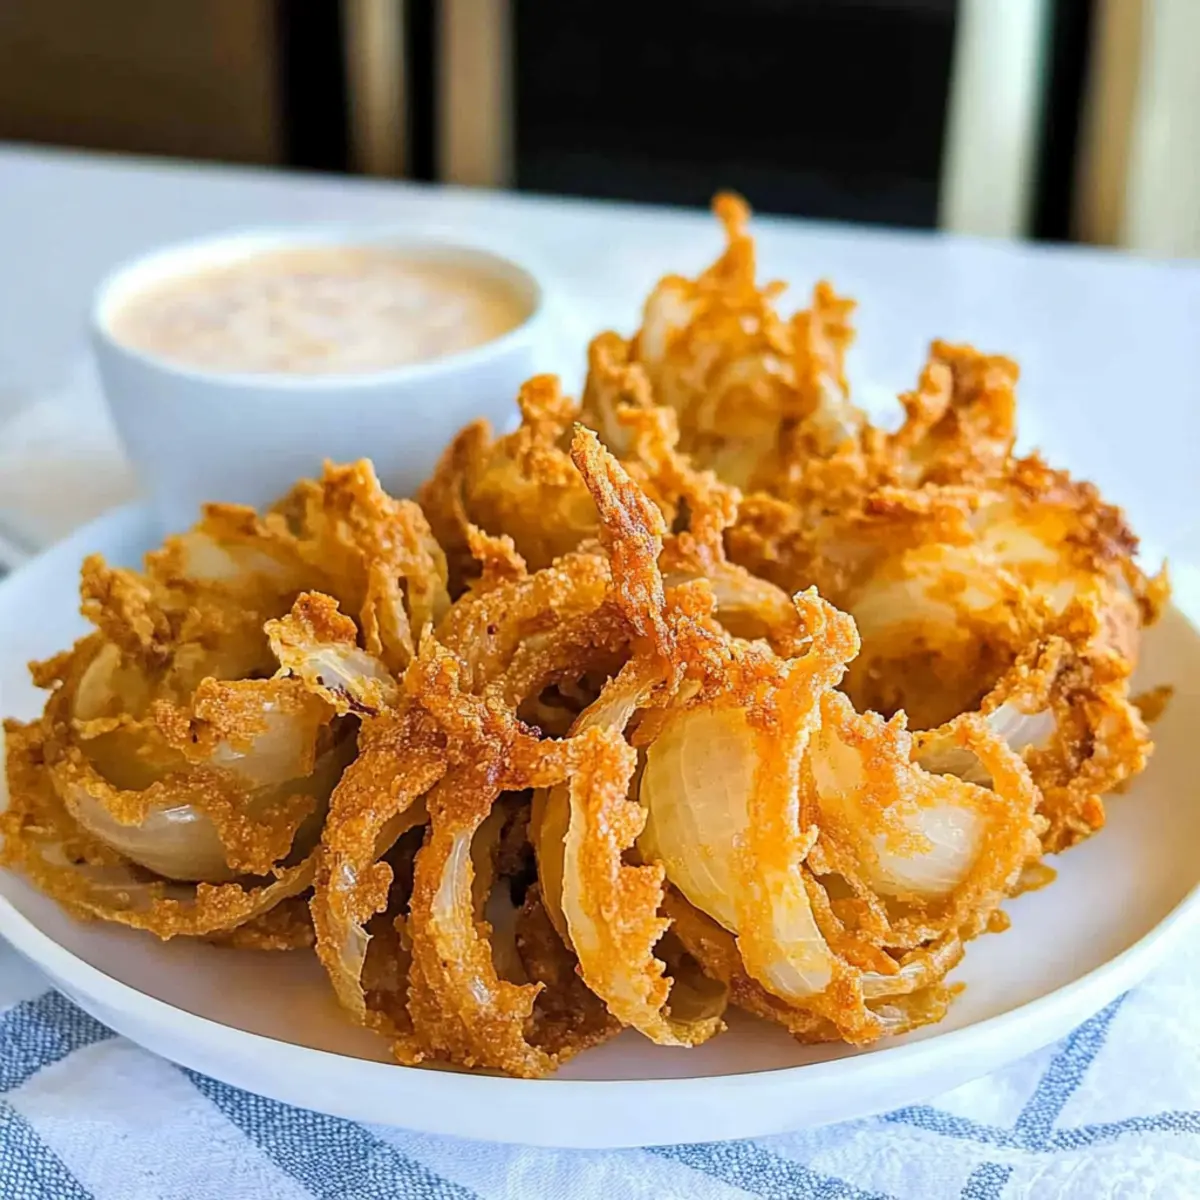
As I watched my friends’ eyes light up at the first crunch of my Easy Blooming Onion, I knew I had struck gold. This crispy, Southern-inspired appetizer transforms the classic restaurant favorite into a delightful homemade experience that anyone can master. Not only is it surprisingly simple to whip up, but it’s also customizable to fit your taste preferences—whether you choose to deep fry, air fry, or oven bake, each method delivers satisfying results. Pair it with a zesty dipping sauce that adds a burst of flavor, and you have the perfect party starter or game-day snack. Who wouldn’t want to indulge in a treat that’s both fun to make and share? Ready to discover how to create this crispy masterpiece? Let’s dive into the recipe!
Why is this recipe a crowd-pleaser?
Simplicity Made Fun: The Easy Blooming Onion is not only simple to make, but it also brings a playful element to any gathering.
Customizable Options: Choose between deep-frying, air frying, or oven-baking to suit your kitchen preferences and dietary needs.
Crispy Delight: Each bite delivers a perfect balance of crispiness on the outside and tender sweetness on the inside, making it hard to stop at just one!
Elevated Dipping Sauce: Enhance your snacking experience with a zesty dipping sauce that you can easily customize—experiment with flavors like garlic or a smoky BBQ twist.
Perfect for Any Occasion: Whether it’s a game night, dinner party, or casual get-together, this dish is guaranteed to impress your guests and become a beloved addition to your appetizer lineup.
For more tasty sides, check out my recipes for French Onion Beef or Easy Shrimp and Rice Recipes that will complement your main dishes perfectly!
Easy Blooming Onion Ingredients
For the Dipping Sauce
• Mayonnaise – Adds creaminess to the dipping sauce; substitute with Greek yogurt for a lighter option.
• Sour Cream – Provides tanginess in the sauce; Greek yogurt can also replace this for a similar taste.
• Creamy Horseradish – Offers sharp flavor to the sauce; substitute with wasabi for an alternative kick.
• Ketchup – Adds sweetness and tang in the sauce; use BBQ sauce for a smokier flavor.
• Paprika – Enhances flavor and adds color; substitute with smoked paprika for a deeper flavor.
• Garlic Powder – Provides a savory element; fresh minced garlic can be used as a substitution.
• Ground Cayenne Pepper – Adds heat to the sauce; leave out or substitute with a milder pepper for less spice.
For the Onion
• Eggs – Binds the flour coating; substitute with flaxseed meal for a vegan option.
• Milk – Adds moisture for the egg wash; almond milk works as a non-dairy alternative.
• All-Purpose Flour – Forms the base for the coating; gluten-free flour can be used for a gluten-free option.
• Ground Cumin, Dried Oregano, Dried Thyme, Salt, Ground Black Pepper – Seasoning for added flavor in the breading; fresh herbs can substitute dried versions.
• Sweet Onions (e.g., Vidalia) – The main ingredient offering sweetness; yellow onions can be used for a more robust flavor.
• Vegetable Oil – For frying; canola or peanut oil also works well.
The Easy Blooming Onion is a guaranteed crowd-pleaser, so gather your ingredients and let’s get cooking!
Step‑by‑Step Instructions for Easy Blooming Onion
Step 1: Prepare Dipping Sauce
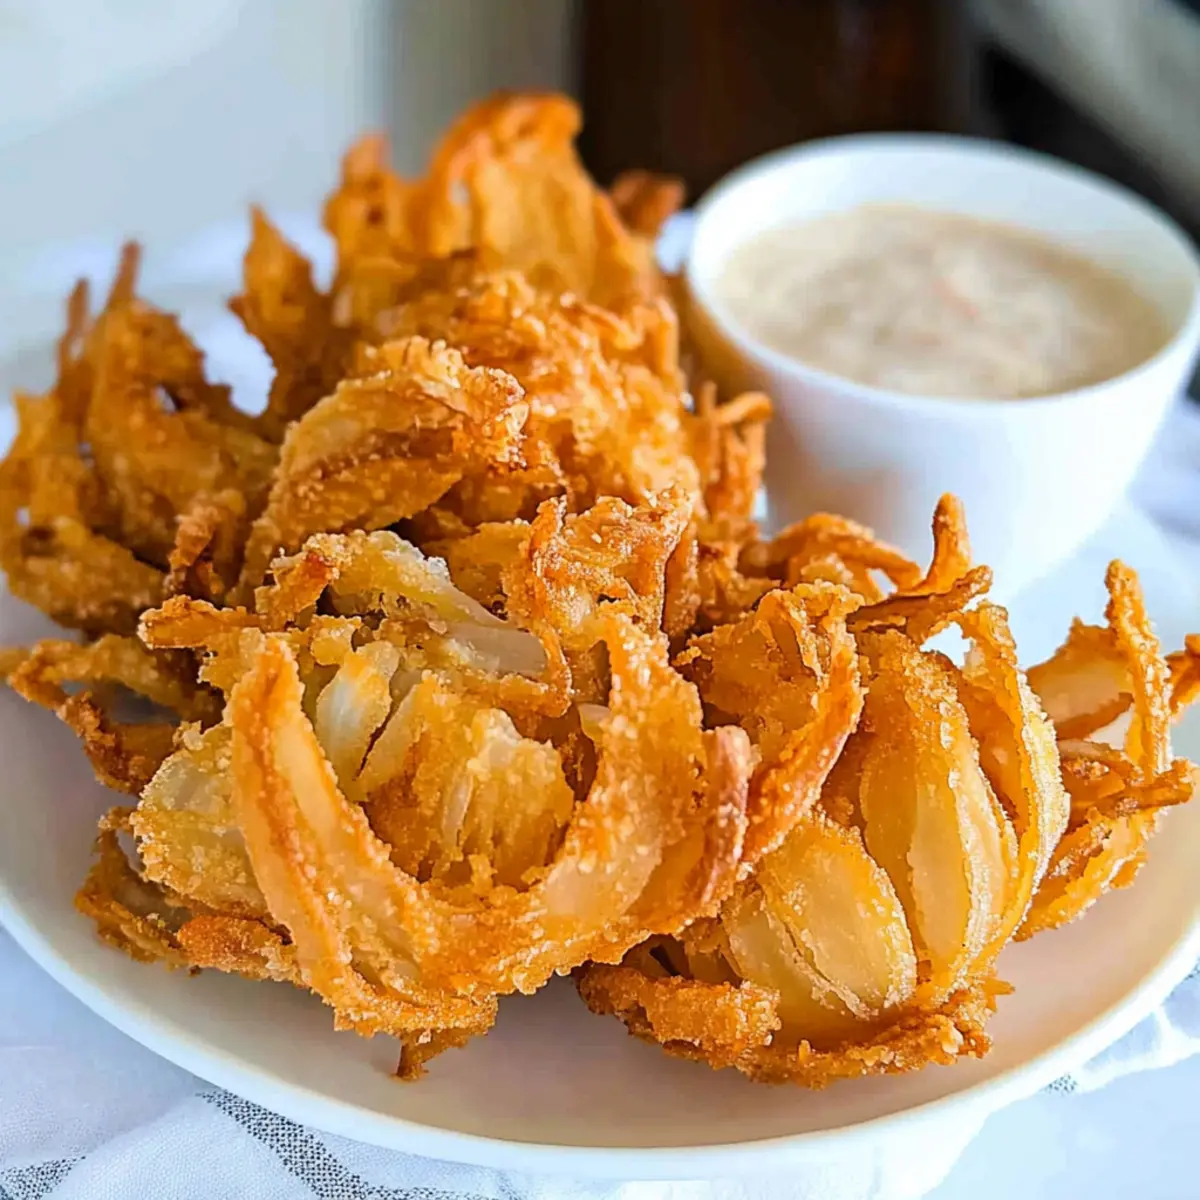
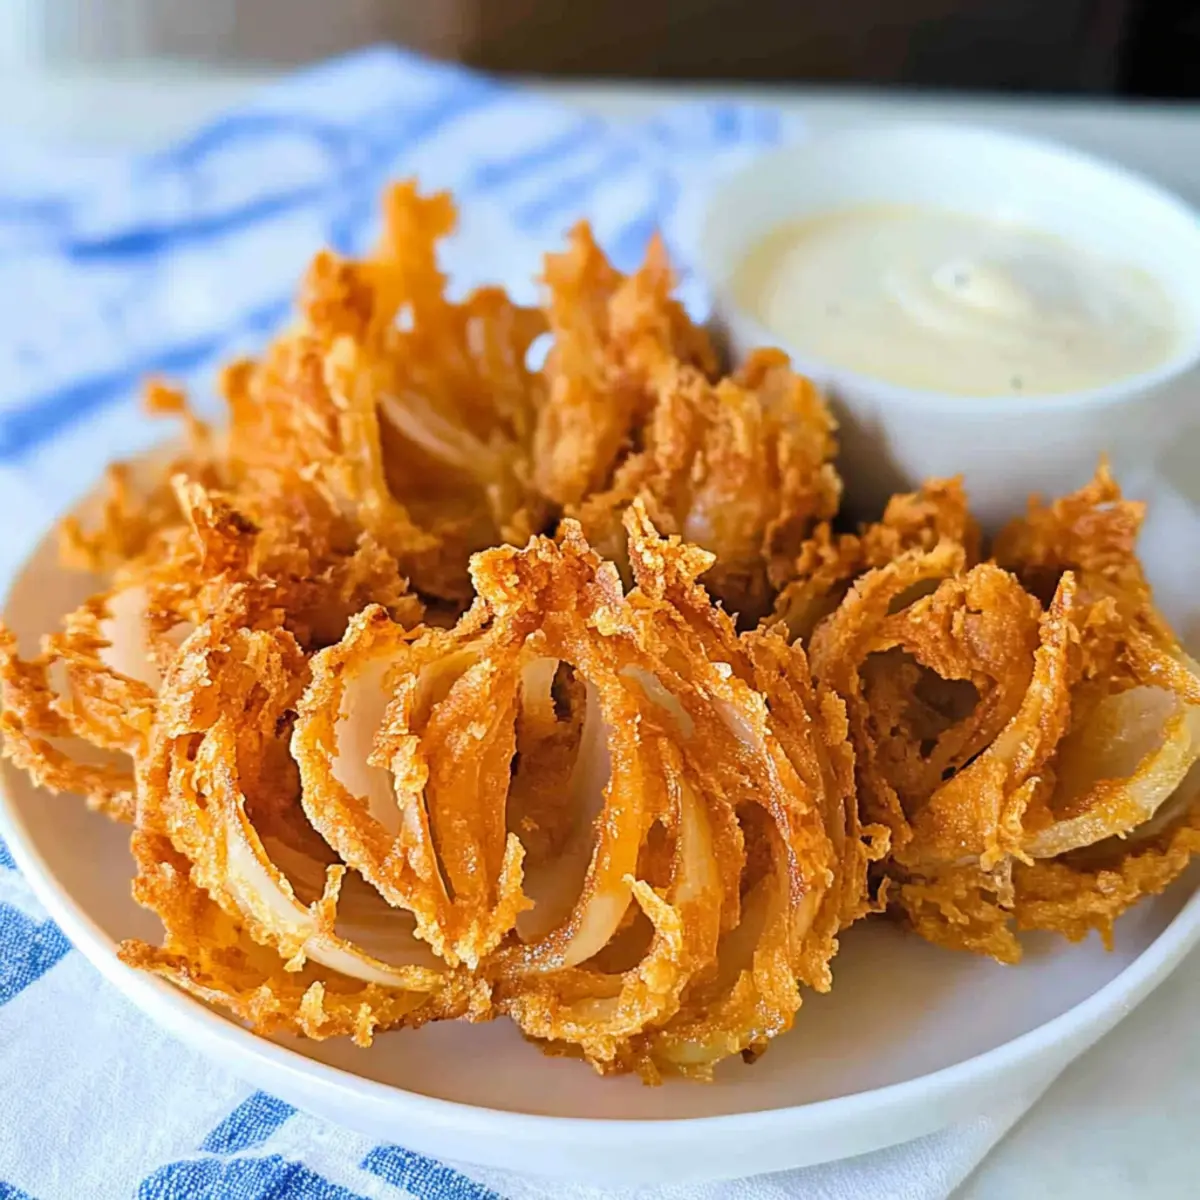
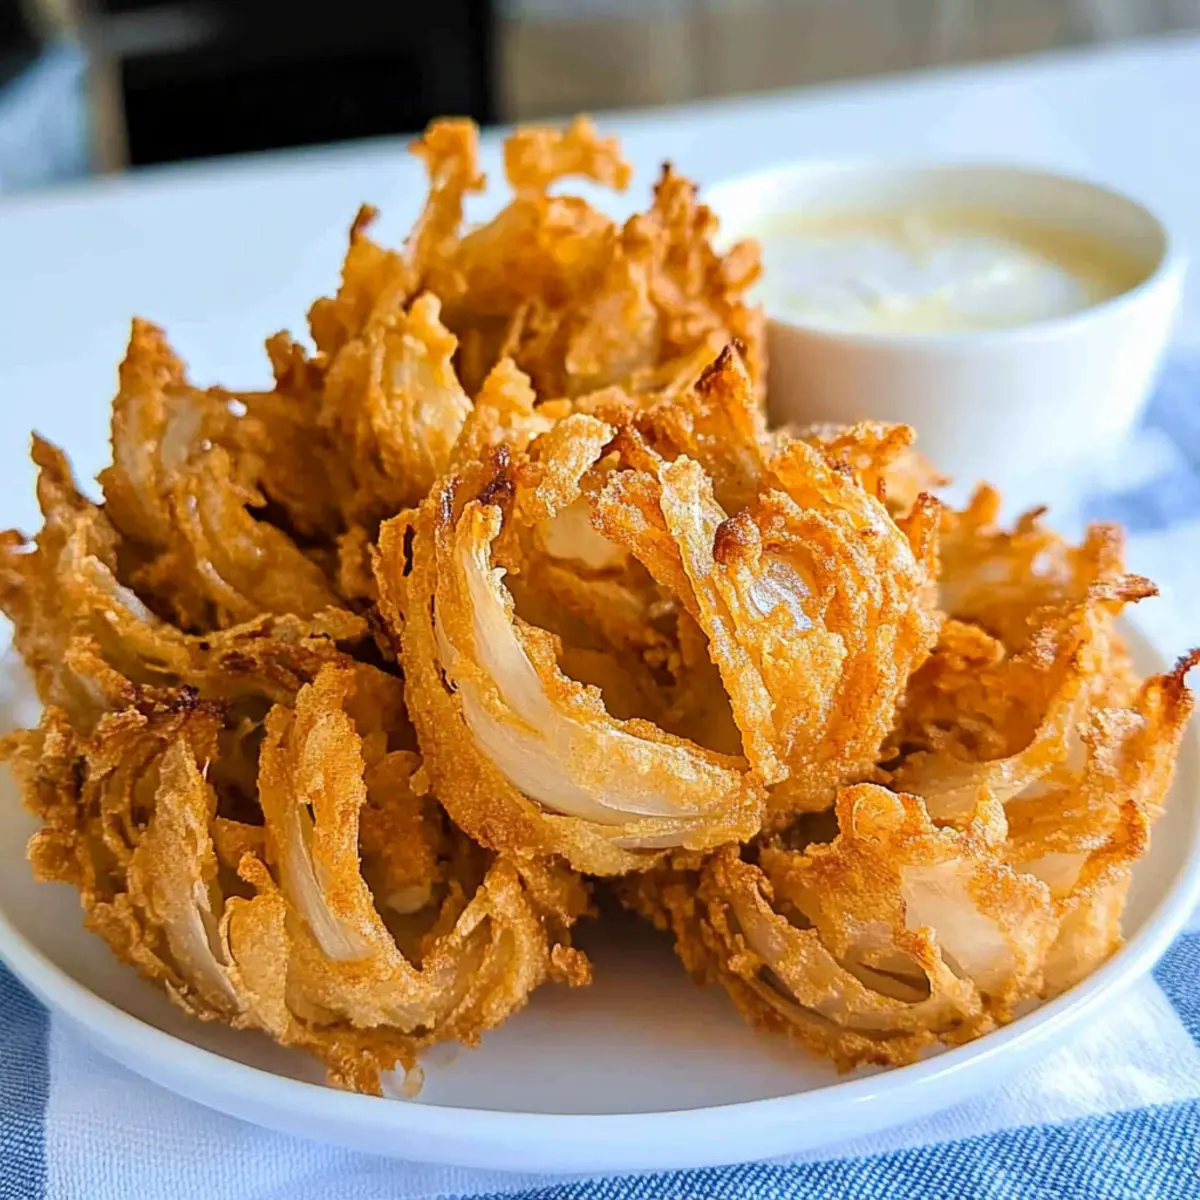
Start by making your zesty dipping sauce. In a medium-sized bowl, whisk together mayonnaise, sour cream, horseradish, ketchup, paprika, garlic powder, and cayenne pepper until smooth. Once well combined, cover the bowl with plastic wrap or a lid and refrigerate for at least 30 minutes to let the flavors meld while you prepare the Easy Blooming Onion.
Step 2: Prepare Onions
Begin by prepping your sweet onion, such as a Vidalia, for the blooming process. Trim a flat spot on the non-root end of the onion to stabilize it, then peel off any damaged layers. With the flat side down, carefully make quarter cuts around the onion, avoiding full separation at the root. Gently fan out the sections to create a beautiful bloom effect.
Step 3: Set Up Bread Station
To create a smooth breading process for your Easy Blooming Onion, set up a breading station. In one bowl, whisk together eggs and milk until combined. In another bowl, mix all-purpose flour with ground cumin, dried oregano, dried thyme, salt, and pepper. Make sure these ingredients are well blended for an even coating on your onion.
Step 4: Coat Onions
Now it’s time to coat your prepared onion. Start by taking the fanned onion and dipping it into the flour mixture, ensuring each section is fully coated. Next, immerse the onion in the egg mixture, allowing excess to drip off, and return it to the flour mix, ensuring a thick coating. Repeat this process to achieve a satisfying crunch when fried.
Step 5: Deep Fry
Prepare to deep fry your Easy Blooming Onion by heating vegetable oil in a heavy pot or Dutch oven to 375°F (190°C). Once the oil is ready, carefully lower the onion in, root side up, and fry for about 7-10 minutes until it turns golden brown and crispy. Use a slotted spoon to remove the onion and drain it on paper towels.
Step 6: Alternative Cooking Methods
If you prefer healthier cooking options, you can also use an air fryer or oven. For the air fryer, preheat it to 350°F (175°C), position the onion root side down, and cook for about 20 minutes until crispy. For oven baking, preheat to 400°F (200°C), cover the onion with foil for the first 10 minutes, then uncover and bake for an additional 20 minutes to achieve a deliciously baked version of the Easy Blooming Onion.
Make Ahead Options
The Easy Blooming Onion is perfect for meal prep, allowing you to enjoy this crispy delight with less last-minute effort! You can prepare the dipping sauce up to 3 days in advance; simply mix the ingredients and store it in an airtight container in the fridge to keep it fresh. Additionally, you can prep the onions by cutting and fanning them, then refrigerate uncovered for up to 24 hours to maintain their crispy texture. When you’re ready to serve, simply coat the onions and fry or bake them as directed, ensuring you get that delicious, restaurant-quality crunch with minimal fuss!
What to Serve with Easy Blooming Onion
Dive into a flavorful experience that transforms simple ingredients into a feast for the senses.
-
Creamy Southern Coleslaw: Provides a refreshing crunch that complements the texture of the onion, creating a delightful balance.
-
Spicy Rice Pilaf: The subtle heat and rich spices in this dish juxtapose the sweetness of the blooming onion, making each bite exciting.
-
Grilled Shrimp Skewers: Light and zesty, these shrimp add a savory depth that pairs perfectly with the crispy onion, ideal for summer barbecues.
-
Garlic Butter Breadsticks: Their warm, fluffy bites bring a comforting element to the meal and are perfect for dipping into leftover sauce.
-
Classic Potato Salad: The creaminess melds with the crispy texture while the zesty flavors provide a satisfying counterpoint to the onion’s sweetness.
-
Fresh Garden Salad: Crisp greens and tangy vinaigrette refresh your palate, ensuring you enjoy the richness of the onion without feeling overwhelmed.
-
Beer or Cider: A cold brew enhances the flavor of the onion while also providing a light, bubbly refreshment that makes snacking even more enjoyable.
-
Lemon Tart: The bright acidity of a lemon dessert cleanses the palate after indulging in a crispy onion, creating a delightful finish to the meal.
Easy Blooming Onion Variations
Looking to add your own special twist to this delightful dish? Let’s explore some delectable options that will make your Easy Blooming Onion shine even brighter!
- Air Fryer: Use this healthier method by preheating your air fryer to 350°F and cooking for 20 minutes, perfectly crispy without excess oil.
- Oven Baked: For a lighter approach, cover the onion with foil and bake at 400°F for 30 minutes. Enjoy that bubbling texture and delightful crunch without frying!
- Spice it up: Add a pinch of your favorite spices to the flour—think chili powder or Italian seasoning—to enhance flavor and create your unique twist.
- Dipping Sauce Twist: Instead of the classic sauce, try a tangy yogurt-based dip flavored with dill and lemon juice for a refreshing change.
- Sweet Honey Glaze: Drizzle honey on the onion after it’s cooked for a sweet touch. The combination of sweetness contrasts beautifully with the savory crunch.
- Herbed Flour Coating: Swap dried herbs for fresh ones! Chopped fresh rosemary or parsley adds a delightful burst of flavor to the breading.
- Zesty Lime Addition: Brighten up the dipping sauce with a squeeze of lime juice and some zest for a fresh and zesty kick.
- Smoky BBQ Sauce: Dip in homemade BBQ sauce instead of ketchup for a smoky edge that elevates the entire eating experience!
And if you’re looking for more ways to enjoy crispy delights, don’t forget to check out my recipes for Caramelized Onion Goat and One Pot French Onion Pasta. Happy cooking!
Expert Tips for Easy Blooming Onion
Frying Temperature: Maintain a consistent oil temperature of 375°F using a deep-fry thermometer to ensure your Easy Blooming Onion comes out perfectly crispy.
Even Coating: Make sure to thoroughly coat the onion in both the flour and egg mixtures, repeating the process if needed, to avoid any bare spots that might not crisp up.
Drying Off: After frying, drain the onion on paper towels for a few minutes before serving to remove excess oil and maintain its signature crunch.
Serving Fresh: Serve your Easy Blooming Onion immediately for the best texture. If you need to reheat, use an air fryer for the best results without losing crispiness.
Vegan Option: For a vegan Easy Blooming Onion, substitute eggs with a flaxseed mixture and use almond milk for the egg wash to keep it plant-based.
Flavor Variations: Feel free to experiment with spices in the flour coating or dipping sauce, such as adding a hint of smoked paprika for a more robust flavor.
Storage Tips for Easy Blooming Onion
Fridge: Store any leftover Easy Blooming Onion in an airtight container for up to 3 days to keep it fresh.
Freezer: If you want to freeze, wrap the onion tightly in plastic wrap and store in a freezer bag for up to 2 months.
Reheating: To regain its crispy delight, reheat in an air fryer at 350°F for about 5-7 minutes. Avoid microwaving, as this will make it soggy.
Easy Blooming Onion Recipe FAQs
How do I choose the right onion for my Easy Blooming Onion?
Absolutely! For the best results, I recommend using sweet onions, such as Vidalia or Walla Walla, as they provide a delightful sweetness when fried. Look for onions that are firm and free of dark spots or blemishes. If sweet onions are unavailable, yellow onions are a great alternative, delivering a more robust flavor.
What is the best way to store leftover Easy Blooming Onion?
To keep any remaining Easy Blooming Onion fresh, place it in an airtight container and store it in the refrigerator for up to 3 days. If you want to enjoy it later, wrap the onion tightly in plastic wrap, transfer it to a freezer bag, and freeze it for up to 2 months. This way, you can savor it whenever the craving strikes!
Can I freeze my Easy Blooming Onion?
Yes! To freeze your Easy Blooming Onion, first ensure it’s fully cooled. Wrap it tightly in plastic wrap, then place it in a freezer bag to protect it from freezer burn. When you’re ready to enjoy it, reheat in an air fryer at 350°F for about 5-7 minutes for a crispy result. Avoid microwaving, as this can make it soggy.
What should I do if my onion doesn’t bloom properly while frying?
Very common! If your onion doesn’t bloom as expected, it may not have been cut deeply enough. Make sure to cut quarter sections from the top without cutting through the root. You can also fan out the petals gently before frying to promote blooming. Additionally, starting with room temperature onions rather than cold can encourage better blooming, so allow them to sit out for a bit before cooking.
Is the Easy Blooming Onion suitable for my gluten-free friends?
You bet! Simply substitute the all-purpose flour with a gluten-free flour blend, which will work beautifully for the coating. This ensures everyone can enjoy the crispy deliciousness without worries. Just make sure to check the labels on all sauces and dips you plan to use as well!
Can I use something other than mayonnaise in the dipping sauce?
Absolutely! If you’re looking for a lighter option, swapping mayonnaise for Greek yogurt is a fantastic choice that retains creaminess without all the calories. Additionally, for those with lactose intolerance or allergies, using a vegan mayo or a plant-based yogurt alternative can work just as well while still keeping that delicious flavor intact.
Enjoy experimenting and making this Easy Blooming Onion recipe truly your own!
Crispy and Easy Blooming Onion You Can Make at Home
Ingredients
Equipment
Method
- Prepare the dipping sauce by whisking together mayonnaise, sour cream, horseradish, ketchup, paprika, garlic powder, and cayenne pepper in a medium bowl until smooth. Cover and refrigerate for at least 30 minutes.
- Prep the sweet onion by trimming a flat spot on the non-root end, peeling any damaged layers, and making quarter cuts around the onion without fully separating it at the root.
- Set up your breading station with separate bowls for whisked eggs and milk, and a mixture of flour with cumin, oregano, thyme, salt, and pepper.
- Coat the prepared onion in the flour mixture, dip it in the egg mixture, and return it to the flour mix, ensuring a thick coating.
- Heat vegetable oil in a pot to 375°F (190°C) and deep fry the onion root side up for about 7-10 minutes until golden brown. Drain on paper towels.
- For air frying, preheat to 350°F (175°C) and cook for about 20 minutes. For oven baking, preheat to 400°F (200°C) and bake covered with foil for 10 minutes, then uncovered for an additional 20 minutes.
Leave a Reply