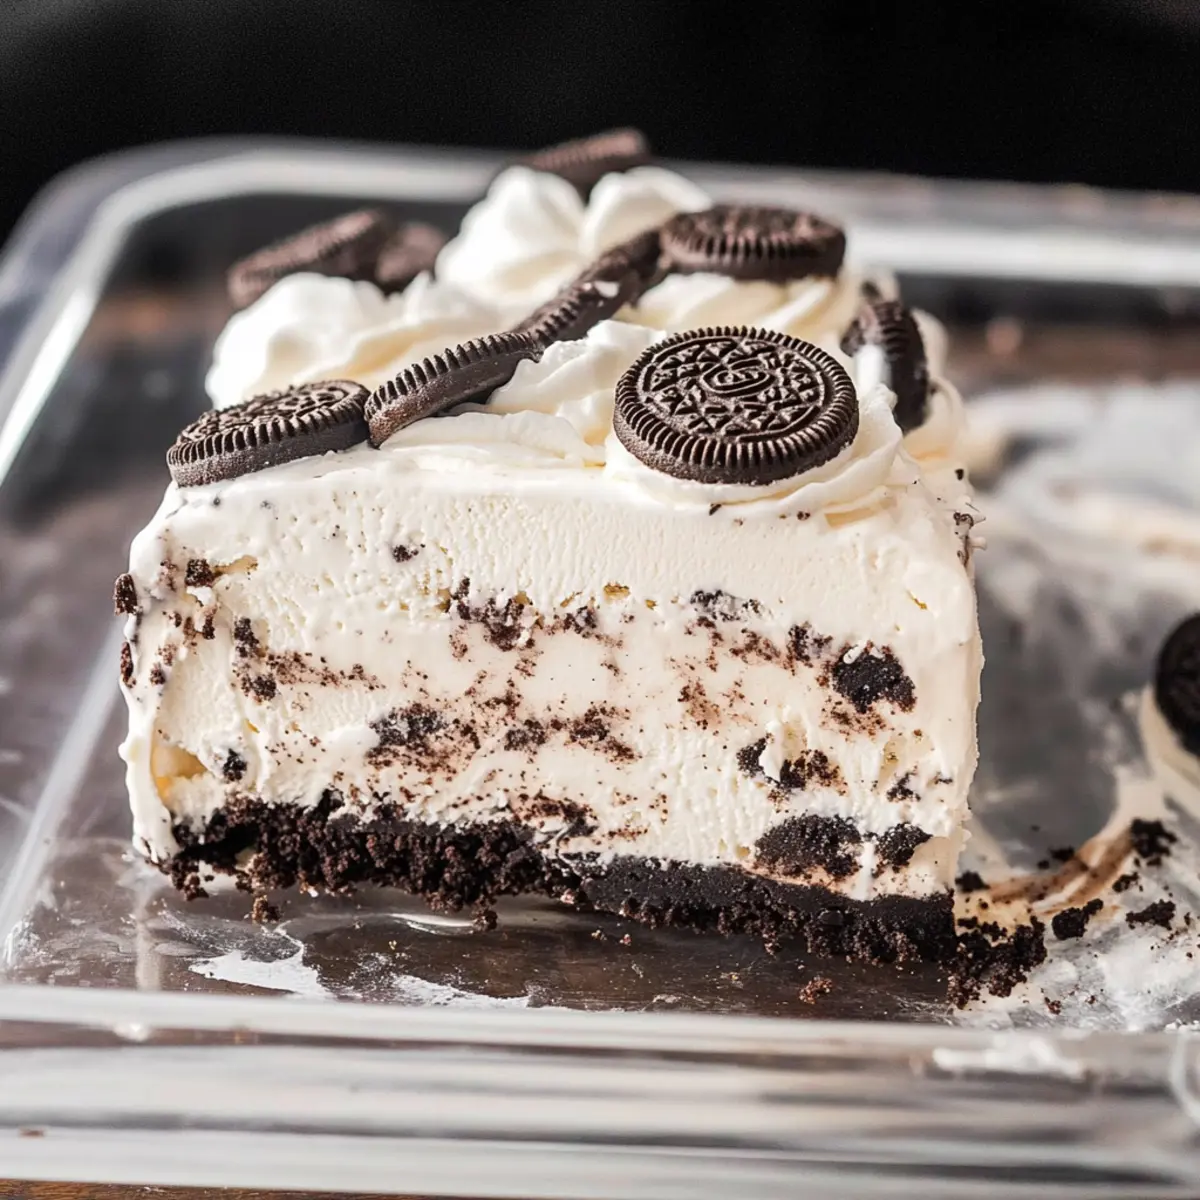
As I flipped through my well-loved cookbook, an enchanting memory of a perfect summer evening came rushing back—the laughter of friends, the warm glow of twinkling lights, and the unmistakable pleasure of indulging in a creamy dessert. That’s when I decided to whip up this No-Bake Oreo Ice Cream delight, where the rich crunch of Oreo cookies meets the smoothness of cookies and cream ice cream, all drizzled with decadent fudge. Not only is this recipe quick to put together—taking just about 30 minutes of hands-on prep time—it’s also customizable to suit any flavor cravings, promising to dazzle your guests at any gathering. With layers of creamy goodness and a delightful contrast of textures, can you resist the thought of making this treat your signature summer dessert?
Why Will You Love This Dessert?
Easy to Make: With a no-bake approach, this Oreo Ice Cream dessert requires minimal effort, making it perfect for kitchen novices and seasoned cooks alike.
Customizable Flavors: You can easily swap out the cookies and cream ice cream for delightful alternatives like mint chocolate chip or peanut butter cup, tailoring it to your taste!
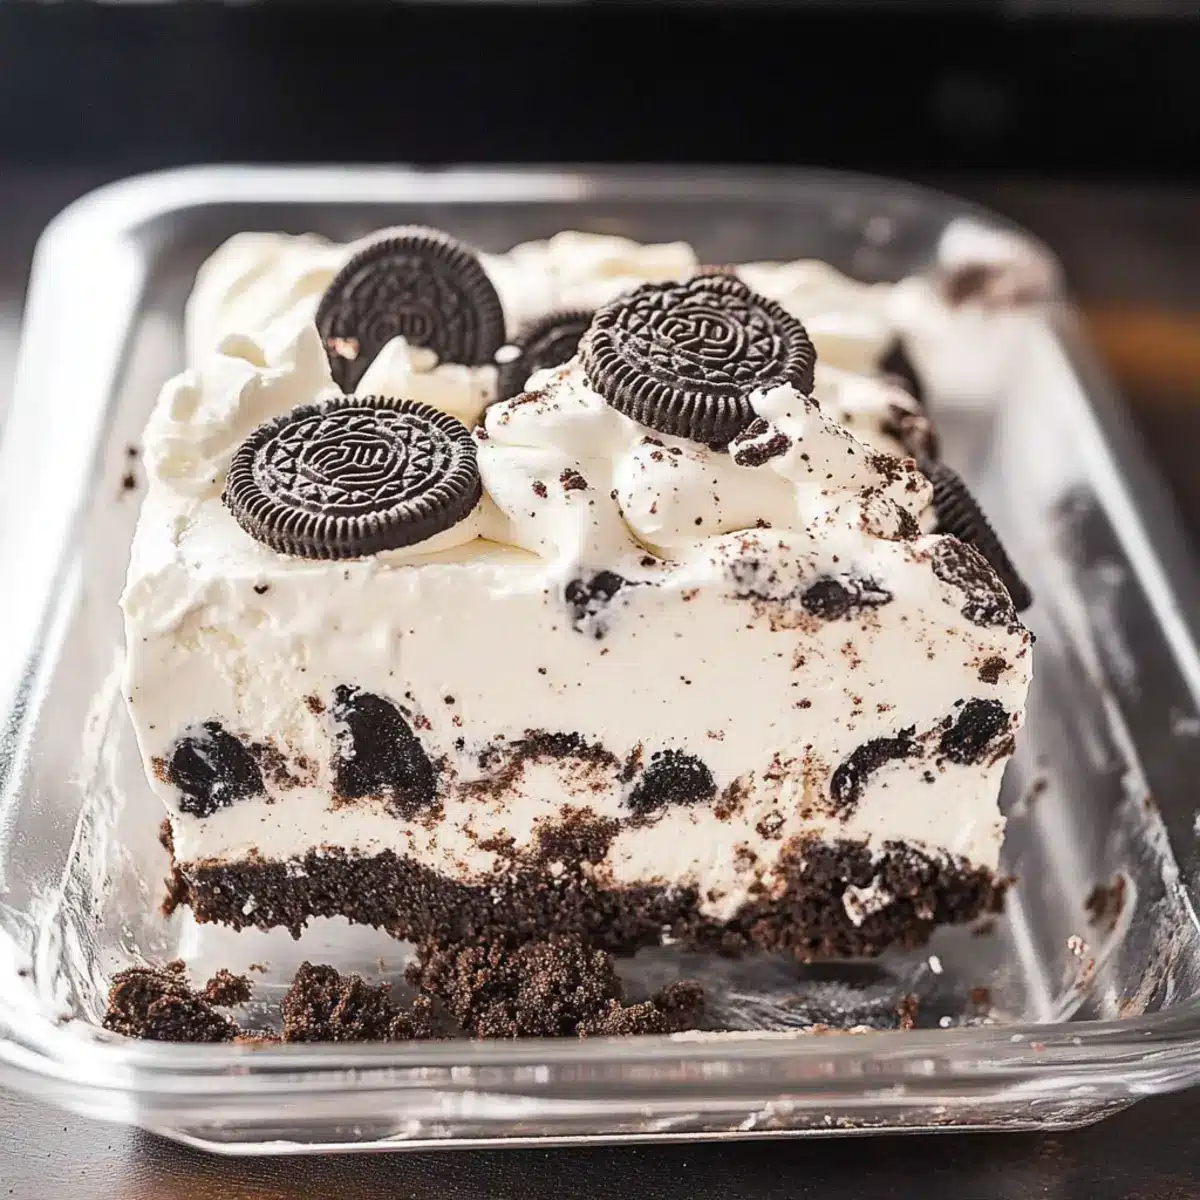
Decadent Layers: Experience the rich, creamy layers of ice cream, fudge, and whipped topping, all atop a crunchy Oreo crust—what’s not to love?
Crowd-Pleasing Delight: This dessert is sure to impress at gatherings, transforming any occasion into a festive celebration. It’s ideal for potlucks, BBQs, or family dinners!
Quick Prep Time: You need just 30 minutes to prepare the layers before chilling, so there’s no excuse to skip dessert. Trust me, they’ll be coming back for seconds!
Ready to take your summer gatherings to the next level? Check out my Cranberry Jalapeno Cream for another crowd-pleasing treat!
Oreo Ice Cream Ingredients
• Get ready to blend flavors!
For the Crust
- Oreo Cookies – Provides the crunchy, sweet crust; consider chocolate graham crackers for a twist.
- Butter (6 tablespoons) – Binds cookie crumbs for a firm base; coconut oil makes it dairy-free.
For the Ice Cream Layer
- Cookies and Cream Ice Cream (1/2 gallon) – The main creamy layer; swap for vanilla or chocolate if you’re feeling adventurous.
- Frozen Whipped Topping (16 ounces) – Lightens the dessert; mix in for extra creaminess or adjust based on your texture preference.
For the Fudge Layer
- Hot Fudge Sauce (16 ounces) – Adds a luxurious chocolate flavor; caramel is a delightful alternative for those who prefer something sweeter.
With these simple ingredients, you’ll create a stunning Oreo Ice Cream masterpiece that will leave everyone asking for the recipe!
Step‑by‑Step Instructions for Oreo Ice Cream
Step 1: Soften Ice Cream
Begin by placing your cookies and cream ice cream on the counter, allowing it to sit at room temperature for about 30 minutes. This will soften the ice cream enough to spread easily without melting. Once softened, the ice cream should have a creamy texture, ready to be combined with other layers for your delightful Oreo Ice Cream dessert.
Step 2: Make Cookie Crust
While the ice cream softens, prepare your cookie crust by crushing 36 Oreo cookies in a food processor until they resemble fine crumbs. Then, melt 6 tablespoons of butter and mix it thoroughly with the crushed cookies in a medium bowl. Press the mixture firmly into the bottom of a greased 9×13-inch pan, creating an even layer that serves as the crunchy base for your Oreo Ice Cream dessert.
Step 3: Prepare Ice Cream Layer
Next, in a large mixing bowl, combine the softened cookies and cream ice cream with 4 ounces of whipped topping for an extra creamy layer. Mix until smooth and well incorporated. Spread the ice cream mixture evenly over the prepared cookie crust. Place the pan in the freezer for about 1 hour, allowing the ice cream layer to firm up before adding the next delicious layer of hot fudge.
Step 4: Add Fudge Layer
After the ice cream layer has set, it’s time to add the hot fudge layer. Microwave 16 ounces of hot fudge sauce for about 20-30 seconds, warming it until it’s easy to pour but not boiling. Pour the warm fudge evenly over the ice cream layer, creating a luscious barrier. Return the pan to the freezer for another hour to ensure the fudge sets properly.
Step 5: Final Layer
Once the fudge has set, take the remaining whipped topping and spread it evenly over the fudge layer to create a light and airy topping. For an added touch, sprinkle some crushed Oreos on top. Cover the pan with plastic wrap or foil and freeze for at least 2 hours, or overnight for the best results, allowing your Oreo Ice Cream dessert to solidify into a beautiful layered treat.
Step 6: Serve
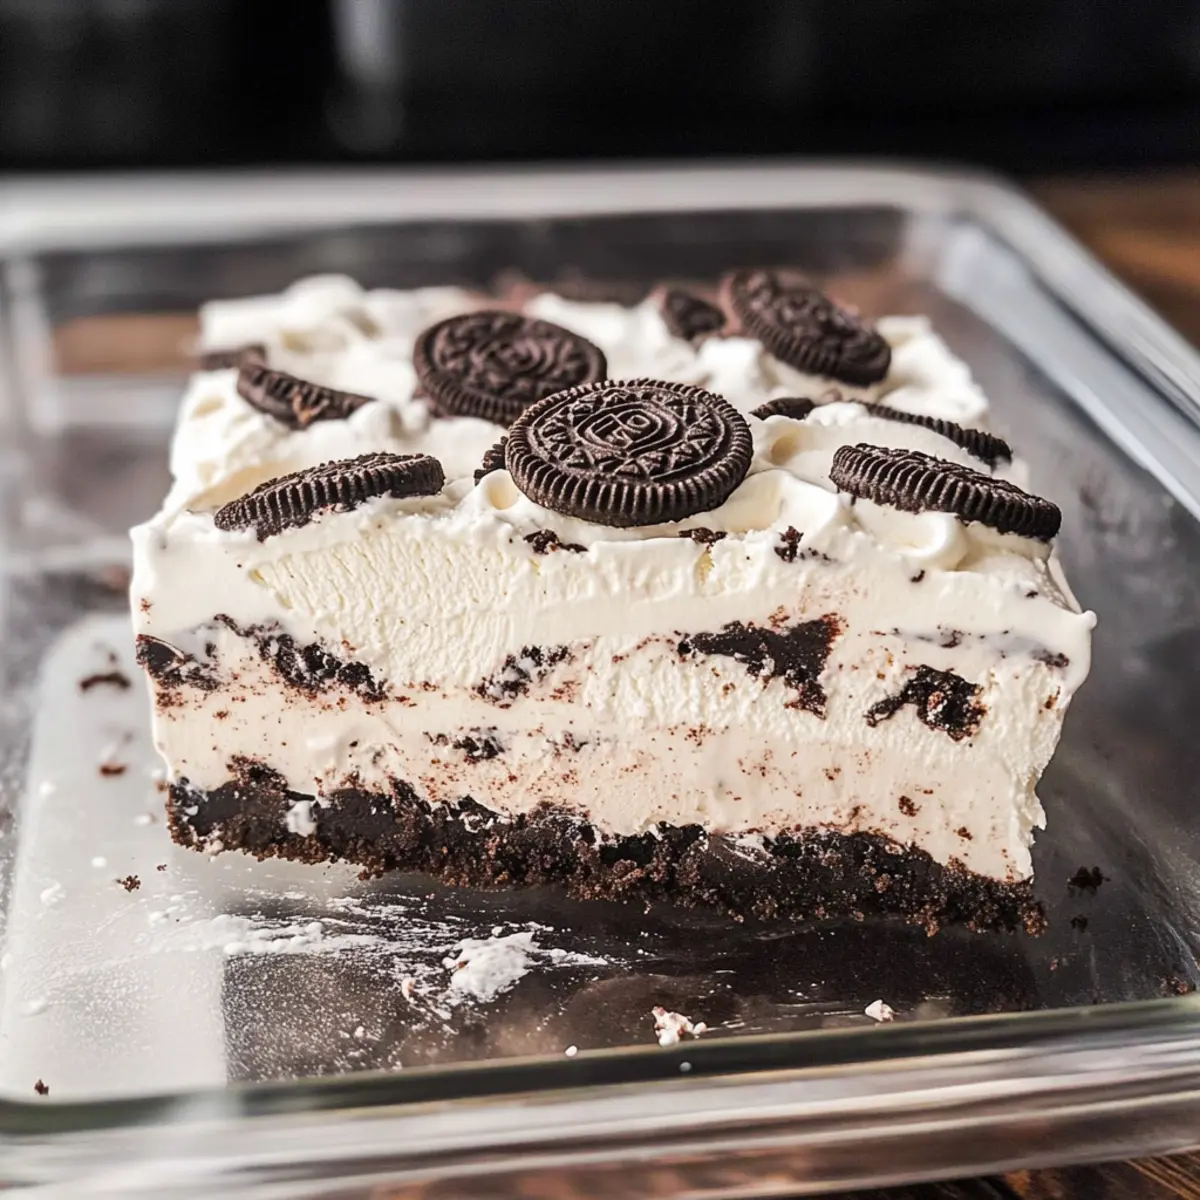
When you’re ready to enjoy your Oreo Ice Cream dessert, slice it into squares using a hot knife for clean cuts. For an irresistible touch, drizzle some extra fudge over the slices and serve. Gather your friends and family around to indulge in this creamy, decadent dessert that’s sure to impress and leave everyone craving more!
Make Ahead Options
These delightful Oreo Ice Cream desserts are perfect for busy home cooks looking to save time during a hectic week! You can prepare the crust and ice cream layer up to 24 hours in advance. Simply crush the Oreo cookies and mix them with melted butter, then press it into your pan. Once your ice cream is softened, mix it with whipped topping and layer it over the crust. Cover the pan and refrigerate to maintain its freshness. When you’re ready to enjoy, add the fudge layer (which can also be made ahead) and freeze for at least 2 hours. This way, you’ll have a decadent dessert ready to serve with minimal effort, making it just as delicious and stress-free for your gatherings!
Oreo Ice Cream Variations & Substitutions
Feel free to get creative with this Oreo Ice Cream recipe—your dessert will taste even better with your personal touches!
-
Dairy-Free: Substitute butter with melted coconut oil and use dairy-free ice cream for a delicious vegan option. This allows everyone to indulge no matter their dietary preferences.
-
Flavor Swap: Instead of cookies and cream ice cream, try mint chocolate chip, peanut butter cup, or even coffee-flavored ice cream. Each will bring a unique twist to this delightful dessert.
-
Fudge Alternatives: For a different flavor hit, use caramel sauce or Nutella instead of hot fudge. The layering can also adapt to different tastes, making it versatile!
-
Crunchy Toppings: Enhance texture by adding chopped nuts, chocolate chips, or crushed pretzels on top of the whipped cream layer. This will give a delightful crunch that contrasts beautifully with the creaminess.
-
Seasonal Flavors: Customize your dessert by incorporating seasonal ice creams such as pumpkin spice in the fall or peppermint during the winter holidays. It’s a festive way to celebrate the season!
-
Extra Layers: Elevate your treat with additional layers of cookies, such as crushed Oreos or even graham crackers, in between the ice cream and fudge layers. This will create a delightful crunch in every bite.
-
Frozen Fruit: Incorporate fresh or frozen fruit like strawberries or bananas within the layers for a fruity contrast. This adds a refreshing element to the rich dessert.
Ready for more delicious ideas? Pair your creamy dessert with my Chocolate Orange Creamsicle for another layered delight!
What to Serve with No-Bake Oreo Ice Cream Dessert
Enhance your dessert experience by pairing this creamy delight with complementary dishes that brighten every bite.
-
Fresh Berries: The tartness of strawberries or raspberries cuts through the richness, offering a refreshing contrast to the sweet layers. A sprinkle of mint can elevate this pairing beautifully.
-
Chocolate Chip Cookies: Crispy, chewy cookies echo the dessert’s cocoa notes, making for a delightful, layered sweet-table spread. Serve them warm alongside for a comforting combination.
-
Whipped Cream: A dollop of extra whipped cream adds lightness, balancing the dessert’s richness and providing a classic finishing touch! Consider a flavored whipped cream, like vanilla or almond, for an aromatic twist.
-
Coffee or Espresso: The deep, bold flavors of coffee pair perfectly with the sweet dessert, enhancing its creaminess. Opt for a frothy cappuccino to warm up your gathering!
-
Milkshakes: Serve a chocolate or vanilla milkshake for a playful match that sweet-toothed guests will adore. These creamy drinks double down on the dessert’s deliciousness.
-
Chocolate-covered Strawberries: The joy of biting into a rich chocolate-coated berry adds a luxurious element to your dessert table. Plus, the colorful presentation draws everyone in!
How to Store and Freeze Oreo Ice Cream
Fridge: Store leftover Oreo Ice Cream dessert covered in plastic wrap or in an airtight container for up to 3 days. This ensures it stays fresh and prevents freezer burn.
Freezer: For long-term storage, freeze the dessert in a tightly sealed container for up to 2 months. Make sure to wrap it well to keep out any unwanted air.
Reheating: Allow the dessert to thaw in the refrigerator for about 30 minutes before serving to soften slightly, making it easier to slice into perfect squares.
Serving Tip: When ready to serve, drizzle additional hot fudge over the top and garnish with more crushed Oreos for an added touch of indulgence!
Expert Tips for Oreo Ice Cream
-
Perfect Ice Cream Consistency: Allow the ice cream to soften until it’s creamy but not melted. This ensures it spreads smoothly without losing its structure.
-
Crust Consideration: For an easy release from the pan, line it with parchment paper before adding the crust. This prevents any sticky situations.
-
Cutting Made Easy: Use a hot knife to slice through the dessert for clean cuts. Dip it in hot water and wipe it dry before each cut for best results.
-
Layering Variation: Feel free to mix and match your ice cream flavors! Substituting cookies and cream with mint chocolate chip or peanut butter cup creates a unique take on the classic Oreo Ice Cream dessert.
-
Creative Toppings: Don’t shy away from garnishing with additional toppings. Nuts, chocolate chips, or sprinkles can take your dessert presentation to a whole new level!

Oreo Ice Cream Dessert Recipe FAQs
What type of Oreo cookies should I use for this recipe?
For the crust, classic Oreo cookies work best as they provide the perfect crunch and flavor. However, if you’re feeling adventurous, try using chocolate graham crackers or vanilla wafers for a unique twist!
How should I store leftovers of the Oreo Ice Cream dessert?
Store any leftover Oreo Ice Cream dessert in the fridge, covered in plastic wrap or in an airtight container, for up to 3 days. This helps maintain its flavor and texture, ensuring it’s delightful for the next serving!
Can I freeze the Oreo Ice Cream dessert? If so, how?
Absolutely! To freeze the dessert for long-term storage, wrap it tightly in plastic wrap and then in aluminum foil. This will keep it fresh for up to 2 months. When ready to enjoy, let it thaw in the fridge for about 30 minutes before slicing for easier serving!
What should I do if my hot fudge seems too thick to pour?
If you find your hot fudge sauce thicker than desired, simply microwave it for short intervals of 10-15 seconds until it reaches a pourable consistency. Stir well after each interval to ensure it heats evenly without burning.
Are there any dietary considerations for the Oreo Ice Cream dessert?
Yes, for those with dietary restrictions, consider using dairy-free substitutes like coconut oil instead of butter, and choose a dairy-free ice cream. Always check the labels for gluten-free Oreos if necessary. This way, everyone can enjoy this delicious treat!
Oreo Ice Cream Bliss: Easy No-Bake Dessert Delight
Ingredients
Equipment
Method
- Begin by placing your cookies and cream ice cream on the counter, allowing it to sit at room temperature for about 30 minutes.
- Crush 36 Oreo cookies in a food processor until fine crumbs, then mix with melted butter.
- Press the cookie mixture into the bottom of a greased 9x13-inch pan to create the crust.
- Combine the softened ice cream with 4 ounces of whipped topping until smooth, then spread this over the crust.
- Microwave the hot fudge sauce for 20-30 seconds, pour it over the ice cream layer, and freeze for 1 hour.
- Spread the remaining whipped topping over the fudge layer, sprinkle with crushed Oreos, cover, and freeze for at least 2 hours.
- Slice into squares using a hot knife and drizzle extra fudge on top before serving.
Leave a Reply