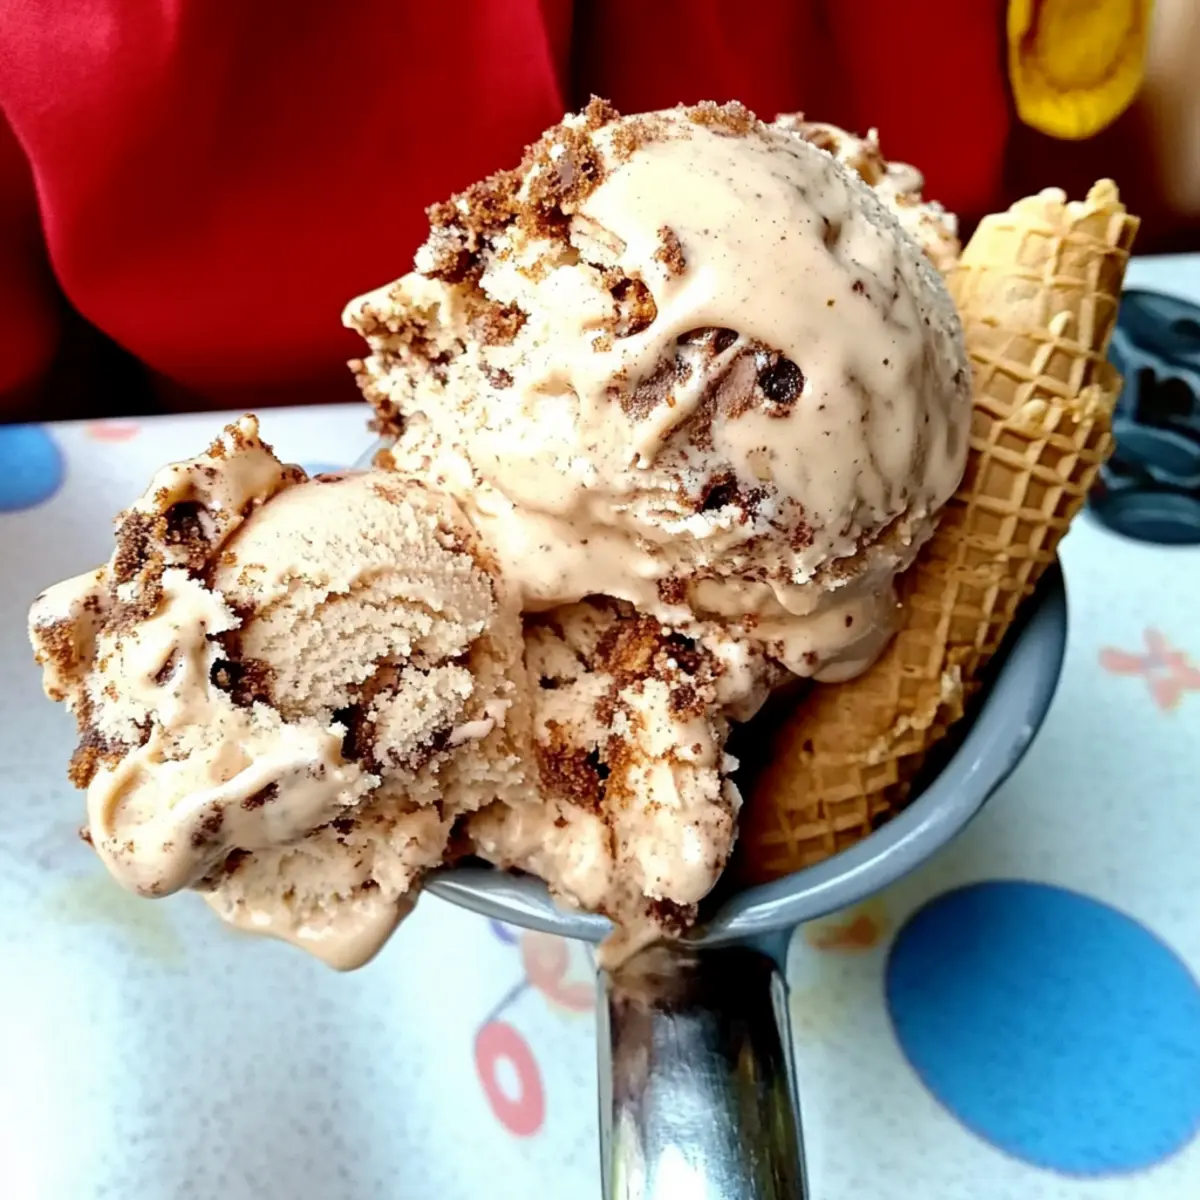
As I settled into the cozy nook of my kitchen, the aroma of freshly brewed coffee enveloped me like a warm hug. It struck me—this Loaded Coffee Ice Cream would soon be my ultimate summer indulgence. With its luscious coffee base, swirls of rich hot fudge and caramel, not to mention the delightful crunch of sugar cones, it’s more than just a treat; it’s a sweet celebration of flavors and textures! The beauty of this recipe lies in its ease, requiring only minimal time and effort, making it perfect for any home chef ready to ditch fast food for a homemade masterpiece. Plus, it’s gluten-free, so everyone can enjoy a scoop or two. Ready to whip up a batch and ice your day? Let’s dive into this coffee lover’s dream!
Why Is This Ice Cream So Irresistible?
Indulgent Flavors: Rich coffee flavor is at the core of this luxurious ice cream, making it a must-try for coffee connoisseurs.
Decadent Mix-ins: Velvety swirls of hot fudge and caramel create a delightful dance of sweetness and depth, elevating your dessert experience.
Simple Preparation: Making this Loaded Coffee Ice Cream is a breeze, demanding less than 30 minutes of hands-on time—perfect for busy home chefs!
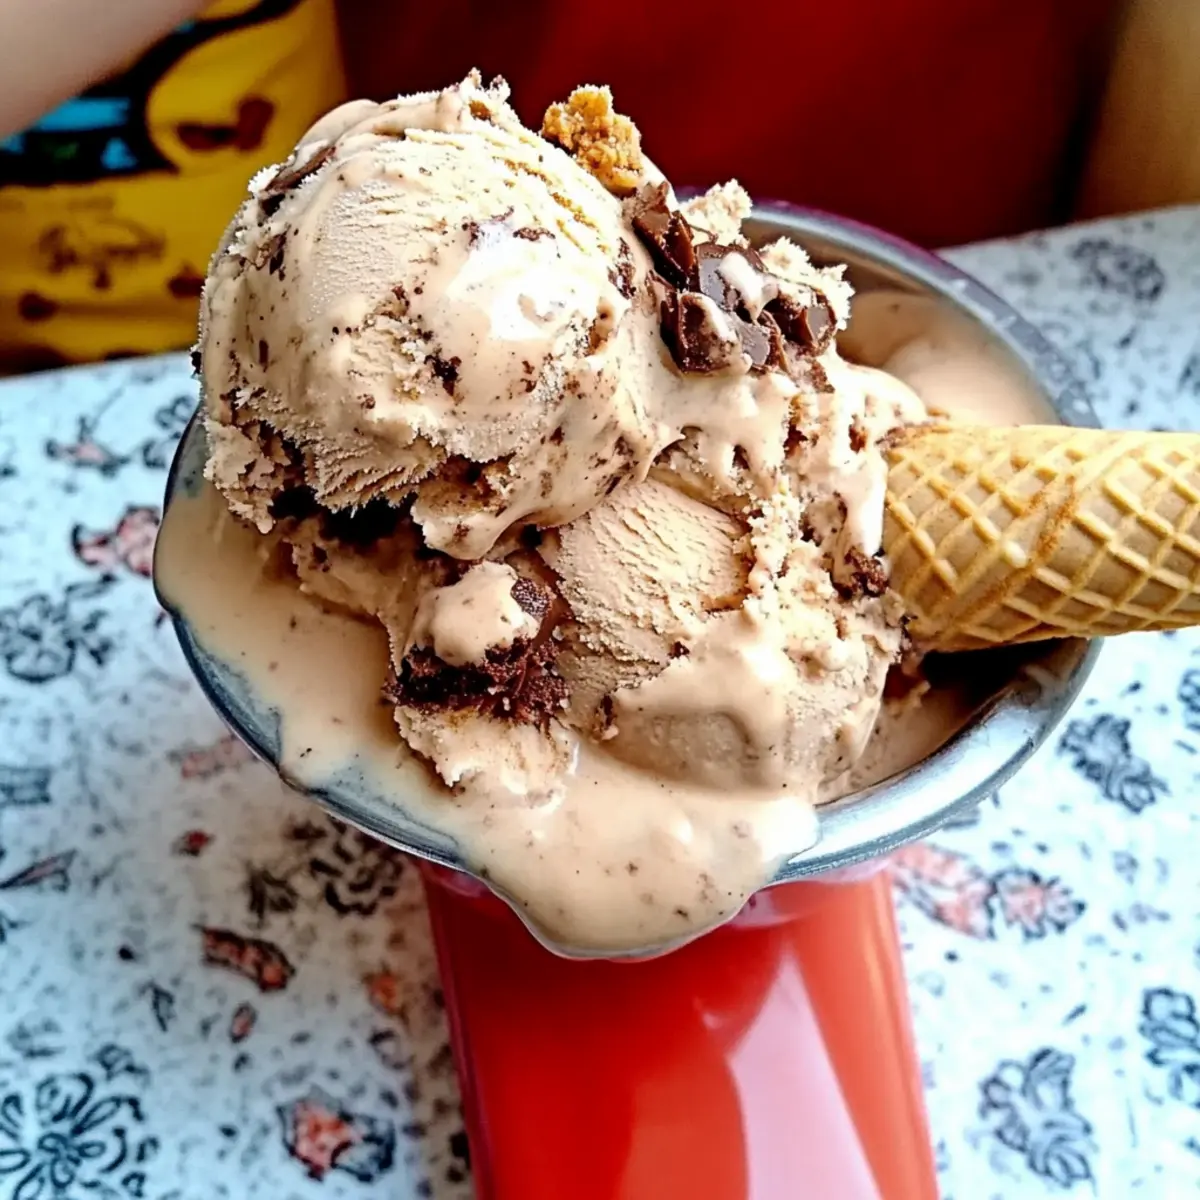
Customizable Options: Whether you stick to the classic toppings or experiment with mix-ins like chocolate chips or toffee bits, the possibilities are endless.
Crowd-Pleasing Delight: Serve this ice cream at gatherings, and watch it vanish; its rich textures and flavors are always a hit with family and friends.
Gluten-Free Treat: Enjoy this recipe with a gluten-free lifestyle in mind, ensuring that everyone can scoop in delight! For a delicious dip to accompany this treat, don’t forget to check out my Cranberry Jalapeno Cream!
Loaded Coffee Ice Cream Ingredients
For the Ice Cream Base
- Instant Coffee Granules – Key flavor component; can substitute with espresso powder for a bolder taste.
- Warm Water – Utilized to dissolve the coffee granules and enhance flavor integration.
- Heavy Cream (2 cups) – Contributes richness and creamy texture; light cream or a dairy-free alternative can be used for a lighter version.
- Sugar (1/3 cup) – Adds sweetness; can substitute with a sugar alternative, adjusting to taste.
- Kosher Salt (1/4 tsp) – Enhances flavors, making every scoop more delightful.
- Milk (1/2 cup) – Balances creaminess and lightens the mixture; consider dairy-free options for variety.
For the Crunch and Swirls
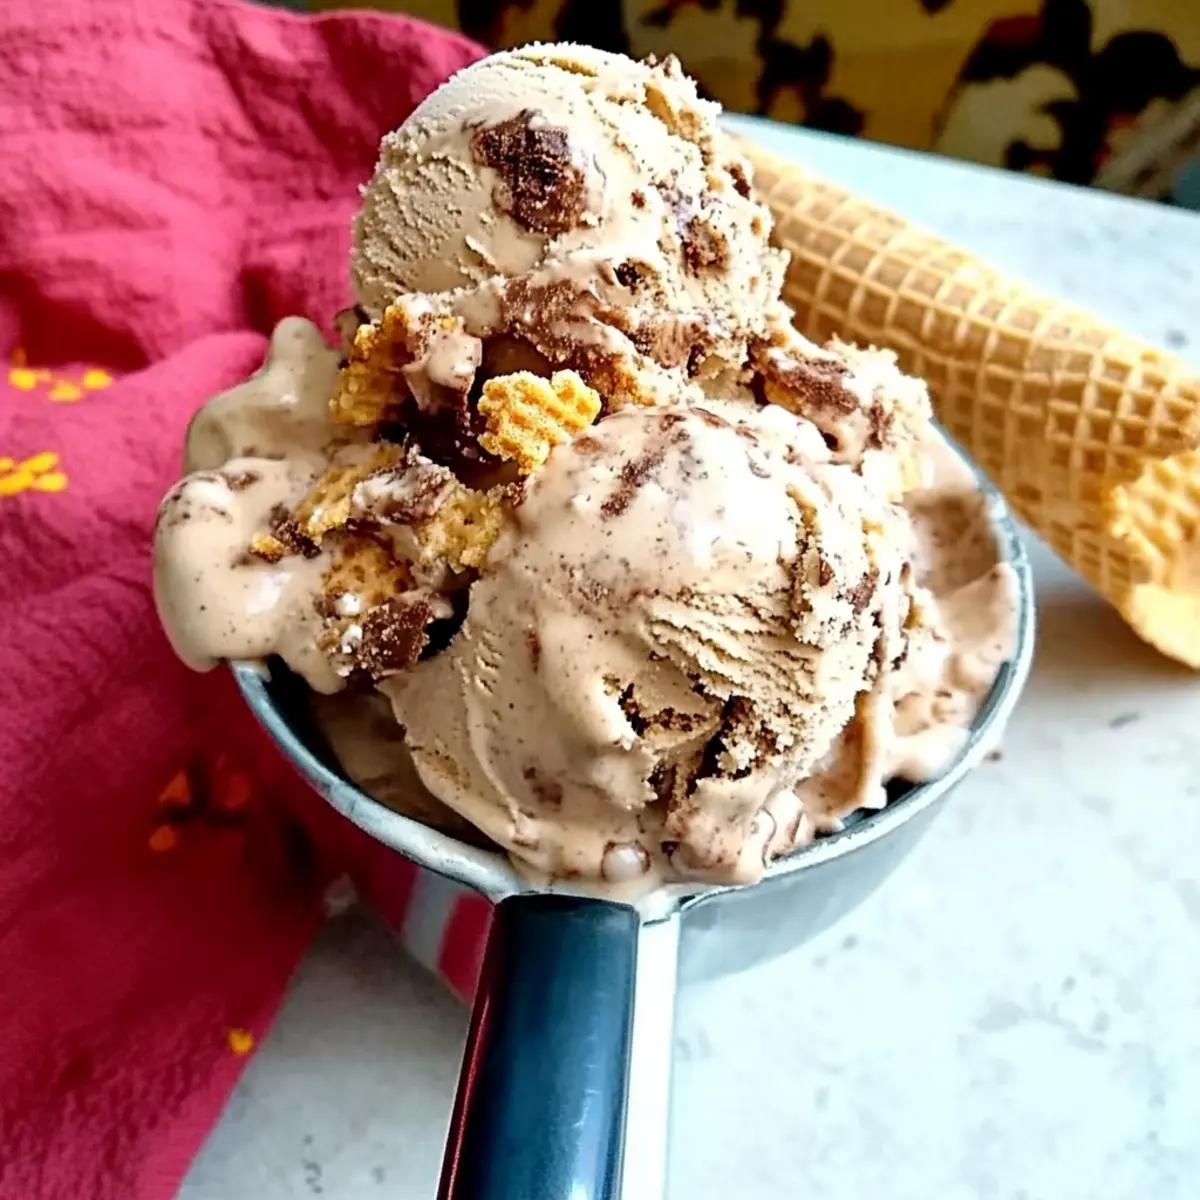
- Sugar/Waffle Cones (3 pieces) – Provides crunch; only use as needed, with leftover pieces reserved for topping.
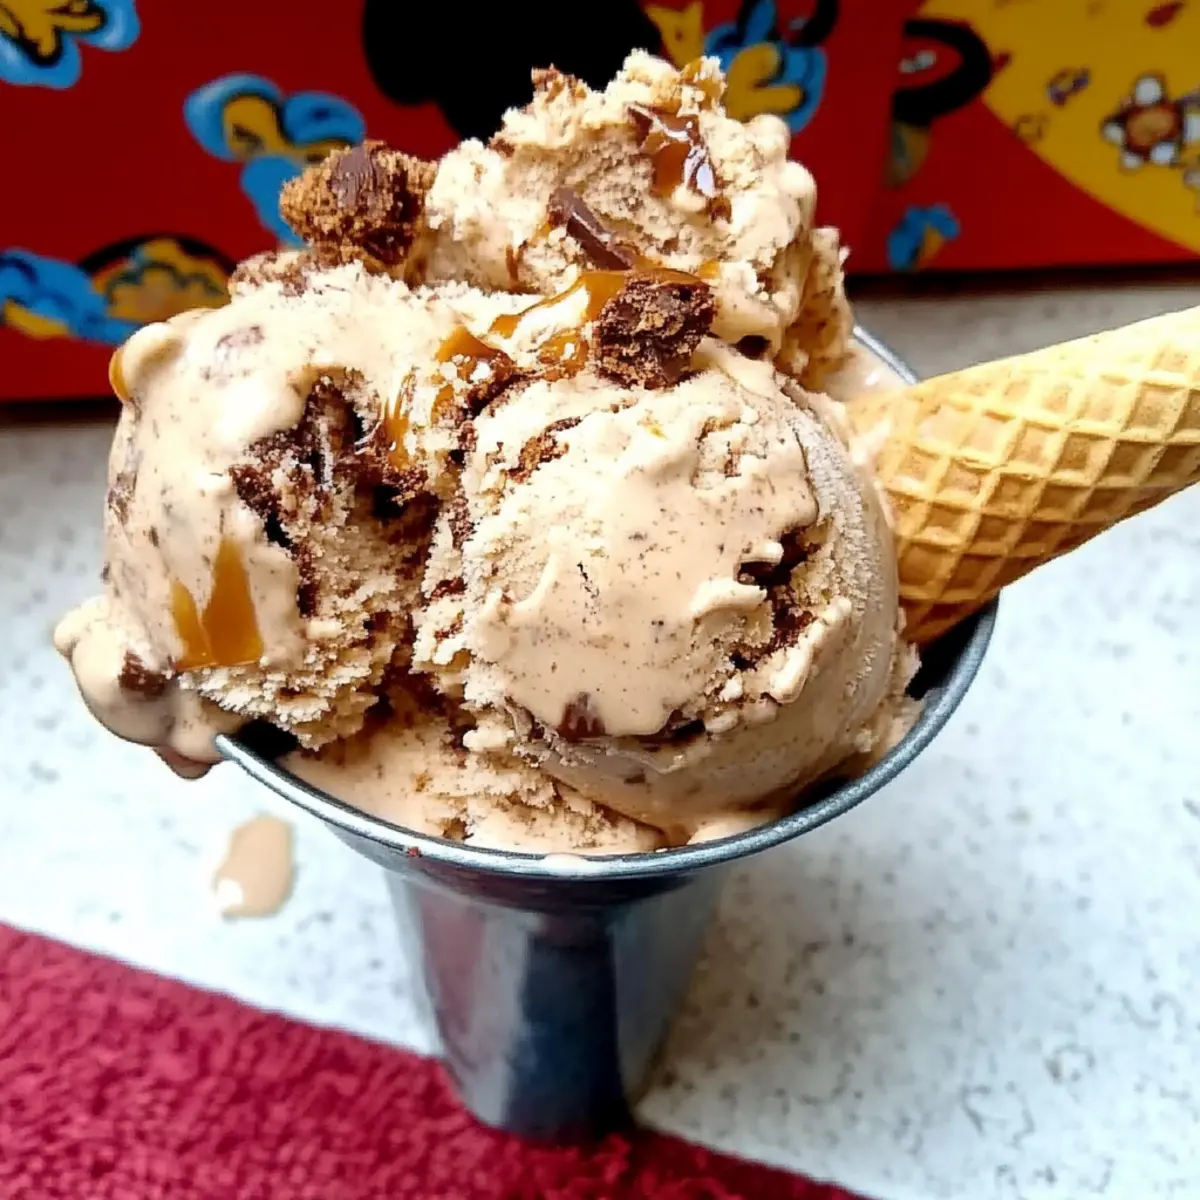
- Hot Fudge Sauce (1/4 cup) – Adds rich chocolate flavor; store-bought or homemade can be used based on preference.
- Caramel Sauce (1/4 cup) – Offers sweetness and complexity; opt for a store-bought version for convenience or create your own to enhance your Loaded Coffee Ice Cream experience.
This Loaded Coffee Ice Cream recipe is not just a treat but a rich experience showcasing delicious flavors and creamy textures, guaranteed to become a family favorite!
Step‑by‑Step Instructions for Loaded Coffee Ice Cream
Step 1: Prepare Coffee Mixture
Start by dissolving 2 tablespoons of instant coffee granules in ½ cup of warm water, stirring until completely dissolved. This aromatic mixture is the foundation of your Loaded Coffee Ice Cream. Set it aside to allow the flavors to meld while you prepare the next steps.
Step 2: Heat Cream
In a small saucepan, combine 1 cup of heavy cream with ⅓ cup of sugar and ¼ teaspoon of kosher salt. Heat this mixture over medium heat, stirring occasionally, until the sugar has completely dissolved, and the cream is hot but not boiling—around 5 minutes should do the trick. Once ready, remove the saucepan from the heat.
Step 3: Combine Ingredients
Stir the dissolved coffee mixture into the heated cream, mixing thoroughly to create a rich base. Then, add another cup of heavy cream and ½ cup of milk to the blend, stirring well to incorporate all the ingredients. This creamy mixture forms the delightful core of your Loaded Coffee Ice Cream.
Step 4: Chill Mixture
Pour the combined mixture into a sealed container, then refrigerate for at least 4 hours or overnight if possible. This chilling period is essential for the flavors to deepen and for the mixture to thicken, ensuring a luxurious texture in your final ice cream.
Step 5: Prep Add-ins
While your mixture chills, take 3 sugar or waffle cones and crumble them into small pieces. Next, measure out ¼ cup each of hot fudge and caramel sauce, ensuring they are at room temperature for easy layering later. Setting these aside will make the assembly process smoother.
Step 6: Churn Ice Cream
Once chilled, give the mixture a good shake or stir before pouring it into your ice cream maker. Churn for about 10 minutes, until it reaches a soft-serve consistency. During the final minute, gradually add the crumbled sugar cone pieces, allowing them to mix evenly into your Loaded Coffee Ice Cream.
Step 7: Layer Add-ins
In your chosen container, start layering by spooning in half of the churned ice cream. Drizzle half of the hot fudge and caramel over the top, and use a knife or spatula to gently swirl the sauces through the ice cream. Repeat this process with the remaining ice cream and sauces to create a visually appealing dessert.
Step 8: Freeze
Cover your container with a lid or plastic wrap and place it in the freezer. Allow the Loaded Coffee Ice Cream to freeze for at least 4 hours, or until it’s firm enough for scooping. If it becomes too hard to scoop, let it sit at room temperature for a few minutes before serving.
What to Serve with Loaded Coffee Ice Cream
Treat yourself to a delightful array of sides that beautifully complement the richness of this luscious ice cream!
-
Chocolate Chip Cookies: Freshly baked and warm, these classic cookies provide a delightful contrast to the creamy ice cream. Their soft texture and gooey chocolate create a nostalgic pairing that everyone loves.
-
Espresso Drinks: A frothy cappuccino or a classic espresso will enhance the coffee notes in the ice cream. Imagine sipping on a smooth espresso while enjoying a scoop of your homemade delight—a match made in heaven.
-
Whipped Cream: A dollop of lightly sweetened whipped cream adds a light, airy touch that balances the creamy richness of the ice cream. It’s a simple yet elegant addition that never disappoints!
-
Chocolate Sauce: Drizzling extra chocolate sauce over your ice cream elevates the dessert to a whole new level. The rich chocolate flavor perfectly complements the coffee, creating a symphony of taste.
-
Fresh Berries: Juicy strawberries or raspberries are not only vibrant but also provide a refreshing tartness that cuts through the sweetness of the ice cream. Their freshness brings a delightful burst of flavor with each bite.
-
Nutty Granola: For those who love a little crunch, a sprinkle of granola adds texture and nutty flavors. It pairs beautifully with the smooth ice cream, making each scoop more exciting!
-
Milkshakes: Blend some loaded coffee ice cream with milk for a creamy milkshake! This delightful drink captures all the flavors you love in a refreshing sippable indulgence.
-
Almond Biscotti: These crunchy treats are perfect for dipping into your ice cream, providing a pleasant textural contrast and a hint of almond flavor to complement the coffee richness.
-
Caramel Popcorn: For a fun twist, offer some caramel popcorn on the side. Its sweetness and crunch will enhance the caramel swirls in your ice cream, making your dessert experience even more delectable.
How to Store and Freeze Loaded Coffee Ice Cream
Fridge: Keep your Loaded Coffee Ice Cream in the fridge for up to 2 hours, ensuring it remains fluffy. This is not recommended for long-term storage.
Freezer: Store the ice cream in an airtight container in the freezer for up to 2 weeks. Proper wrapping prevents freezer burn and maintains flavor integrity.
Reheating: If the ice cream becomes too hard to scoop, let it sit at room temperature for a few minutes before serving. This will soften your Loaded Coffee Ice Cream, making it easier to enjoy.
Serving Tips: For the best experience, consider garnishing your scoops with extra hot fudge, caramel, or crumbled sugar cones just before serving!
Expert Tips for Loaded Coffee Ice Cream
Chill Everything: Make sure to chill your ice cream mixture thoroughly for the best texture; flavors deepen and create a creamier ice cream.
Perfect Temperature: Use warm water to dissolve the instant coffee granules completely. This ensures a smooth coffee flavor throughout your Loaded Coffee Ice Cream.
Avoid Over-Churning: Watch your ice cream closely while churning. If overmixed, it can become icy rather than creamy—aim for a soft-serve texture before layering.
Prep Toppings Ahead: Keep your hot fudge and caramel at room temperature for easy swirling; melted toppings will blend beautifully into the ice cream.
Experiment with Mix-ins: Don’t hesitate to try different mix-ins! Chocolate chips or crushed nuts can add exciting textures to your Loaded Coffee Ice Cream.
Storage Savvy: Store your ice cream in an airtight container to maintain freshness and prevent freezer burn, allowing it to stay delightful for up to two weeks!
Loaded Coffee Ice Cream Variations & Substitutions
Feel free to make this Loaded Coffee Ice Cream your own with these delightful twists and adjustments!
-
Dairy-Free: Use coconut cream in place of heavy cream and almond milk instead of regular milk for a vibrant, creamy texture.
-
Sugar-Free: Swap the sugar for a sugar alternative like erythritol or monk fruit to create a guilt-free dessert everybody can enjoy.
-
Decadent Swirls: Add a layer of chocolate ganache or nut butter between the ice cream layers for an extra indulgent twist.
-
Nutty Crunch: Toss in some toasted nuts like pecans or almonds to give your ice cream a delightful crunch that pairs beautifully with coffee.
-
Spiced Up: Add a pinch of cinnamon or nutmeg into the coffee mixture for a cozy chai-like flavor that enhances the coffee taste.
-
Chocolate Lovers: Mix in dark chocolate chunks or chocolate-covered espresso beans for added richness and texture; the bitterness pairs perfectly with sweetness.
-
Alternative Flavors: Explore adding a splash of vanilla extract or even a hint of peppermint extract to create seasonal variations of your Loaded Coffee Ice Cream.
These variations let you get creative in the kitchen! If you’re looking for more delicious wisdom on your culinary journey, consider checking out my Southern Spaghetti Bake or give my Coconut Lemon Cream a whirl for another fresh take on homemade delights. Enjoy your flavor adventure!
Make Ahead Options
These Loaded Coffee Ice Cream treats are perfect for busy home cooks! You can prepare the ice cream base up to 24 hours in advance by chilling the combined mixture (coffee, cream, milk, sugar) in a sealed container in the refrigerator. This not only deepens the flavors but also makes it super convenient when you’re ready to churn. Additionally, you can crumble the sugar cones and prepare your hot fudge and caramel sauces ahead of time—just store them in airtight containers at room temperature. Once you’re ready to enjoy your ice cream, simply churn the prepped mixture, layer in the sweet sauces, and freeze for at least 4 hours. This way, you’ll be indulging in a luscious dessert with minimal effort on the day you serve it!
Loaded Coffee Ice Cream Recipe FAQs
How do I choose the best coffee for this recipe?
Absolutely! For the richest flavor, opt for high-quality instant coffee granules or espresso powder. Look for products that promise boldness and depth—those with dark roast notes often yield a fuller taste in your Loaded Coffee Ice Cream.
What’s the best way to store leftover ice cream?
I recommend storing your Loaded Coffee Ice Cream in an airtight container to maintain its delightful texture. It will stay fresh for up to 2 weeks in the freezer. For best results, cover the surface with plastic wrap before sealing it to prevent freezer burn.
Can I freeze this ice cream for longer than two weeks?
Yes, but be mindful that while you can technically freeze it for up to 3 months, the texture and flavor may deteriorate. If freezing for an extended period, ensure it’s well-wrapped to prevent unwanted flavors and ice crystals from forming.
What if my ice cream is too hard to scoop?
Very! If your Loaded Coffee Ice Cream is rock-hard after being in the freezer, simply let it sit at room temperature for about 5-10 minutes before scooping. This gentle thaw allows it to soften just enough for easier serving.
Is this recipe safe for kids or those with allergies?
Definitely! However, please check for any potential allergies within your specific family—especially with ingredients like heavy cream and caramel. For a gluten-free option, confirm the cone and sauces are suitable for those with gluten sensitivities.
How can I avoid icy ice cream?
To achieve a smooth, creamy texture, follow these steps: Make sure your ice cream maker bowl is completely frozen before use. Monitor the churning process closely—stop when it resembles soft serve, and avoid over-mixing, which can introduce unwanted air and lead to an icy outcome.
Loaded Coffee Ice Cream: A Sweet Brewed Delight Awaits
Ingredients
Equipment
Method
- Dissolve the instant coffee granules in warm water, stirring until completely dissolved.
- Combine heavy cream, sugar, and kosher salt in a saucepan, heating gently until the sugar dissolves.
- Stir in the dissolved coffee mixture, then add another cup of heavy cream and milk, mixing thoroughly.
- Refrigerate the mixture for at least 4 hours or overnight.
- Crumble the sugar cones and measure out hot fudge and caramel sauces.
- Churn the chilled mixture in your ice cream maker for about 10 minutes, adding crumbled cones in the last minute.
- Layer in a container with half of the ice cream, drizzling hot fudge and caramel before repeating.
- Freeze for at least 4 hours until firm.
Leave a Reply