
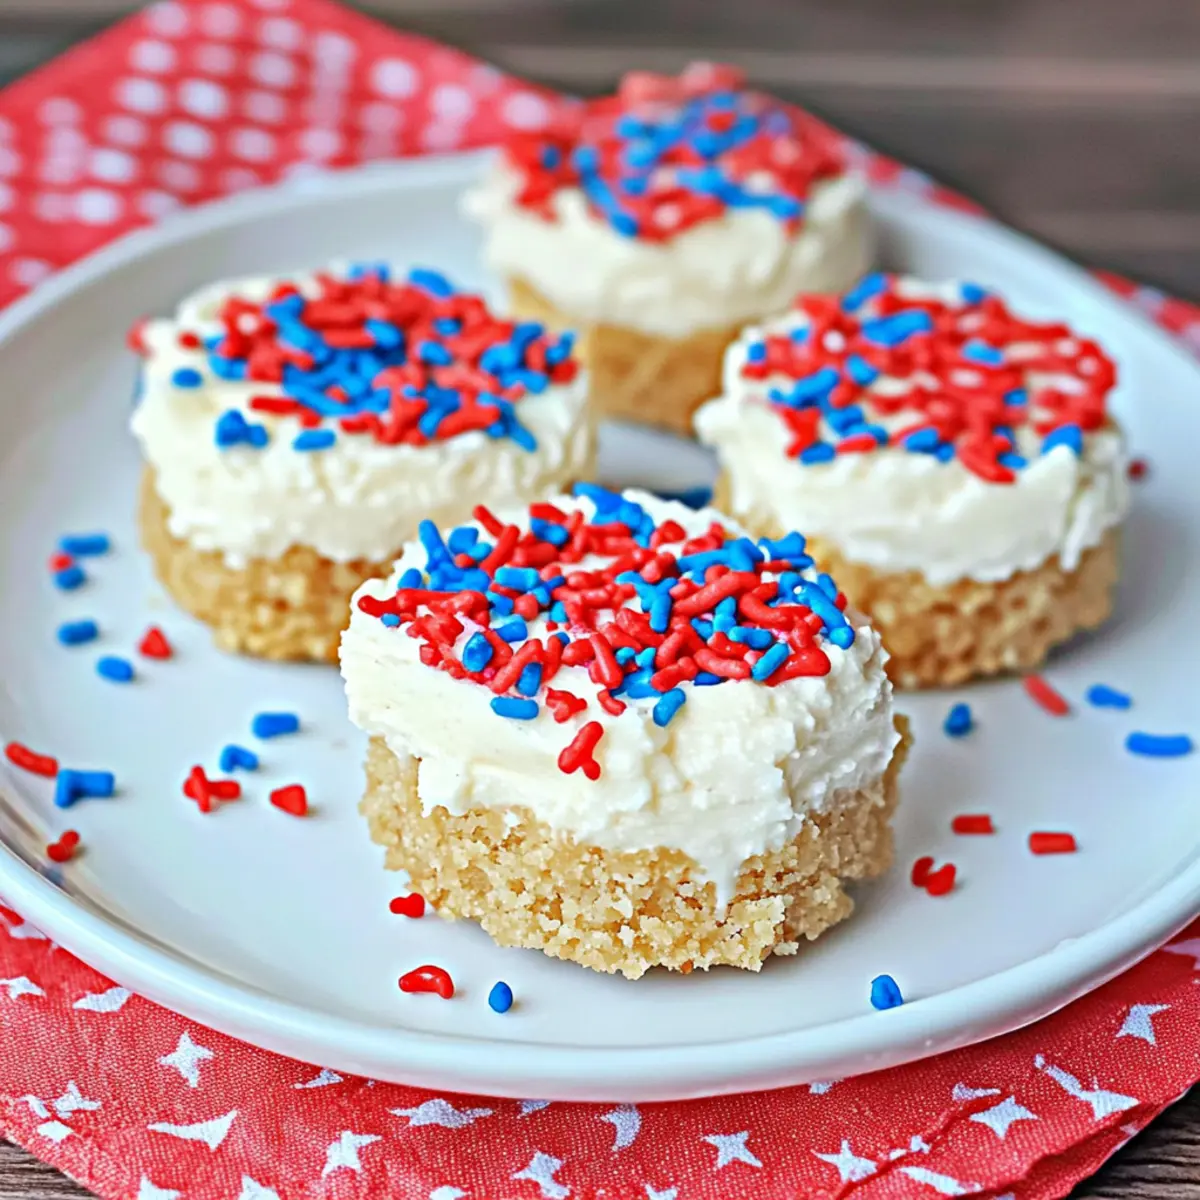
As I pulled open the fridge, an excited surge of anticipation hit me—nothing beats the sight of a batch of Red White and Blue Cheesecakes waiting to greet summer gatherings! These charming mini no-bake cheesecakes aren’t just eye-catching; they’re also a breeze to whip up, making them the perfect addition to any patriotic celebration like Memorial Day or Independence Day. With a luscious cream cheese filling nestled in a buttery graham cracker crust, they offer indulgence without the fuss of traditional baking. Plus, the vibrant red and blue toppings bring a festive spirit to your table. Ready to impress your guests and satisfy those sweet cravings? Let’s dive into this easy dessert that will surely become your go-to for summer festivities and beyond!
Why Is This Cheesecake So Special?
Simplicity at its finest: These Red White and Blue Cheesecakes are incredibly easy to prepare, requiring no baking skills, making them perfect for any home cook.
Patriotism on a plate: Their stunning colors make them an ideal centerpiece for your summer parties, immediately elevating your celebratory theme.
Versatility in flavors: Feel free to experiment with different toppings and fillings! Try adding a zesty twist with lemon or even different colors for various holidays.
Quick prep time: With minimal chilling and serving time, these mini cheesecakes are the perfect last-minute dessert for spontaneous gatherings. Plus, they’ll steal the show when paired with fresh summer berries!
Crowd-pleaser guaranteed: Everyone loves a good cheesecake, and these mini versions are not just adorable but also addictive! Your family and friends will be coming back for seconds.
Red White and Blue Cheesecake Ingredients
• For the Crust
- Graham Cracker Crumbs – The backbone of this crust, giving the cheesecakes a delightful crunch; you can swap these for digestive biscuits or gluten-free options.
- Brown Sugar – This adds a subtly rich sweetness to the crust; coconut sugar makes for a great natural alternative.
- Melted Butter – Binds everything together while providing a luscious flavor; coconut oil works well for a dairy-free twist.
• For the Filling
- Cream Cheese – The star ingredient for a rich and creamy filling; Neufchâtel cheese offers a lighter texture if preferred.
- White Sugar – Sweetens the filling perfectly; consider using honey or agave syrup as substitutes, just remember to adjust for liquid content.
- Heavy Whipping Cream – This is what gives the filling its fluffy lightness; coconut cream is a fantastic non-dairy alternative.
- Vanilla Extract – Enhances the overall flavor of the cheesecake; pure vanilla or a fresh vanilla bean can elevate the taste even further.
• For Decoration
- Red, White, and Blue Sprinkles – These festive sprinkles add a pop of color and fun; feel free to switch to seasonal sprinkles for a different look or skip them for simplicity.
These enchanting Red White and Blue Cheesecakes promise to bring joy to your summer gatherings and are sure to wow your guests with their vibrant appearance and delightful taste!
Step‑by‑Step Instructions for Red White And Blue Cheesecake
Step 1: Prepare the Crust
Begin by lining a cupcake pan with paper wrappers for easy serving. In a mixing bowl, combine graham cracker crumbs, brown sugar, and melted butter, mixing until the ingredients are clumpy. Press this mixture firmly into the bottom of each wrapper, creating an even layer. Place the pan in the freezer for about 15 minutes to allow the crust to firm up.
Step 2: Make the Filling
While the crust sets, take out a mixing bowl and beat together softened cream cheese, white sugar, heavy whipping cream, and vanilla extract. Use an electric mixer on medium speed until the mixture becomes smooth and creamy, which should take about 3-4 minutes. Ensure there are no lumps, and the consistency is fluffy; this is key for your Red White And Blue Cheesecake.
Step 3: Assemble the Cheesecakes
Retrieve the crusts from the freezer, and carefully scoop the cream cheese filling on top of each crust. Use a spatula to gently spread the filling evenly, ensuring it covers all edges for a neat look. As a fun touch, add generous sprinkles of red, white, and blue on top of the filling to bring festive cheer to your mini cheesecakes, making them perfect for summer celebrations.
Step 4: Set Cheesecakes
Once assembled, place the filled cupcakes back into the freezer for at least 1 hour. This chilling time will help the filling set properly while enhancing the overall texture of your Red White And Blue Cheesecake. Make sure to keep them in a flat position to maintain their shape.
Step 5: Serve
After the cheesecakes have chilled thoroughly, remove them from the freezer. Allow them to thaw at room temperature for about 1 hour before serving to reach the ideal creamy consistency. Carefully peel away the wrappers to reveal these delightful mini treats, ready to impress your guests and add a sweet touch to any patriotic gathering.
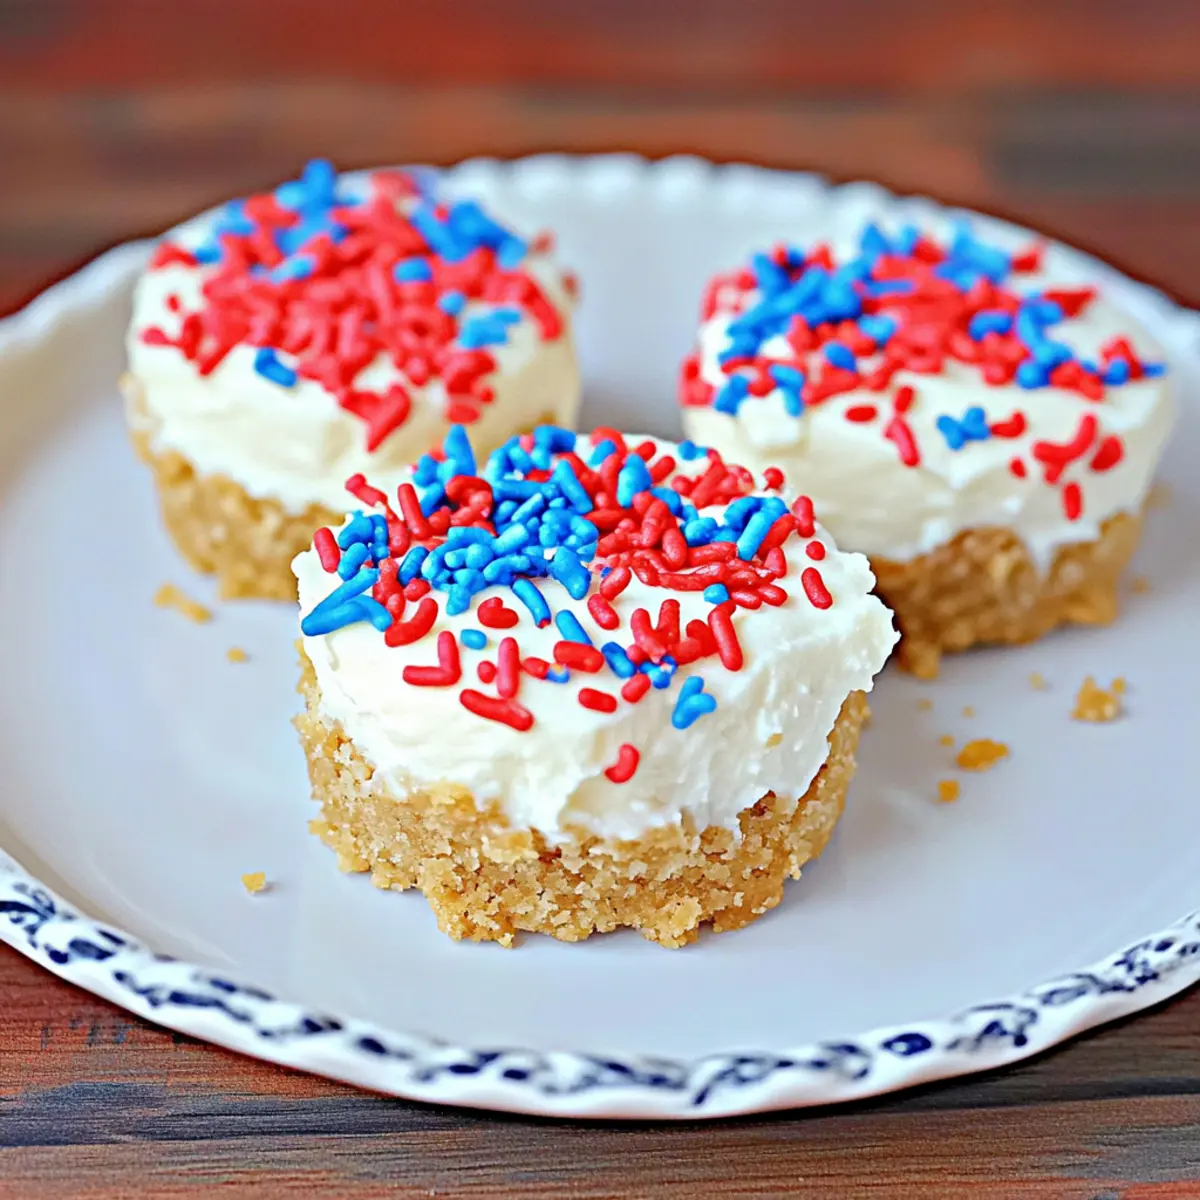
How to Store and Freeze Red White And Blue Cheesecake
-
Room Temperature: These delightful mini cheesecakes should not be left out at room temperature for more than 2 hours to maintain their freshness and texture.
-
Fridge: Once prepared, store your Red White And Blue Cheesecakes in an airtight container in the refrigerator. They can be kept for up to 1-2 days after thawing for optimal taste.
-
Freezer: You can freeze the cheesecakes for longer storage, keeping them in an airtight container for up to 3 days. Be sure to separate layers with parchment paper if stacking.
-
Reheating: While best served cold, let the cheesecakes thaw in the fridge or at room temperature for about 1 hour before serving for that perfect creamy texture!
What to Serve with Red White and Blue Cheesecakes
Elevate your summer gatherings by pairing these delightful treats with complementary sides and beverages that enhance their festive charm.
-
Fresh Berries: A medley of strawberries, blueberries, and raspberries not only provides vibrant color but also adds a refreshing tartness that balances the cheesecake’s sweetness.
-
Whipped Cream: The light and airy texture of freshly whipped cream creates an indulgent topping, perfect for adding a creamier mouthfeel to each mini cheesecake.
-
Chocolate Sauce: A drizzle of rich chocolate sauce brings a decadent twist to the dessert, pleasing chocolate lovers while offering a luxurious pairing with the creamy filling.
-
Iced Tea: A chilled glass of sweetened or unsweetened iced tea refreshes your palate, making it a delightful accompaniment to these cheesecakes during warm summer days.
-
Lemonade: The zesty and tangy notes of lemonade create a wonderful contrast, cutting through the richness of the cheesecakes and leaving your guests feeling refreshed and satisfied.
-
Patriotic Fruit Salad: Combine seasonal fruits like kiwi, strawberries, and blueberries for a fresh dish that mirrors the cheesecake’s colors, providing a light and nutritious side to the dessert.
-
Sparkling Water: Serve these cheesecakes with sparkling water infused with lemon or lime for a bubbly, festive drink that keeps things refreshing without overpowering the dessert.
-
Vanilla Ice Cream: A scoop of creamy vanilla ice cream on the side offers a comforting touch, with the cool and creamy texture perfectly complementing the cheesecake’s flavors.
Expert Tips for Red White And Blue Cheesecake
-
Soften Cream Cheese: Ensure your cream cheese is at room temperature for a smooth filling—cold cream cheese can create unsightly lumps.
-
Don’t Overmix: When whipping the cream, mix just until you see soft peaks. Overmixing can turn it grainy and ruin the delightful texture of your Red White And Blue Cheesecake.
-
Freeze for Fluffiness: Freeze your crusts slightly longer if they don’t hold together well; a firmer crust provides a better base for the creamy filling.
-
Layer Wisely: Spread the filling evenly to avoid cracks; this not only improves appearance but also ensures every bite is delightful.
-
Garnish Before Serving: Add the red, white, and blue sprinkles right before serving to keep them vibrant and fresh—this ensures they catch your guests’ eyes!
Make Ahead Options
These Red White and Blue Cheesecakes are perfect for busy home cooks looking to save time without sacrificing flavor! You can prepare the crust and filling up to 24 hours in advance. Simply make the crust, press it into the cupcake liners, and freeze it solid. The filling can be mixed and stored in an airtight container in the refrigerator. To maintain quality, keep the filling separate from the crust until you’re ready to serve; this prevents the crust from becoming soggy. When you’re ready to enjoy your mini cheesecakes, just scoop the filling onto the crusts, add your festive sprinkles, and freeze them for at least 1 hour before thawing and serving. This way, you’ll have a delightful dessert ready to wow your guests with minimal last-minute effort!
Red White And Blue Cheesecake Variations
Feel free to mix things up with these delightful alterations that cater to your unique taste buds!
-
Flavor Boost: Add lemon zest to the filling for a refreshing citrus twist. This brightens up the cheesecake and adds a zesty zing that complements the creaminess perfectly.
-
Dairy-Free: Swap cream cheese for cashew cream blended with a touch of maple syrup to keep the cheesecake luscious while accommodating dairy-free diets.
-
Low Sugar: Replace white sugar with a sugar substitute like stevia or monk fruit to create a healthier version without sacrificing flavor. Just adjust the amount according to your sweetness preference.
-
Chocolate Lovers: Mix in cocoa powder to half of the filling for a surprising chocolate variation! This will provide a delicious contrast to the classic vanilla flavor, making it a hit for chocolate lovers.
-
Nutty Crust: Try using finely crushed almonds or hazelnuts instead of graham cracker crumbs for a unique, nutty flavor. This adds a delightful texture and depth to your crust!
-
Seasonal Switch: Substitute red and blue sprinkles with orange and black for a fun Halloween treat! You can also use green sprinkles for St. Patrick’s Day festivities, ensuring that every holiday is covered.
-
Berry-Infused: Mix in pureed strawberries or blueberries into the filling for an extra fruity touch. This not only enhances the festive colors but also adds a burst of flavor in each bite!
If you’re seeking a creamy cheesecake experience, don’t forget to check out my Japanese Cotton Cheesecake for a melt-in-your-mouth texture. Plus, for a sweet addition, try making my White Chocolate Orange for a summer treat.
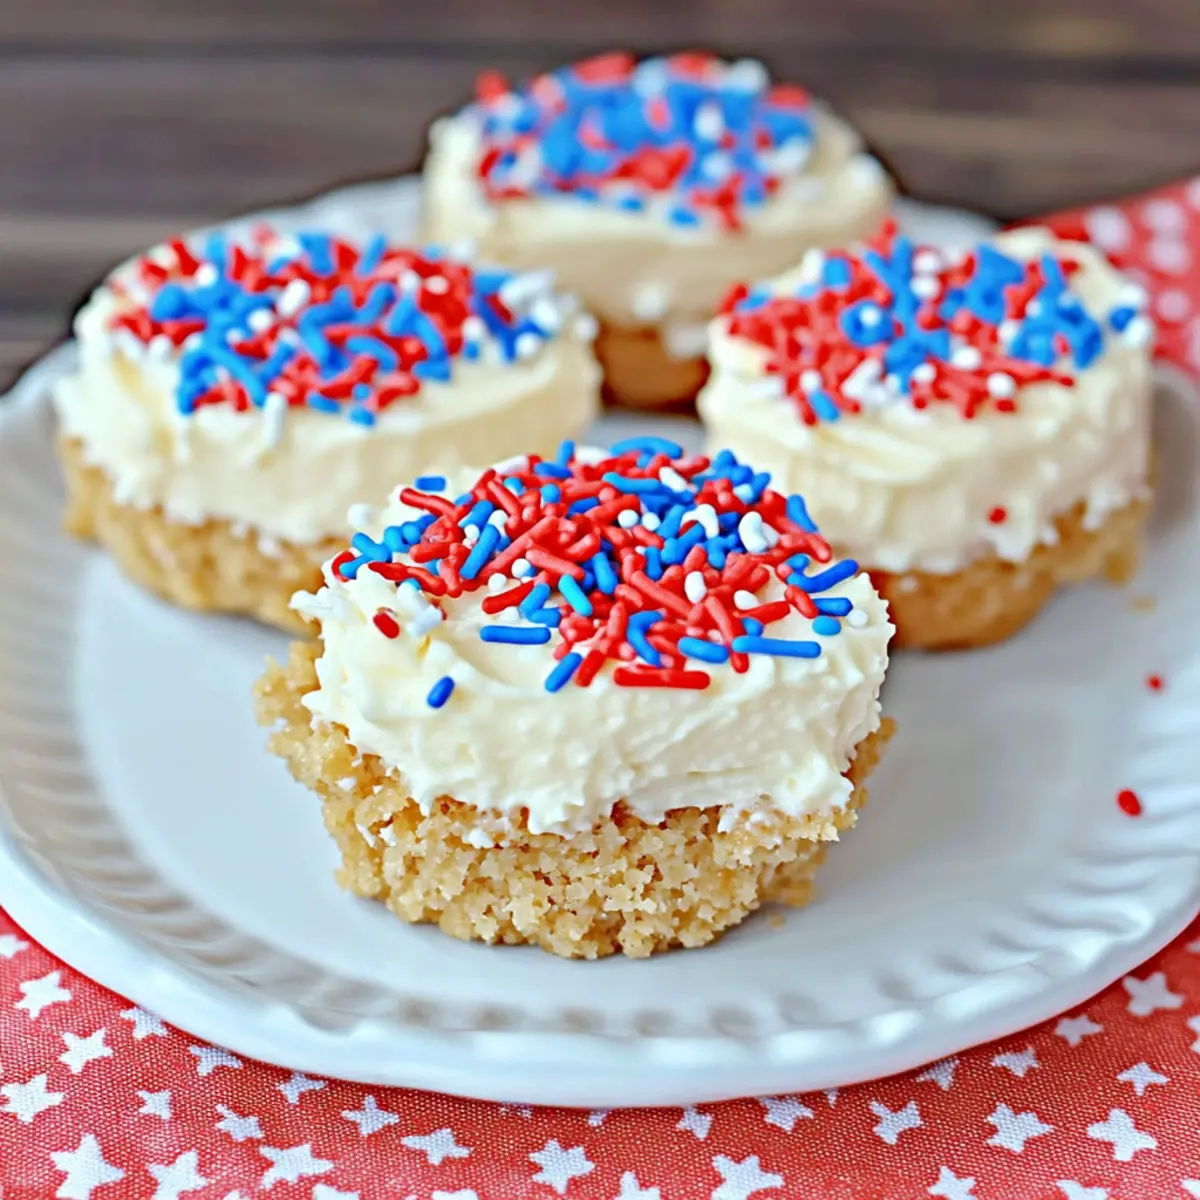
Red White and Blue Cheesecake Recipe FAQs
How do I choose the best graham crackers for the crust?
Absolutely! Look for graham crackers that are fresh and free of any dark spots or damage. If you’re considering alternatives, digestive biscuits work wonderfully, and gluten-free options are available for those with dietary restrictions. The key is to ensure they are crunchy and flavorful to create a solid base for your mini cheesecakes.
How should I store leftover cheesecakes after making them?
To maintain their freshness, store your Red White and Blue Cheesecakes in an airtight container in the refrigerator for up to 1-2 days after thawing. If they haven’t been thawed yet, they can be kept in the freezer for up to 3 days in an airtight container. This way, they’re perfect for impromptu summer gatherings!
Can I freeze these cheesecakes for later use?
Yes, definitely! To freeze your Red White and Blue Cheesecakes, wrap them individually in parchment paper, then place them in an airtight container or freezer bag. They can last up to 3 months in the freezer. When you’re ready to enjoy them, thaw them in the fridge overnight or at room temperature for about 1 hour before serving.
What if my cream cheese filling has lumps? What can I do?
No worries! Lumpy cream cheese can be fixed. Start by ensuring your cream cheese is softened at room temperature. If you’ve already mixed it and noticed lumps, simply use a hand mixer again to beat the filling until it’s smooth. If you want extra assurance, pass the mixture through a fine sieve to get rid of any stubborn lumps before spooning it onto the crusts.
Are these cheesecakes suitable for people with allergies?
If you’re accommodating dietary restrictions, the great news is that these cheesecakes can be customized easily. For those with gluten allergies, opt for gluten-free graham crackers. You can also substitute dairy products like cream cheese and heavy cream with non-dairy alternatives, such as coconut cream or vegan cream cheese, ensuring everyone can enjoy this fabulous dessert!
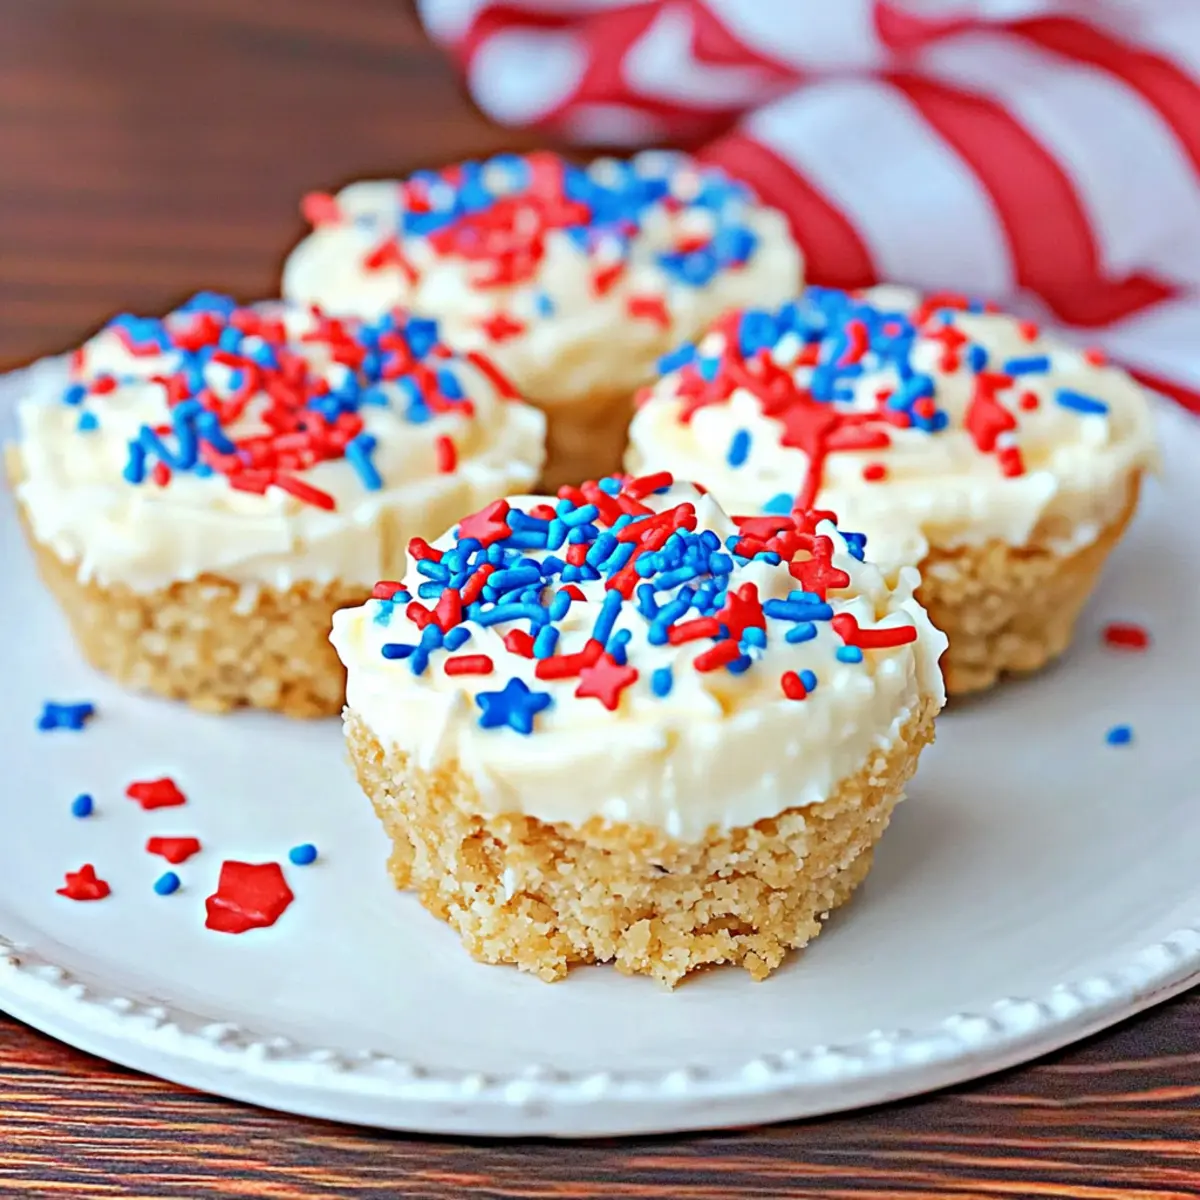
Red White and Blue Cheesecake That Wows Your Summer Parties
Ingredients
Equipment
Method
- Prepare the Crust: Line a cupcake pan with paper wrappers. In a mixing bowl, combine graham cracker crumbs, brown sugar, and melted butter. Press the mixture into the bottom of each wrapper, creating an even layer. Freeze for 15 minutes to firm up.
- Make the Filling: In a mixing bowl, beat together softened cream cheese, white sugar, heavy whipping cream, and vanilla extract until smooth and creamy, about 3-4 minutes.
- Assemble the Cheesecakes: Scoop the cream cheese filling on top of each crust and spread evenly. Add generous sprinkles of red, white, and blue on top.
- Set Cheesecakes: Place the filled cupcakes back into the freezer for at least 1 hour to help the filling set properly.
- Serve: Remove from the freezer and let them thaw at room temperature for about 1 hour before serving. Peel away the wrappers and enjoy!
Leave a Reply