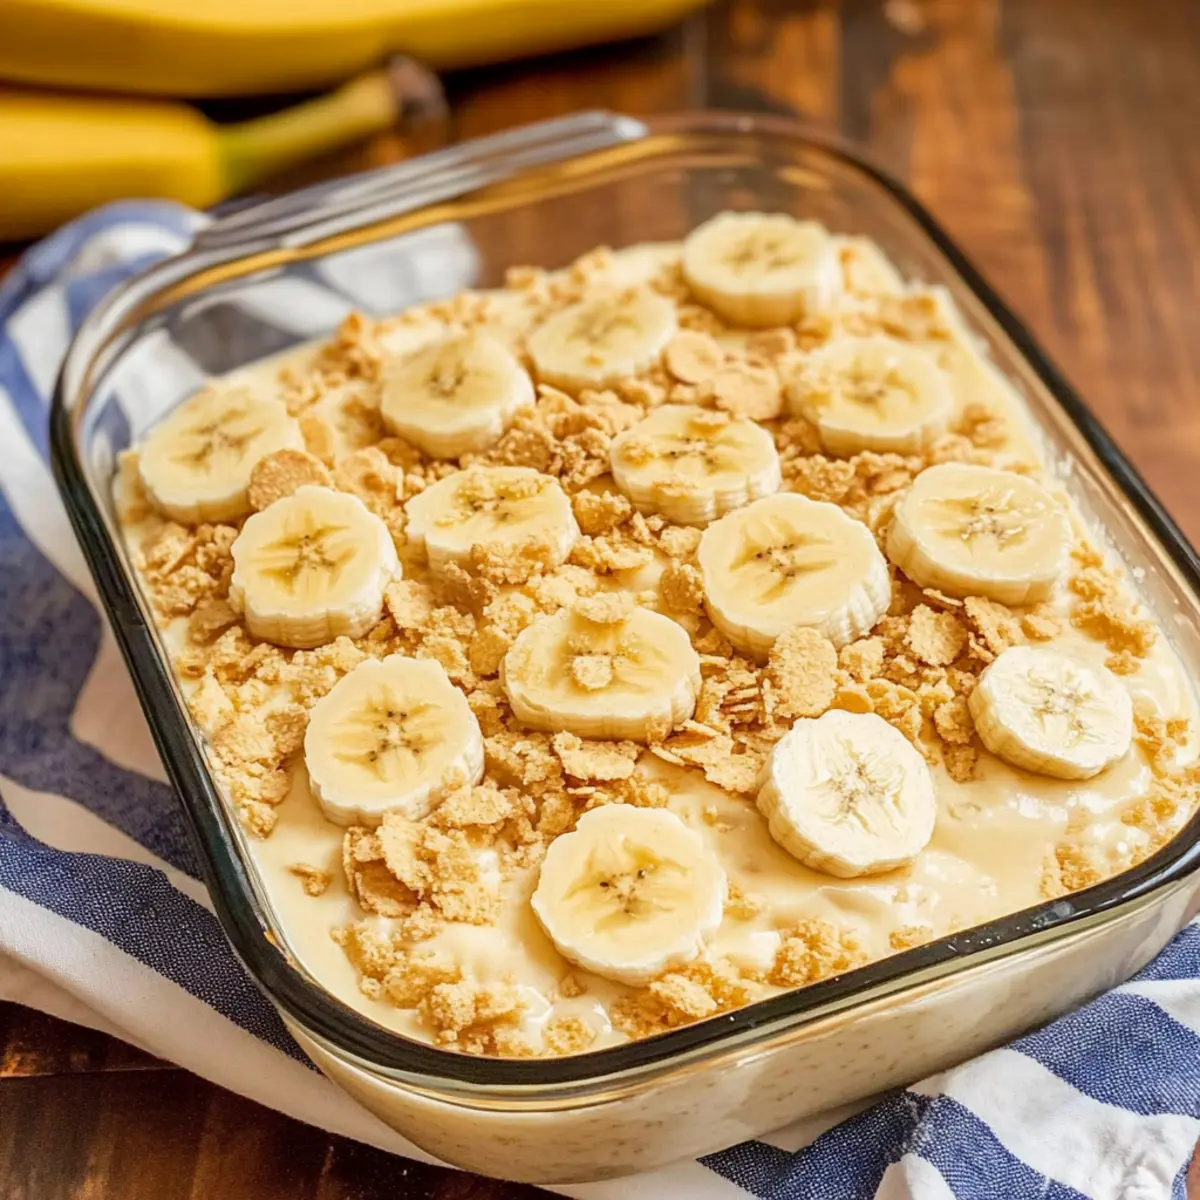
As I stood in my kitchen, the delightful aroma of ripe bananas calling to me, I realized that nothing quite hits the spot like a classic Homemade Banana Pudding. This Southern favorite embraces layers of velvety pudding, sweet ripe bananas, and crunchy vanilla wafers to create a dessert experience that feels like a warm hug. Not only is this easy recipe a joy to put together, but it also makes for an impressive centerpiece at any gathering, from casual family dinners to festive potlucks. And the best part? You can prep it ahead of time, allowing the flavors to mingle and create a refreshingly creamy treat that everyone will be talking about. Ready to dive into this nostalgic dessert? Let’s create a slice of heaven that’s sure to leave you wanting more!
Why is this Banana Pudding a Must-Try?
Layers of Flavor: This Homemade Banana Pudding boasts rich creaminess and balanced sweetness, making every spoonful a treat.
Easy to Assemble: With just a few straightforward steps, you’ll have a delectable dessert ready to chill, perfect for busy cooks or anyone craving a sweet indulgence.
Crowd-Pleasing Delight: Whether at a family gathering or potluck, this classic dessert is sure to be the star of the show.
Versatile Options: Want to mix it up? Try adding a layer of chocolate pudding or crushed pineapple for a fun twist, just like in our Tiramisu Chia Pudding.
Make Ahead: Prepare it the day before to let those flavors meld beautifully, ensuring a wow-factor that will keep your guests raving!
Homemade Banana Pudding Ingredients
For the Pudding
- Sugar – Adds that perfect sweetness; you can also use brown sugar or alternatives like honey for a twist.
- Flour – Essential for thickening your creamy pudding; no substitutions are recommended for best results.
- Salt – Enhances flavor balance; a pinch of sea salt or table salt works well here.
- Milk – Contributes to the pudding’s creaminess; non-dairy milk options can also be used for a lactose-free treat.
- Eggs – Provide richness and stability; always opt for fresh eggs to ensure the smoothest texture.
- Vanilla Extract – Delivers aromatic depth; pure vanilla extract is the key to superior flavor.
For the Layers
- Vanilla Wafers – Create that delightful crunch; if you’re out, graham crackers make a great substitute.
- Bananas – Natural sweetness and texture hero; choose perfectly ripe bananas for optimal flavor in your homemade banana pudding.
Step‑by‑Step Instructions for Homemade Banana Pudding
Step 1: Combine Dry Ingredients
In a medium saucepan, stir together 1 cup of sugar, 1/3 cup of flour, and a pinch of salt. This dry mixture will serve as the foundation of your homemade banana pudding, providing sweetness and thickness. Whisk these ingredients well to ensure there are no lumps, setting the stage for a smooth custard.
Step 2: Add Milk and Heat
Gradually pour in 2 3/4 cups of milk while continuously whisking to incorporate. Place the saucepan over medium heat and cook the mixture, stirring often, until it thickens and starts bubbling—about 10-15 minutes. When you see large bubbles break the surface, it’s time to reduce the heat slightly and cook for an additional 2 minutes, ensuring a luscious consistency.
Step 3: Prepare the Egg Mixture
In a separate bowl, beat together 3 egg yolks. Slowly add about one cup of the hot pudding mixture to the yolks while whisking constantly; this technique prevents the eggs from scrambling. Once combined, return the entire mixture back to the saucepan and continue cooking over medium heat until it gently boils—about 2 minutes more.
Step 4: Flavor and Cool
Remove the saucepan from heat and stir in 1 tablespoon of pure vanilla extract, enhancing your homemade banana pudding with aromatic depth. Allow the mixture to cool for about 15 minutes at room temperature. This cooling step is crucial, as it helps to avoid condensation when you layer the pudding later.
Step 5: Layer the Vanilla Wafers
In an ungreased 8×8 inch dish, begin by placing a layer of approximately 25 vanilla wafers on the bottom. These will create a delightful crunch that contrasts with the creamy filling of your banana pudding. Spread half of the sliced bananas over the wafers, allowing the natural sweetness to shine through.
Step 6: Add the First Pudding Layer
Pour half of the cooled pudding mixture over the bananas, ensuring even coverage. Use a spatula to gently spread it if needed. This step is key to achieving that perfect layered effect in your homemade banana pudding, creating a beautiful presentation for your guests.
Step 7: Repeat the Layers
Repeat the layering process by adding another layer of vanilla wafers, remaining banana slices, and the rest of the pudding mixture. This second round builds the depth of flavor and texture; ensure the final layer is the creamy pudding to keep everything together abundantly.
Step 8: Chill the Pudding
Cover the dish with plastic wrap, ensuring it touches the pudding to prevent a skin from forming. Refrigerate for at least 4 hours—though overnight is best—allowing the flavors to meld beautifully. The chilling step is essential for setting the pudding and enhancing its delightful creaminess.
Step 9: Finish with a Crunch
Before serving your decadent homemade banana pudding, crush any remaining vanilla wafers and sprinkle them over the top as a crunchy garnish. This final touch not only adds texture but also makes for a stunning presentation, inviting everyone to dig in and enjoy your classic dessert.
Expert Tips for Homemade Banana Pudding
-
Ripeness Matters: Always choose ripe bananas for the best flavor and texture. Overly green or overly brown bananas can alter the taste and consistency.
-
Prevent Browning: To keep your banana layers looking fresh, wait until just before serving to add the final banana slices. This ensures your homemade banana pudding remains beautiful.
-
Thicken Properly: Ensure the pudding mixture is sufficiently thick before layering; undercooked custard will lead to a runny dessert that won’t hold its shape.
-
Chill Thoroughly: Give your homemade banana pudding enough time to chill—preferably overnight. This not only enhances flavor but also ensures the pudding achieves a creamy texture.
-
Texture Tips: Avoid freezing your banana pudding, as freezing can create a grainy texture once thawed. Always store it in the refrigerator for the best results.
Variations & Substitutions for Homemade Banana Pudding
Customize your Homemade Banana Pudding and elevate its flavors for a delightful twist that your family and friends will love!
-
Chocolate Delight:
Layer in chocolate pudding for a delicious fusion of flavors. It’s an indulgent twist on the classic that chocolate lovers will adore! -
Tropical Twist:
Incorporate crushed pineapple for a refreshing, fruity addition. This will add a zesty flavor that pairs perfectly with the creamy pudding. -
Non-Dairy Version:
Swap whole milk with almond or coconut milk for a lactose-free option. These alternatives will keep the pudding creamy while catering to dietary needs. -
Graham Cracker Switch:
If you’re out of vanilla wafers, use graham crackers for a slightly different taste and texture. They still hold up beautifully in layers. -
Extra Crunch:
Mix in some toasted coconut or chopped nuts between layers for added texture and a delightful crunch. This will give your homemade banana pudding a fun, gourmet touch. -
Banana Variety:
Try using different types of bananas, like plantains, for a unique spin on flavor profiles. Each bite will offer something new and surprising! -
Flavor Boost:
Add a teaspoon of almond extract in place of some vanilla for a delightful nutty flavor. It adds depth without overwhelming the banana essence. -
Cinnamon Spice:
Sprinkle a dash of cinnamon into the pudding mixture for a warm, comforting flavor that complements the bananas beautifully. It’s like a cozy hug in dessert form!
Feeling inspired? Your toppings are also important—consider serving with dollops of homemade whipped cream or a sprinkle of crushed vanilla wafers, like in the Raspberry Chia Pudding. These variations will surely captivate everyone at your next gathering!
What to Serve with Homemade Southern Banana Pudding
Looking to elevate your Old-Fashioned Banana Pudding experience? Let’s explore perfect pairings that will have everyone begging for seconds!
-
Whipped Cream: Adds a light, fluffy texture that pairs beautifully with the creamy pudding and enhances the overall indulgence.
-
Fresh Berries: Bright, tart berries like strawberries or blueberries provide a refreshing contrast to the rich sweetness of the pudding, cutting through the creaminess.
-
Chocolate Sauce: Drizzle a bit of warm chocolate sauce for an irresistible twist that combines the flavors of banana with delightful chocolate.
-
Toasted Coconut: Sprinkle some toasted coconut on top for a crunchy, tropical flair that complements the flavors perfectly.
-
Mint Leaves: A few fresh mint leaves provide a pop of color and a refreshing note, lifting the flavors to new heights.
-
Iced Tea or Lemonade: Serve a tall glass of sweet iced tea or tangy lemonade, creating a refreshing balance to the richness of the dessert.
-
Almond Cookies: Crunchy almond cookies offer a delightful textural contrast while adding a nutty flavor that pairs well with the bananas.
-
Chocolate Chip Cookies: A classic favorite that creates a comforting, nostalgic vibe alongside the sweet layers of the pudding.
-
Pineapple Sorbet: For a dreamy, cool finish, pineapple sorbet adds a fruity, tangy element that perfectly rounds out the meal.
With these pairings, your Homemade Southern Banana Pudding will shine even brighter as a centerpiece on your dessert table!
Make Ahead Options
These Homemade Banana Pudding are a dream for busy cooks looking to save time during hectic weekdays! You can prepare the pudding mixture—combining the sugar, flour, salt, milk, and eggs—up to 24 hours in advance. Once done, allow it to cool, then layer the vanilla wafers and bananas in the dish. Cover and refrigerate before serving, as this chilling allows the flavors to meld beautifully. To maintain the quality, avoid adding fresh banana slices on top until just before serving to prevent browning. When ready to enjoy, simply sprinkle crushed vanilla wafers on top for that delightful crunch, and you’ll savor a delicious dessert with minimal effort!
How to Store and Freeze Homemade Banana Pudding
Fridge: Store your homemade banana pudding covered in the refrigerator for up to 4 days to maintain its creamy texture and rich flavor.
Avoid Freezing: Freezing is not recommended, as it can alter the texture and consistency of the pudding once thawed.
Layering Tips: To prevent browning, add fresh banana slices on top just before serving. This keeps your dessert looking fresh and appetizing.
Reheating: If you want to enjoy a slice slightly warmed, let it sit at room temperature for a few minutes, but serve it chilled for the best experience.
Homemade Banana Pudding Recipe FAQs
What type of bananas should I use for best results?
Absolutely, for optimal flavor, select ripe bananas! Look for bananas with a few brown speckles on the skin; they should feel slightly soft to the touch. Avoid using overly green bananas, as they can be too starchy and lack sweetness, while overly brown ones may be too mushy and affect the texture of your dessert.
How should I store my homemade banana pudding?
Store your homemade banana pudding in the refrigerator, tightly covered, for up to 4 days. Keeping it covered prevents it from absorbing any unwanted odors from the fridge and helps maintain its creamy texture. Remember, do not freeze it, as the texture will not be the same when thawed.
Can I freeze homemade banana pudding?
I recommend against freezing homemade banana pudding, as it can alter the pudding’s creamy consistency once thawed, leading to a grainy texture. It’s best enjoyed fresh! If you need to make it ahead of time, prepare it and chill in the refrigerator as advised, but save the bananas on top for just before serving.
What if my pudding doesn’t thicken properly?
If your pudding mixture is too runny, it may not have cooked long enough during the stovetop stage. To troubleshoot, return the mixture to medium heat and allow it to simmer gently while stirring for a couple of extra minutes until it thickens. Ensure you are watching closely and continuously stirring to prevent it from burning!
Can I adapt this recipe for dietary restrictions?
Very! If you’re looking for a lactose-free version, you can substitute the milk with almond or soy milk without sacrificing flavor. Additionally, if you’re allergic to eggs, consider using a cornstarch-based thickener in a dairy-free milk mix to mimic the pudding consistency instead of the eggs.
How can I prevent bananas from browning in the pudding?
To maintain the freshness of your banana slices, slice and layer them just before serving the pudding. Adding the slices right before serving will help avoid browning, keeping your dessert not only delicious but visually appealing as well!
Creamy Homemade Banana Pudding: A Southern Classic Delight
Ingredients
Equipment
Method
- In a medium saucepan, stir together 1 cup of sugar, 1/3 cup of flour, and a pinch of salt.
- Gradually pour in 2 3/4 cups of milk while continually whisking.
- Place the saucepan over medium heat and cook until it thickens, about 10-15 minutes.
- In a separate bowl, beat together 3 egg yolks and slowly add about one cup of the hot pudding mixture.
- Return the mixture back to the saucepan and cook until gently boiled, about 2 minutes more.
- Stir in 1 tablespoon of vanilla extract and let cool for 15 minutes.
- In an 8x8 inch dish, start with a layer of about 25 vanilla wafers.
- Spread half of the sliced bananas over the wafers.
- Pour half of the cooled pudding mixture over the bananas.
- Repeat layering with another layer of wafers, bananas, and the rest of the pudding mixture.
- Cover the dish with plastic wrap and refrigerate for at least 4 hours.
- Before serving, crush any remaining vanilla wafers and sprinkle them on top.
Leave a Reply