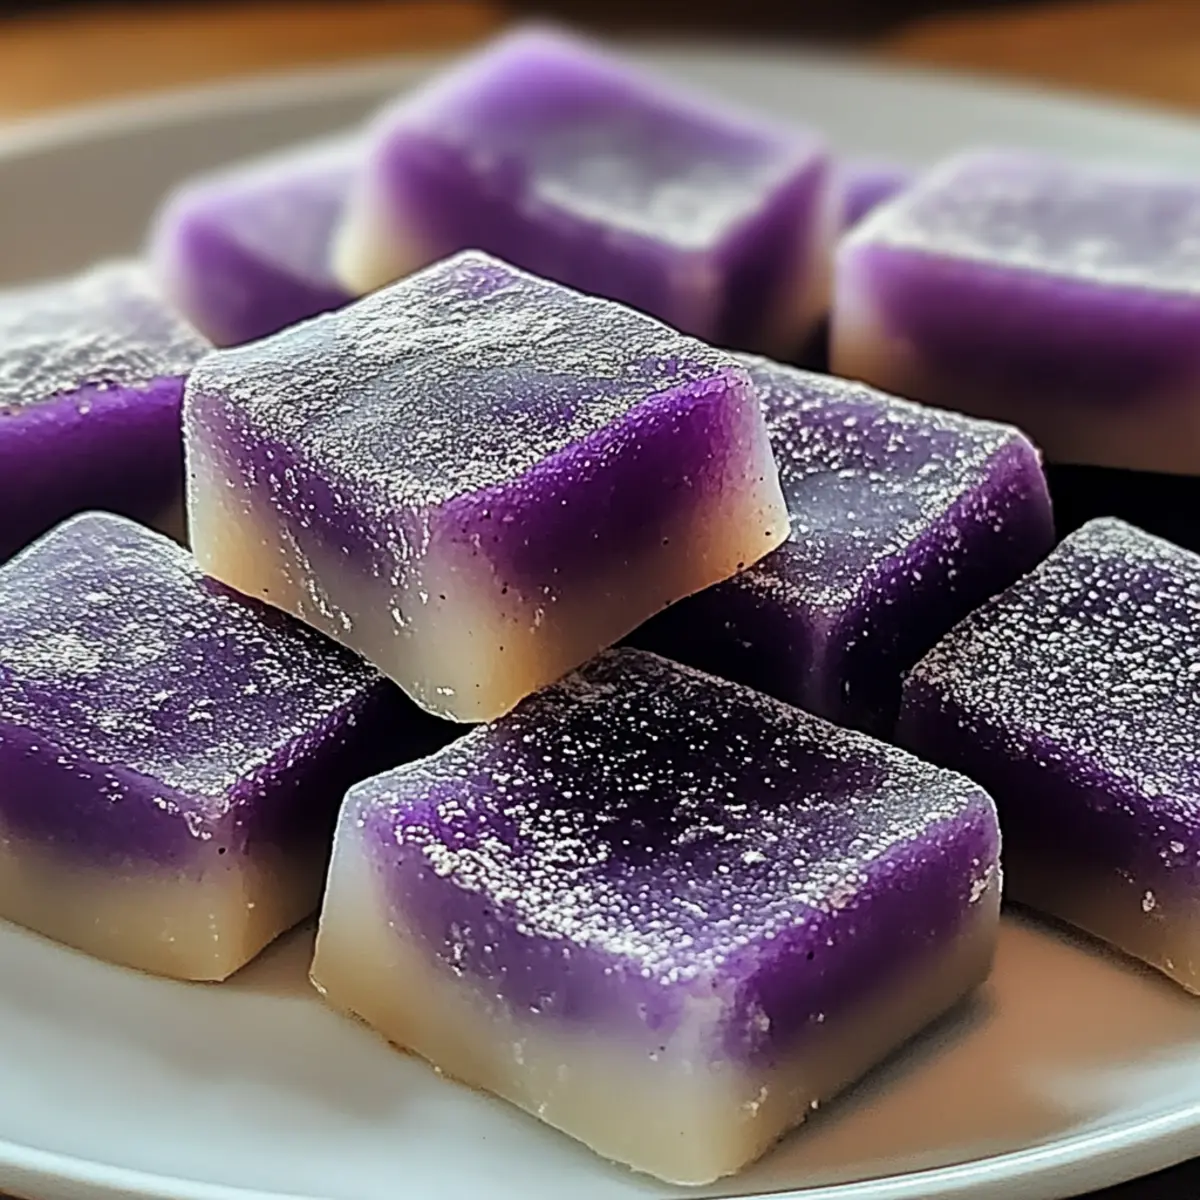
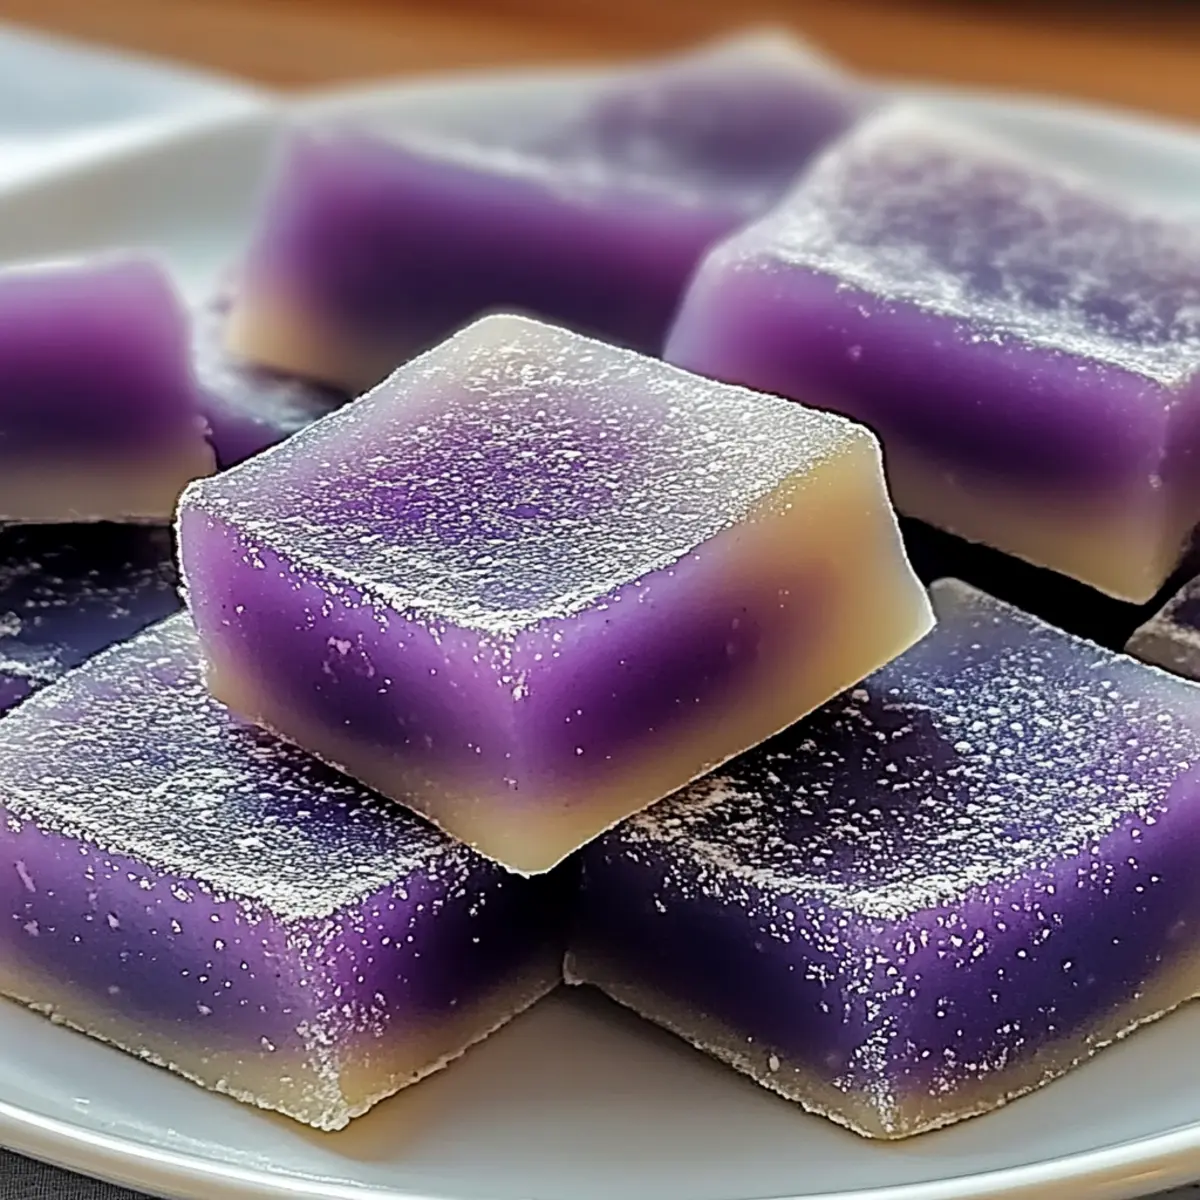
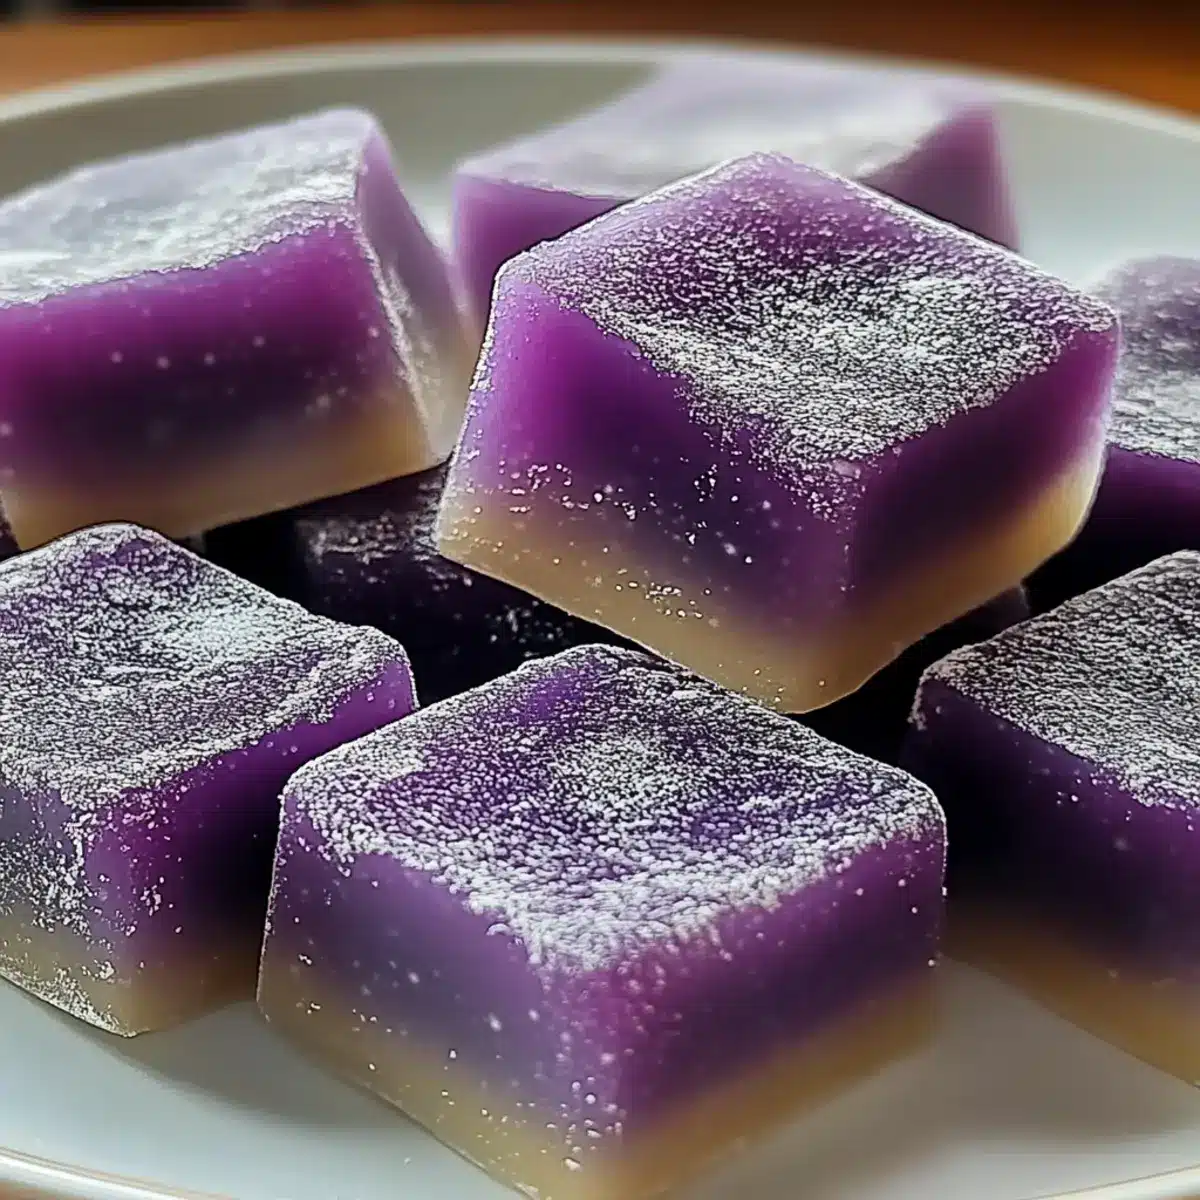
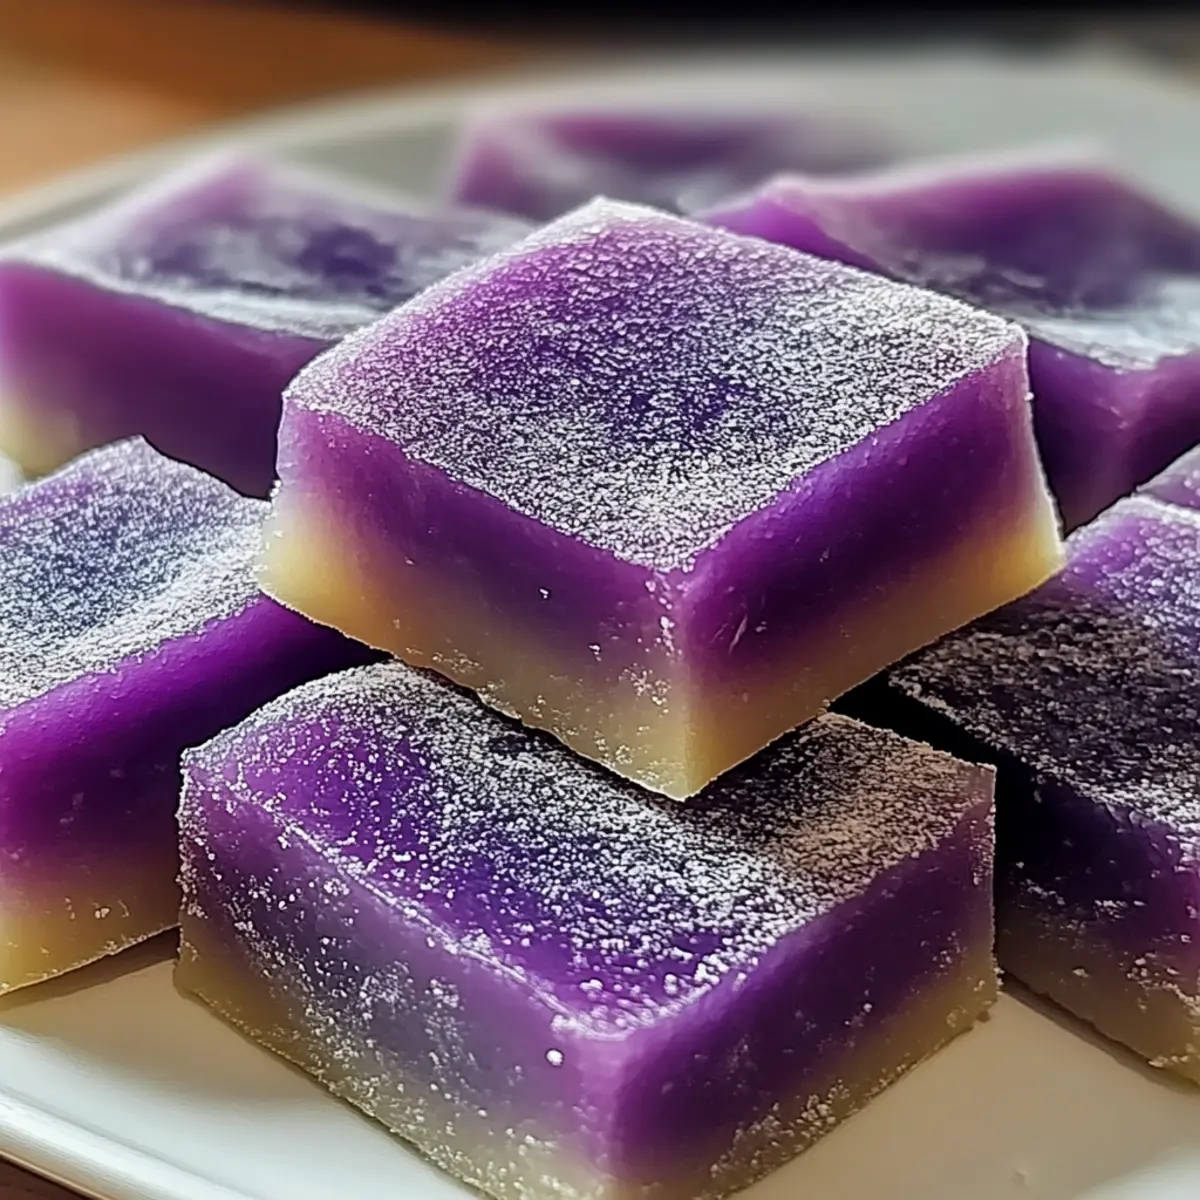
As I took my first bite of the Chewy Hawaiian Butter Mochi with Ube, I was instantly transported to a sun-kissed Hawaiian beach, where the scent of coconut mingled effortlessly with the ocean breeze. This dessert, with its unique chewy texture and vibrant purple hue, isn’t just a treat for the eyes—it’s an experience that brings a taste of the tropics right to your kitchen. Effortless to whip up and gluten-free, this mochi is not only a delightful addition to your dessert repertoire but also a crowd-pleaser for any gathering. Whether you’re hosting a summer barbecue or looking for a simple weekend indulgence, this recipe is sure to turn heads and warm hearts. Are you ready to create a sweet slice of paradise?
Why Is Hawaiian Butter Mochi with Ube Irresistible?
Tropical Delight: A perfect blend of coconut and ube infuses each bite with an exotic taste that transports you to paradise.
Easy to Make: With just a few ingredients and minimal prep, this recipe is a breeze for both novice cooks and seasoned chefs alike!
Gluten-Free Goodness: Enjoy the chewy texture without gluten, making it a friendly option for those with dietary restrictions.
Versatile Treat: Feel free to customize your mochi with mix-ins like shredded coconut or chocolate chips, adding your personal touch. It’s equally great served warm or at room temperature, making it perfect for gatherings. For more delightful recipes, check out Garlic Butter Cod and Hawaiian Roll French.
Crowd-Pleasing Appeal: This dessert is sure to impress guests at potlucks or parties, offering a visually stunning centerpiece that tastes as good as it looks!
Hawaiian Butter Mochi with Ube Ingredients
For the Mochi Base
• Sweet Rice Flour (Mochiko Flour) – Provides the unique chewy texture essential for mochi; substitute with glutinous rice flour if needed.
• Granulated Sugar – Adds sweetness to balance the rich flavors; no substitutes recommended for best results.
• Full-Fat Coconut Milk – Offers creaminess and tropical flavor; can be replaced with whole or almond milk for a lighter taste.
• Eggs – Bind the ingredients together and provide structure; ensure freshness for best results.
• Unsalted Butter (Melted) – Contributes richness; can substitute with coconut oil for a dairy-free option.
• Ube Extract – Infuses the dessert with a distinct purple hue and sweet, nutty flavor; can substitute with purple food coloring and vanilla extract if unavailable.
This delightful Hawaiian Butter Mochi with Ube will surely whisk you away to a tropical paradise!
Step‑by‑Step Instructions for Hawaiian Butter Mochi with Ube
Step 1: Preheat the Oven
Begin by preheating your oven to 350°F (175°C). While the oven warms up, take an 8×8-inch baking dish and generously grease it with butter or cooking spray. This will ensure your Hawaiian Butter Mochi will come out easily after baking.
Step 2: Mix Dry Ingredients
In a large mixing bowl, whisk together 2 cups of sweet rice flour (Mochiko flour) and 1 cup of granulated sugar until fully combined. The mixture should appear uniform and light. This step is essential for achieving the sweet, chewy texture we love in Hawaiian Butter Mochi.
Step 3: Combine Wet Ingredients
In a separate bowl, mix together 1 cup of full-fat coconut milk, 4 large eggs, and ½ cup of melted unsalted butter. Add 1 teaspoon of ube extract for that vibrant purple color and rich flavor. Whisk until the mixture is smooth and well-blended, creating a luscious consistency that will elevate your mochi.
Step 4: Combine Mixtures
Pour the wet ingredients into the dry mixture, gently stirring with a spatula. Mix until just combined; it’s okay if the batter remains slightly lumpy. Overmixing can affect the chewy texture of your Hawaiian Butter Mochi, so be gentle yet thorough to achieve a silky batter.
Step 5: Bake the Batter
Carefully pour the batter into the prepared baking dish, leveling it out with the back of a spatula. Place it in the preheated oven and bake for 45-50 minutes. You’ll know it’s done when the top is golden brown and a toothpick inserted in the center comes out clean—this ensures the mochi is perfectly set and ready for slicing.
Step 6: Cool and Slice
Once baked, remove the dish from the oven, and allow the Hawaiian Butter Mochi to cool completely in the pan on a wire rack. This cooling time helps the texture firm up. After about an hour, cut the mochi into squares or rectangles and enjoy!
What to Serve with Hawaiian Butter Mochi with Ube
Transform your delightful Hawaiian Butter Mochi into a complete feast with these carefully selected additions that will tantalize your taste buds.
-
Tropical Fruit Salad: A vibrant mix of pineapple, mango, and papaya provides a refreshing contrast to the rich mochi. Bright and juicy, it enhances the tropical theme of your meal.
-
Coconut Sticky Rice: The chewy texture of coconut sticky rice harmonizes beautifully with the mochi, creating a symphony of flavors that will transport you to the islands.
-
Minty Green Tea: A warm cup of mint-infused green tea adds a soothing touch that refreshes the palate after each rich, sweet bite of your mochi.
-
Pineapple Sorbet: This light and fruity dessert complements the mochi’s dense texture, creating a balance that is both refreshing and satisfying at the end of a meal.
-
Sweetened Condensed Milk Drizzle: Drizzling this creamy sauce over your mochi amplifies its sweetness and adds a luscious layer of flavor to each piece.
-
Hibiscus Lemonade: A tart and fragrant beverage, this drink provides a zesty contrast and is a fantastic way to elevate your tropical dessert experience.
-
Roasted Macadamia Nuts: Their buttery crunch offers delightful texture contrast, pairing wonderfully with the soft, chewy mochi while adding a touch of nuttiness.
-
Chocolate-Covered Strawberries: The rich, dark chocolate envelopes juicy strawberries, providing a sweet yet slightly tart finish that rounds out the meal beautifully.
Let your culinary creativity shine and enjoy an unforgettable feast that celebrates the delightful spirit of Hawaiian Butter Mochi with Ube!
Tips for the Best Hawaiian Butter Mochi
- Avoid Overmixing: A lumpy batter is normal; overmixing can lead to a gummy texture, detracting from the signature chewiness.
- Toothpick Test: For perfect doneness, insert a toothpick in the center. If it comes out clean, your Hawaiian Butter Mochi is ready!
- Cooling Time: Let it cool completely to allow the mochi to set properly before slicing; this enhances its chewy texture.
- Customize Wisely: Feel free to add mix-ins, but keep in mind that too much can alter the core texture of your Hawaiian Butter Mochi.
- Storage Tips: Store leftover mochi in an airtight container at room temperature for optimal freshness; refrigeration can affect texture.
Hawaiian Butter Mochi with Ube Variations
Feel free to let your creativity shine with these exciting twists and swaps for your delightful mochi!
-
Matcha Magic: Replace ube extract with matcha powder for a vibrant green tea flavor that adds depth and a lovely color contrast.
The earthy notes of matcha will create a uniquely delightful experience while keeping the chewy texture fans adore! -
Chocolate Indulgence: Swap in cocoa powder instead of ube extract for a rich chocolate version everyone will love.
This chocolate mochi brings all the decadence without sacrificing that signature chewy bite, perfect for chocolate lovers! -
Coconut Bliss: Stir in shredded coconut for an extra layer of tropical flavor and texture.
The coconut will not just amplify the tropical feel but also create delightful little bites of chewy goodness! -
Nutty Crunch: Add chopped nuts like macadamias or walnuts for an added crunch that complements the soft texture of mochi.
The contrast between the chewy mochi and the crispy nuts brings an unexpected yet delightful twist to the dessert. -
Fruit Fusion: Mix in finely chopped fruits like mango or pineapple to enhance the tropical vibe.
They add bursts of fresh flavor that keep each bite exciting and alive—perfect for summer gatherings! -
Dairy-Free Delight: Substitute melted butter with coconut oil to make a rich, dairy-free version of your mochi.
This twist brings a luscious coconut flavor, maintaining all the goodness of traditional Hawaiian Butter Mochi while catering to different dietary needs. -
Spicy Surprise: For a kick, add a sprinkle of cayenne pepper or chili powder in the batter to create a sweet and spicy fusion.
The warmth contrasts beautifully with the sweet notes, promising a captivating experience for the adventurous eater!
Explore these flavorful variations to make your Hawaiian Butter Mochi with Ube even more personalized! And while you’re here, don’t forget to check out my delightful recipe for Garlic Butter Cod for more tropical inspirations!
Make Ahead Options
These Chewy Hawaiian Butter Mochi with Ube are perfect for busy weeknights or upcoming celebrations! You can prepare the batter up to 24 hours in advance and store it in the refrigerator, covered. This helps to meld the flavors and maintain that delightful chewy texture. Just remember to give it a gentle stir before baking. Additionally, you can bake the mochi a day ahead, allowing it to cool completely, and then slice it into squares. Store the pieces in an airtight container, and they’ll stay fresh for up to three days at room temperature. When you’re ready to serve, they’ll be just as delicious, making your life a little easier while delighting your family and friends!
Storage Tips for Hawaiian Butter Mochi with Ube
Room Temperature: Keep leftovers in an airtight container at room temperature for up to 3 days to maintain maximum freshness and texture.
Fridge: If stored in the refrigerator, Hawaiian Butter Mochi with Ube can last up to 5 days, but be mindful that the texture may become firmer.
Freezer: For long-term storage, freeze individual pieces wrapped tightly in plastic wrap and placed in a freezer-safe container. They can be stored for up to 2 months.
Reheating: To enjoy, simply thaw at room temperature for a couple of hours before serving or warm gently in the microwave for 10-15 seconds for an extra tender bite.
Hawaiian Butter Mochi with Ube Recipe FAQs
What type of rice flour is best for Hawaiian Butter Mochi?
Absolutely! Sweet rice flour, often labeled as Mochiko flour, is essential for achieving that chewy texture. If you can’t find it, glutinous rice flour works as a substitute, but I recommend sticking with Mochiko for the best results.
How should I store Hawaiian Butter Mochi?
Store your mochi in an airtight container at room temperature for up to 3 days. If you’re planning to keep it longer, refrigeration is an option for up to 5 days; just be aware the texture may become denser.
Can I freeze Hawaiian Butter Mochi with Ube?
Yes! For optimal freshness, wrap individual pieces in plastic wrap and place them in a freezer-safe container. They will stay delicious for up to 2 months. When you’re ready to enjoy, simply thaw at room temperature for a few hours or warm them gently in the microwave for about 10-15 seconds.
What should I do if my mochi turns out too gummy?
Very! If your Hawaiian Butter Mochi has a gummy texture, it could be due to overmixing the batter. To avoid this, mix until barely combined. If you’re already in that situation, consider cutting the mochi into smaller pieces and serving it warm or with a scoop of ice cream to balance the texture.
Are there any dietary considerations for this dessert?
Definitely! This Hawaiian Butter Mochi is gluten-free due to the use of sweet rice flour. However, if you have specific allergies, always double-check the ingredient labels, especially for coconut milk and ube extract, as various brands may introduce allergens.
Velvety Hawaiian Butter Mochi with Ube to Savor Today
Ingredients
Equipment
Method
- Preheat the oven to 350°F (175°C) and grease an 8×8-inch baking dish.
- In a large mixing bowl, whisk together the sweet rice flour and granulated sugar until fully combined.
- In a separate bowl, mix the coconut milk, eggs, melted butter, and ube extract until smooth.
- Pour the wet ingredients into the dry mixture and gently stir until just combined.
- Pour the batter into the prepared baking dish and bake for 45-50 minutes until golden brown.
- Allow to cool completely in the pan on a wire rack before slicing.
Leave a Reply