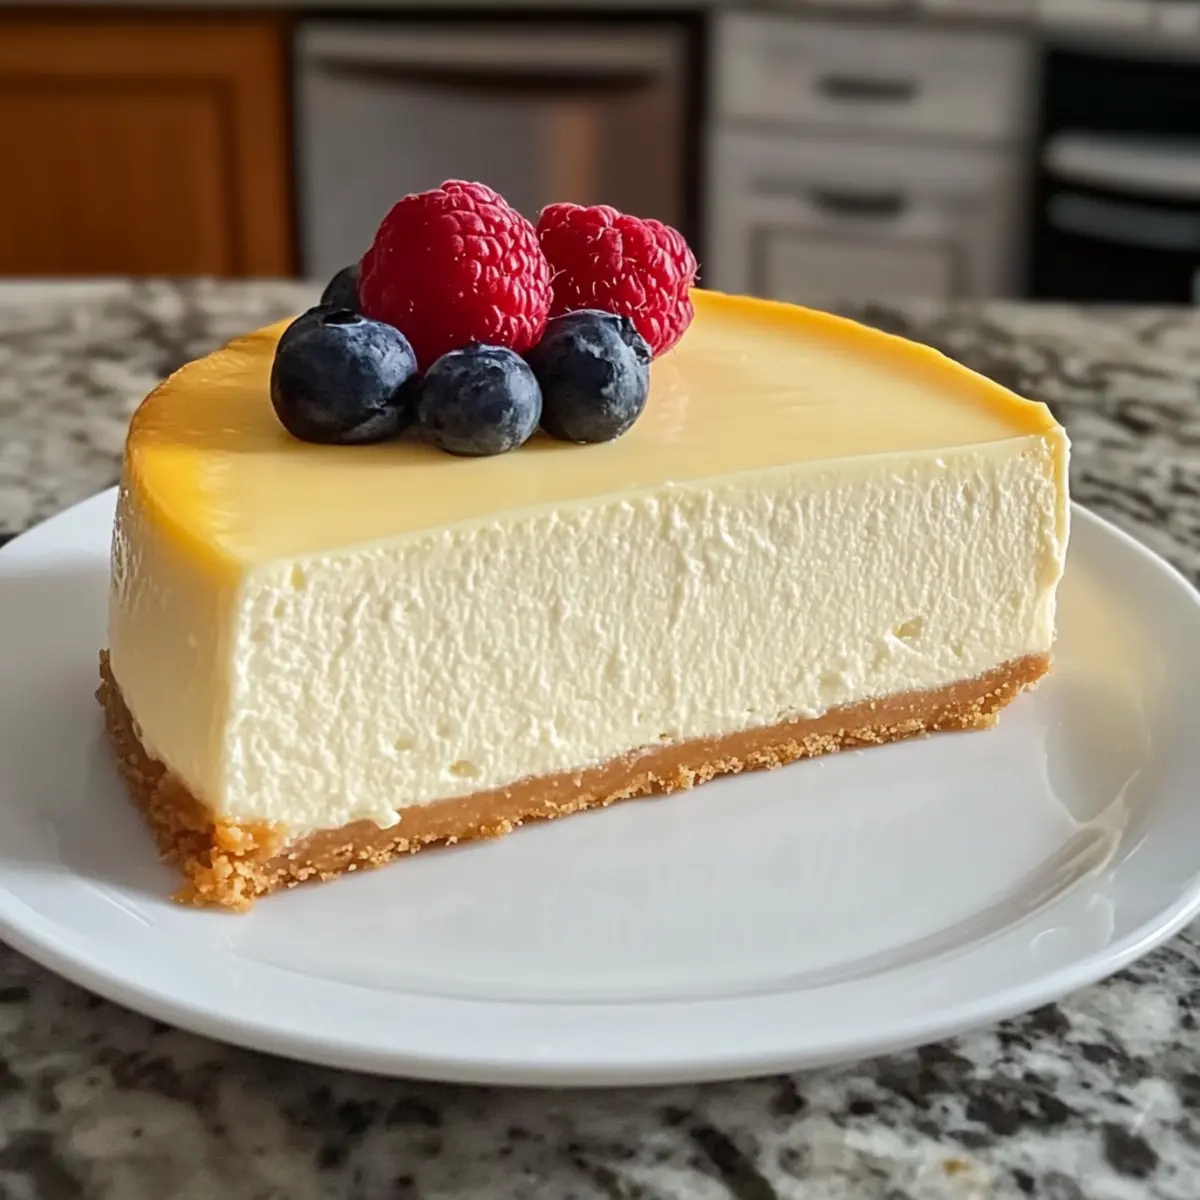
As I stood in my kitchen, the aroma of rich cream cheese wafting through the air, I couldn’t help but feel a warm rush of nostalgia. There’s something magical about crafting a Tall and Creamy New York-Style Cheesecake—its luscious no-crust filling is an indulgent dessert that truly shines on special occasions or simply as a sweet reward for life’s little victories. With minimal prep time and the delightful perk of being gluten-free, this cheesecake beckons both novice and experienced home chefs alike. The combination of soft cream cheese, farm-fresh eggs, and a hint of zesty lemon ensures every bite is a taste of pure bliss. Are you ready to elevate your dessert game and impress your loved ones? Let’s dive in!
Why is This Cheesecake Unforgettable?
Creamy Richness: This cheesecake boasts an indulgent no-crust texture, allowing the flavors to shine.
Ease of Preparation: Minimal prep and baking time make this recipe a breeze for any skill level.
Gluten-Free Delight: Enjoy without worry—this dessert fits gluten-free diets perfectly.
Versatile Presentation: Top it with fresh fruits or a drizzle of chocolate for a stunning dessert that can wow at any gathering. It’s a perfect fit alongside my other favorites like Japanese Cotton Cheesecake.
Crowd Pleaser: Whether for a birthday or a simple family dinner, this cheesecake is sure to impress!
New York-Style Cheesecake Ingredients
• Here’s what you’ll need to create this creamy delight:
For the Cheesecake Filling
- Cream Cheese – the heart of the cheesecake, providing a rich and creamy base; choose full-fat for the best results.
- Eggs – essential for structure and stability; using room temperature eggs ensures an even blend.
- Sour Cream – adds a delightful tang and creaminess; Greek yogurt can be a lighter alternative!
- Butter – brings extra richness; swap for coconut oil if you’re going dairy-free.
- Vanilla Extract – enriches the flavor profile with warm notes; try vanilla bean paste for an elevated aroma.
- Lemon Juice – brightens the cheesecake with a refreshing zing; lime juice works beautifully as a substitute.
When it’s time to indulge in this No-Crust New York-Style Cheesecake, ensure you’re stocked up on these ingredients, and get ready for a decadent treat!
Step‑by‑Step Instructions for Tall and Creamy New York-Style Cheesecake
Step 1: Preheat and Prepare
Begin by preheating your oven to 325°F (163°C). While the oven warms up, prepare a 9-inch springform pan by wrapping the bottom and sides with aluminum foil. This waterproof layer protects your cheesecake during the water bath, ensuring a creamy New York-Style Cheesecake without cracks.
Step 2: Beat the Cream Cheese
In a large mixing bowl, beat 24 ounces of softened cream cheese with an electric mixer on medium speed until smooth and creamy, about 2-3 minutes. Be sure to scrape down the sides of the bowl as you go. The goal is to achieve a velvety texture, setting the foundation for your indulgent cheesecake filling.
Step 3: Add the Eggs
Add 4 room-temperature eggs to the cream cheese mixture, one at a time. Blend well after each addition, mixing just until incorporated; this will help maintain airiness without overmixing. You’ll notice the batter getting lighter in texture with each egg, essential for that perfect New York-Style Cheesecake.
Step 4: Combine Remaining Ingredients
Next, mix in 1 cup of sour cream, ½ cup of melted butter, 1 tablespoon of vanilla extract, and 2 tablespoons of fresh lemon juice. Continue mixing on low speed until fully combined, scraping the bowl as needed. The resulting mixture should be creamy and smooth, bursting with delightful flavor.
Step 5: Pour into the Pan
Carefully pour your lovely cheesecake filling into the prepared springform pan, using a spatula to spread it evenly. This ensures that every slice of your New York-Style Cheesecake is perfectly rich and creamy. Smooth the top for an attractive finish, ready for the baking process ahead.
Step 6: Prepare the Water Bath
Place the filled springform pan inside a larger roasting pan. Pour hot water into the roasting pan until it reaches about halfway up the sides of the springform pan. This water bath creates steam, preventing cracks and ensuring a lovely, moist cheesecake.
Step 7: Bake to Perfection
Bake your cheesecake in the preheated oven for 50-60 minutes. You’ll know it’s ready when the edges are set but the center has a gentle jiggle, similar to a slightly undercooked custard. This slight movement ensures a creamy texture that’s hallmark to an indulgent New York-Style Cheesecake.
Step 8: Cool Gradually
Once your cheesecake is done baking, turn off the oven and leave the door slightly ajar. Let the cheesecake cool in the oven for about 1 hour. This gentle cooling process prevents cracking and helps set the texture, making the cheesecake an even more delightful treat.
Step 9: Chill in the Fridge
After it has cooled, carefully remove the springform pan from the water bath and refrigerate the cheesecake for at least 4 hours, or preferably overnight. This chilling time allows the flavors to meld beautifully and will give you that rich, creamy indulgence every New York-Style Cheesecake craves.
Step 10: Slice and Serve
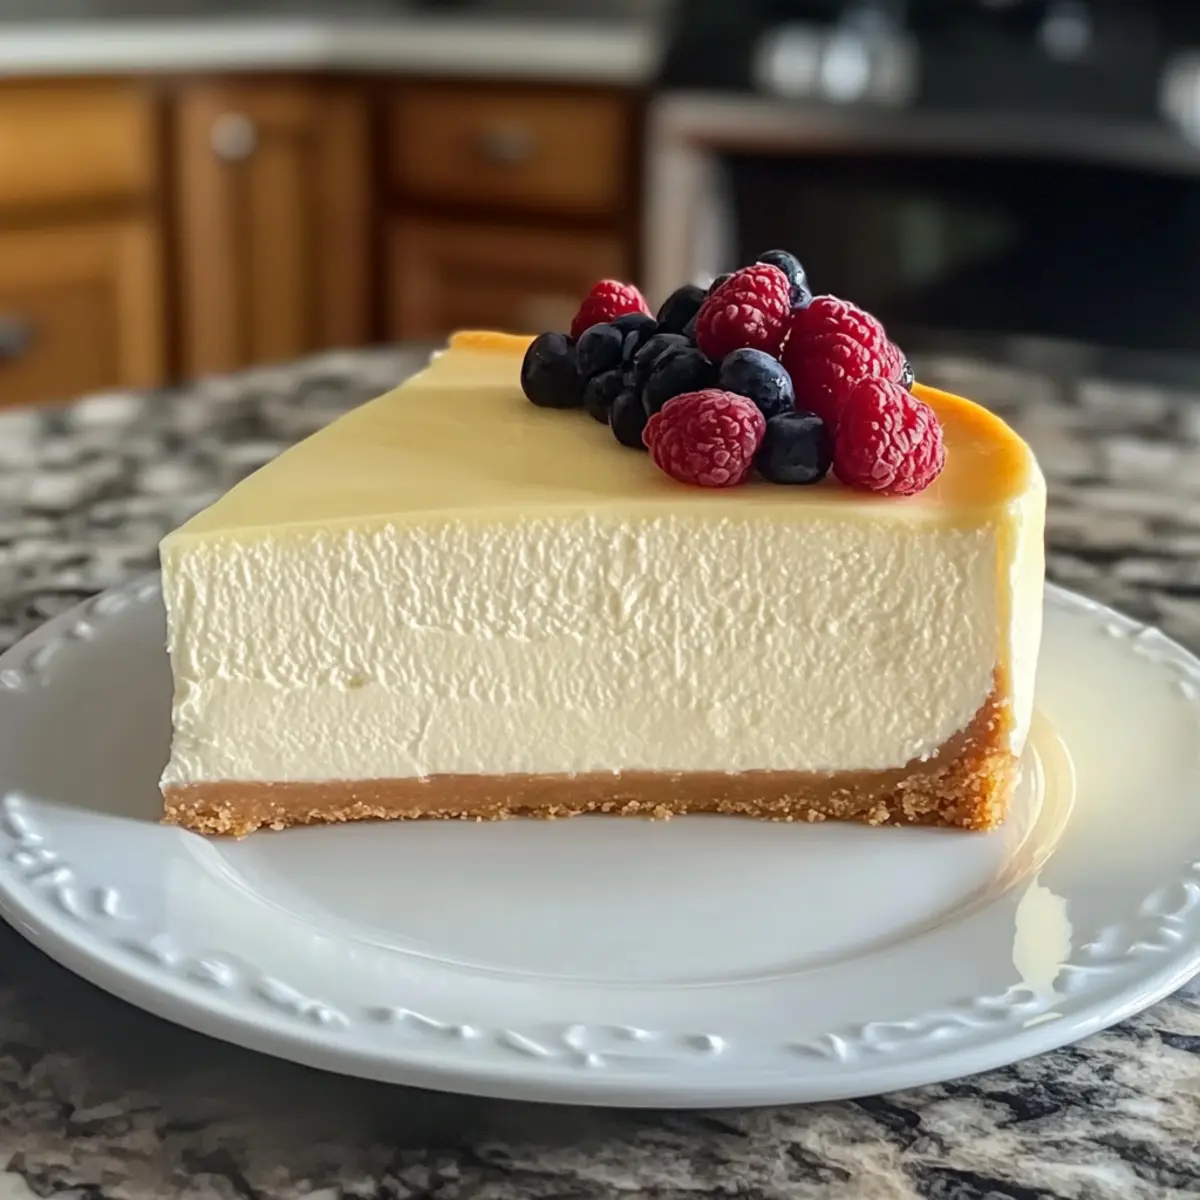
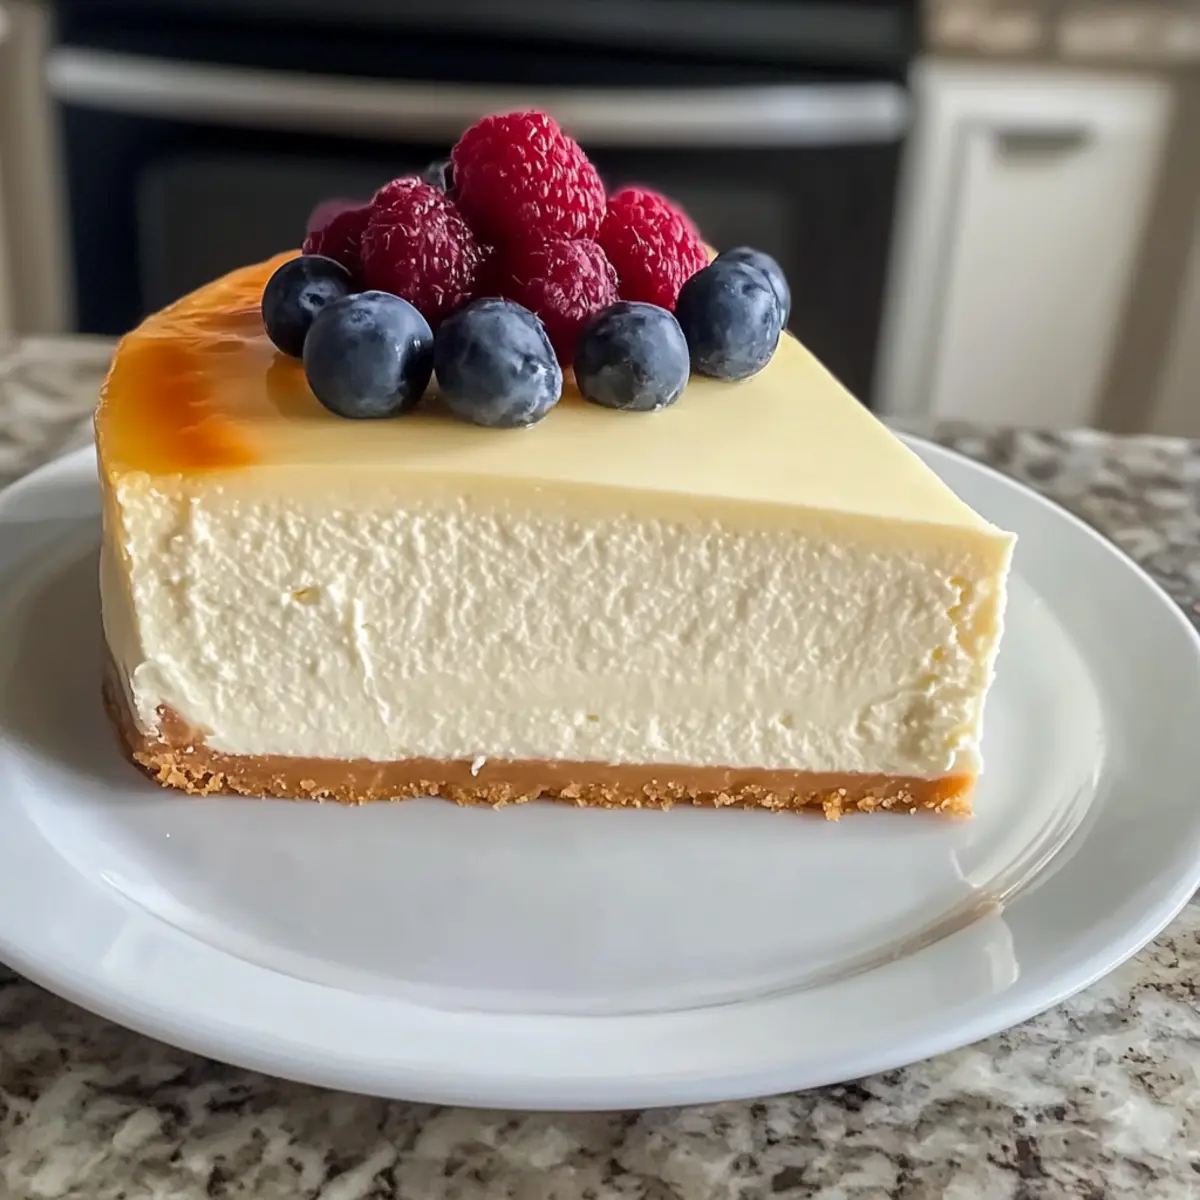
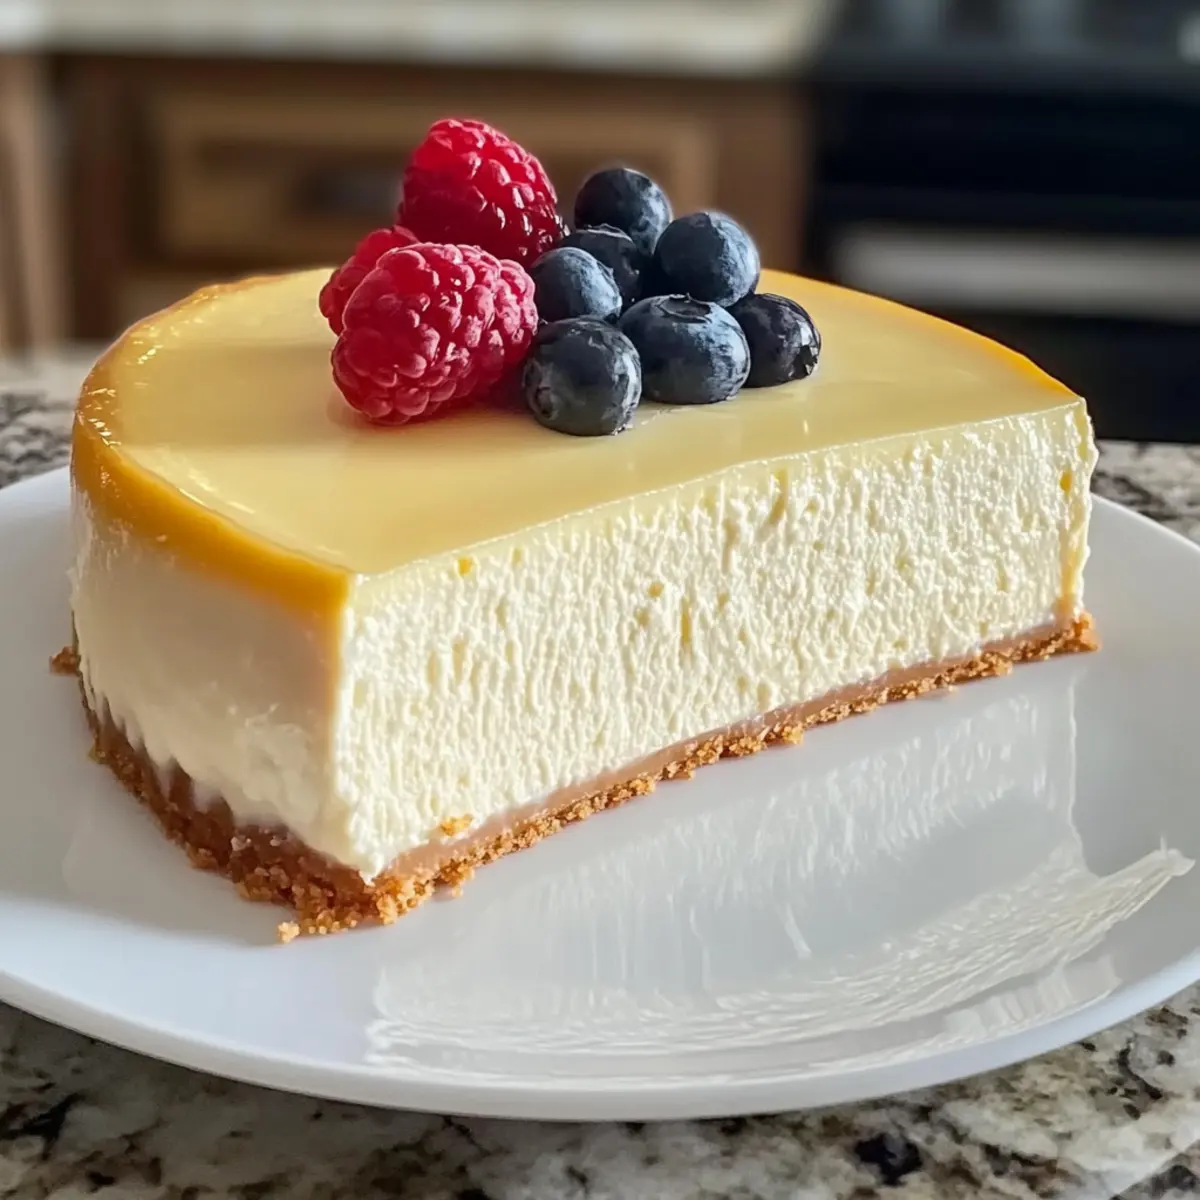
Once fully chilled, run a knife around the edge of the pan before releasing the springform. Slice the cheesecake into even pieces, revealing its creamy interior. For an extra touch, consider topping it with fresh fruits, chocolate sauce, or a dusting of powdered sugar, and savor every indulgent bite.
What to Serve with Tall and Creamy New York-Style Cheesecake
There’s something truly special about creating a complete culinary experience to savor alongside this rich and indulgent dessert.
-
Fresh Berries: Juicy strawberries, blueberries, or raspberries add a refreshing burst of flavor and a vibrant color contrast, elevating each bite.
-
Chocolate Ganache: A silky layer of rich chocolate sauce drizzled over the cheesecake adds an extra touch of decadence that will satisfy any sweet tooth.
-
Whipped Cream: Light and airy, whipped cream not only enhances the cheesecake’s creaminess but also offers a delightful coolness to balance the rich flavors.
-
Mint Leaves: Adding a hint of fresh mint can brighten the overall taste, providing a refreshing herbal note that balances the sweetness beautifully.
-
Dessert Wine: Pair this cheesecake with a glass of late-harvest Riesling; its fruity sweetness harmonizes perfectly with the creamy richness.
-
Tea or Coffee: A rich cup of coffee or herbal tea complements the cheesecake’s indulgent texture, making for a cozy end to any meal.
-
Lemon Curd: A dollop of lemon curd introduces a zesty contrast that cuts through the richness of the cheesecake, adding a delightful tartness.
-
Pecan Topping: Sprinkle some toasted pecans over the cheesecake for a crunchy texture and nutty flavor that complements the creaminess.
-
Coconut Flakes: Shredded coconut offers a unique twist with its chewy texture and tropical essence, enhancing the cake’s overall flavor profile.
New York-Style Cheesecake Variations
Feel free to get creative with your cheesecake and tailor it to your taste preferences with these exciting variations!
-
Dairy-Free: Substitute cream cheese with vegan cream cheese to create a rich, creamy filling without the dairy. It maintains that delightful texture everyone loves.
-
Flavored Infusions: Add 1 tablespoon of your favorite liqueur, like Amaretto or Irish Cream, for an adult twist. This can add layers of flavor, enhancing each bite and making it feel a little more special.
-
Greek Yogurt: Replace sour cream with Greek yogurt for a healthier yet deliciously creamy option. The slight tang pairs beautifully with the sweetness of the cheesecake.
-
Spiced Version: Stir in a teaspoon of cinnamon or nutmeg to the batter for a warm, comforting spice that brings out the richness of the cream cheese. You might discover a delightful new favorite!
-
Chocolate Swirl: Fold melted chocolate into your cheesecake batter before baking for a decadent chocolate twist. The rich cocoa flavor with the creamy filling is simply irresistible.
-
Citrus Blast: Experiment with different citrus juices—try swapping out lemon for orange or lime juice to introduce a refreshing zing to the cheesecake. Each fruit brings a new brightness.
-
Fruit Toppings: After cooling, top with seasonal fruits such as strawberries, raspberries, or passionfruit for a vibrant touch. The tartness of the fruit beautifully complements the rich cheesecake.
-
Caramel Drizzle: Drizzle homemade or store-bought caramel sauce over the cheesecake before serving. This sweet addition offers contrast and elevates your dessert to a truly indulgent experience.
As you explore these variations, don’t forget to check out my Japanese Cotton Cheesecake for another delicious twist on this classic!
How to Store and Freeze New York-Style Cheesecake
Fridge: Store your cheesecake in the refrigerator, covered with plastic wrap or in an airtight container, for up to 1 week to maintain its creamy texture and flavor.
Freezer: For longer storage, wrap individual slices tightly in plastic wrap and place them in an airtight container. It will keep well in the freezer for up to 3 months.
Thawing: To enjoy frozen cheesecake, transfer it to the fridge a few hours beforehand. Let it thaw overnight for optimal taste and texture.
Reheating: If desired, serve slices at room temperature for about 30 minutes before enjoying, enhancing the indulgent experience of your no-crust New York-Style Cheesecake.
Make Ahead Options
Preparing your New York-Style Cheesecake ahead of time is a breeze and perfect for busy weeknights or special occasions! You can make the cheesecake itself up to 3 days in advance, allowing it to chill in the refrigerator. To maintain its creamy texture, ensure it’s tightly wrapped in plastic wrap or stored in an airtight container. If you prefer, consider preparing the cheesecake filling a full 24 hours ahead, then simply pour it into the springform pan and bake it just before serving. This approach ensures you’re left with a dessert that’s just as delicious and perfectly set when you’re ready to enjoy it, saving you time and stress!
Expert Tips for Perfect Cheesecake
-
Room Temperature Ingredients: Ensure all ingredients are at room temperature to create a smooth batter; this helps achieve the desired creamy texture in your New York-Style Cheesecake.
-
Don’t Overmix: Avoid overmixing after adding the eggs. Overmixing can lead to a dense cheesecake, which you want to prevent.
-
Water Bath Importance: Using a water bath is crucial for a smooth, crack-free top. It keeps the temperature consistent, ensuring even baking!
-
Cool Gradually: Gradually cooling your cheesecake in the oven prevents sudden temperature changes, reducing the chance of cracks forming.
-
Chill for Best Flavor: Allowing the cheesecake to chill overnight intensifies its flavor and texture, making each bite a creamy delight!
New York-Style Cheesecake Recipe FAQs
What kind of cream cheese should I use for the cheesecake?
I recommend using full-fat cream cheese for a rich and creamy texture. You’ll want it softened to room temperature, which makes it easier to beat and blend smoothly. If you’re looking for a dairy-free option, vegan cream cheese can be a good substitute.
How long can I store the cheesecake in the fridge, and what’s the best way to keep it fresh?
Your New York-Style Cheesecake can be stored in the refrigerator for up to one week. Make sure to cover it with plastic wrap or place it in an airtight container to prevent it from absorbing any odors and to keep it fresh.
Can I freeze leftover cheesecake, and what’s the best method?
Absolutely! You can freeze your cheesecake for up to 3 months. Wrap individual slices tightly in plastic wrap, then place them in an airtight container or a freezer bag. This protects them from freezer burn and keeps them tasting fresh.
What should I do if my cheesecake cracks while baking?
If your cheesecake cracks, don’t worry! This can happen due to the rapid temperature change. Be sure to cool the cheesecake slowly in the oven with the door ajar. If it does crack, you can always cover it with a delicious topping, like fresh berries or whipped cream, to make it look even more appealing!
Can I make this cheesecake gluten-free?
Yes, this cheesecake is naturally gluten-free since it does not have a crust! Just ensure all your ingredients, especially any flavoring extracts like vanilla extract, are confirmed gluten-free. Enjoy this delicious dessert without any worries!
What is the recommended serving size for this rich cheesecake?
Given its rich flavor and dense texture, I often recommend serving smaller slices. Cutting the cheesecake into 12-16 pieces allows everyone to enjoy a taste without feeling overwhelmed by richness, perfect for gatherings or special occasions.
Indulgent New York-Style Cheesecake You’ll Dream About
Ingredients
Equipment
Method
- Preheat your oven to 325°F (163°C) and prepare a 9-inch springform pan with aluminum foil.
- In a large bowl, beat the softened cream cheese until smooth and creamy for 2-3 minutes.
- Add room-temperature eggs one at a time, mixing well after each addition without overmixing.
- Mix in sour cream, melted butter, vanilla extract, and lemon juice until fully combined.
- Pour the cheesecake filling into the prepared springform pan and smooth the top.
- Place the springform pan inside a larger roasting pan and pour hot water halfway up the sides.
- Bake for 50-60 minutes until the edges are set but the center jiggles slightly.
- Turn off the oven, leave the door slightly ajar, and let the cheesecake cool for about 1 hour.
- Refrigerate the cheesecake for at least 4 hours or preferably overnight.
- Once chilled, run a knife around the edge and slice into pieces for serving.
Leave a Reply