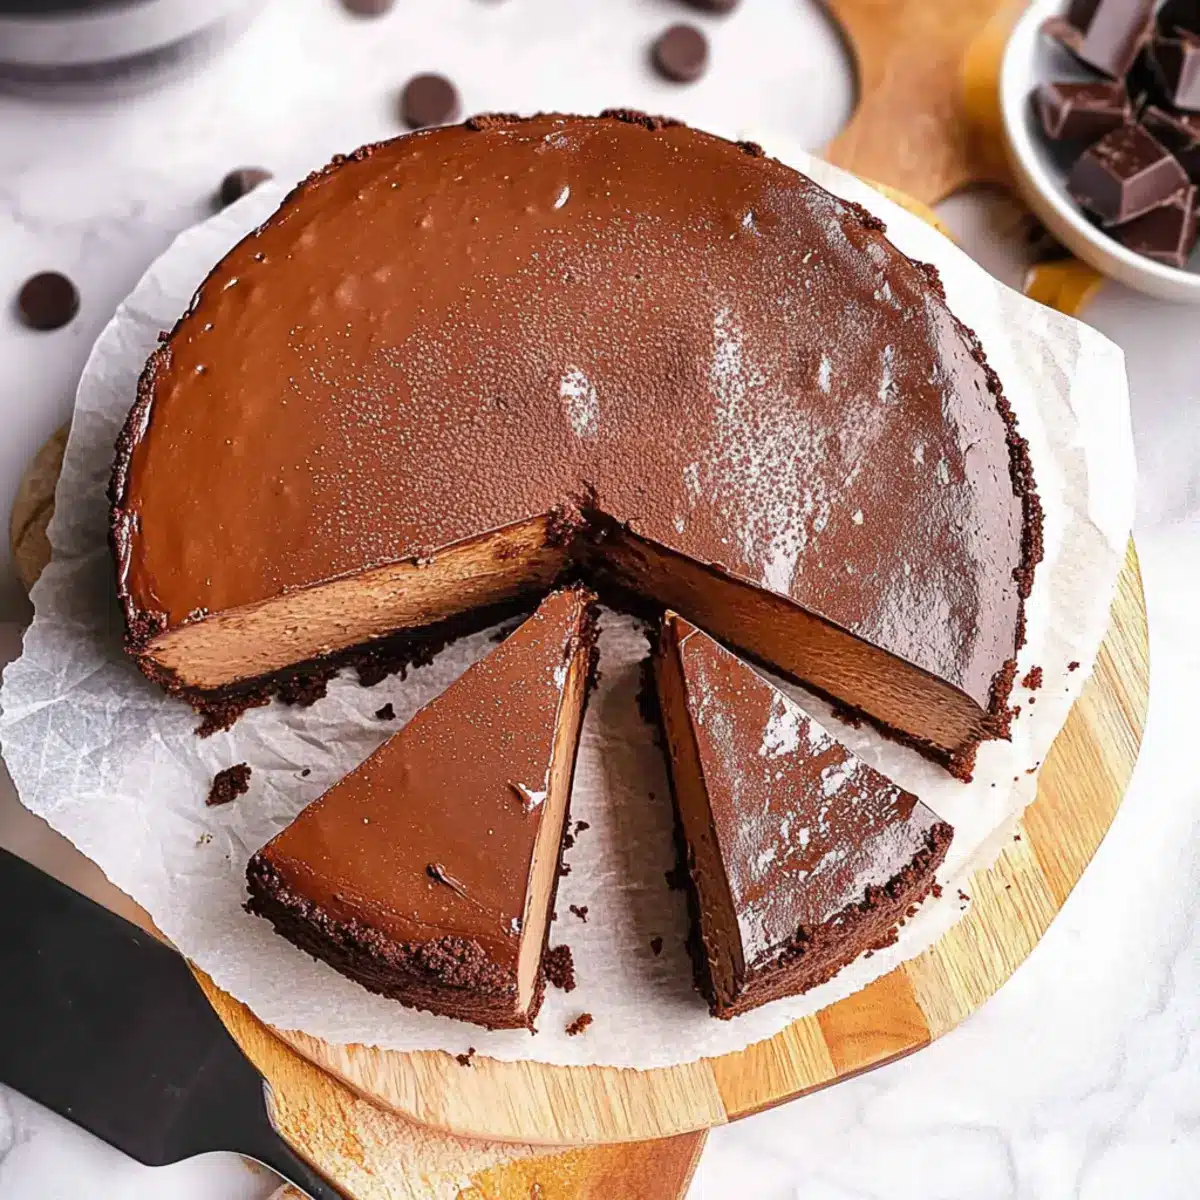
As I stood in my kitchen, the rich scent of melting dark chocolate wafted through the air, instantly transporting me to the charming streets of San Sebastian, Spain. Today, I’m excited to share my take on the delightful Chocolate Basque Cheesecake, a recipe that brings the perfect harmony of crispy exterior and velvety interior. Not only is this dessert gluten-free and a chocolate lover’s dream come true, but it also requires minimal prep time, making it an ideal showstopper for any gathering. You’ll love how this cheesecake can be made ahead and stored, providing the ultimate indulgence with zero stress. So, are you ready to dive into a slice of this creamy, dreamy delight? Let’s get baking!

Why is this cheesecake so special?
Decadent, Rich Flavor: The combination of dark chocolate and cream cheese creates an irresistible, indulgent dessert that chocolate lovers simply can’t resist.
Gluten-Free Delight: This Chocolate Basque Cheesecake is not only delicious but also gluten-free, making it the perfect treat for everyone, including those with dietary restrictions.
Easy to Make: With straightforward steps and minimal prep time, you’ll find this recipe accessible, even for novice bakers looking to impress!
Perfect for Any Occasion: Whether it’s a dinner party or a cozy night at home, this cheesecake is a guaranteed crowd-pleaser that will leave everyone begging for seconds.
Store-Able Indulgence: Make ahead and store—this cheesecake keeps well for up to five days in the fridge, so you can enjoy its creamy goodness for longer. If you’re in the mood for more sweet magic, don’t forget to check out my Cottage Cheese Chocolate Mousse for another delicious chocolate treat!
Chocolate Basque Cheesecake Ingredients
• Gather these essentials to craft your indulgent treat!
For the Batter
- Cream Cheese – Provides structure and creaminess; ensure it’s softened for easy mixing.
- Castor Sugar – Adds sweetness and contributes to the cheesecake’s texture; can substitute with granulated sugar.
- Vanilla Paste/Extract – Enhances flavor depth; use pure vanilla extract for a richer taste.
- Eggs – Binds ingredients and helps with leavening; fresh eggs are preferred for the best texture.
- Dark Chocolate (melted) – Key flavor contributor, making it a luscious chocolate cheesecake; substitute with milk or white chocolate but adjust sugar and cocoa accordingly.
- Cocoa Powder – Adds chocolate flavor; substitute with cornstarch if using white chocolate.
- Cornstarch – Aids in thickening and stabilizing the cheesecake; avoid if using cocoa powder.
- Heavy Whipping Cream – Provides richness and a smooth mouthfeel; do not substitute with low-fat cream.
With these carefully selected ingredients, you’re set to create a Chocolate Basque Cheesecake that dazzles the palate and warms the heart!
Step‑by‑Step Instructions for Chocolate Basque Cheesecake
Step 1: Preheat and Prep
Start by preheating your oven to 445°F (230°C). While it warms up, line a 6-inch round cake pan with parchment paper, extending the paper above the rim. This will help the cheesecake rise beautifully without sticking, ensuring a lovely crisp exterior that contrasts with the creamy inside of your Chocolate Basque Cheesecake.
Step 2: Mix the Cream Cheese
In a large mixing bowl, add softened cream cheese and use a hand mixer or whisk to beat it until smooth and creamy. Gradually add the castor sugar and vanilla paste or extract, continuing to whisk until everything is evenly combined and the mixture is fluffy without any lumps. This step lays the foundation for your rich and decadent cheesecake.
Step 3: Incorporate the Eggs
Now, add the eggs to the cream cheese mixture, one at a time, whisking thoroughly after each addition. Make sure they’re fully incorporated before adding the next egg; this will create the perfect texture in your Chocolate Basque Cheesecake. The batter should become smooth and glossy at this stage, showcasing the creamy richness of the ingredients.
Step 4: Add Melted Chocolate
Gently fold in the melted dark chocolate into the mixture, stirring until fully combined. The warm chocolate should blend seamlessly, creating a luscious base for your cheesecake. Ensure there are no streaks of chocolate remaining, and enjoy the delightful aroma as your batter starts to take shape, embodying the chocolatey essence.
Step 5: Sift in Dry Ingredients
Next, sift the cocoa powder and cornstarch directly over the batter, stirring gently to combine. Be careful not to overmix; just whisk until everything is incorporated and the batter is uniform. This will help achieve the dreamily rich flavor and velvety texture that makes the Chocolate Basque Cheesecake truly irresistible.
Step 6: Add the Cream
Pour in the heavy whipping cream, and whisk the mixture until it’s fully homogeneous. This step adds an extra layer of richness, making this cheesecake a delightfully creamy and decadent treat. As the batter thickens, you’ll see how beautifully it comes together, ready for baking.
Step 7: Prepare for Baking
Pour the rich batter into your prepared cake pan and give it a gentle tap on the counter to release any air bubbles that might have formed. You want a smooth top for a beautiful presentation. This final touch ensures that your Chocolate Basque Cheesecake bakes uniformly, resulting in that signature golden crust.
Step 8: Bake to Perfection
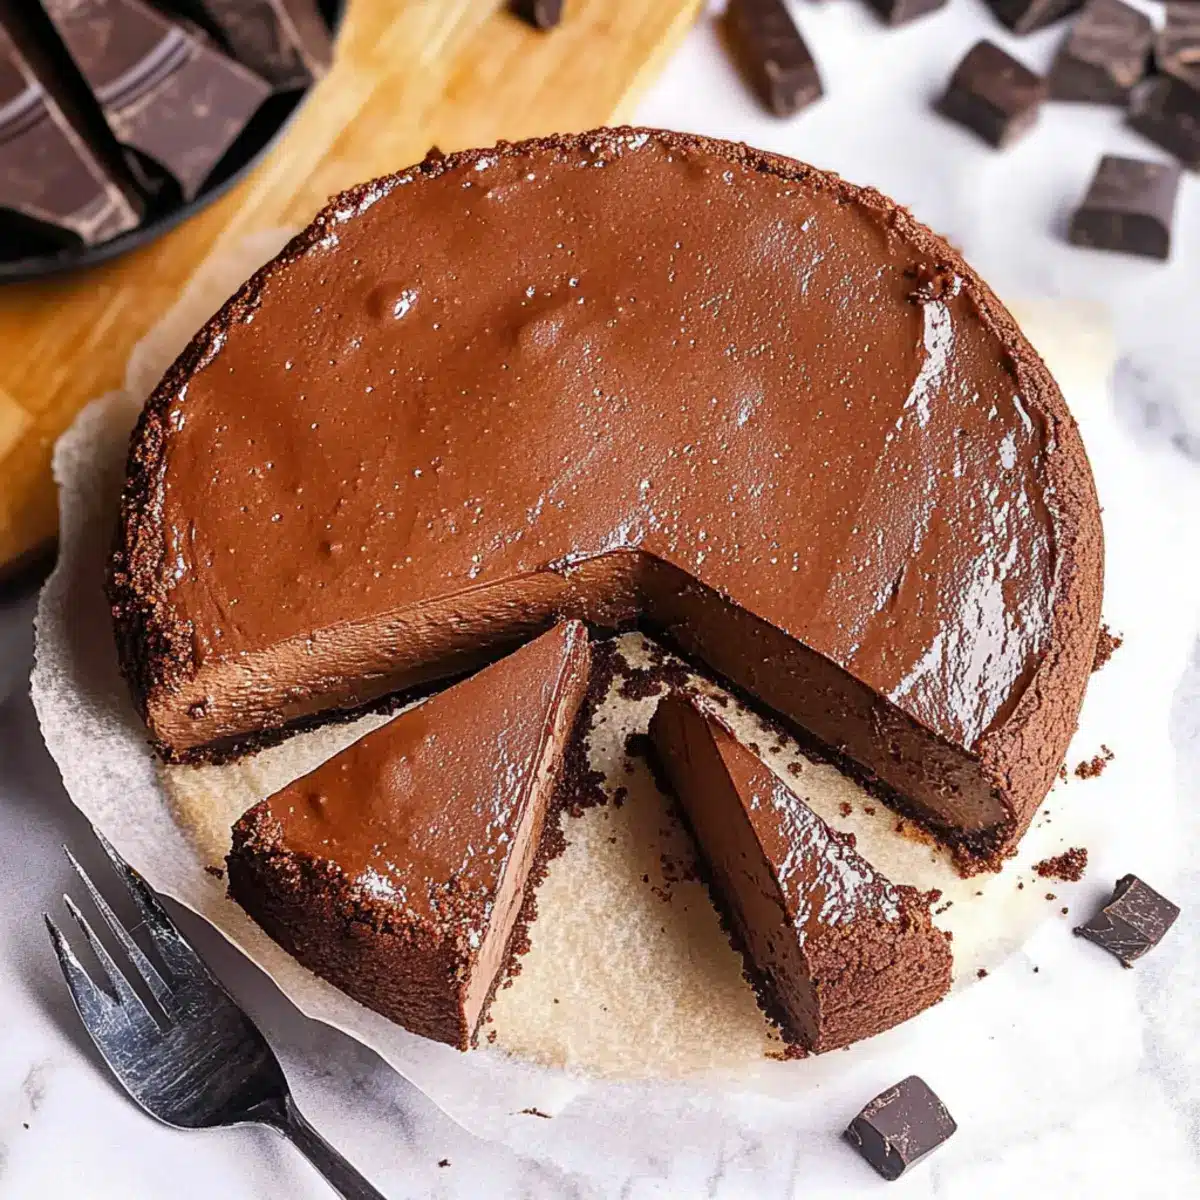
Bake the cheesecake in your preheated oven at 430°F (220°C) for about 25 minutes. You’ll know it’s done when the top turns golden brown, and the center is slightly jiggly. This contrast of textures is what makes the Chocolate Basque Cheesecake so delightful, allowing for a creamy center surrounded by a perfectly cooked exterior.
Step 9: Cool and Set
Once baked, remove the cheesecake from the oven and let it cool at room temperature on a wire rack for at least an hour. After it’s cooled, transfer the cheesecake to the refrigerator uncovered and allow it to set for a minimum of 4 hours. This cooling period is vital for achieving the perfect texture and flavor.
Step 10: Serve Simply
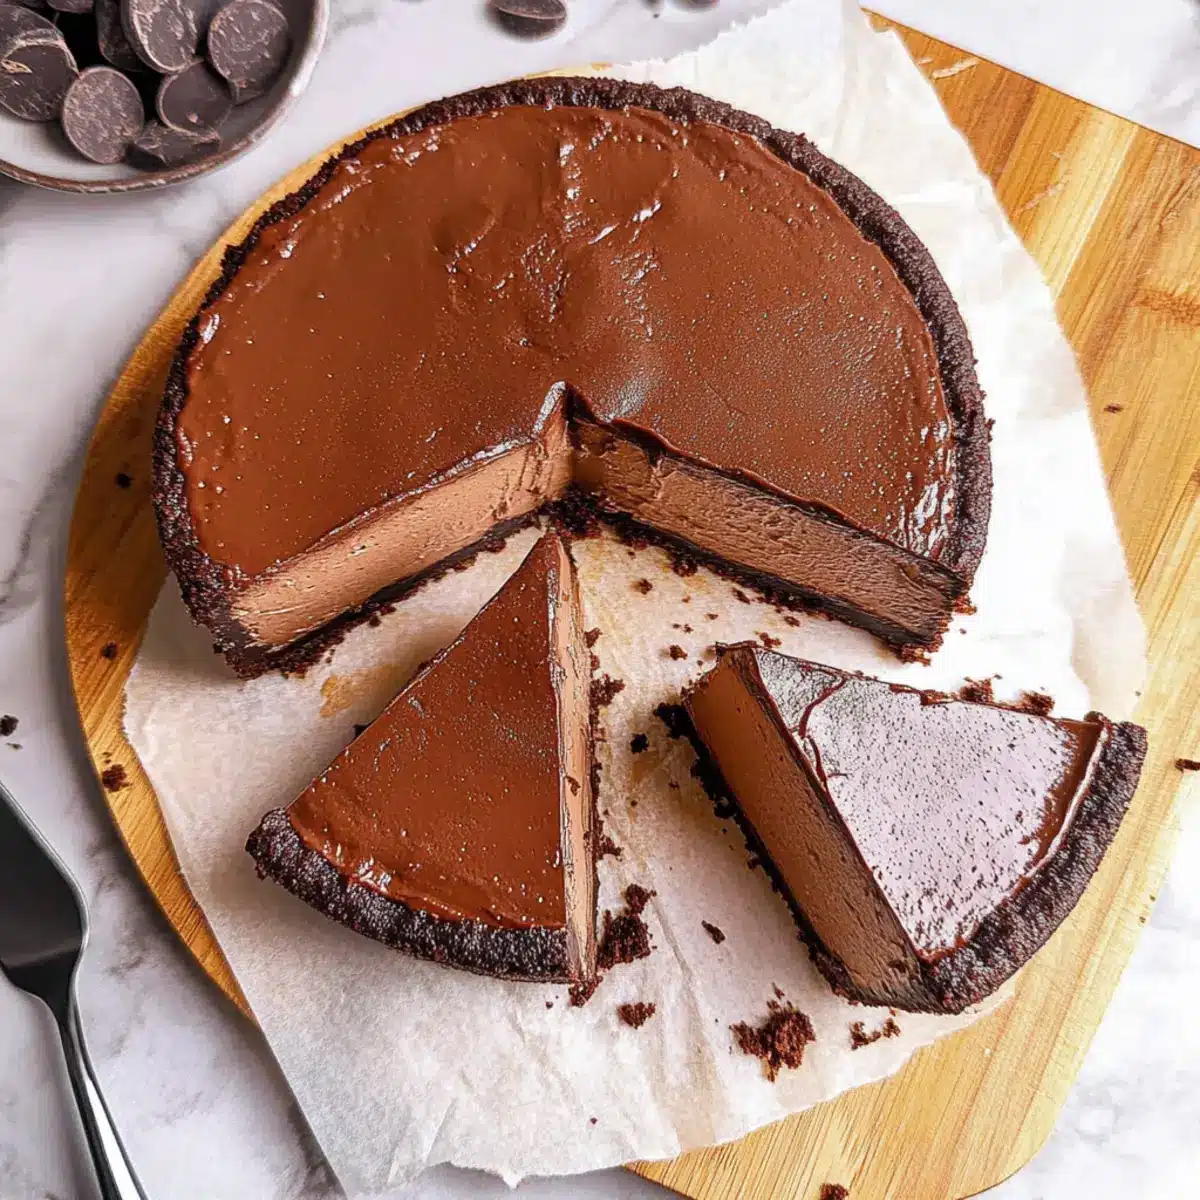
Before serving, let the cheesecake sit at room temperature for about 30 minutes for a gooey center, or serve it cold for a firmer consistency. Slice through the luxurious layers of your Chocolate Basque Cheesecake and enjoy this decadent dessert that’s sure to impress anyone lucky enough to share it!
Chocolate Basque Cheesecake Variations
Feel free to explore these delicious twists and substitutions to make this dessert your own!
-
Dairy-Free: Use a plant-based cream cheese and coconut cream for a luscious dairy-free version that doesn’t sacrifice flavor.
-
Milk Chocolate: Swap dark chocolate for milk chocolate for a sweeter, creamier taste that will delight those with a sweet tooth.
-
White Chocolate Twist: Replace dark chocolate with white chocolate, and omit cocoa powder for a different flavor profile that’s just as rich.
-
Nutty Crunch: Add crushed nuts, such as hazelnuts or almonds, to the batter for a delightful crunch and an enticing flavor contrast.
-
Spicy Kick: Fold in a pinch of cayenne or chili powder to the chocolate batter for a surprising hint of warmth that enhances the chocolate’s richness.
-
Citrus Zest: Incorporate orange or lemon zest to the mix for a burst of freshness that pairs beautifully with the chocolate. This adds a delightful zing!
-
Fruit Compote Topping: Top the cheesecake with a mixed berry compote for a refreshing contrast of flavors and a pop of color. This could brighten up your dessert table!
If you’re craving more sweet delights, consider pairing your cheesecake with a side of White Chocolate Orange truffles or indulge in the creamy bliss of Cottage Cheese Chocolate. Enjoy crafting your perfect Chocolate Basque Cheesecake!
Make Ahead Options
This Chocolate Basque Cheesecake is perfect for meal prep, allowing you to enjoy its decadent flavors without the last-minute rush! You can prepare the cheesecake batter up to 24 hours ahead by mixing all ingredients and storing it in an airtight container in the refrigerator. This keeps the flavors well-blended and ensures optimal freshness. Bake the cheesecake when you’re ready, and once cooled, it can be refrigerated uncovered for up to 3 days before serving. To maintain its luscious texture, let it sit at room temperature for about 30 minutes before slicing. This simple prep makes indulging in this rich dessert a seamless experience for busy weeknights and gatherings!
What to Serve with Chocolate Basque Cheesecake
There’s nothing quite like wrapping up a delightful meal with the richness of a chocolate cheesecake, is there?
-
Fresh Berries:
These juicy bites bring a refreshing contrast to the creamy cheesecake, balancing the rich chocolate flavors beautifully. -
Whipped Cream:
A dollop of fluffy whipped cream adds an airy lightness, perfectly complementing the dense, velvety cheesecake. -
Espresso or Coffee:
The bitter notes of a strong coffee enhance the chocolate’s richness, creating a decadent experience that warms the soul. -
Chocolate Ganache Drizzle:
Elevate your dessert with a glossy chocolate ganache, amplifying the chocolaty goodness while adding a glossy finish. -
Caramel Sauce:
Drizzling warm caramel over the cheesecake introduces a sweet, buttery contrast that truly elevates each heavenly slice. -
Almond Cookies:
These crunchy, nutty bites provide a delightful textural contrast, making each bite an exquisite experience. -
Mint Tea:
A soothing cup of mint tea can cleanse the palate after the rich dessert, offering a refreshing note to conclude your meal.
Indulging in these pairings will make every serving of your Chocolate Basque Cheesecake an unforgettable experience!
Expert Tips for Chocolate Basque Cheesecake
-
Room Temperature Ingredients: Ensure all ingredients, especially cream cheese and eggs, are at room temperature. This helps achieve a smoother batter and prevents lumps.
-
Avoid Overmixing: When combining the melted chocolate and dry ingredients, mix gently. Overmixing can lead to a dense texture instead of the light and creamy consistency desired in a Chocolate Basque Cheesecake.
-
Proper Baking Time: Keep a close eye on the cheesecake while baking. It should have a beautifully golden-brown top with a slightly jiggly center—overbaking can dry it out and ruin the desired creamy interior.
-
Cooling Period: Don’t rush the cooling process. Allowing the cheesecake to cool gradually at room temperature before refrigerating ensures the best flavor and texture development.
-
Storage Secrets: To keep leftovers fresh, store your Chocolate Basque Cheesecake in an airtight container in the fridge for up to 5 days. Consider serving it chilled for a firmer texture or allow it to sit at room temperature for a gooier center!
Storage Tips for Chocolate Basque Cheesecake
-
Fridge: Store your Chocolate Basque Cheesecake in an airtight container for up to 5 days. This helps maintain its creamy texture while keeping it fresh and delicious.
-
Freezer: For longer storage, freeze the cheesecake wrapped tightly in plastic wrap and then in foil. It can last up to 2 months in the freezer. Thaw in the refrigerator before serving.
-
Reheating: If you prefer a gooey center, let the cheesecake sit at room temperature for 30 minutes before serving. For a firmer texture, serve it chilled straight from the fridge.
-
Make-Ahead: This cheesecake is perfect for making ahead! Prepare and store it in the fridge, allowing you to enjoy a stress-free sweet treat during gatherings or special occasions.
Chocolate Basque Cheesecake Recipe FAQs
How do I select the perfect cream cheese for this recipe?
Absolutely! You want to choose a good-quality cream cheese for the best flavor and texture. Look for cream cheese that is full-fat and comes in a block, as it will provide the richness needed for a decadent Chocolate Basque Cheesecake. Make sure it’s well-softened before mixing to ensure a smooth batter.
What’s the best way to store leftovers?
Very! To keep your Chocolate Basque Cheesecake fresh, store it in an airtight container in the refrigerator for up to 5 days. This helps maintain that luscious creamy texture. If you’ve got some left after your fiesta, don’t worry; it’s even better chilled!
Can I freeze the cheesecake?
Absolutely! To freeze your Chocolate Basque Cheesecake, first, wrap it tightly in plastic wrap, then in foil to prevent freezer burn. It’ll stay delicious for up to 2 months. When you’re ready to enjoy it, just let it thaw overnight in the refrigerator before serving. You can also let it sit at room temperature for 30 minutes for that gooey center!
What if my cheesecake doesn’t set properly?
If your cheesecake isn’t setting properly, it may be due to underbaking or not allowing it enough cooling time. Make sure you bake it until the top is golden brown with a slightly jiggle in the center. After baking, let it cool on a wire rack for an hour and then refrigerate for at least 4 hours. If it’s still not firm enough, it may need more time in the fridge.
Is this cheesecake suitable for those with gluten allergies?
Yes! This Chocolate Basque Cheesecake is gluten-free, making it a fantastic choice for those with gluten allergies. The recipe uses cornstarch instead of flour, so everyone can indulge in its rich, chocolatey goodness without worry!
What’s the best way to serve this cheesecake?
I often recommend serving it with a dollop of whipped cream and a handful of fresh berries to add a pop of color and flavor. You could also consider a drizzle of caramel or chocolate sauce for that extra indulgence—enjoy every gooey, delicious bite!
Irresistible Chocolate Basque Cheesecake for Ultimate Indulgence
Ingredients
Equipment
Method
- Preheat your oven to 445°F (230°C) and line a 6-inch round cake pan with parchment paper.
- In a large mixing bowl, beat softened cream cheese until smooth. Gradually add castor sugar and vanilla, whisking until fluffy.
- Add eggs one at a time, whisking thoroughly after each addition until smooth and glossy.
- Fold in melted dark chocolate until fully combined.
- Sift cocoa powder and cornstarch over the batter, gently stirring to combine.
- Pour in the heavy whipping cream and whisk until homogeneous.
- Pour the batter into your prepared cake pan and tap gently to release air bubbles.
- Bake for about 25 minutes, until the top is golden brown and the center is slightly jiggly.
- Cool at room temperature for at least an hour, then refrigerate uncovered for 4 hours.
- Let sit at room temperature for 30 minutes before serving, or serve cold.
Leave a Reply