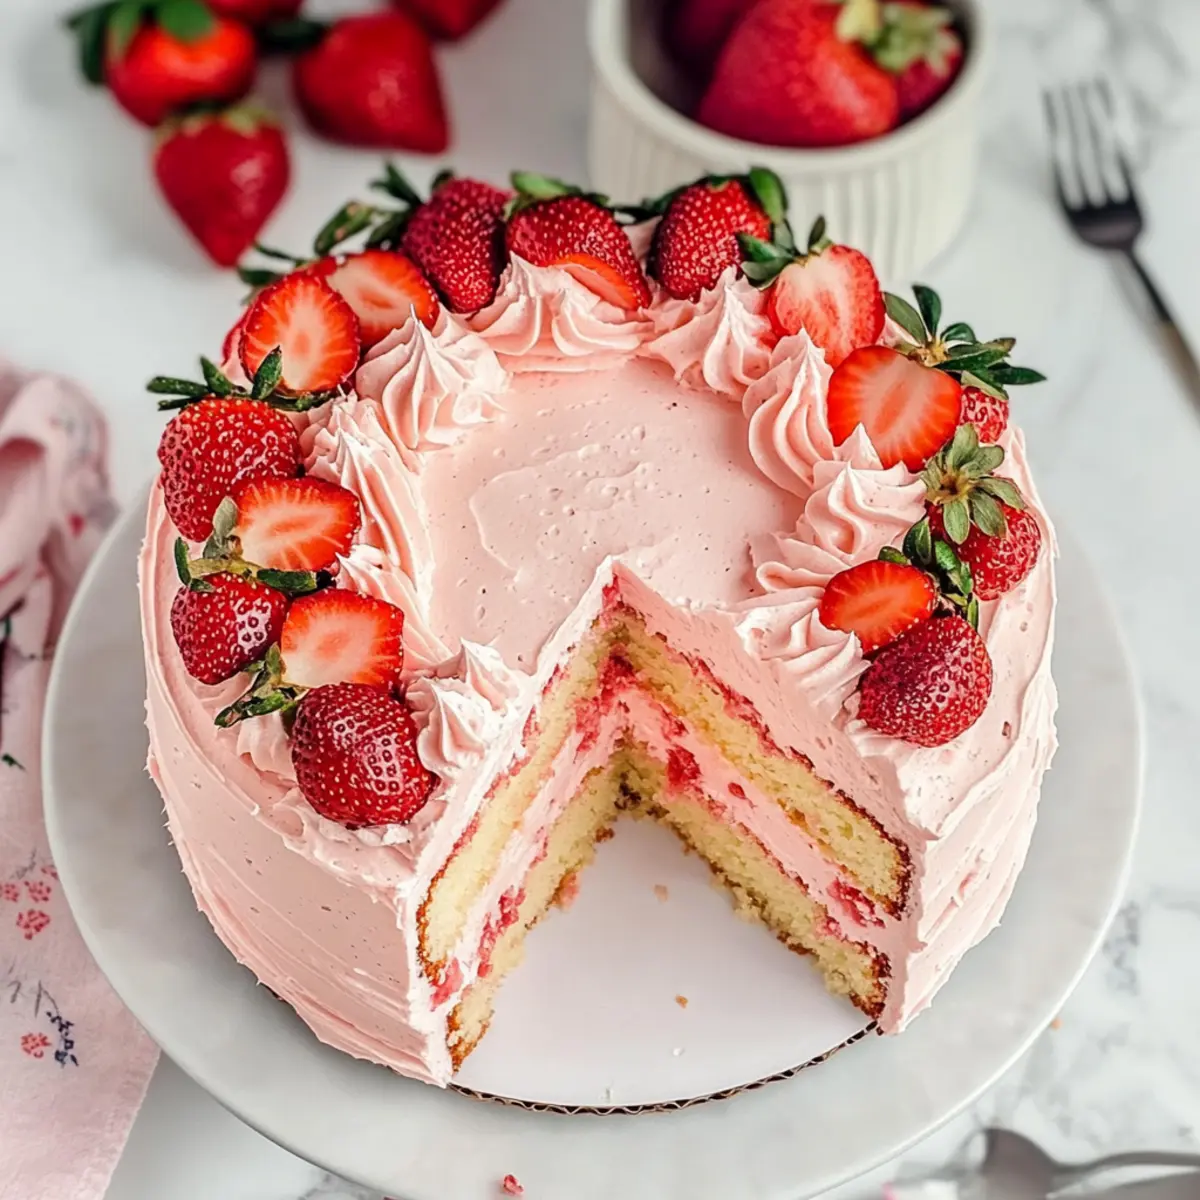
With the sweet scent of summer wafting through my kitchen, I couldn’t help but feel a burst of joy as I whipped up this delightful Gluten-Free Strawberry Cake. Who knew that a cake so light and fluffy could be entirely dairy-free and still satisfy those cravings for something special? This recipe is not just easy to make but also guarantees a show-stopping centerpiece for gatherings or a cozy family treat at home. Infused with real strawberries and topped with a creamy strawberry buttercream frosting, it’s a delightful way to indulge without sacrificing dietary needs. Curious to discover how to create this airy delight that will leave your taste buds dancing? Let’s dive into the world of fresh flavors!
Why Try This Gluten-Free Strawberry Cake?
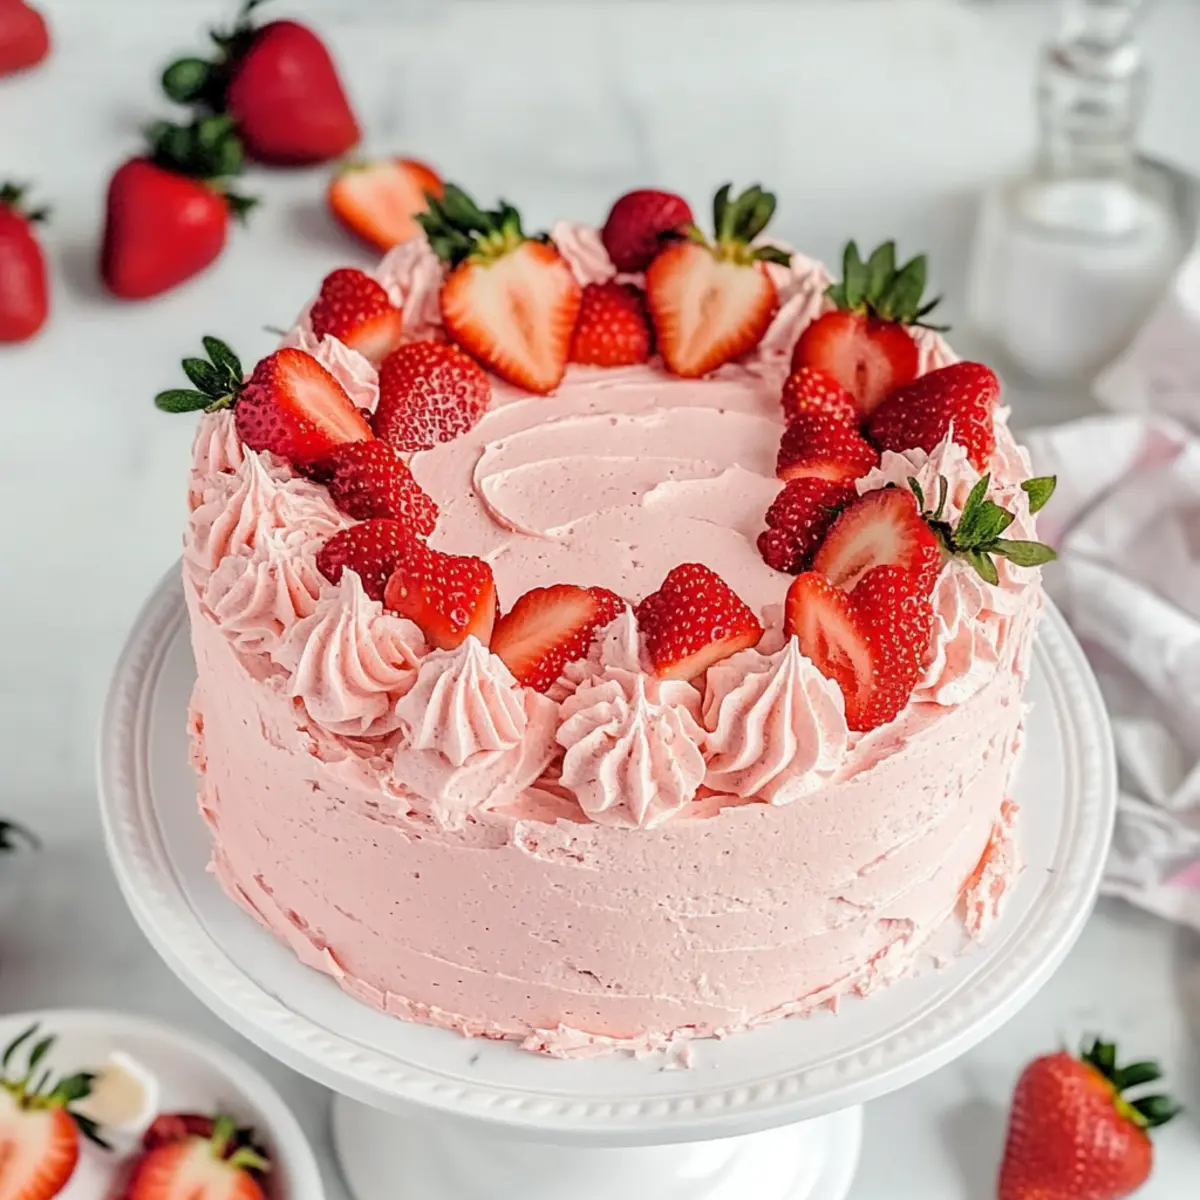
Irresistible Flavor: Each bite is a celebration of juicy strawberries, perfectly balanced by the buttery frosting, making it the crown jewel of summer desserts.
Quick and Easy: This recipe is straightforward, requiring minimal prep and just a few ingredients, ensuring you spend less time in the kitchen and more time enjoying!
Diet-Friendly Delight: Completely dairy-free and gluten-free, it caters to various dietary needs without compromising on taste, allowing everyone to indulge.
Versatile Options: Feel free to experiment—try using other berries for a unique spin or transform this cake into cupcakes!
Perfect for Gatherings: Whether it’s a picnic or a birthday party, this cake is a showstopper that appeals to all ages, just like a classic Cinnamon German Pancake.
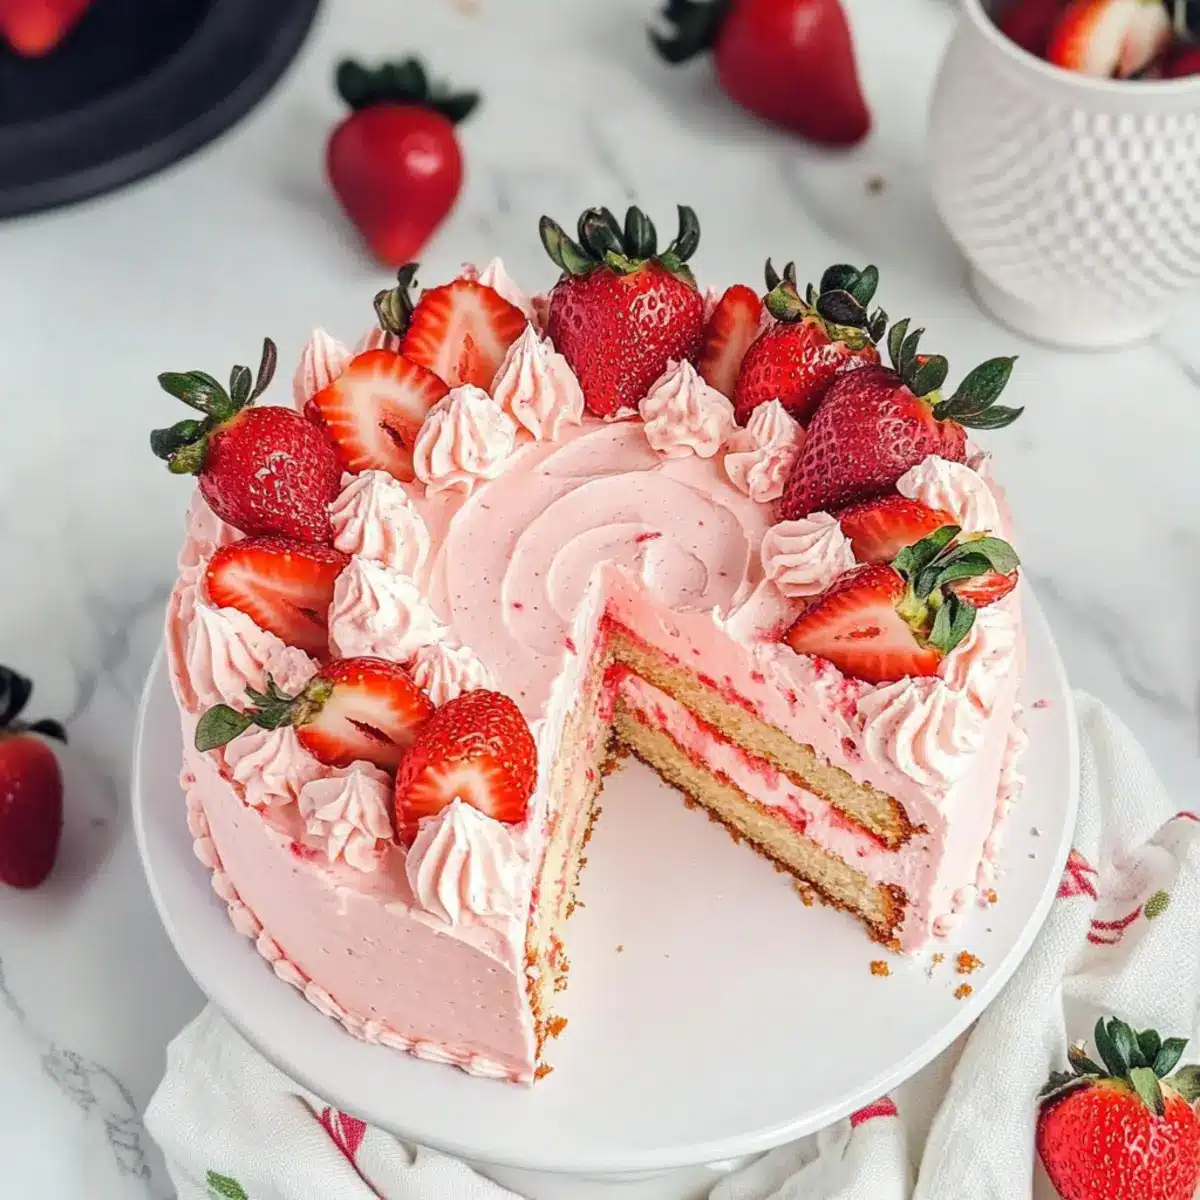
Elevate your dessert game with this light and fluffy Gluten-Free Strawberry Cake, and watch it become a favorite!
Gluten-Free Strawberry Cake Ingredients
For the Cake
- Gluten-Free Flour – Provides the structure of the cake; substitute with regular cake flour if not gluten-free, omitting xanthan gum.
- Dairy-Free Butter – Acts as the fat source for both the cake and frosting; any dairy-free butter substitute can be used, or standard butter if not dairy-free.
- Non-Dairy Milk – Adds moisture and richness to the batter; unsweetened almond milk is preferred but any non-dairy or regular milk will do.
- Oil (Canola or Vegetable) – Adds moisture and tenderness to the cake.
- Strawberries – Essential for flavor; use both fresh and frozen (remember to thaw frozen strawberries first).
- Pink Food Color (optional) – Enhances the color of the cake; pink gel color works best.
- Sugar – Provides sweetness; adjust according to your taste preferences for the Gluten-Free Strawberry Cake.
For the Frosting
- Dairy-Free Butter – Use the same as in the cake; ensure it’s softened for easy mixing.
- Icing Sugar – Provides sweetness and gives the frosting its creamy texture; sifted for a smoother blend.
- Strawberry Reduction – Adds rich strawberry flavor to the frosting, made from the same strawberries in the cake; make ahead for the best taste.
- Salt – A small pinch balances the sweetness and enhances the flavors.
With these vibrant ingredients, you’re just a few steps away from creating a show-stopping summer delight that everyone can enjoy!
Step‑by‑Step Instructions for Gluten-Free Strawberry Cake
Step 1: Prepare Strawberry Reduction
Start by blending fresh strawberries until smooth, using a blender or food processor. Pour the blended strawberries into a saucepan and cook over medium heat for about 20-30 minutes, stirring occasionally, until the mixture reduces by half and becomes thick. Once finished, set it aside to cool to room temperature for later use in both the cake and frosting.
Step 2: Make Cake Batter
In a large mixing bowl, cream together the dairy-free butter and sugar using a hand mixer or stand mixer until light and fluffy, about 3 minutes. Add in the oil, then blend in the eggs and vanilla extract, mixing until fully incorporated. Gradually stir in the gluten-free flour, baking powder, and salt, followed by the cooled strawberry reduction until a smooth batter forms.
Step 3: Bake the Cake
Preheat your oven to 350°F (175°C) and prepare two 8-inch round cake pans by greasing them with dairy-free butter and dusting with gluten-free flour. Pour the prepared batter evenly into each pan, smoothing the tops. Bake for 25-30 minutes, or until the edges are golden and a toothpick inserted into the center comes out with a few moist crumbs. Allow the cakes to cool in the pans for 10 minutes before transferring to wire racks to cool completely.
Step 4: Prepare Frosting
While the cakes cool, prepare the strawberry buttercream frosting. In a mixing bowl, beat the softened dairy-free butter until light and fluffy, about 2-3 minutes. Gradually add the sifted icing sugar along with the cooled strawberry reduction and a pinch of salt. Continue mixing until the frosting is smooth and creamy, adjusting sweetness as desired.
Step 5: Assemble Cake
Once the cake layers are completely cooled, level the tops with a serrated knife if necessary. Place one layer on a serving plate and spread a generous amount of frosting on top. Gently place the second layer on top and continue frosting the top and sides of the cake until fully covered. Use the remaining frosting for decorative rosettes or swirls on top.
Step 6: Chill and Serve
For best flavor and texture, chill the assembled Gluten-Free Strawberry Cake in the refrigerator for at least 30 minutes before serving. When ready to serve, let it sit at room temperature for about 15 minutes, then slice and enjoy the delightful layers of strawberry goodness topped with creamy frosting.
What to Serve with Gluten-Free Strawberry Cake?
With summer in full swing, it’s the perfect time to create a memorable meal that pairs harmoniously with this delightful cake, enhancing its sweet strawberry notes.
- Creamy Coconut Rice: This fragrant rice dish complements the fruitiness of the cake, offering a deliciously tropical twist that everyone will love.
- Light Garden Salad: A refreshing mix of greens, cucumbers, and cherry tomatoes can provide a crisp contrast to the fulfilling sweetness of the cake.
- Chilled Lemonade: The zesty brightness of a cool lemonade balances the cake’s sweetness and quenches your thirst on a hot day, making it a refreshing pairing.
- Savory Quiche: A rich quiche, filled with fresh veggies or dairy-free cheese, pairs perfectly with the sweetness of the cake, crafting a delightful and filling meal.
- Berry Compote: A warm, drizzled berry compote over each slice enhances the strawberry flavor, making every bite even more irresistible and juicy.
- Mint-Infused Iced Tea: The coolness of mint iced tea refreshes the palate, making it an ideal drink alongside the luscious cake for a summer gathering.
- Chocolate Dipped Fruit: Adding an elegant touch, chocolate-dipped strawberries or bananas can enhance the dessert experience without overpowering the gluten-free strawberry cake’s strawberry flavor.
- Whipped Coconut Cream: A dollop of fluffy coconut cream next to the cake not only complements its dairy-free nature but also adds an extra layer of creaminess.
- Almond Biscotti: These crunchy delights serve as a perfect side, inviting guests to have a little bite with their cake and drink, enhancing the overall experience.
- Fruit Sorbet: A refreshing scoop of strawberry or raspberry sorbet provides a delightful cooling element that echoes the cake’s flavors beautifully.
These pairings will elevate your summertime gatherings, making each moment around the table even more special!
Tips for the Best Gluten-Free Strawberry Cake
-
Choose the Right Flour: For optimal texture, use Kinnikinnick gluten-free flour; it holds moisture well and prevents a crumbly cake.
-
Cool Completely: Always allow cake layers to cool completely before frosting; this prevents melting and helps achieve a perfect finish.
-
Strawberry Reduction Matters: Prepare the strawberry reduction a day in advance; this enhances the flavor and makes assembly quicker.
-
Adjust Sweetness: Taste your batter and frosting—feel free to adjust sugar levels according to your preference for the gluten-free strawberry cake.
-
Cupcake Transformation: If you’re in the mood for individual servings, this recipe makes approximately 24 cupcakes—perfect for sharing!
Make Ahead Options
These Gluten-Free Strawberry Cake preparations are perfect for busy home cooks looking to save time without sacrificing flavor! You can make the strawberry reduction up to 3 days in advance; simply store it in an airtight container in the refrigerator to enhance its deliciousness. The cake layers can also be baked and frozen up to 1 month ahead; just ensure they cool completely before wrapping them in plastic wrap and placing them in a freezer-safe bag. When ready to enjoy, thaw the layers at room temperature for about 1-2 hours before stacking and frosting. This way, you’ll be able to serve a stunning dessert with minimal last-minute effort!
Gluten-Free Strawberry Cake Variations
Feel free to let your culinary creativity flow and customize this delightful cake to suit your tastes!
-
Berry Blend: Swap strawberries for raspberries, blueberries, or blackberries for a mix of delicious flavors. Each berry brings its unique sweetness, creating a fruity explosion in every bite.
-
Coconut Creamy: Use coconut milk instead of non-dairy milk for a tropical flair. This creamy twist adds a rich, coconutty flavor that’s simply irresistible!
-
Vegan Option: Replace the eggs with flaxseed meal or applesauce for a vegan twist. Just mix 1 tablespoon of flaxseed meal with 2.5 tablespoons of water for each egg, and let it sit until thickened.
-
Chocolate Indulgence: Stir in some cocoa powder to the batter for a chocolate-strawberry fusion. The chocolate adds depth, creating a luxurious experience perfect for any chocolate lover!
-
Spicy Kick: For a little heat, add a pinch of cayenne or a dash of cinnamon into the batter. This unexpected flavor will intrigue your taste buds and elevate the whole dish.
-
Layered Cupcakes: Transform the cake into layered cupcakes for individual delights. Bake in muffin tins, stack with frosting, and enjoy bite-sized pieces of happiness!
-
Cream Cheese Frosting: Try a dairy-free cream cheese for the frosting instead of the traditional butter. This will give it a tangy flavor that perfectly complements the sweetness of the strawberries.
-
Nutty Crunch: Toss in some chopped nuts, like almonds or walnuts, into the batter for an added crunch. They add texture and a delightful nutty flavor that pairs wonderfully with the fruitiness.
Don’t forget to check out how delicious this cake can be when paired with a slice of Cinnamon German Pancake or even enjoy it alongside the creamy layers of Japanese Cotton Cheesecake. The possibilities are endless, so have fun crafting your perfect dessert!
Storage Tips for Gluten-Free Strawberry Cake
Fridge: Store the gluten-free strawberry cake in an airtight container for up to 7 days to maintain its freshness and flavor.
Freezer: This cake can be frozen for up to 6 months after decorating, but avoid fresh fruit toppings until you’re ready to serve. Wrap well to prevent freezer burn.
Reheating: If enjoyed chilled, let the cake sit at room temperature for about 15 minutes before slicing. For a warm-up, place slices in the microwave for 10-15 seconds.
Assembling: For the best texture, freeze the layers before assembling; thaw at room temperature before frosting and serving.
Gluten-Free Strawberry Cake Recipe FAQs
What type of gluten-free flour should I use for the Gluten-Free Strawberry Cake?
Absolutely! I recommend using Kinnikinnick gluten-free flour for the best texture. It holds moisture well and results in a soft, airy cake. If you’re not gluten-sensitive, feel free to substitute with regular cake flour and omit xanthan gum.
How should I store the Gluten-Free Strawberry Cake?
You can keep this delightful cake in an airtight container in the fridge for up to 7 days. If you’d like to extend its life, it can be frozen for up to 6 months after decorating. Just make sure to avoid fresh fruit toppings until you’re ready to enjoy it!
Can I freeze the cake after assembly? If so, how?
Yes! To freeze the Gluten-Free Strawberry Cake after assembly, first, make sure it’s completely cooled and decorated. Wrap the cake tightly in plastic wrap or aluminum foil to prevent freezer burn. When ready to enjoy, thaw it in the fridge overnight before serving for the best flavor and texture—this typically takes about 6 to 8 hours.
Are there any dietary considerations for your Gluten-Free Strawberry Cake?
Very! This cake is not only gluten-free but also dairy-free and vegan-friendly, making it suitable for a variety of dietary needs. However, if you or your guests have allergies, be sure to double-check that your ingredients (especially the gluten-free flour and dairy-free butter) are not processed in facilities that handle these allergens.
What should I do if my cake layers domed while baking?
If you find that your cake layers are domed instead of flat, don’t worry! This can happen sometimes. After baking, simply wait for them to cool for about 10 minutes in the pans then use a serrated knife to level them off gently. This way, you’ll have a perfectly stacked cake that’s easy to frost and attractive to serve!

Gluten-Free Strawberry Cake: A Summer Favorite You’ll Love
Ingredients
Equipment
Method
- Prepare Strawberry Reduction by blending fresh strawberries until smooth, then cook in a saucepan over medium heat for 20-30 minutes until thickened. Set aside to cool.
- In a mixing bowl, cream dairy-free butter and sugar until light and fluffy, about 3 minutes. Add oil, eggs, and vanilla extract; mix until fully incorporated.
- Gradually stir in gluten-free flour, baking powder, and salt, followed by cooled strawberry reduction until a smooth batter forms.
- Preheat oven to 350°F (175°C) and prepare cake pans by greasing and dusting with gluten-free flour. Pour batter evenly into pans and bake for 25-30 minutes until golden.
- While cakes cool, prepare frosting by beating softened dairy-free butter, then gradually add sifted icing sugar and cooled strawberry reduction until smooth.
- Assemble the cake: level tops if necessary, spread frosting on the first layer, place the second layer on top and frost sides and top.
- Chill the assembled cake in the refrigerator for at least 30 minutes before serving. Let sit at room temperature for 15 minutes before slicing.
Leave a Reply