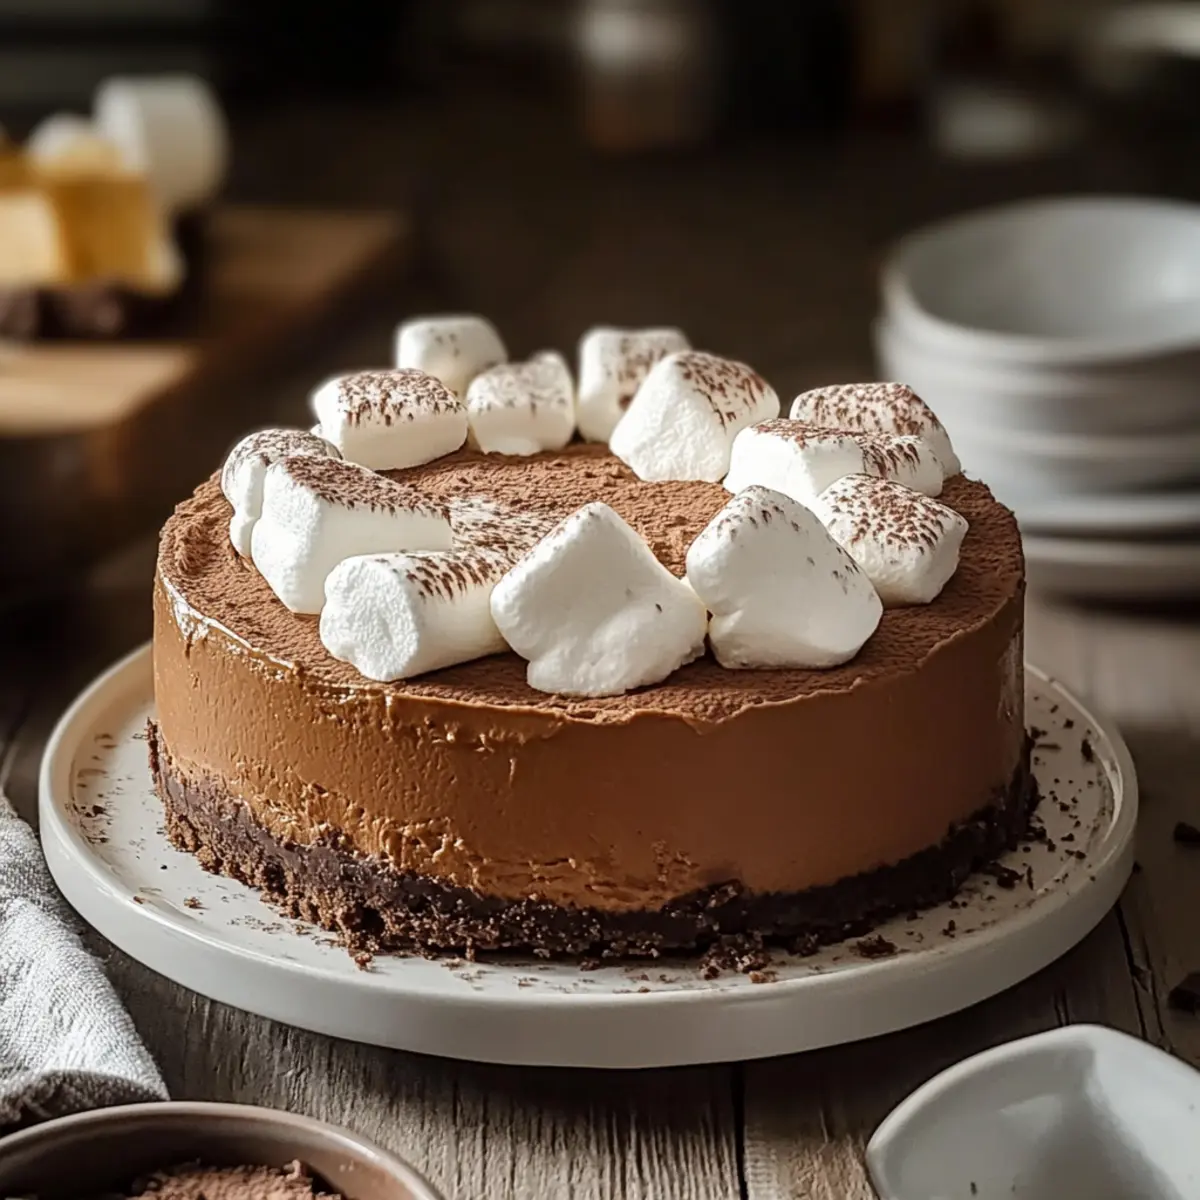
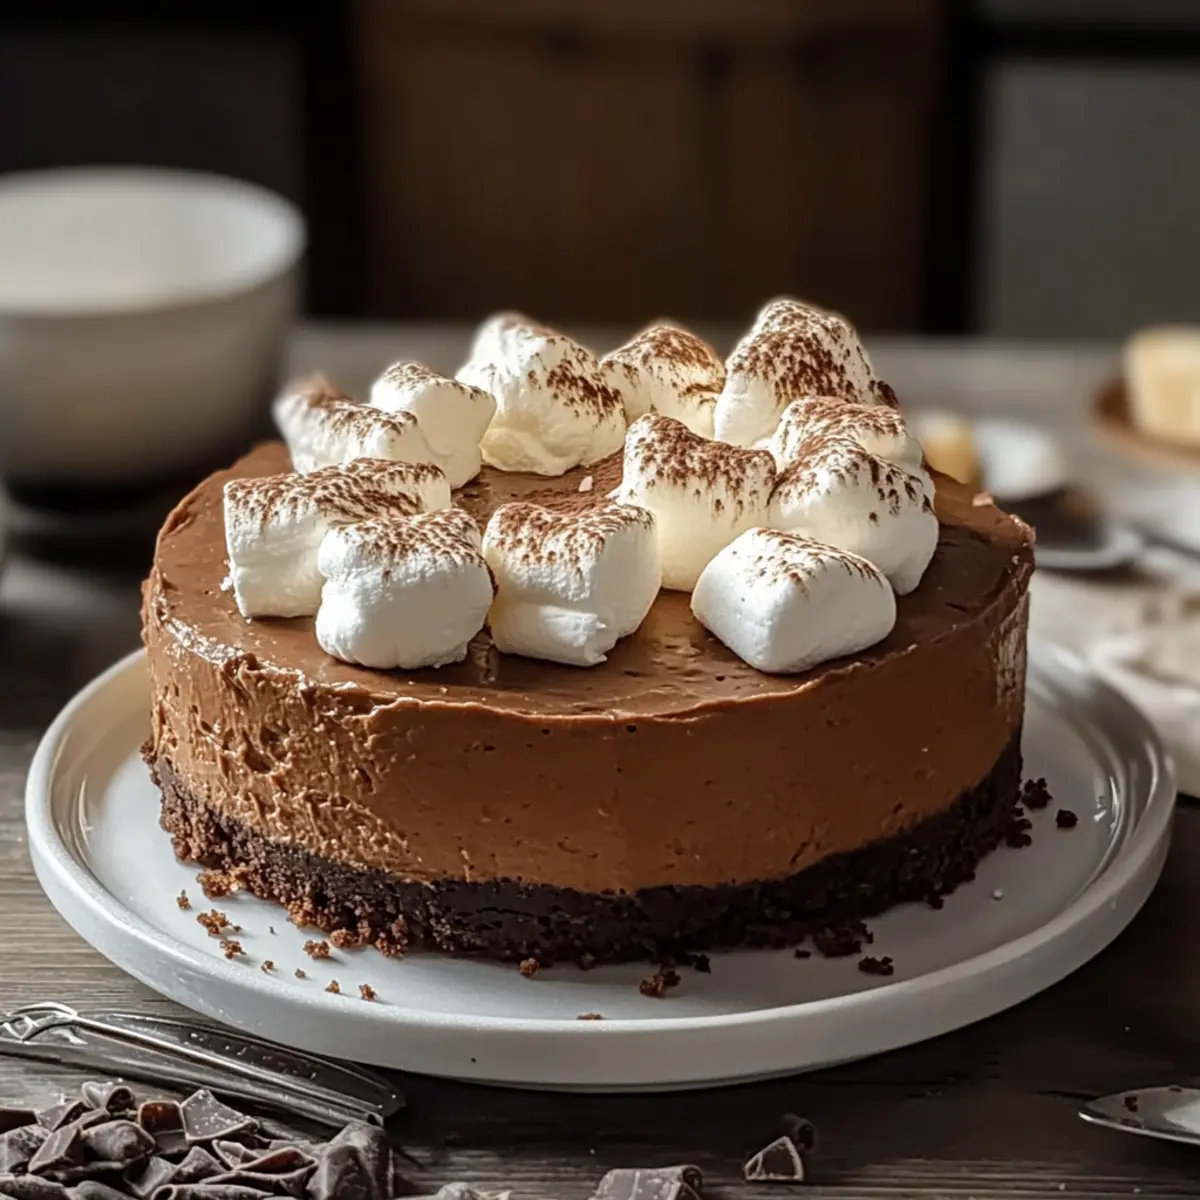
The first whiff of this Hot Cocoa Cheesecake takes me straight back to winter evenings spent beneath cozy blankets, sipping on creamy hot chocolate. Now, imagine all that nostalgia wrapped up in a luscious cheesecake topped with airy marshmallow whipped cream. This recipe is not just an exquisite dessert; it’s the perfect way to bring warmth and comfort to your holiday gatherings. With minimal prep and endless customization options, from peppermint twists to vegan alternatives, anyone can create a show-stopping treat that pleases every palate. So, are you ready to create a slice of winter magic that will leave your guests craving more?
Why is this cheesecake unforgettable?
Indulgent, rich flavor: This Hot Cocoa Cheesecake harmoniously fuses the beloved taste of hot cocoa with creamy cheesecake, creating a dessert that delights every chocolate lover.
Customizable options: Whether you’re in the mood for peppermint twists or want to try a vegan version, this recipe allows for easy adaptations to suit every guest’s taste buds.
Effortless preparation: With simple ingredients and straightforward steps, even novice bakers can impress their company, making it a perfect choice for gatherings.
Comfort in every bite: Each slice offers a nostalgic taste of cozy winter evenings, evoking warmth and fond memories, ensuring it becomes a beloved addition to your dessert lineup.
Perfect for sharing: Serve it at holiday parties or as a delightful end to the family dinner, and watch it disappear faster than you can say “cheesecake”! For more delightful ideas, try pairing it with our Ground Beef Hot for a complete meal experience.
Hot Cocoa Cheesecake Ingredients
For the Crust
- Chocolate Cookie Crumbs – A flavorful base; substitute with crushed graham crackers or Oreos for a unique twist.
- Unsalted Butter – Helps bind the crust ingredients together; ensure it’s melted for easy mixing.
For the Filling
- Cream Cheese – Gives the cheesecake a creamy texture; opt for full-fat and make sure it’s at room temperature for best results.
- Granulated Sugar – Adds sweetness to balance the rich flavors; a sugar substitute can be used for a lighter version.
- Large Eggs – Contributes structure; remember to let them reach room temperature for smooth incorporation.
- Hot Cocoa Mix – Provides the iconic chocolate flavor; choose your favorite brand or go gourmet for an elevated taste.
For the Topping
- Heavy Cream – Creates a light and fluffy whip; coconut cream can replace it for a dairy-free option.
- Marshmallow Fluff – Aspires to a dreamy topping; can be store-bought or homemade for that fresh taste.
Step‑by‑Step Instructions for Decadent Hot Cocoa Cheesecake with Fluffy Marshmallow Whipped Cream
Step 1: Preheat the Oven
Begin by preheating your oven to 325°F (163°C). While the oven warms, prepare a water bath by placing a large roasting pan filled with hot water on the bottom rack. This will create a moist baking environment, preventing cracking in your Hot Cocoa Cheesecake.
Step 2: Prepare the Crust
In a mixing bowl, combine chocolate cookie crumbs and melted unsalted butter until well blended. Press this mixture firmly into the bottom of a 9-inch springform pan, creating an even layer that forms the base of your cheesecake. Aim for a compact crust and set the pan aside while you prepare the filling.
Step 3: Make the Filling
In a large mixing bowl, beat the cream cheese and granulated sugar together until the mixture is smooth and creamy. Add in the eggs one at a time, ensuring each is fully incorporated before adding the next. Mix in the hot cocoa mix and continue blending until the batter is evenly combined and has a rich chocolate flavor.
Step 4: Bake the Cheesecake
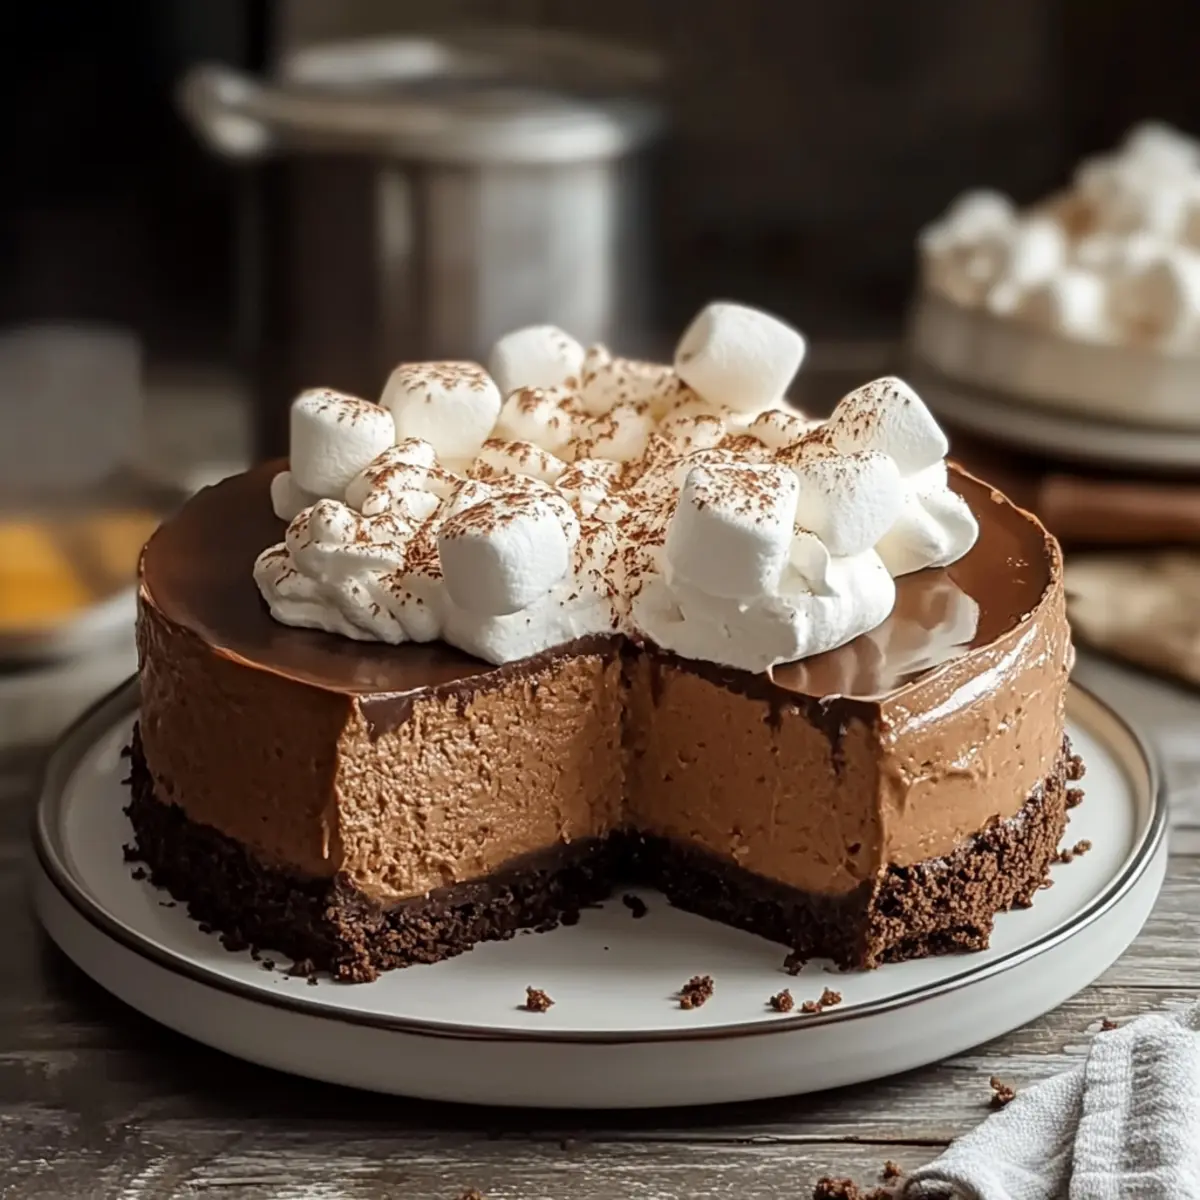
Pour the cheesecake filling over the crust in the springform pan, smoothing the top with a spatula. Carefully place the pan into the preheated oven inside the water bath. Bake for 50 to 60 minutes, until the edges are set but the center still jiggles slightly—this ensures a creamy texture for your Hot Cocoa Cheesecake.
Step 5: Cool & Chill
Once baked, turn off the oven and crack the door open, allowing the cheesecake to cool in the residual heat for about an hour. Afterward, refrigerate the cheesecake for at least 4 hours, or ideally overnight, to let the flavors meld and the texture firm up beautifully.
Step 6: Prepare the Whipped Cream
Using an electric mixer, whip heavy cream in a clean bowl until soft peaks form. Gently fold in marshmallow fluff, creating a light and airy topping that will complement your Hot Cocoa Cheesecake perfectly. Be careful not to deflate the whipped cream during this step.
Step 7: Serve
Once your cheesecake has chilled, remove it from the springform pan and spread the fluffy marshmallow topping over the chocolatey surface. Slice into pieces and serve, adding mini marshmallows or chocolate shavings on top for an extra festive touch. Each bite will transport you straight to a warm cup of hot cocoa!
Storage Tips for Hot Cocoa Cheesecake
Fridge: Store your Hot Cocoa Cheesecake in an airtight container for up to 5 days to maintain its creamy texture and flavor.
Freezer: If you want to keep it longer, freeze the cheesecake wrapped tightly in plastic wrap and aluminum foil for up to 2 months.
Thawing: To enjoy frozen cheesecake, thaw it in the fridge overnight before serving for the best texture.
Reheating: This cheesecake is best served chilled; avoid reheating it to maintain the creamy filling that everyone loves.
Expert Tips for Hot Cocoa Cheesecake
- Room Temperature Ingredients: Always allow cream cheese and eggs to reach room temperature, ensuring a smoother filling that blends well without lumps.
- Water Bath Essential: Never skip the water bath when baking your Hot Cocoa Cheesecake; it prevents cracks and maintains a creamy texture.
- Cooling Process: Let the cheesecake cool gradually in the oven with the door ajar to avoid sudden temperature shifts that can cause cracks.
- Perfect Whipped Cream: Whip the heavy cream until soft peaks form, which will create that airy texture; if overwhipped, it can become grainy.
- Storage Guidelines: For maximum freshness, store your Hot Cocoa Cheesecake in an airtight container in the fridge for up to five days.
Hot Cocoa Cheesecake Variations
Feel free to customize your Hot Cocoa Cheesecake to suit your taste buds and dietary needs with these fun variations!
-
Peppermint Twist: Mix in peppermint extract and sprinkle crushed candy canes on top for a festive flair. The fresh, minty flavor will take your cheesecake to holiday heights!
-
Salted Caramel Surprise: Add swirls of caramel sauce into the cheesecake filling before baking for a luscious sweet and salty taste. This blend of flavors creates a decadent surprise in every bite.
-
Nutty Crunch: Fold chopped, toasted nuts into your crust mixture for added texture and flavor. Walnuts or pecans work beautifully to enhance the overall experience, giving it that comforting crunch.
-
Vegan Version: For a plant-based twist, swap cream cheese with a cashew cream and use coconut cream for the topping. This way, you can enjoy the delightful cheesecake without sacrificing your dietary preferences.
-
Spicy Kick: Add a pinch of cayenne pepper or cinnamon into the filling for a warm spicy finish that complements the sweetness. This surprising heat will awaken your palate in a delightful way.
-
Chocolate Chip Delights: Stir in mini chocolate chips into the filling for an extra pop of chocolatey goodness. Each slice will deliver treasure trove surprises, making it even more indulgent!
-
Fruit Infusion: Top the cheesecake with fresh berries or a berry compote for a burst of fruity flavor. The tartness of the fruits perfectly balances the rich cheesecake, making every bite refreshing and delightful.
For more dessert inspiration, consider trying our Japanese Cotton Cheesecake or enjoy yourself a savory side dish like our tasty Pizza Hot Pockets for a full meal experience!
Make Ahead Options
These decadent Hot Cocoa Cheesecake with Marshmallow Whipped Cream is perfect for busy home cooks looking to save time without sacrificing flavor! You can prepare the cheesecake filling and crust up to 24 hours in advance, allowing it to set beautifully in the refrigerator overnight. Simply wrap the springform pan tightly with plastic wrap to maintain freshness and prevent odors from the fridge. When you’re ready to serve, whip the marshmallow topping just before spreading it over the cheesecake. This ensures it stays light and fluffy, just like a delightful cloud of sweetness. With these make-ahead tips, you’ll enjoy a stress-free dessert experience that tastes just as delicious as if it were made fresh!
What to Serve with Decadent Hot Cocoa Cheesecake
The perfect pairing transforms a delightful dessert into a memorable meal, enhancing every bite of this rich cheesecake experience.
- Rich Coffee: A steaming cup of black coffee complements the sweetness while balancing the creamy texture, ensuring each forkful is even more enjoyable.
- Spiced Chai Latte: The aromatic spices of a chai latte add warmth and depth, harmonizing splendidly with the chocolatey flavors of the cheesecake.
- Fresh Fruit Salad: A medley of citrus and berries provides a refreshing contrast, cutting through the richness and adding bright flavors to the meal.
- Chocolate Mousse: For chocolate lovers, a light chocolate mousse echoes the cheesecake deliciously, creating a dessert duo that will leave guests in bliss.
- Mini Marshmallow Hot Cocoa: An accompanying cup of this classic drink ties the theme together while enticing sips of nostalgia, perfect for the winter months.
- Candied Pecans: Adding a sweet crunch, candied pecans bring texture and a nutty flavor, enhancing the overall dessert experience.
- Gingerbread Cookies: These spiced treats offer a festive touch, merging seasonal flavors that pair beautifully with the decadent richness of the cheesecake.
- Vanilla Ice Cream: A scoop of smooth vanilla ice cream adds a delightful creaminess and an extra layer of sweetness, making it a comforting finish.
- Peppermint Bark: This crunchy delight adds a minty pop, especially if you’ve made the cheesecake with peppermint variations, tying the flavors together perfectly.
Hot Cocoa Cheesecake Recipe FAQs
How do I choose the right hot cocoa mix?
Absolutely! For this Hot Cocoa Cheesecake, select a mix that you enjoy drinking. Look for a high-quality brand that lists cocoa as the first ingredient. If you want to elevate the flavor, consider using gourmet hot cocoa mixes that include added spices or flavorings.
What’s the best way to store leftover cheesecake?
Very easy! Store your Hot Cocoa Cheesecake in an airtight container in the refrigerator for up to 5 days. Make sure it’s covered well to prevent it from absorbing any odors from other foods.
Can I freeze the cheesecake? If so, how?
Yes, you can definitely freeze it! Wrap the cheesecake tightly in plastic wrap, followed by a layer of aluminum foil to shield it from freezer burn, and freeze for up to 2 months. When you’re ready to enjoy it again, thaw it in the refrigerator overnight for the best texture.
What can I do if my cheesecake cracks while baking?
No worries! If your cheesecake cracks, it can still taste delicious. To prevent this in the future, always use a water bath when baking, which helps create a moist environment. If cracks occur, you can cover them simply with the marshmallow topping or chocolate shavings for a beautiful finish.
Is this cheesecake suitable for those with dietary restrictions?
Yes! This Hot Cocoa Cheesecake can easily accommodate various dietary needs. For a gluten-free version, swap the chocolate cookie crumbs with gluten-free alternatives. For a dairy-free option, use dairy-free cream cheese and coconut cream. Just be sure to check labels to avoid any allergens!
How long does it take for the cheesecake to set in the fridge?
I recommend chilling the cheesecake for at least 4 hours, but overnight is even better! The longer it chills, the firmer and richer the flavors will become, creating a decadent treat that’s irresistible.

Creamy Hot Cocoa Cheesecake with Fluffy Marshmallow Topping
Ingredients
Equipment
Method
- Preheat your oven to 325°F (163°C) and prepare a water bath by placing a large roasting pan filled with hot water on the bottom rack.
- In a mixing bowl, combine chocolate cookie crumbs and melted unsalted butter until well blended. Press into the bottom of a 9-inch springform pan.
- Beat the cream cheese and granulated sugar in a large mixing bowl until smooth. Add eggs one at a time and mix in hot cocoa mix.
- Pour the filling over the crust and bake in the water bath for 50 to 60 minutes until edges are set.
- Turn off the oven, crack the door, and let cool for about an hour. Refrigerate for at least 4 hours.
- Whip heavy cream until soft peaks form, then fold in marshmallow fluff.
- Remove the cheesecake from the springform pan and spread the marshmallow topping over the surface. Slice and serve.
Leave a Reply