As I ambled through the local market, vibrant green decorations beckoned in every corner, whispering the promise of St. Patrick’s Day festivities. This year, I’m bringing a touch of charm to our celebrations with my No-Bake Shamrock Shake Pudding Cups. Imagine a dreamy, creamy blend of rich chocolate and refreshing mint, nestled in individual cups that evoke the spirit of the holiday. With just 15 minutes of prep time and a cooling phase of half an hour, these festive treats are not only a breeze to whip up but also a guaranteed crowd-pleaser. Whether you’re hosting a spirited gathering or simply want to brighten up your day, these pudding cups embody the joy of homemade dessert. Are you ready to indulge in a sweet twist that will transport you to the heart of the Irish spirit?
Why are these Shamrock Shake Pudding Cups a must-try?
Festive and Fun: These pudding cups are a delightful way to celebrate St. Patrick’s Day, capturing the holiday spirit in every blissful bite.
No-Bake Delight: You’ll love how quickly they come together—just 15 minutes of prep means you can focus on the festivities instead of the kitchen.
Crowd-Pleasing Taste: The smooth chocolate and refreshing mint flavors blend beautifully, making these cups a favorite among both kids and adults.
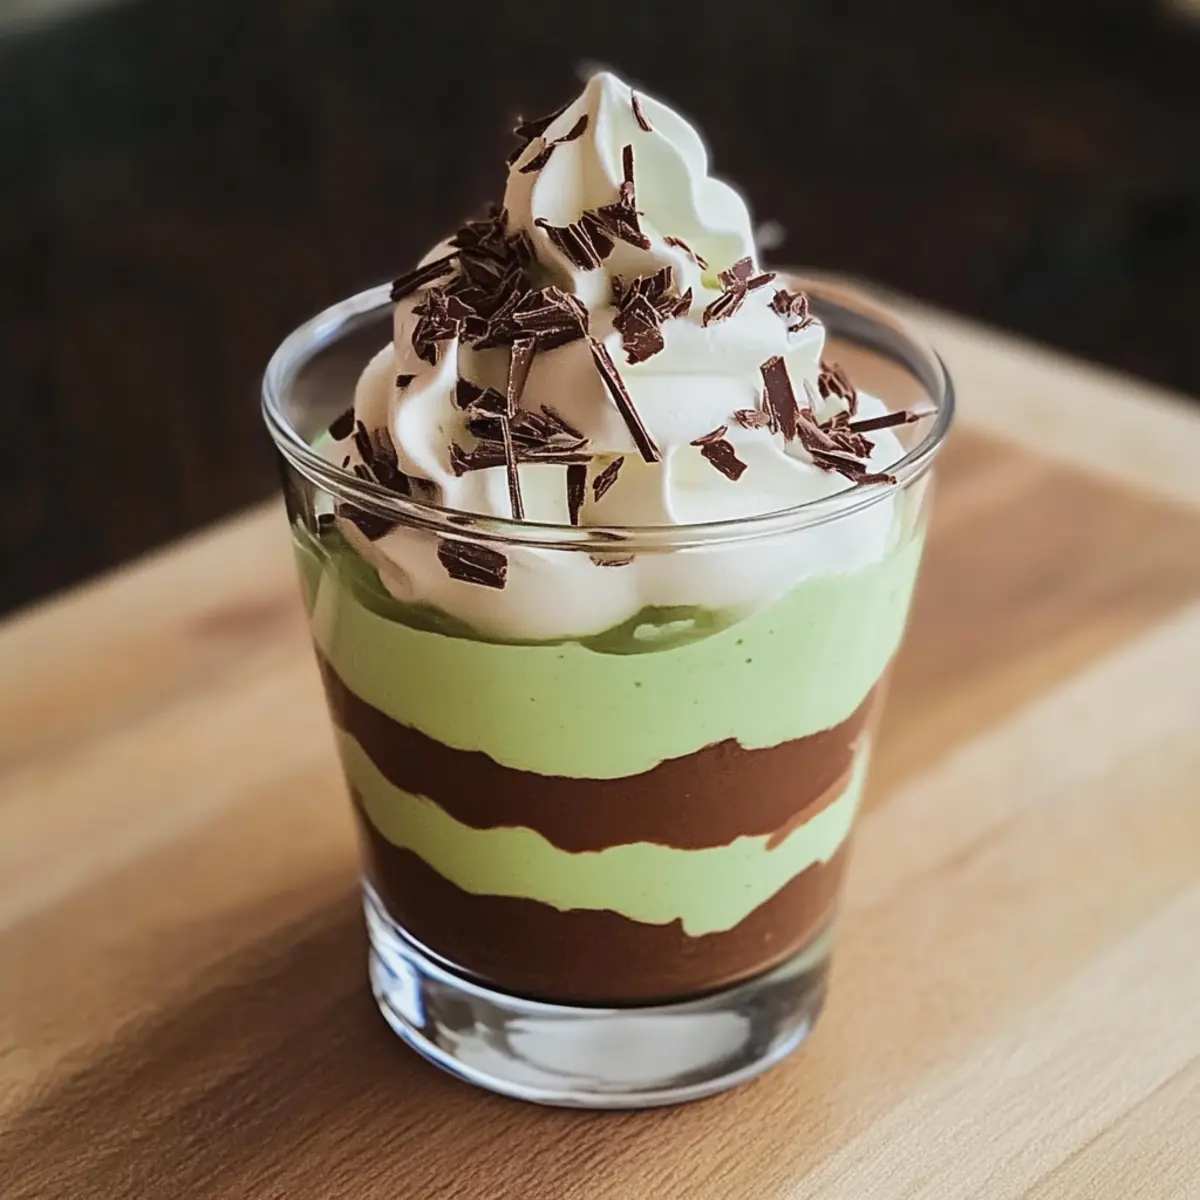
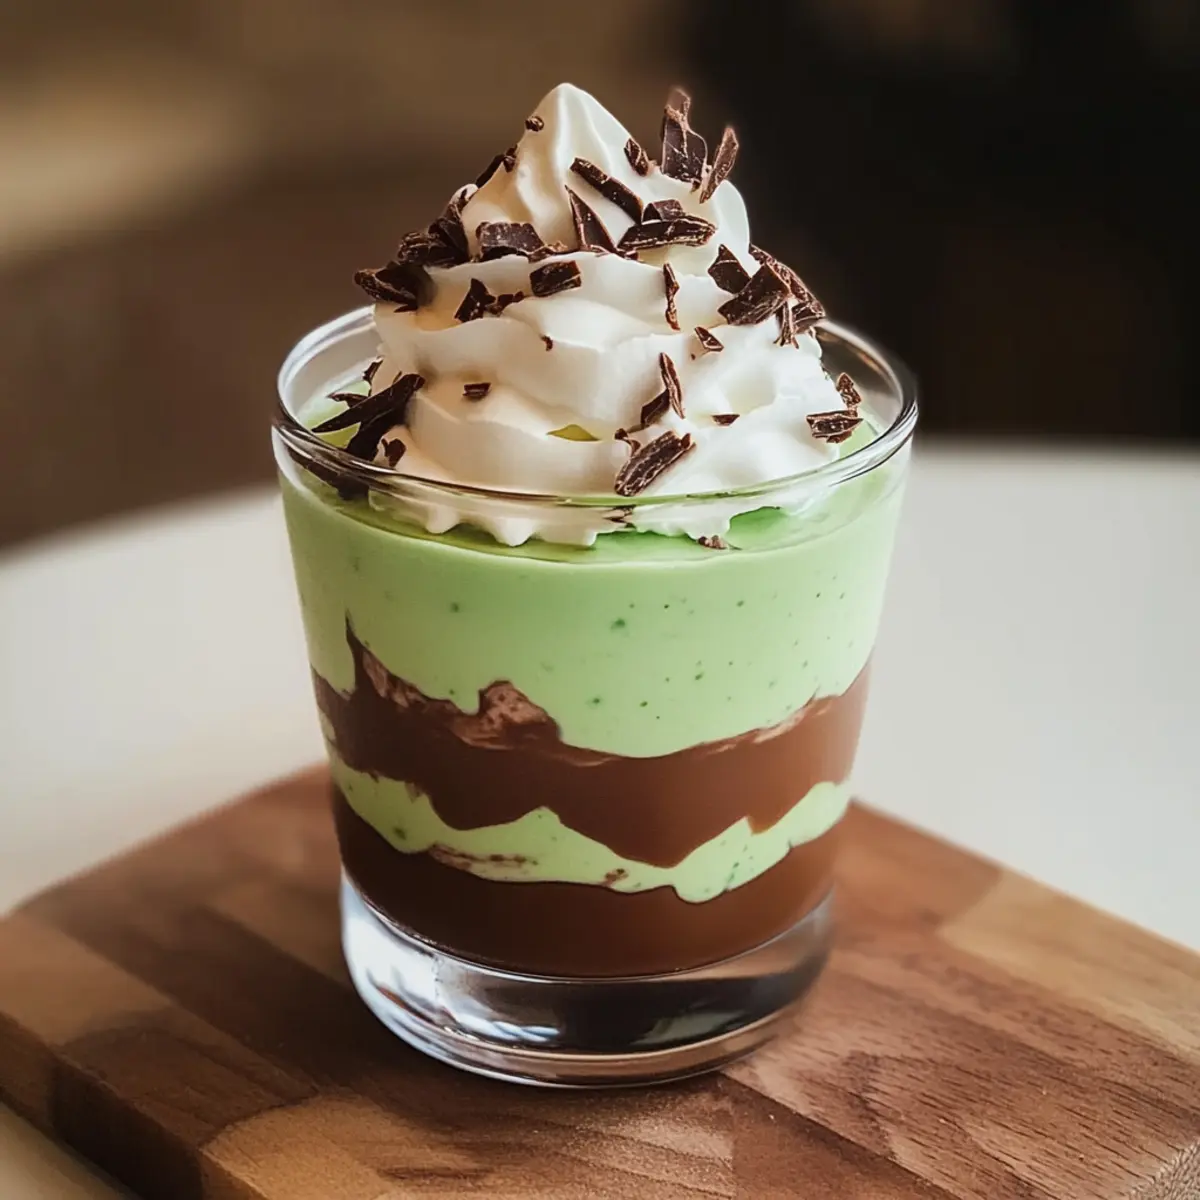
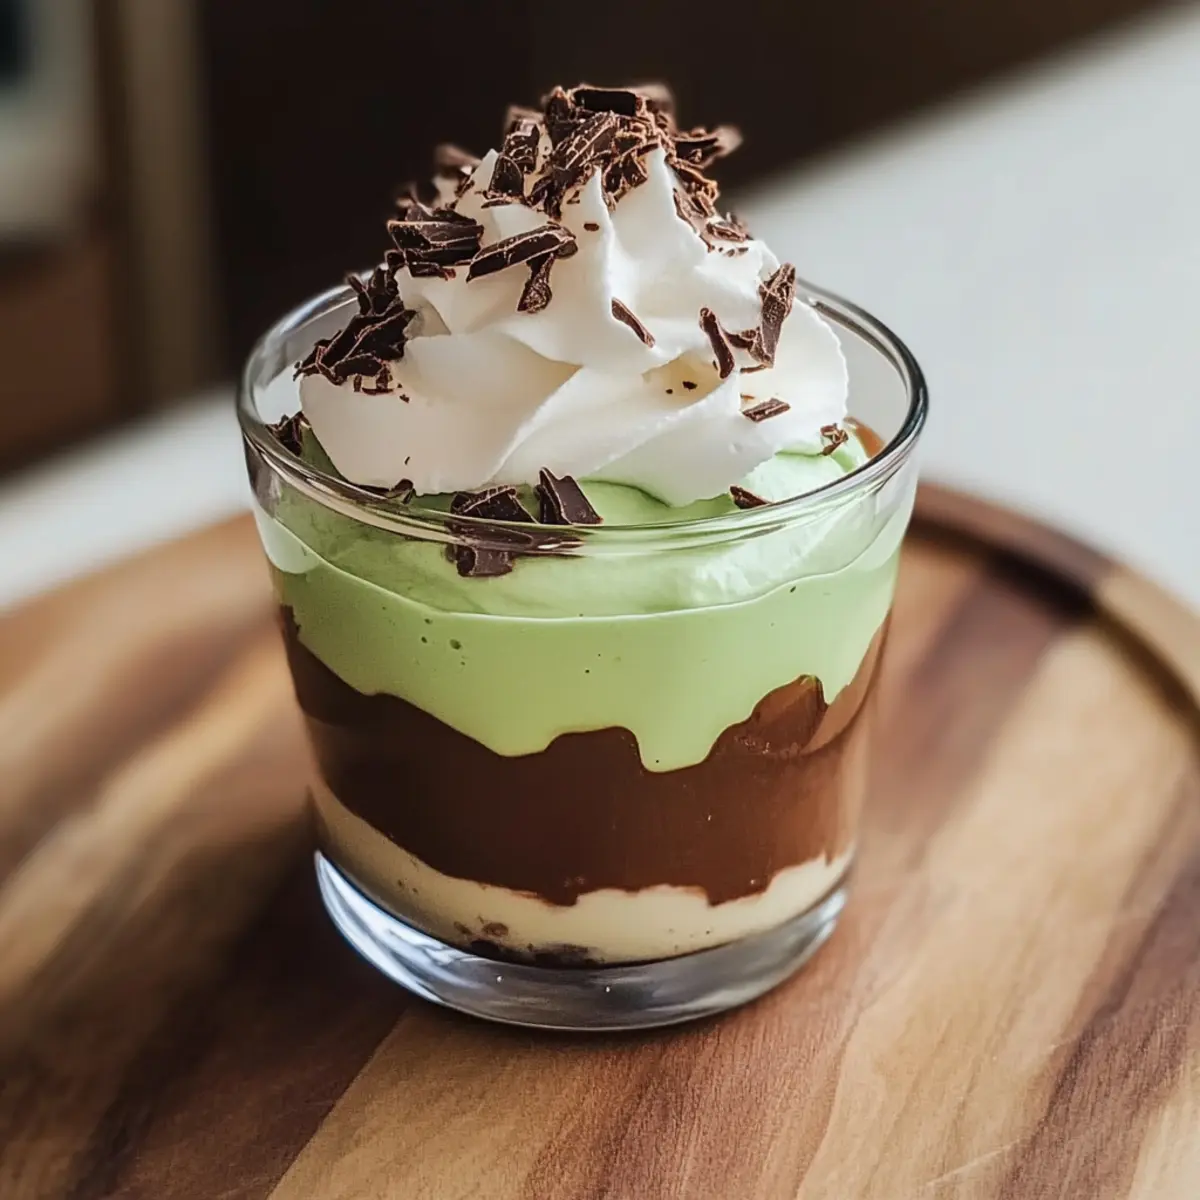
Eye-Catching Presentation: Layered in clear cups, they’re not just tasty but also visually stunning, perfect for impressing your guests!
Versatile Variations: Feel free to get creative! Swirl the puddings or add a sprinkle of crushed Oreo for extra crunch—your imagination is the limit!
For more festive ideas, check out my Raspberry Chia Pudding or indulge in a rich Tiramisu Chia Pudding.
Shamrock Shake Pudding Cups Ingredients
For the Chocolate Pudding
• Chocolate Pudding Mix – This rich base adds decadence; can be substituted with vanilla pudding for a lighter taste.
• Milk – Essential for creating a creamy texture; use any milk of your choice, including almond or soy for dairy-free.
For the Mint Pudding
• Mint Pudding Mix – Provides that signature refreshing taste; a must for the classic Shamrock Shake experience.
• Milk – Again, the creamy contrast; feel free to use dairy alternatives here as well.
For Topping
• Whipped Cream – Adds a luscious finish; swap for whipped coconut cream for a delightful dairy-free version.
• Chocolate Shavings or Mint Candies – Enhances both flavor and decoration; colored sprinkles can be a fun substitute!
With this easy list in hand, you’re just a few steps away from creating these charming Shamrock Shake Pudding Cups that are sure to brighten up your St. Patrick’s Day!
Step‑by‑Step Instructions for Shamrock Shake Pudding Cups
Step 1: Prepare Puddings
Start by preparing the chocolate pudding according to the package instructions, which typically involves mixing the chocolate pudding mix with 2 cups of cold milk. Whisk until the mixture thickens, about 2 minutes. Then, in a separate bowl, repeat the process with the mint pudding mix, combining it with 2 cups of cold milk. Allow both puddings to set for about 5 minutes until creamy.
Step 2: Layer Pudding
Grab clear cups or dessert glasses for serving your Shamrock Shake Pudding Cups. Begin by adding a generous layer of the chocolate pudding to the bottom of each cup, smoothing it evenly with a spoon. Follow this layer with an equally portioned layer of the mint pudding, ensuring the colors remain distinct. The vibrant green and rich brown will create an eye-catching contrast.
Step 3: Chill
Once the pudding cups are layered, place them in the refrigerator for at least 30 minutes. This chilling time allows the puddings to firm up and sets the layers, making them easier to enjoy. You’ll know they’re ready when the layers hold their shape and are cool to the touch, perfect for a refreshing dessert.
Step 4: Garnish
Before serving your Shamrock Shake Pudding Cups, take them out of the fridge. Add a delightful dollop of whipped cream on top of each cup, giving it a fluffy and inviting appearance. To finish, sprinkle chocolate shavings or mint candies on the whipped cream for that extra festive flair. These finishing touches will enhance both the flavor and the visual appeal, making your dessert irresistible.
How to Store and Freeze Shamrock Shake Pudding Cups
Fridge: Store your Shamrock Shake Pudding Cups in the refrigerator for up to 3 days. Cover each cup tightly with plastic wrap to prevent them from absorbing any odors.
Freezer: While best enjoyed fresh, you can freeze the pudding cups for up to 1 month. Make sure they are double-wrapped in airtight containers to avoid freezer burn, though the texture may slightly change upon thawing.
Reheating: For optimal taste, thaw the frozen pudding cups in the fridge overnight before enjoying. Avoid microwaving, as it may disrupt the layers.
Make-Ahead: Prepare these pudding cups a day in advance! Just keep them covered in the refrigerator, and they’ll be perfectly set for your St. Patrick’s Day celebrations.
What to Serve with Shamrock Shake Pudding Cups
Elevate your St. Patrick’s Day gathering by pairing these delightful desserts with complementary dishes that enhance their festive charm.
-
Golden Fried Potatoes: Crispy on the outside and fluffy inside, these potatoes provide a savory contrast to the creamy sweetness of the pudding cups.
-
Fresh Garden Salad: A light, crisp salad with zesty vinaigrette offers a refreshing balance and keeps the meal from feeling overly indulgent.
-
Roasted Brussels Sprouts: The earthy, caramelized flavor of these roasted veggies adds depth to your spread while maintaining a healthy element.
-
Mint Milkshake: Dive deeper into the minty theme with a refreshing mint milkshake. The creamy texture mirrors the pudding cups and enhances the flavor profile.
-
Chocolate Chip Cookies: Classic chocolate chip cookies bring a familiar comfort and add a fun, crunchy texture that kids and adults alike will love.
-
Green Punch: Celebrate St. Patrick’s Day with a vibrant green punch. The fruity flavors will refresh your palate and keep the mood festive.
Shamrock Shake Pudding Cups Variations
Feel free to sprinkle your creativity into these delightful pudding cups with fun and tasty modifications!
-
Dairy-Free: Swap regular whipped cream for whipped coconut cream to make a delicious dairy-free version. It’s a wonderful alternative with a subtle tropical twist.
-
Vanilla Pudding: Use vanilla pudding instead of chocolate for a lighter flavor profile that still pairs beautifully with mint. This variation offers a different but delicious take on your festive treat!
-
Swirled Surprise: Combine chocolate and mint puddings in each cup for a marbled effect. The blended flavors create a unique twist that looks and tastes amazing.
-
Crunchy Additions: Incorporate crushed Oreo cookies between the layers for a delightful crunch. This adds texture and a surprising flavor boost in each bite.
-
Flavor Boost: Enhance the mint pudding with a few drops of peppermint extract for a stronger mint taste. Just a little goes a long way, creating a fresh and invigorating flavor.
-
Colorful Sprinkles: Instead of chocolate shavings, top with colored sprinkles to match St. Patrick’s Day vibes. It’s a playful addition that kids will adore!
-
Fruit Infusion: Add a layer of fresh fruit like raspberries or strawberries for a fruity contrast. It complements the creamy puddings beautifully while adding a refreshing twist!
For more inventive dessert ideas, don’t miss my enchanting Raspberry Chia Pudding or the rich and indulgent Tiramisu Chia Pudding options.
Make Ahead Options
These Shamrock Shake Pudding Cups are a fantastic choice for meal prep, allowing you to focus on enjoying the festivities! You can prepare both the chocolate and mint puddings up to 24 hours in advance; just refrigerate them in separate airtight containers to keep the flavors fresh. Layer the puddings into cups a few hours before serving for optimal texture. When you’re ready to serve, simply top each cup with whipped cream and your choice of garnishes—this ensures they remain just as delightful as when first made. With this make-ahead strategy, you’ll have more time to celebrate without sacrificing the joy of homemade treats!
Expert Tips for Shamrock Shake Pudding Cups
-
Chill Thoroughly: Ensure both pudding layers are well-chilled before assembling to maintain distinct layers and avoid mixing.
-
Use Clear Cups: Opt for clear cups or glasses; they showcase the beautiful layers and add a charming touch to your presentation.
-
Whip It Right: For perfect whipped cream, use a chilled bowl and beat until soft peaks form—this ensures fluffiness that enhances your dessert.
-
Limit Garnish: Be mindful with toppings; a little goes a long way in this dessert. Too much can overpower the delicate flavors of the Shamrock Shake Pudding Cups.
-
Prep Ahead: Make these pudding cups a day in advance, allowing the flavors to meld and saving you time on the day of the celebration.
Shamrock Shake Pudding Cups Recipe FAQs
What type of milk can I use for the puddings?
Absolutely! You can use any type of milk, including whole, skim, almond, or soy milk, to create your Shamrock Shake Pudding Cups. Each milk will lend a different flavor profile, so feel free to choose the one that suits your taste or dietary needs best. I often use almond milk for a nutty undertone!
How should I store leftover pudding cups?
To keep your Shamrock Shake Pudding Cups fresh, store them in the refrigerator for up to 3 days. Simply cover each cup tightly with plastic wrap or a lid to prevent any odors from affecting the flavors. Enjoy them chilled for a delightful and refreshing treat!
Can I freeze these pudding cups?
Yes, you can freeze your pudding cups for up to 1 month! To do this, transfer them to airtight containers or double-wrap them in plastic wrap and aluminum foil to prevent freezer burn. However, please note that the texture might change slightly upon thawing, so I recommend enjoying them fresh whenever possible.
What do I do if my pudding doesn’t set properly?
If your pudding hasn’t thickened as expected, double-check that you’ve followed the package instructions correctly. Sometimes, a longer whisking time (about a minute more) can do the trick! If you’re still having trouble, allow it to sit for a few more minutes, as it may need extra time to set. If all else fails, a few drops of cornstarch mixed with a bit of cold milk and stirred in can help thicken it up.
Are these pudding cups suitable for people with allergies?
For those with dietary restrictions, these Shamrock Shake Pudding Cups can easily be modified! Use dairy-free milk and whipped coconut cream for a vegan option. Additionally, ensure that the pudding mixes you choose are free from common allergens, like gluten or nuts, if that is a concern. Always check labels for safety!
Can I make these pudding cups a day in advance?
Very much so! In fact, making your Shamrock Shake Pudding Cups a day in advance enhances their flavor as they have more time to set and meld together in the fridge. Just cover them tightly and store them in the refrigerator to keep them fresh!

Delicious Shamrock Shake Pudding Cups Perfect for St. Patrick's Day
Ingredients
Equipment
Method
- Prepare the chocolate pudding according to the package instructions by mixing the chocolate pudding mix with 2 cups of cold milk. Whisk until thickened, about 2 minutes. In a separate bowl, repeat the process with the mint pudding mix and 2 cups of cold milk. Allow both puddings to set for about 5 minutes until creamy.
- Layer the chocolate pudding at the bottom of each clear cup or dessert glass, smoothing it evenly. Follow with an equally portioned layer of the mint pudding, ensuring the colors remain distinct.
- Chill the pudding cups in the refrigerator for at least 30 minutes until they firm up and the layers hold their shape.
- Before serving, add a dollop of whipped cream on top of each cup and sprinkle with chocolate shavings or mint candies for festive flair.
Leave a Reply