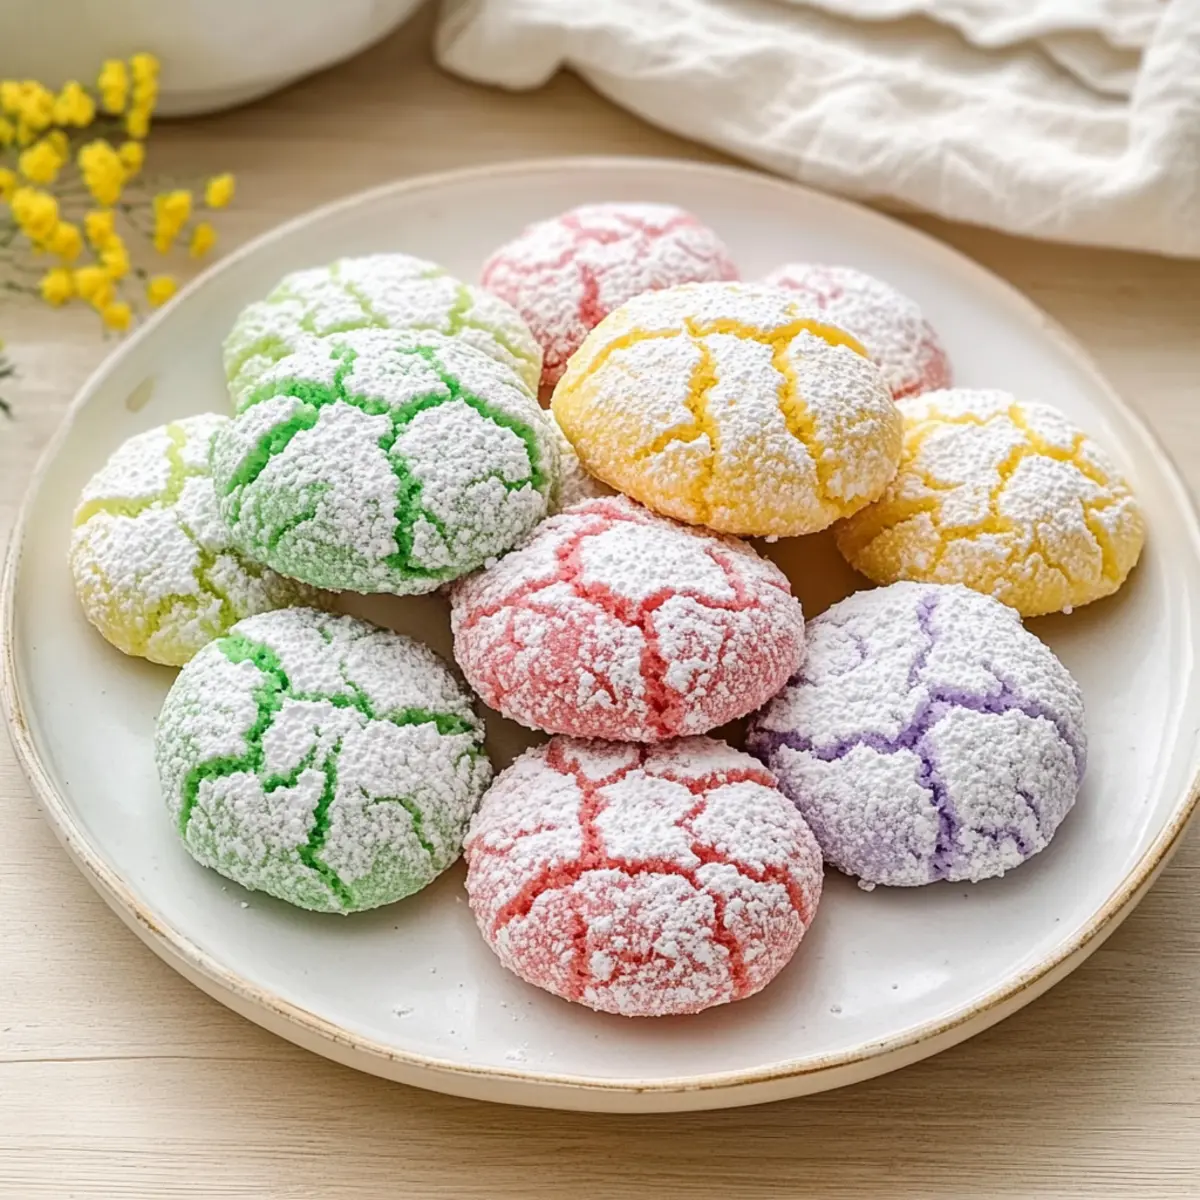
As I stood in my kitchen with the first hints of spring wafting through the open window, the urge to bake something vibrant and cheerful hit me hard. That’s when I decided to whip up a batch of Springtime Crinkle Cookies. Bursting with pastel colors and delightful sweetness, these easy dessert cookies are not only a feast for the eyes but also a treat that everyone can get behind. Perfect for Easter gatherings or just a sunny afternoon at home, they offer the joy of simple baking with impressive flair. Plus, they’re beginner-friendly—ideal for bringing the family into the fun! Are you ready to fill your space with the delightful aroma of fresh cookies and springtime happiness? Let’s dive in!
Why are Springtime Crinkle Cookies a must-try?
Bright, cheerful flavors: These cookies bring a dose of spring sunshine to your baking with their delightful pastel colors and sweet vanilla-almond twist.
Easy to make: With just a few simple steps, even novice bakers can whip up a batch in no time!
Perfect for gatherings: Whether it’s an Easter brunch or a picnic, these treats are sure to impress friends and family alike.
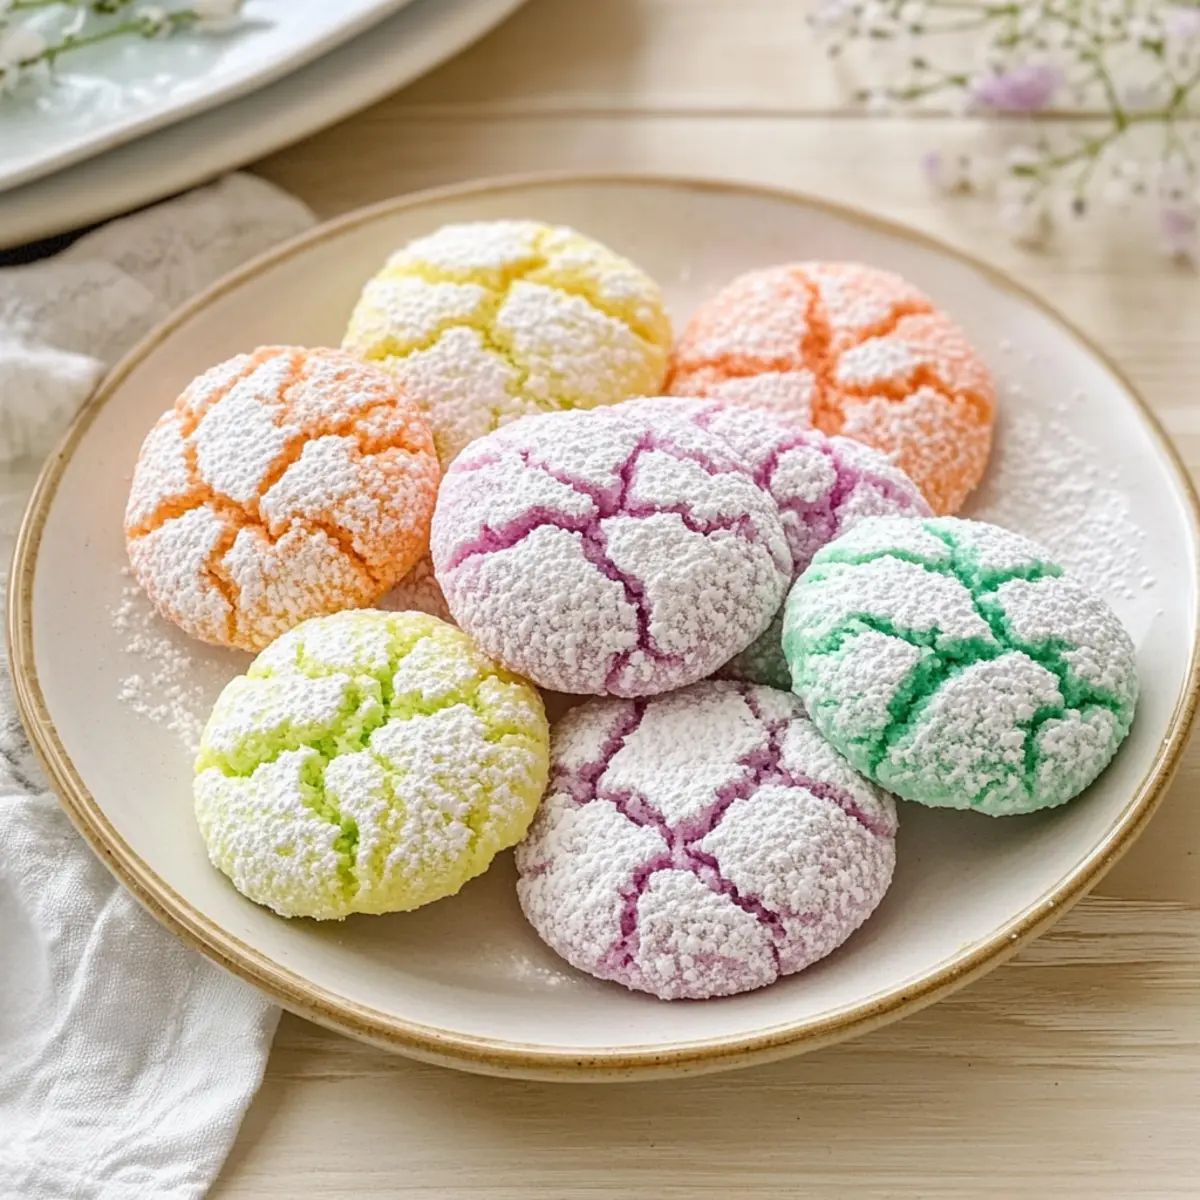
Visual appeal: The charming crinkle tops create an eye-catching display that’s as fun to look at as they are to eat.
Versatile delights: Feel free to experiment with different gel food colors or flavors, making each batch uniquely yours. Don’t forget to check out similar creations like Almond Cherry Cookies for more sweet inspiration!
Springtime Crinkle Cookies Ingredients
• Here’s everything you need to create these delightful pastel treats!
For the Cookie Dough
- All-Purpose Flour – Provides structure and texture. No substitutions recommended.
- Baking Powder – Acts as a leavening agent for cookie lift. Essential to the recipe.
- Salt – Enhances flavor balance. A pinch is sufficient.
- Unsalted Butter (½ cup, softened) – Adds richness and moisture. Can substitute with vegan butter for a dairy-free option.
- Granulated Sugar (1 cup) – Sweetens and contributes to cookie texture. No substitutes needed for sweetness.
- Large Eggs (2) – Binds ingredients together for a moist texture. Egg substitutes may alter the final consistency.
- Vanilla Extract (1 teaspoon) – Offers comforting aroma and enhances flavor depth. Use pure extract for best results.
- Almond Extract (½ teaspoon, optional) – Adds a subtle nutty flavor. Omit or replace with another extract based on preference.
For the Crinkle Coating
- Powdered Sugar (½ cup, for coating) – Creates the signature crinkle effect. Essential for visual presentation.
- Gel Food Coloring – Transforms cookies into pastel shades; recommended to use gel to avoid thinning the dough.
Step‑by‑Step Instructions for Springtime Crinkle Cookies
Step 1: Preheat the Oven
Begin by preheating your oven to 350°F (175°C). While the oven heats up, take a baking sheet and line it with parchment paper to ensure easy cookie removal and maintain their beautiful shapes. Visualize the warm, gentle heat ready to give life to your Springtime Crinkle Cookies!
Step 2: Combine the Dry Ingredients
In a medium bowl, whisk together 1 ½ cups of all-purpose flour, 2 teaspoons of baking powder, and a pinch of salt. This mixture is essential for the cookie’s structure and lift. As you combine, feel the lightness of the flour—this will prepare your cookies for that perfect chewy texture!
Step 3: Cream the Wet Ingredients
In a large mixing bowl, beat together ½ cup of softened unsalted butter and 1 cup of granulated sugar until the mixture is light and fluffy, about 3-5 minutes. Add in 2 large eggs one at a time, ensuring well-blended consistency, followed by 1 teaspoon of vanilla extract and ½ teaspoon of almond extract. The aroma will begin to fill the air, signaling that your dough is coming together beautifully.
Step 4: Form the Dough
Gradually add the dry mixture to your wet ingredients, stirring gently until a thick dough forms. Divide the dough into manageable portions, then mix in gel food coloring until the desired pastel shades are achieved. Each swirl of color will make your Springtime Crinkle Cookies bright and festive, instantly lifting your spirits!
Step 5: Chill the Dough
Cover the bowl with plastic wrap and place it in the refrigerator for at least 30 minutes. Chilling the dough helps firm it up for easier shaping, leading to perfectly crinkled cookies. As you wait, envision the delightful treats you’re about to create, filled with spring joy!
Step 6: Shape the Cookies
After chilling, scoop tablespoon-sized pieces of dough and roll them into smooth balls. Generously coat each ball with ½ cup of powdered sugar, ensuring an even layer that will create the signature crinkle effect during baking. Place the dough balls about 2 inches apart on the prepared baking sheet, ready for the oven’s warm embrace.
Step 7: Bake the Cookies
Bake your cookies in the preheated oven for 10-12 minutes, or until the tops crack and edges are set while still soft in the center. The visual cue of cracking will let you know they’re perfectly done! Allow them to cool on the baking sheet for a few minutes before gently transferring to a wire rack. Your Springtime Crinkle Cookies are on the verge of turning heads and tantalizing taste buds!
Expert Tips for Springtime Crinkle Cookies
- Chill the Dough: Chill your dough for at least 30 minutes to help control spreading and achieve that perfect crinkle texture when baked.
- Use Enough Powdered Sugar: Coat your dough balls generously in powdered sugar. This coating is crucial for getting the charming crinkle effect after baking.
- Watch the Bake Time: Keep an eye on the cookies while they bake; you want soft centers, so start checking around the 10-minute mark.
- Adjust for Stickiness: If the dough is too sticky, use a dusting of powdered sugar on your hands to make rolling easier without adding extra flour.
- Storage Tips: Store the Springtime Crinkle Cookies in an airtight container at room temperature for up to five days, or freeze them for up to three months to enjoy later.
What to Serve with Springtime Crinkle Cookies
Savor the burst of cheerful sweetness that these whimsical treats bring, and make your gathering even more special with some delightful pairings!
-
Lavender Lemonade: This refreshing beverage complements the cookie’s sweetness with a floral twist, offering a light and fragrant sip.
-
Fresh Berries Bowl: A vibrant medley of strawberries, blueberries, and raspberries introduces a burst of juicy flavor, contrasting nicely with the chewy texture of the cookies. You’ll find that their tartness balances the sweetness brilliantly.
-
Whipped Cream: Light and airy, a dollop of freshly whipped cream enhances the cookies with its creamy richness, creating a wonderful contrast that feels indulgent yet light.
-
Herbal Tea Selection: Choose calming herbal teas like chamomile or mint that won’t overpower the cookie flavors, creating a soothing moment to relish.
-
Chocolate Dipping Sauce: For an extra touch of decadence, serve a warm chocolate sauce for dunking. The rich, velvety chocolate pairs beautifully with the cookie’s vanilla-almond notes.
-
Simple Vanilla Ice Cream: A scoop of creamy vanilla ice cream harmonizes beautifully, adding a cool counterbalance to the warm cookies and enhancing their festive charm.
Springtime Crinkle Cookies: Endless Possibilities
Ready to unleash your creativity in the kitchen? These colorful treats invite you to explore delightful twists, making each batch uniquely yours!
- Dairy-Free: Substitute unsalted butter with vegan butter or coconut oil for a delicious dairy-free version that tastes just as good.
- Nut-Free: Omit almond extract and bonus—try using orange or lemon extract for a zesty flavor and light fragrance!
- Flour Alternatives: Swap all-purpose flour with gluten-free flour blend for a gluten-free cookie that everyone can savor.
- Flavors Galore: Mix in a teaspoon of lemon zest for a fresh, citrusy twist that brightens the overall flavor of the cookies.
- Textural Contrast: Add a handful of white chocolate chips for a creamy richness that beautifully complements the chewy cookie base.
- Tex-Mex Twist: Incorporate a pinch of cinnamon to the dough for a delightful, warm spice that adds a flavorful surprise in each bite.
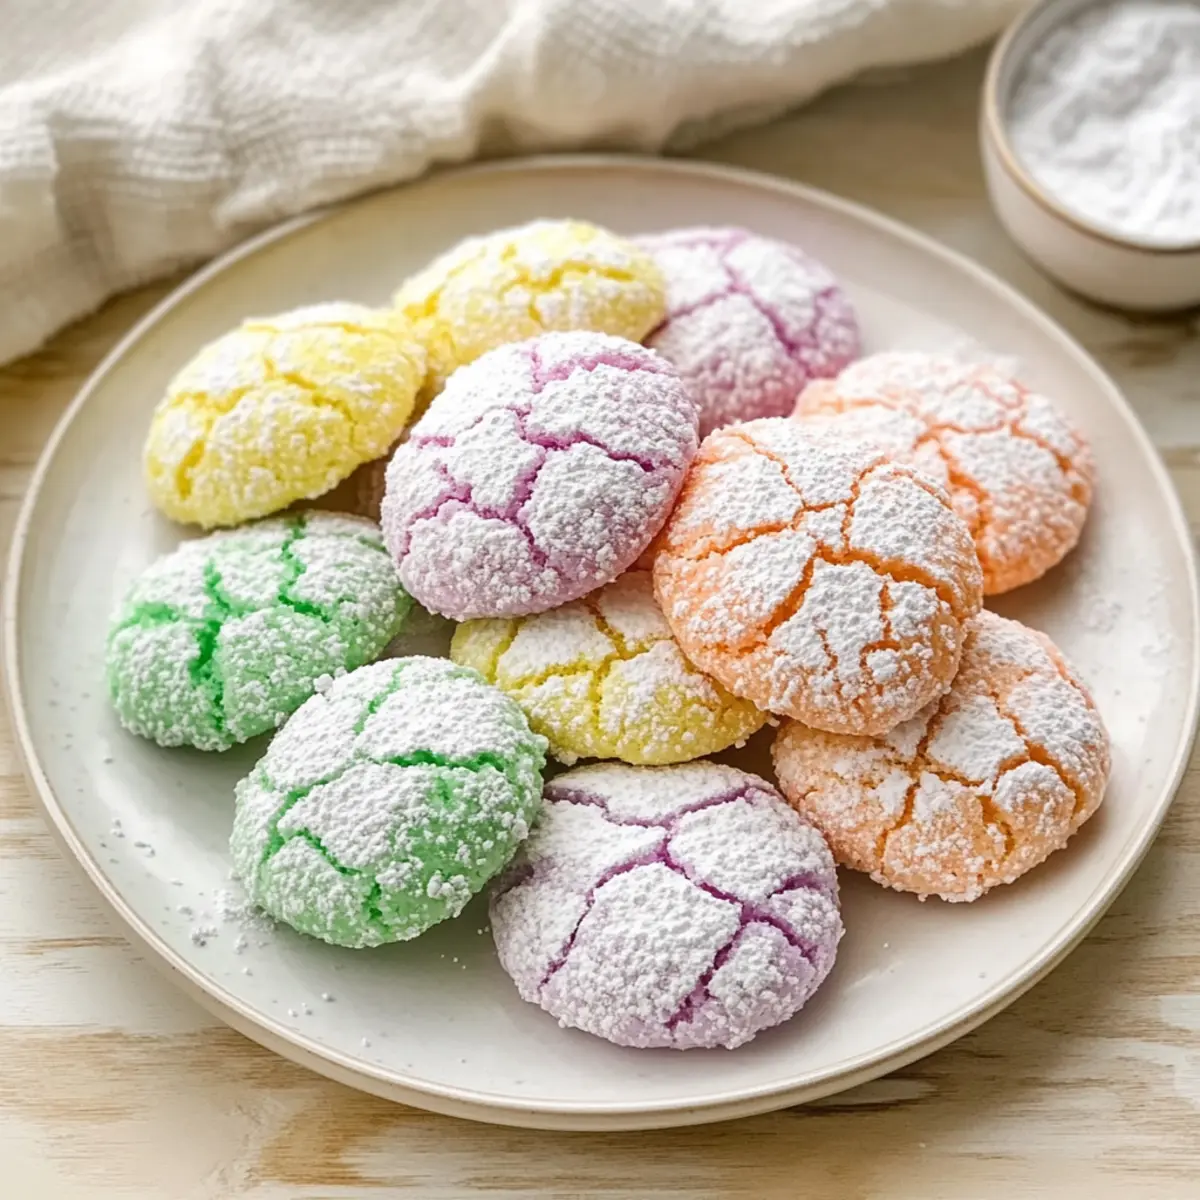
- Heavy on Color: Consider using a mix of gel colors to create a tie-dye effect for a playful and eye-catching presentation that amazes everyone.
- Fruity Fusion: Fold in chopped freeze-dried fruits like strawberries or raspberries to introduce bursts of flavorful sweetness in every crinkle!
The options are endless, and the fun never stops! Don’t forget to try your hand at other scrumptious recipes, just like these Almond Cherry Cookies to keep your baking adventures exciting. Happy baking!
How to Store and Freeze Springtime Crinkle Cookies
Room Temperature: Store cookies in an airtight container at room temperature, where they’ll stay fresh for up to 5 days. Keep them away from direct sunlight to maintain their vibrant colors.
Freezer: If you want to enjoy these delightful cookies later, freeze them in a single layer on a baking sheet, then transfer to an airtight container for up to 3 months.
Reheating: To bring back the chewy texture, simply thaw them overnight in the fridge, and warm in the microwave for about 10 seconds or until just warmed. Enjoy the sweet nostalgia of your Springtime Crinkle Cookies!
Dough Storage: You can also refrigerate the cookie dough for up to 24 hours before baking. If it’s too hard after chilling, allow it to sit at room temperature for a few minutes before shaping.
Make Ahead Options
These Springtime Crinkle Cookies are perfect for busy home cooks looking to streamline their baking! You can prepare the cookie dough up to 24 hours in advance by mixing all the ingredients and storing the dough tightly wrapped in plastic wrap in the refrigerator. This will keep the dough fresh and prevent it from drying out. If you prefer, you can also shape the cookie balls, coat them with powdered sugar, and freeze them for up to 3 months. When ready to bake, simply take them out and place them on a baking sheet. Bake straight from the freezer for an extra minute. Whether you’re hosting a gathering or just want a sweet treat on hand, these make-ahead options will help you enjoy delicious Springtime Crinkle Cookies with minimal effort!
Springtime Crinkle Cookies Recipe FAQs
What type of food coloring should I use for vibrant colors?
I highly recommend using gel food coloring for your Springtime Crinkle Cookies. Gel colors provide more saturation without thinning the dough, ensuring your cookies maintain their structure and delightful pastel hues.
How should I store the cookies for maximum freshness?
To keep your cookies at their best, store them in an airtight container at room temperature for up to 5 days. Just ensure they’re kept away from direct sunlight to preserve their lovely colors and flavors!
Can I freeze Springtime Crinkle Cookies?
Absolutely! You can freeze these delightful cookies for up to 3 months. Simply place them in a single layer on a baking sheet to freeze them firm, then transfer to an airtight container or freezer bag. When you’re ready to enjoy, thaw them in the refrigerator overnight, and if you prefer, warm them in the microwave for a few seconds to restore their chewy texture.
What should I do if my cookie dough is too sticky?
If your dough feels overly sticky while rolling, don’t worry! Dust your hands lightly with powdered sugar. This will help prevent the dough from sticking without adding more flour, ensuring you achieve that perfect crinkle finish when baked.
Are there any dietary considerations when making these cookies?
Yes, if you’re looking for a dairy-free version, you can substitute the unsalted butter with vegan butter. Additionally, if you have specific allergies such as nut allergies, you might want to omit the almond extract or replace it with a different flavor extract according to your preference. Always check ingredient labels to ensure safety!

Springtime Crinkle Cookies: Sweet Chewy Joys for Every Occasion
Ingredients
Equipment
Method
- Preheat your oven to 350°F (175°C) and line a baking sheet with parchment paper.
- In a medium bowl, whisk together all-purpose flour, baking powder, and a pinch of salt.
- In a large bowl, beat together softened butter and sugar until light and fluffy, then add eggs, vanilla extract, and almond extract.
- Gradually add the dry mixture to your wet ingredients, stirring until a thick dough forms. Mix in gel food coloring as desired.
- Cover the bowl with plastic wrap and refrigerate for at least 30 minutes.
- Scoop tablespoon-sized dough and roll into balls, coat each ball with powdered sugar, and place them on the baking sheet.
- Bake for 10-12 minutes, until the tops crack and edges are set. Allow to cool before transferring to a wire rack.
Leave a Reply