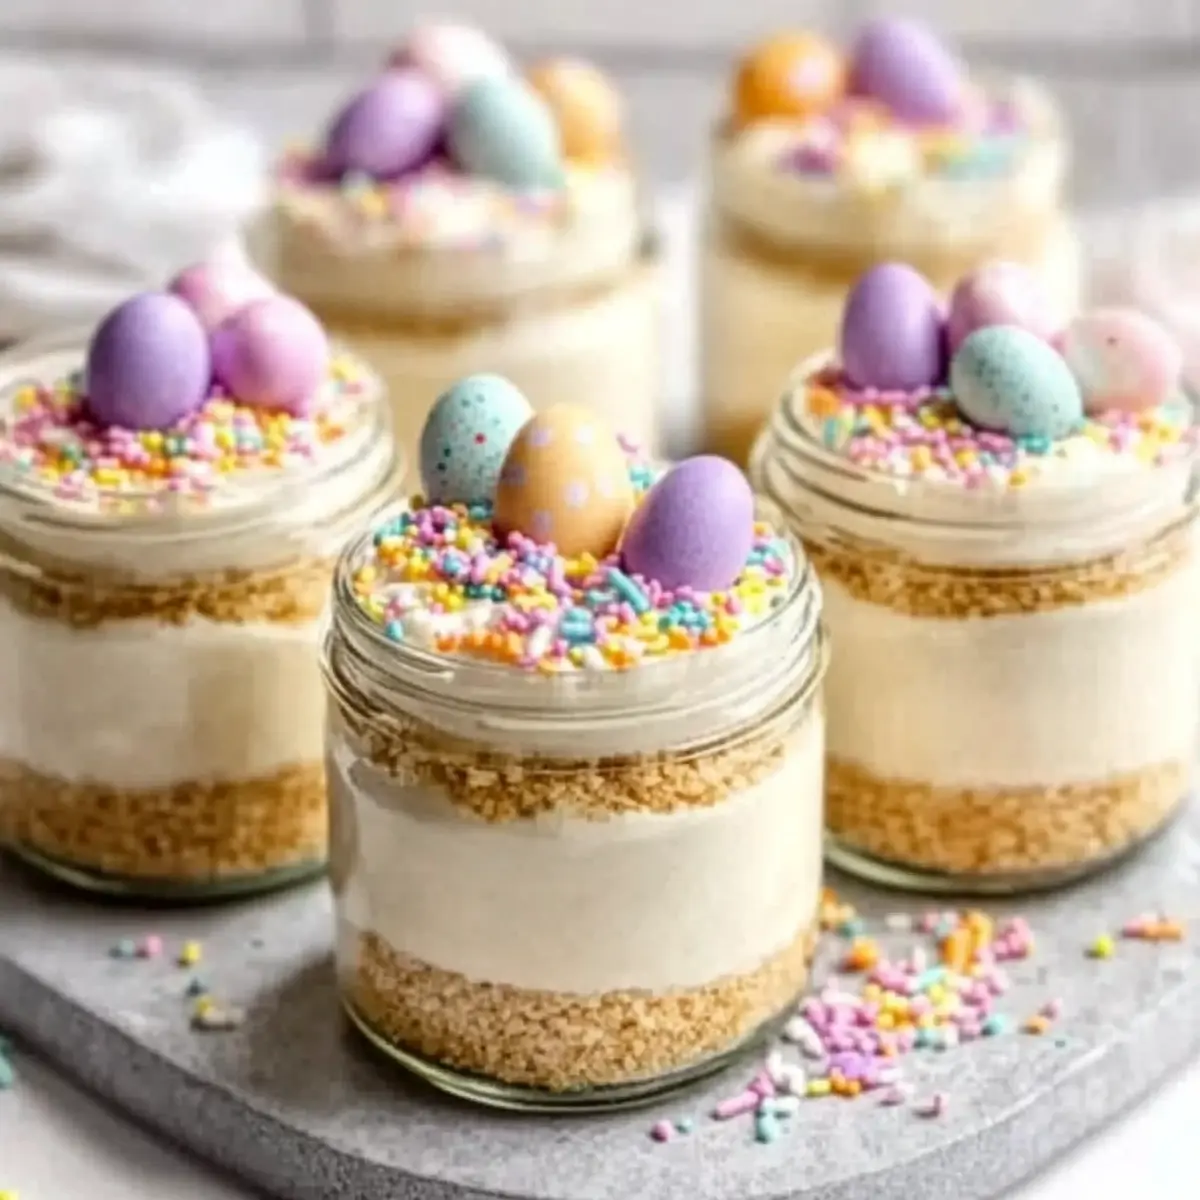
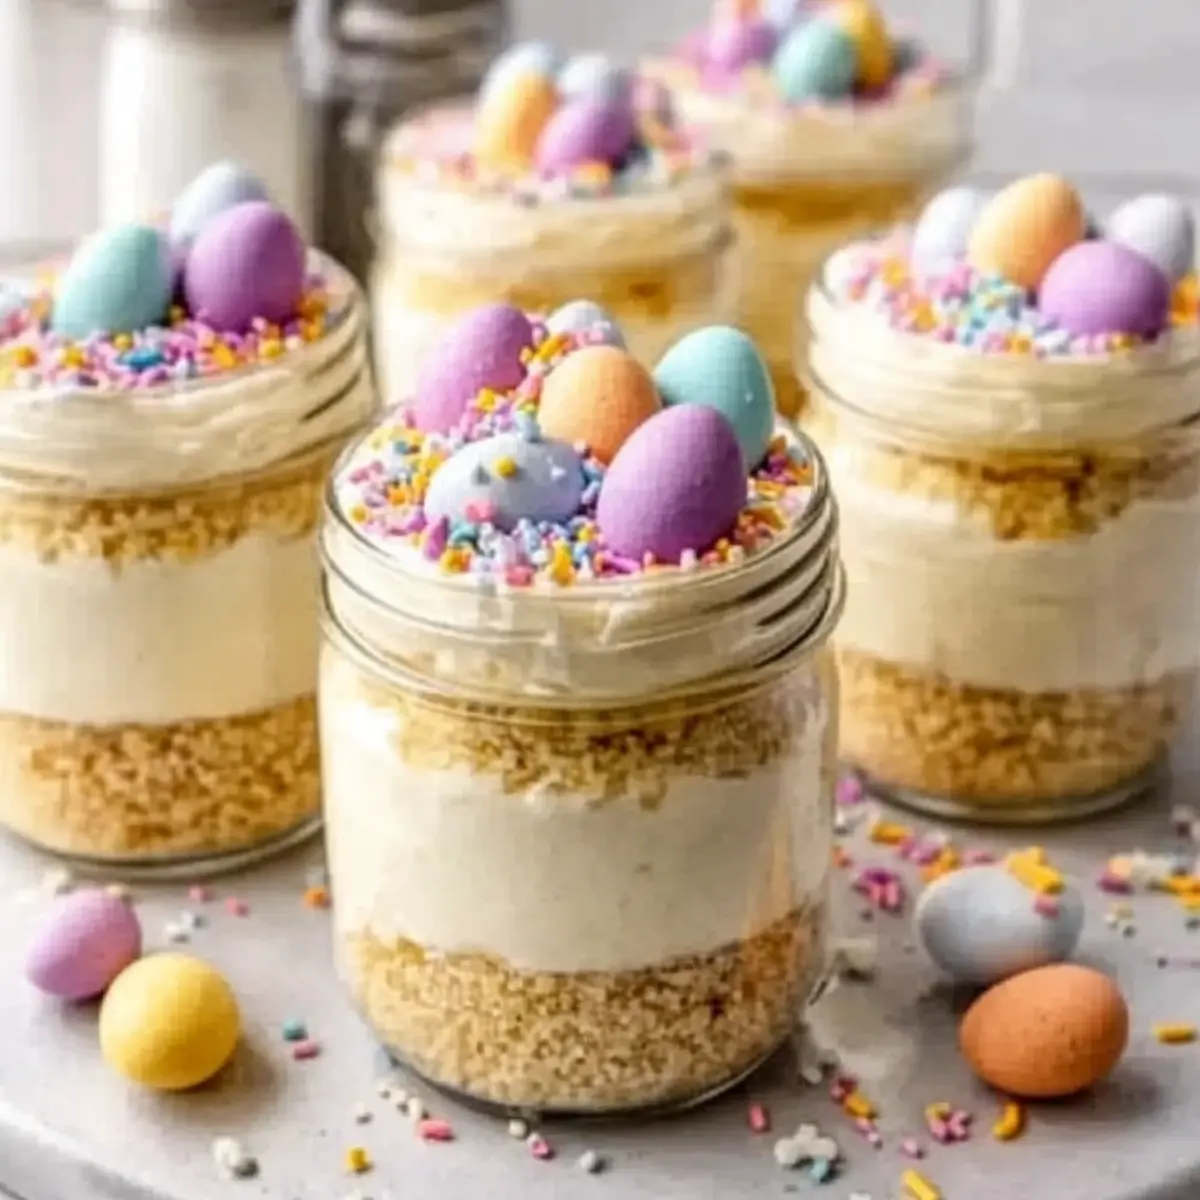
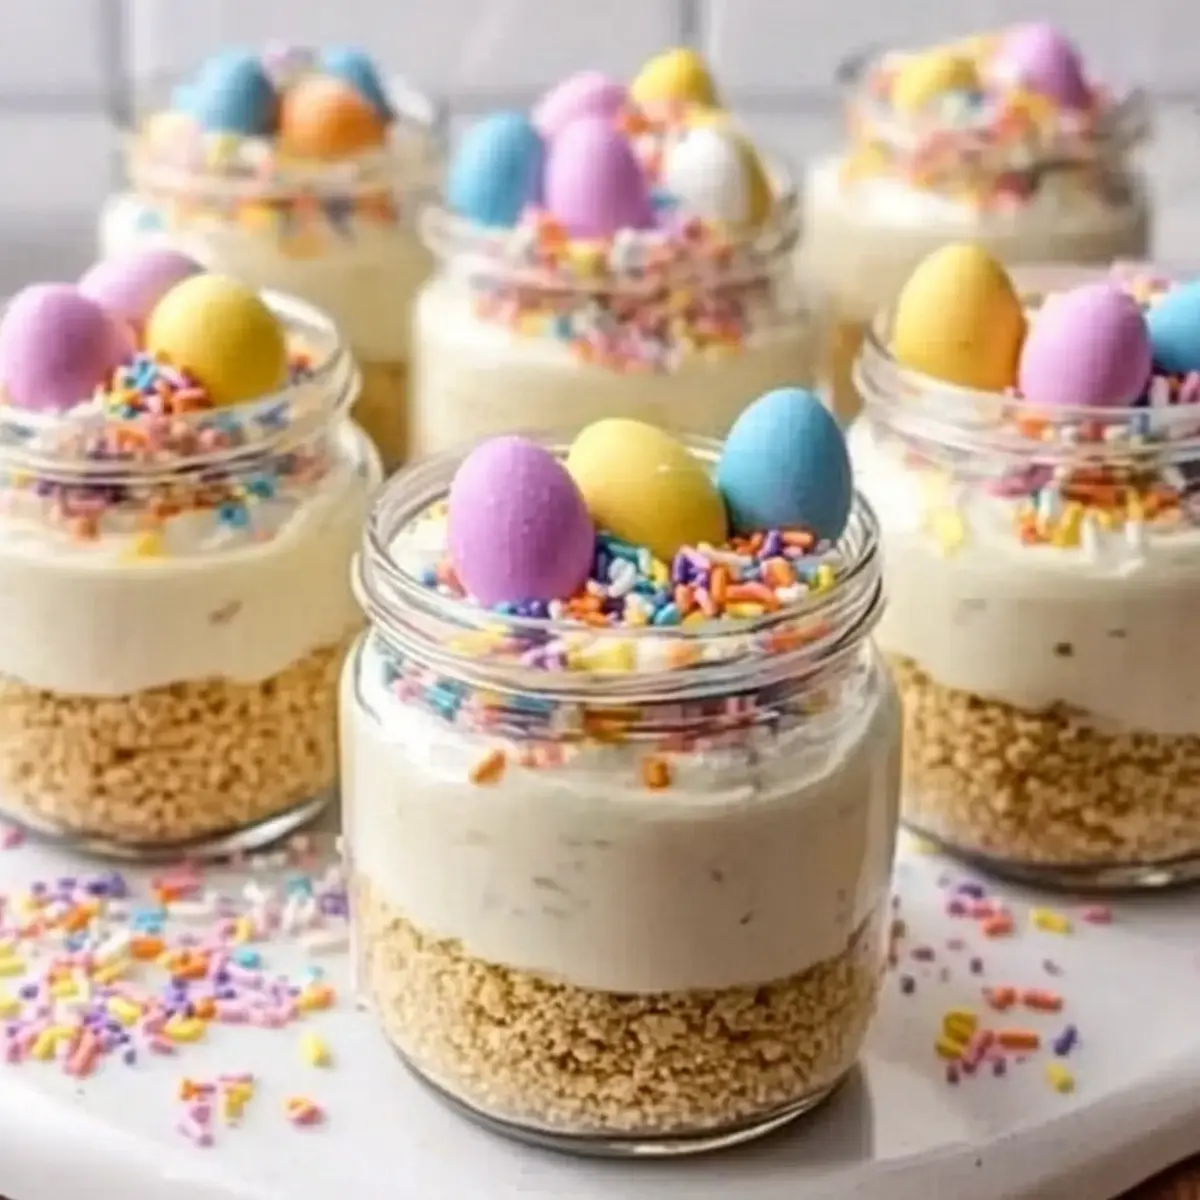
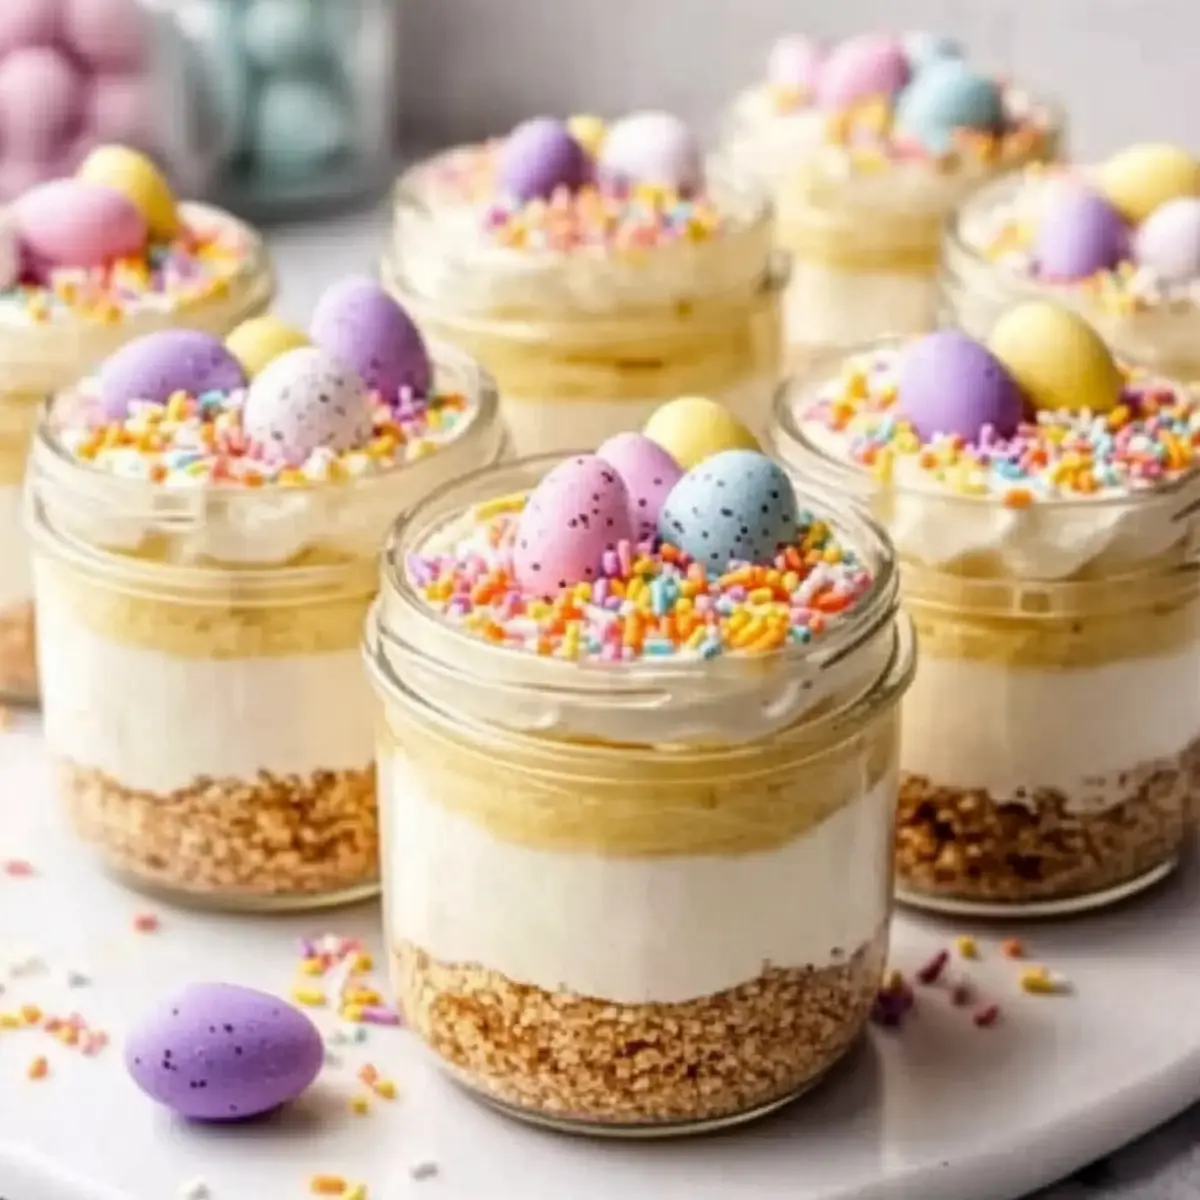
As the first blooms of spring emerge, I find myself craving light and festive desserts that celebrate the season. Enter the delightful Mini Easter Cheesecake Jars, a no-bake treat that combines creamy cheesecake and a buttery cookie crust, all beautifully packaged in individual servings! Not only are these charming jars perfect for spring gatherings and family celebrations, but they also offer the convenience of being made ahead of time—just chill and serve. Plus, they promise to be a hit with both kids and adults, making dessert time a joyful occasion. Ready to add a splash of color and sweetness to your table this Easter? Let’s dive in!
Why You’ll Love Mini Easter Cheesecake Jars
No-Bake Convenience: This recipe is perfect for those busy spring days when you want a delightful dessert without turning on the oven. Simply whip, assemble, and chill!
Kid-Friendly Fun: The vibrant layers and colorful toppings make these jars not just delicious but fun for kids. They can even help decorate each jar with their favorite treats!
Portion Control: Individual jars mean everyone gets their own serving, reducing the temptation to overindulge while still enjoying all the creamy goodness of cheesecake.
Versatile Flavor: Feel free to get creative! Try swapping vanilla for lemon extract to brighten flavors, or add layers of strawberry compote for a fruity twist.
Perfect for Celebrations: Whether it’s an Easter brunch or a spring potluck, these jars are sure to impress your guests and bring a festive spirit to your table.
For more sweet inspiration, check out these Mini Keto Crustless cheesecakes that are equally delightful and easy to make!
Mini Easter Cheesecake Jars Ingredients
• Everything you need for this delightful treat!
For the Crust
- Graham Cracker Crumbs – This forms the base of your crust; feel free to substitute with digestive biscuits if preferred.
- Unsalted Butter – Binds the crust ingredients together; coconut oil can be used for a dairy-free option.
- Sugar – Adds a touch of sweetness to the crust—consider using alternative sweeteners as a variation.
- Pinch of Salt – Enhances the overall flavor of the crust.
For the Cheesecake Filling
- Cream Cheese – The star of the filling; remember to soften it for easy mixing, but don’t over-soften!
- Powdered Sugar – Sweetens the filling while giving it a smooth texture.
- Vanilla Extract – Imparts a lovely flavor; almond extract can be a delightful substitute.
- Lemon Juice – Adds brightness and a hint of tang; use lime juice for a refreshing change.
- Cold Heavy Whipping Cream – Essential for a rich texture in the filling; whip to medium-stiff peaks for best results.
For Decorating (Optional)
- Gel Food Coloring – Use pastel shades to keep your jars festive and spring-like.
- Toppings – Mini chocolate eggs, jelly beans, pastel sprinkles, and shredded coconut dyed green for “grass” add whimsy and charm to your Mini Easter Cheesecake Jars.
Step‑by‑Step Instructions for Mini Easter Cheesecake Jars
Step 1: Prepare the Crust
In a medium bowl, combine graham cracker crumbs, melted unsalted butter, sugar, and a pinch of salt. Stir until the mixture resembles wet sand. Spoon 2 to 3 tablespoons into the bottom of each jar, then press down firmly with the back of a spoon to form a stable crust layer. Set aside to maintain the shape while you make the filling.
Step 2: Whip the Cream
In a separate mixing bowl, pour in the cold heavy whipping cream. Using an electric mixer, whip the cream on medium-high speed until it reaches medium-stiff peaks, about 3-5 minutes. Once whipped, set it aside carefully—it will fold into the creamy cheesecake filling later, adding a light texture to your Mini Easter Cheesecake Jars.
Step 3: Prepare the Cheesecake Filling
In another bowl, beat together softened cream cheese, powdered sugar, vanilla extract, and lemon juice using an electric mixer. Mix for about 1-2 minutes until the mixture is completely smooth and creamy, with no lumps remaining. This filling will give your Mini Easter Cheesecake Jars their luscious texture, so ensure it’s well combined for the best results.
Step 4: Combine Mixtures
Gently fold the whipped cream into the prepared cream cheese mixture. Do this in two additions, using a rubber spatula to carefully incorporate without deflating the whipped cream. Continue folding until you see no streaks of whipped cream, and the filling is light and fluffy. This step creates the airy texture that makes your cheesecake jars so delightful.
Step 5: Add Color (Optional)
If you’d like to add a festive spring touch, now is the time to tint your cheesecake filling. Use gel food coloring, starting with a small amount and mixing it in until you achieve the desired pastel shade. Keep the colors light to maintain a vibrant look for your Mini Easter Cheesecake Jars, perfect for the holiday celebrations.
Step 6: Fill the Jars
With a piping bag or spoon, carefully fill each jar with the cheesecake mixture over the prepared crusts. Leave a little space at the top for your fun toppings. Make sure the filling is evenly distributed and gently smooth the tops for a polished look. This layered approach not only looks beautiful but also enhances the flavors.
Step 7: Chill the Cheesecakes
Cover each jar with a lid or plastic wrap and refrigerate the Mini Easter Cheesecake Jars for at least 2 hours or up to 24 hours. Chilling helps the cheesecake filling set properly, enhancing the flavors and the overall texture. Enjoy the anticipation as your delightful spring treats firm up in the fridge!
Step 8: Decorate and Serve
Just before serving, unleash your creativity by adding festive toppings to each jar. Consider using mini chocolate eggs, jelly beans, pastel sprinkles, or shredded coconut dyed green to mimic grass. These charming decorations add visual appeal and a touch of whimsy to your Mini Easter Cheesecake Jars—perfect for impressing guests and making memories!
Mini Easter Cheesecake Jars Variations
Get ready to sprinkle your own magic into these delightful jars with fabulous twists and substitutions!
-
Dairy-Free: Substitute cream cheese with cashew cream and use coconut whipped cream for a vegan indulgence.
-
Lemon Zing: Swap vanilla extract for lemon extract and toss in some lemon zest for a refreshing citrus brightness.
-
Chocolate Delight: Use chocolate cookie crumbs instead of graham crackers to create a decadent chocolate crust that kids will adore. The rich chocolate flavor pairs beautifully with the creamy filling.
-
Layered Goodness: Introduce layers of strawberry or raspberry compote between the crust and filling for an added fruity surprise that will elevate every bite.
-
Nutty Twist: Mix some crushed pistachios into the cheesecake filling for added texture and a unique flavor profile that will delight the taste buds. Consider drizzling honey or agave on top for a touch of sweetness.
-
Flavor Fusion: Add a spoonful of almond extract instead of vanilla for a delightful nutty flavor that pairs beautifully with the creaminess of the cheesecake.
-
Fun Colors: Use gel food coloring to tint both the filling and whipped cream in pastel shades, making your jars extra festive! This small touch brings the spirit of spring right into each delightful serving.
-
Decadent Toppings: Elevate your jars with crushed Oreo cookies or a sprinkle of toasted coconut on top—perfect for adding a fun crunch to each creamy bite. Consider topping some jars with jelly beans for a whimsical look and added sweetness.
For another sweet spin, you might want to try these delicious Mini Keto Crustless treats—perfect for variety at your next gathering!
What to Serve with Mini Easter Cheesecake Jars
Imagine an inviting table adorned with delightful pairings that elevate your celebration and bring smiles to every guest.
- Fresh Berries: Bright and juicy strawberries, blueberries, and raspberries add a burst of fruity freshness that perfectly complements the creamy cheesecake.
- Spring Salads: A light, zesty arugula salad with lemon vinaigrette can balance the richness of the dessert, creating a harmonious meal.
- Chocolate-Covered Almonds: The crunchy texture and rich flavor of chocolate almonds provide a sweet contrast that pairs wonderfully with the creamy jars.
- Whipped Cream: Serve a dollop of freshly whipped cream alongside the jars for added fluffiness and a nostalgic touch of indulgence.
- Iced Tea with Mint: A refreshing glass of iced tea, infused with fresh mint, brings a revitalizing lift perfect for sunny spring gatherings.
- Mini Fruit Tarts: For a delightful double dessert, mini fruit tarts add a crunchy pastry texture and an array of colorful fruits that mirror the cheerful vibes of Easter.
- Sparkling Lemonade: Toast to spring with bubbly sparkling lemonade, which offers a citrusy zing and festive sparkle to your celebration.
- Butterfly Pea Flower Tea: The striking blue color of this tea adds a whimsical touch to your table; when lemon is added, it turns a vibrant purple—just perfect for kids and adults alike!
Storage Tips for Mini Easter Cheesecake Jars
Fridge: Keep jars covered in the fridge for up to 3 days to maintain freshness and flavor. This way, you can conveniently enjoy a delicious dessert any time!
Freezer: For longer storage, freeze jars without toppings for up to 1 month. Thaw them in the fridge overnight before serving to regain the perfect creamy consistency.
Serving: Before serving, add your favorite toppings to keep them vibrant and crunchy. Wait until just before enjoying to maintain texture and visual appeal.
Make-Ahead: These Mini Easter Cheesecake Jars are perfect for preparation in advance. Just chill and serve at your next gathering for a delightful spring treat!
Make Ahead Options
These Mini Easter Cheesecake Jars are absolutely perfect for meal prep, allowing you to enjoy delicious desserts without last-minute stress! You can prepare the crust and filling up to 24 hours in advance; simply store them separately in the refrigerator. Assemble the jars by layering the crust, filling, and toppings just before serving to maintain their delightful texture and visual appeal. Make sure to tightly cover the jars to keep them fresh and prevent any drying out. If you want to prep even further ahead, the unfilled jars can be refrigerated for up to 3 days. Just remember to add your colorful toppings right before serving for that fun, festive look!
Expert Tips for Mini Easter Cheesecake Jars
Cream Cheese Care: Ensure your cream cheese is softened but not over-softened to avoid a runny filling. This is key for perfect Mini Easter Cheesecake Jars.
Whip Wisely: When whipping cream, aim for medium-stiff peaks. This will give your cheesecake filling a light, airy texture, so avoid under or over-whipping.
Folding Technique: Be gentle when folding whipped cream into the cream cheese mixture to maintain volume. Over-mixing can deflate the lightness you’ve worked to achieve.
Crust Firmness: Make sure to press the crust mixture firmly into the jars. A well-packed crust prevents it from crumbling when you enjoy these delicious jars.
Last-Minute Toppings: Add toppings right before serving to maintain their texture and color. This ensures that your Mini Easter Cheesecake Jars look fresh and inviting!
Mini Easter Cheesecake Jars Recipe FAQs
What is the best way to select ripe lemons for this recipe?
For the best flavor, look for lemons that are slightly squishy to the touch, which indicates juiciness. Choose ones that have a bright yellow color and are firm, avoiding any that feel hard or have dark spots.
How should I store leftover Mini Easter Cheesecake Jars?
You can keep your Mini Easter Cheesecake Jars covered in the fridge for up to 3 days. This method helps maintain their freshness and creamy texture, making your dessert conveniently enjoyable at any time!
Can I freeze Mini Easter Cheesecake Jars, and if so, how?
Absolutely! To freeze, simply remove any toppings from the jars and cover them tightly with plastic wrap or a lid. You can freeze them for up to 1 month. When you’re ready to enjoy, transfer them to the fridge to thaw overnight. This will help retain their delightful creaminess.
What should I do if my whipped cream doesn’t reach medium-stiff peaks?
If your whipped cream hasn’t thickened as desired, ensure you’re starting with cold cream and use an electric mixer on medium to high speed. If it becomes too soft, you might have over-whipped it; in this case, gently fold in a bit of fresh cream that hasn’t been whipped yet to balance the texture back out.
Are there any dietary considerations I should be aware of for this recipe?
Yes, be mindful of any allergies or dietary needs. Ensure that all toppings, such as sprinkles and chocolate eggs, are gluten-free if required. You can also replace the cream cheese with a dairy-free alternative if you’re catering to lactose intolerance.
Mini Easter Cheesecake Jars for a Delightful Spring Treat
Ingredients
Equipment
Method
- In a medium bowl, combine graham cracker crumbs, melted unsalted butter, sugar, and a pinch of salt. Stir until the mixture resembles wet sand. Spoon 2 to 3 tablespoons into the bottom of each jar and press down firmly to form a stable crust layer.
- In a separate mixing bowl, pour in the cold heavy whipping cream. Whip on medium-high speed until medium-stiff peaks form, about 3-5 minutes. Set aside.
- In another bowl, beat together softened cream cheese, powdered sugar, vanilla extract, and lemon juice using an electric mixer until smooth, about 1-2 minutes.
- Gently fold whipped cream into the cream cheese mixture in two additions, using a rubber spatula to incorporate without deflating the whipped cream.
- If desired, tint your cheesecake filling with gel food coloring until the desired pastel shade is achieved.
- Using a piping bag or spoon, fill each jar with cheesecake mixture over the prepared crusts, leaving space for toppings.
- Cover each jar and refrigerate for at least 2 hours or up to 24 hours.
- Before serving, add festive toppings like mini chocolate eggs, jelly beans, and pastel sprinkles.
Leave a Reply