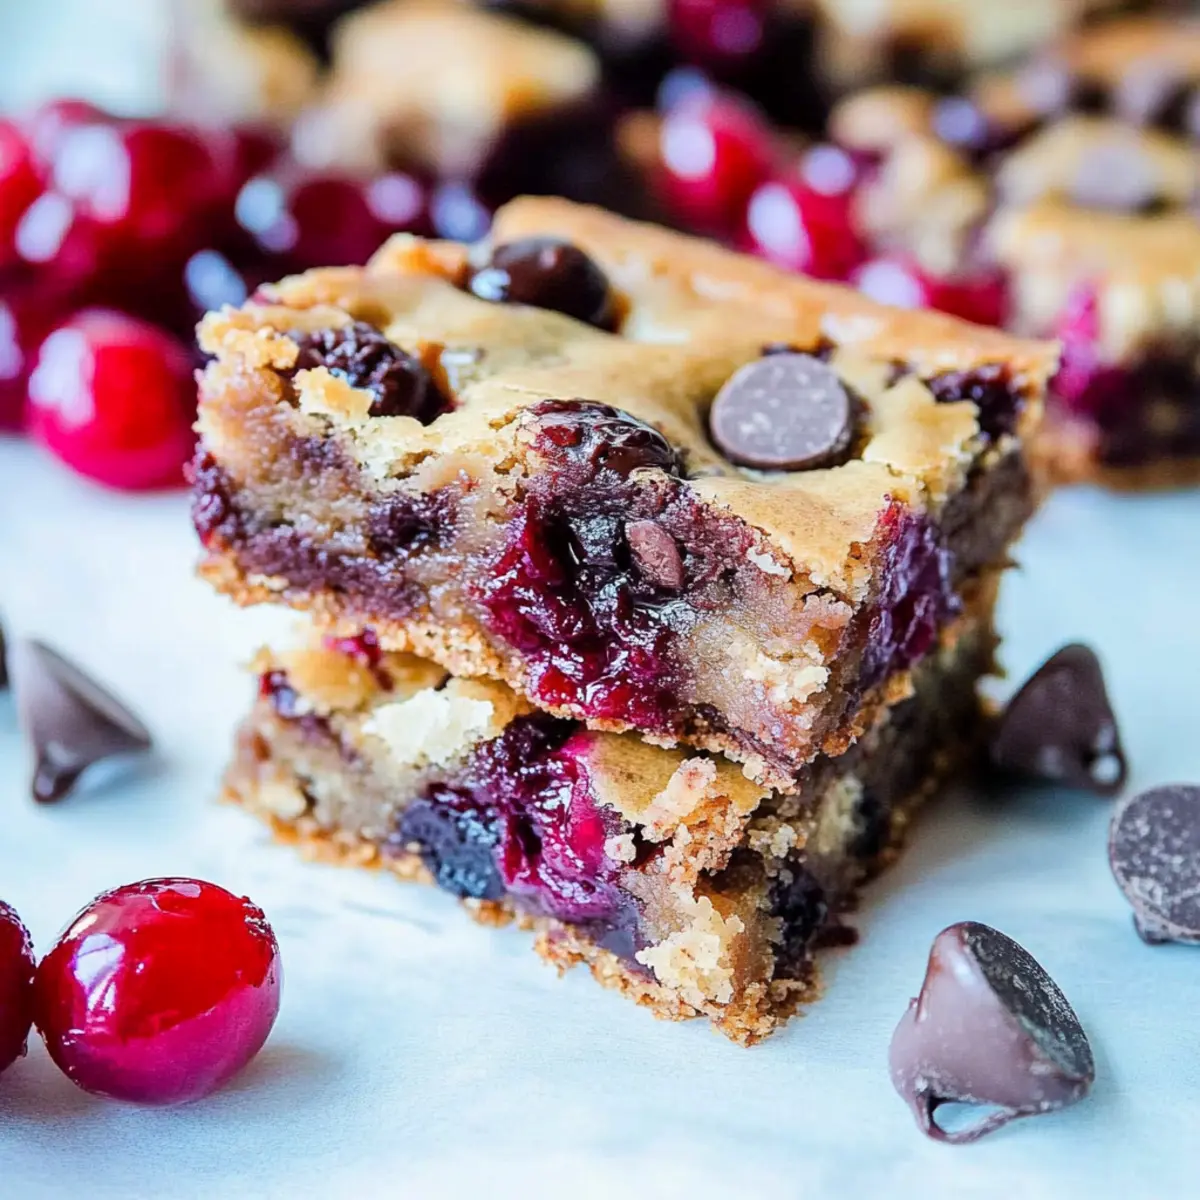
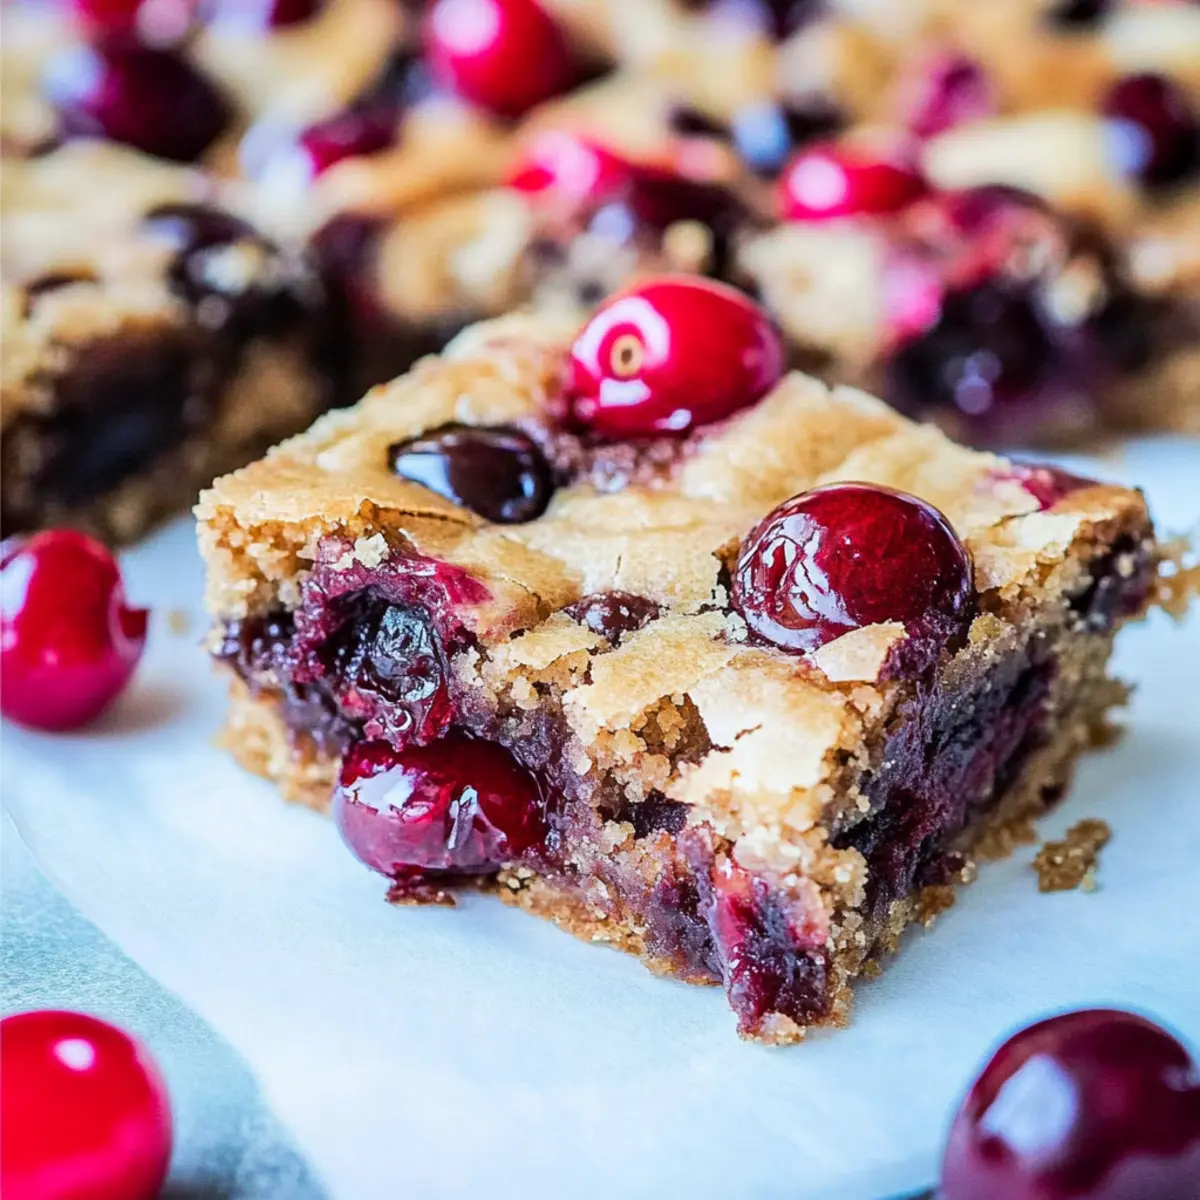
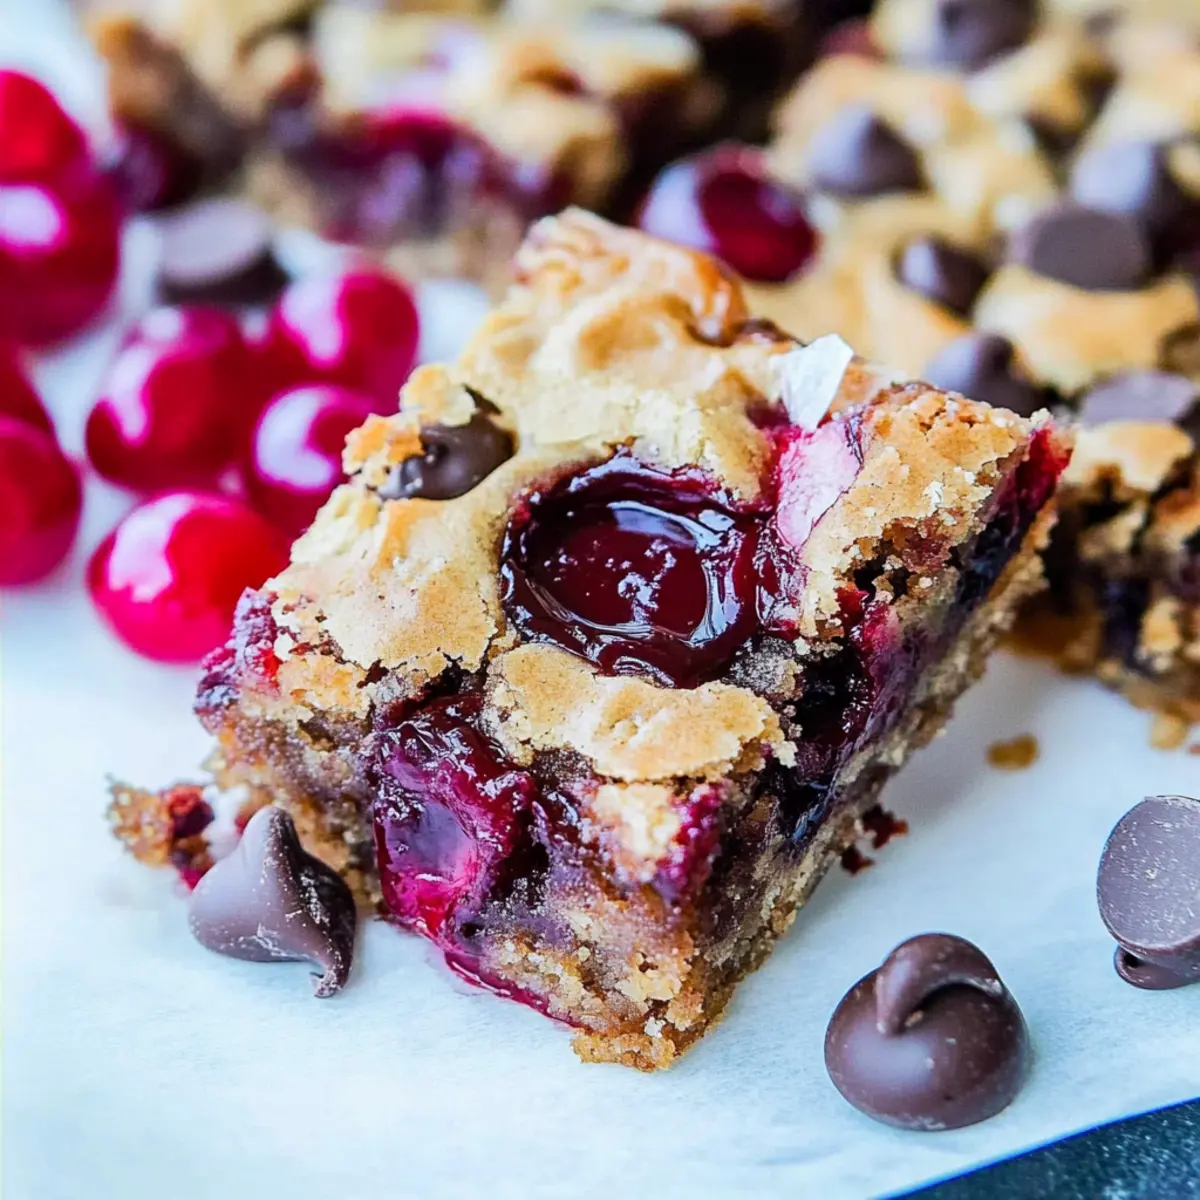
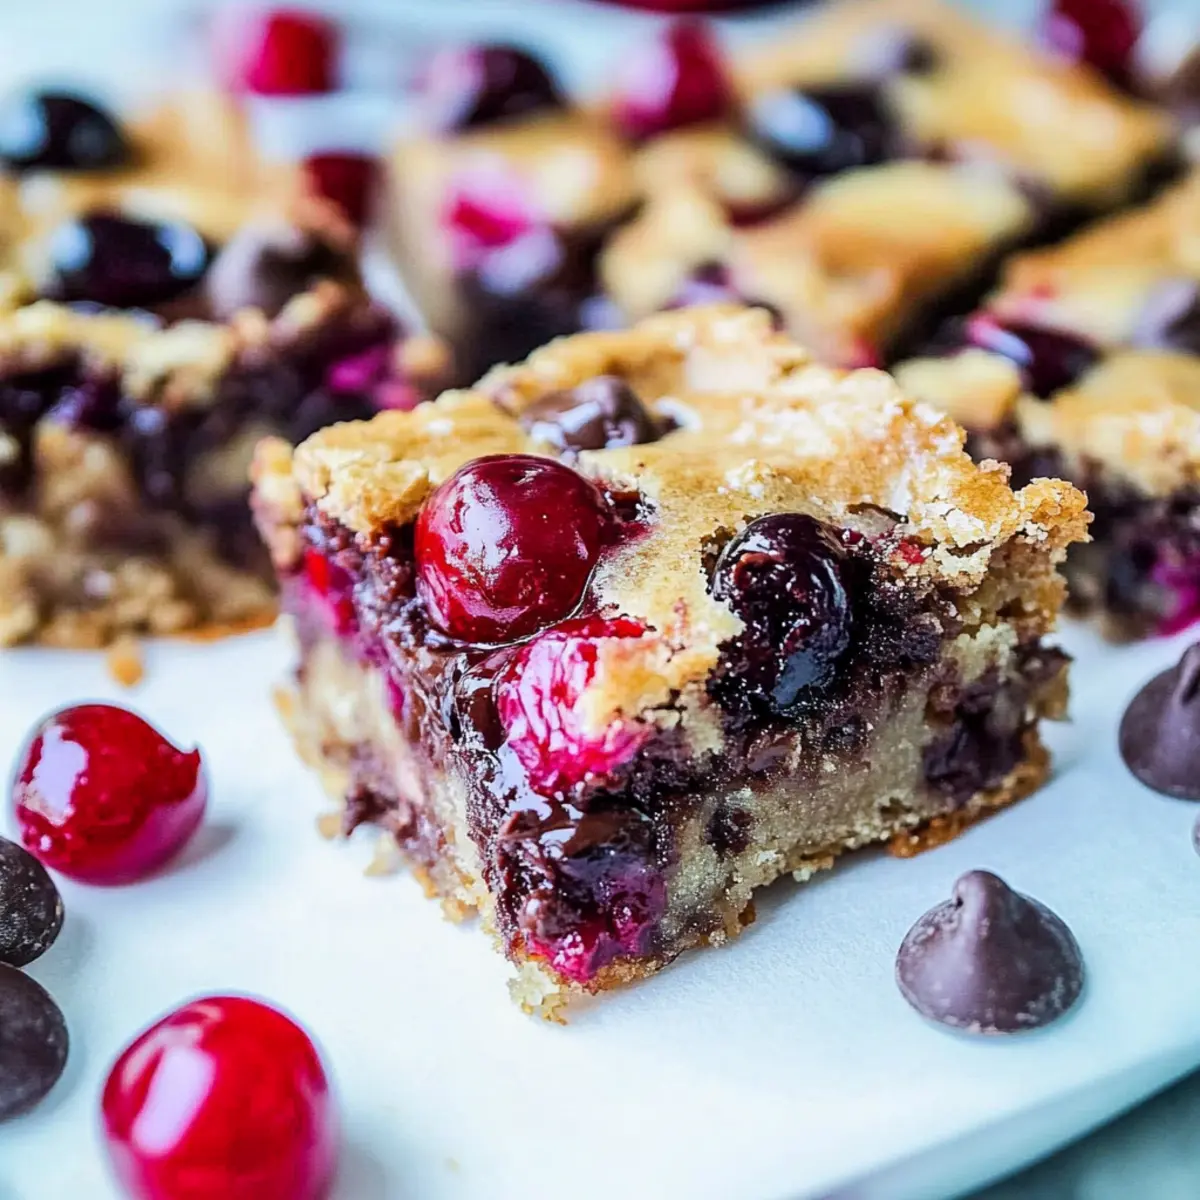
A dash of sweetness can turn any day around, especially when it’s in the form of homemade Chocolate Chip Cherry Bars. This delightful treat combines the comforting embrace of a soft blondie base with the juicy pop of cherries and decadent chocolate. With no granulated sugar in sight, just the rich goodness of brown sugar, you can satisfy your sweet tooth without the guilt. Plus, for those looking for alternatives, these bars offer gluten-free options that don’t skimp on flavor. They come together in one bowl, making cleanup a breeze and leaving more time for you to enjoy every gooey bite. Are you ready to make something that’s sure to impress your friends and family? Let’s dive into this delightful recipe and unleash a little bit of summer in your kitchen!
Why Are These Bars So Irresistible?
Moistness is key! The combination of juicy cherries and rich chocolate creates a chewy texture that’s simply heavenly. No Granulated Sugar means you can enjoy a sweet treat without the guilt—just the wholesome goodness of brown sugar! One Bowl Wonder makes preparation a breeze, perfect for busy days when you want something special. Versatile Variations allow you to swap in other fruits or nuts, making every batch unique. Serving Warm with a scoop of vanilla ice cream elevates it to a dessert masterpiece. You’ll never want to reach for fast food again with these scrumptious Chocolate Chip Cherry Bars in your recipe box! For more fruity goodness, don’t miss our White Chocolate Orange truffles or Almond Cherry Cookies.
Chocolate Chip Cherry Bars Ingredients
For the Base
- Unsalted Butter – Adds moisture and richness; use margarine for a dairy-free option.
- Light Brown Sugar – Provides sweetness and a soft texture; substitute with dark brown sugar for a deeper flavor note.
- Large Egg – Acts as a binder for structure; a flax egg serves as a great vegan alternative.
- Vanilla Extract – Enhances flavor; opt for pure extract for superior taste.
- All-Purpose Flour – Gives the bars structure; gluten-free all-purpose flour works well for gluten-free variations.
- Salt (optional) – A pinch can enhance the overall sweetness of the bars.
For the Mix-ins
- Semi-Sweet Chocolate Chips – Adds rich chocolate flavor; feel free to swap in white chocolate chips for a different twist.
- Cherries (fresh or frozen) – Brings natural sweetness and juiciness; fresh cherries are ideal, but frozen can work with care due to additional moisture.
Get ready to whip up these delightful Chocolate Chip Cherry Bars that your family will love!
Step‑by‑Step Instructions for Chocolate Chip Cherry Bars
Step 1: Preheat and Prepare
Begin by preheating your oven to 350°F (175°C). While it warms, line an 8×8-inch baking pan with aluminum foil, ensuring you leave some overhang for easy removal later. Gently grease the foil with butter or cooking spray to prevent sticking. This set-up is crucial for baking the perfect Chocolate Chip Cherry Bars.
Step 2: Melt the Butter
In a medium microwave-safe bowl, melt ½ cup of unsalted butter in the microwave. Heat in 20-second intervals to avoid overheating, stirring between each interval until fully melted. Once melted, remove the bowl from the microwave and stir in 1 cup of light brown sugar until well combined and smooth, creating a rich, glossy mixture.
Step 3: Add the Egg and Vanilla
Crack a large egg into the bowl with the sugar and butter mixture, followed by 1 teaspoon of pure vanilla extract. Whisk everything together until the egg is fully incorporated, and the mixture is smooth and velvety. This step adds depth and flavor to your Chocolate Chip Cherry Bars, ensuring every bite is delightful.
Step 4: Incorporate Dry Ingredients
Carefully add 1 cup of all-purpose flour and a pinch of salt to the wet ingredients. Using a spatula, fold the dry ingredients into the mixture until just combined, being cautious not to overmix. The dough should be thick and slightly sticky—this texture is what will make your bars wonderfully chewy!
Step 5: Fold in Chocolate and Cherries
Gently fold in ¾ cup of semi-sweet chocolate chips and 1 cup of pitted, chopped cherries to the batter. Be gentle to preserve the structure of the cherries, ensuring they distribute evenly through the thick batter. This combination of chocolate and fruit is what makes these Chocolate Chip Cherry Bars so special.
Step 6: Pour and Smooth
Pour the batter into your prepared baking pan, using a spatula to smooth out the top for even baking. Make sure the batter reaches the edges of the pan so you get perfectly square bars. This step ensures that all parts of the Chocolate Chip Cherry Bars cook at the same rate, creating a uniform texture.
Step 7: Bake to Perfection
Place the pan in the preheated oven and bake for 27-32 minutes. Keep an eye on the edges; they should be lightly pulling away from the sides of the pan, while the center should be set yet slightly soft to the touch. This timing is key to achieving the perfect chewy texture of your bars.
Step 8: Cool and Slice
Once baked, remove the pan from the oven and allow the Chocolate Chip Cherry Bars to cool completely in the pan on a wire rack. This cooling period helps improve the texture and makes slicing easier. Once cooled, lift the bars out of the pan using the foil overhang and cut into squares for a delightful treat shared with family and friends.
What to Serve with Chocolate Chip Cherry Bars?
Indulging in these delightful bars creates the perfect foundation for a delicious spread of accompaniments that enhance each bite.
- Vanilla Ice Cream: A classic pairing that adds a creamy counterpoint to the chewy texture, making every bite truly sublime.
- Fresh Berries: Ripe strawberries, blueberries, or raspberries add a burst of freshness and vibrancy, beautifully contrasting the richness of the bars.
- Chocolate Drizzle: Elevate the decadence with a drizzle of melted chocolate on top. It adds a touch of luxury and visual appeal.
- Espresso: A bold shot of espresso pairs wonderfully, enriching the chocolate flavors while providing a delightful contrast.
- Whipped Cream: Light, fluffy whipped cream creates a rich texture that complements the chewy bars and enhances the overall dessert experience.
- Nutty Caramel Sauce: Drizzling warm caramel sauce infused with chopped nuts brings a nutty richness that beautifully enhances the cherry and chocolate flavors.
- Chopped Nuts: Offering a crunchy element, a sprinkle of toasted walnuts or pecans on top or alongside makes for a satisfying adventure in texture.
- Sparkling Water with Lime: A refreshing drink that cuts through the sweetness and adds a zesty balance, enhancing your taste experience.
- Espresso Brownies: For those who can’t get enough chocolate, serving alongside fudgy espresso brownies promises a rich dessert extravaganza!
Embrace the joy of sharing these scrumptious bars in delightful company!
Expert Tips for Chocolate Chip Cherry Bars
-
Avoid Overmixing: Overmixing the batter can lead to tough bars. Mix just until combined for a tender, chewy texture.
-
Watch Cherry Moisture: If using frozen cherries, be mindful! They may release excess moisture, making the bars overly soft during baking.
-
Cool Completely: Allow the bars to cool completely before slicing. This ensures clean cuts and helps maintain the ideal chewy consistency.
-
Use Quality Chocolate: Invest in good-quality semi-sweet chocolate chips for the best flavor. You’ll taste the difference in every bite of your bars!
-
Experiment with Fruits: Don’t hesitate to switch out the cherries. Try plums or raspberries for a unique twist that keeps your Chocolate Chip Cherry Bars exciting.
-
Check for Doneness: When baking, keep an eye on the edges pulling away from the pan. This is a great indicator that your bars are ready!
Chocolate Chip Cherry Bars Variations
Feel free to make these Chocolate Chip Cherry Bars your own by exploring exciting variations!
- Gluten-Free: Substitute all-purpose flour with a 1:1 gluten-free baking blend for a deliciously accommodating dessert.
- Fruit Swaps: Try swapping cherries for plums or mixed berries for a refreshing spin—each fruit offers a new flavor synergy!
- Nutty Delight: Mix in ½ cup of walnuts or pecans for a crunchy texture that beautifully complements the chewy bars.
- Choco Twist: Use milk chocolate chips or even dark chocolate for a different chocolate experience, tailoring sweetness to your taste.
- Coconut Bliss: Add ½ cup of shredded coconut for a tropical flair that pairs wonderfully with the fruitiness of the cherries.
- Spiced Up: Stir in a teaspoon of cinnamon or nutmeg for a warm, spiced undertone that elevates the flavor profile.
- Layered Bars: Create a layer by spreading a thin layer of cherry jam on top of the batter before baking. The result is a delightful gooey surprise!
No matter how you choose to customize these bars, I promise you’ll create something unique and delicious! For more variations, you might also enjoy our Maple Donut Bars or our creamy Cottage Cheese Chocolate dessert!
How to Store and Freeze Chocolate Chip Cherry Bars
Room Temperature: Store your Chocolate Chip Cherry Bars in an airtight container at room temperature for up to 1 week. This keeps them fresh and chewy!
Fridge: If you prefer a firmer texture, refrigerate the bars in an airtight container for up to 2 weeks, but be aware they may lose some moisture.
Freezer: For longer storage, freeze the bars in a single layer, wrapped tightly in plastic wrap and then in aluminum foil, for up to 3 months.
Reheating: To enjoy them warm, simply thaw the bars in the refrigerator overnight, then microwave for about 10-15 seconds or until warm.
Make Ahead Options
These Chocolate Chip Cherry Bars are perfect for meal prep! You can prepare the batter up to 24 hours in advance and keep it refrigerated to help develop deeper flavors. Simply mix all the wet ingredients and dry ingredients separately, then combine them just before you’re ready to bake. To maintain their delicious quality, make sure to store the mixed batter in an airtight container. When ready to enjoy, pour the batter into the baking pan and bake as directed, yielding just as delicious bars with a minimal effort—perfect for busy weeknights or unexpected gatherings!
Chocolate Chip Cherry Bars Recipe FAQs
How do I choose the right cherries for this recipe?
When selecting cherries, look for firm fruits with a bright color and smooth skin. Avoid cherries that have dark spots or bruises, as these can affect the taste and texture of your Chocolate Chip Cherry Bars. Fresh cherries are ideal, but if using frozen ones, choose ones without added sugar and pat them dry to help reduce extra moisture.
How should I store Chocolate Chip Cherry Bars?
Store your Chocolate Chip Cherry Bars in an airtight container at room temperature for up to 1 week to keep them chewy and delicious. If you want to extend their lifespan, you can refrigerate them for up to 2 weeks, but be mindful that this may slightly alter their texture.
Can I freeze the Chocolate Chip Cherry Bars?
Absolutely! To freeze your Chocolate Chip Cherry Bars, first, wrap them tightly in plastic wrap, then place them in a freezer-safe bag or container. They can be frozen for up to 3 months. When you’re ready to enjoy, simply thaw them in the refrigerator overnight and warm them in the microwave for about 10-15 seconds for that fresh-baked taste.
What should I do if my bars turn out too gooey?
If your Chocolate Chip Cherry Bars come out too gooey, it might be due to underbaking or using frozen cherries that released too much moisture. To remedy this, ensure you bake them long enough (27-32 minutes) and check for doneness— the edges should pull away from the pan, and the center should be set but soft. If using frozen cherries, try reducing the amount slightly or draining any excess moisture before adding.
Are Chocolate Chip Cherry Bars safe for those with nut allergies?
If you’re preparing these bars for someone with nut allergies, they’re generally safe as none of the main ingredients include nuts. However, always double-check your chocolate chip packaging for cross-contamination with nuts, as that can sometimes occur during manufacturing.
Can I substitute the flour for a gluten-free option?
Yes, you can! For a gluten-free version of Chocolate Chip Cherry Bars, substitute all-purpose flour with a gluten-free all-purpose flour blend. Make sure the blend contains xanthan gum or a similar binding agent to achieve the right texture. Happy baking!
Chocolate Chip Cherry Bars - Sweet, Chewy Bliss Awaits
Ingredients
Equipment
Method
- Preheat oven to 350°F (175°C). Line an 8x8-inch baking pan with foil and grease it to prevent sticking.
- Melt ½ cup of unsalted butter in a microwave-safe bowl. Stir in 1 cup of light brown sugar until well combined.
- Add 1 large egg and 1 teaspoon of pure vanilla extract to the mixture. Whisk until smooth.
- Fold in 1 cup of all-purpose flour and a pinch of salt until just combined.
- Gently fold in ¾ cup of semi-sweet chocolate chips and 1 cup of chopped cherries.
- Pour the batter into the prepared baking pan, smoothing the top.
- Bake for 27-32 minutes until edges pull away and center is set but slightly soft.
- Cool completely in the pan on a wire rack before slicing into squares.
Leave a Reply