Just last week, I found myself staring at a full fridge, wondering how I could transform those simple ingredients into something special. That’s when it hit me: Creamy Mini Cheesecakes! This easy recipe is not only a delightful crowd-pleaser but also a make-ahead gem perfect for busy weekends or spontaneous gatherings. With a velvety filling cradled in a buttery crust, these personal-sized treats invite you to get creative with toppings, whether you’re in the mood for fresh berries or a rich chocolate drizzle. What’s better than a dessert that balances laziness with indulgence? Join me on this sweet adventure, and let’s whip up these irresistibly creamy mini cheesecakes together! Are you ready to impress your taste buds?

Why Will You Crave These Cheesecakes?
Simplicity at its finest: With just a handful of ingredients, you’ll master mini cheesecakes that are both delicious and easy to make. Endless variations: Go gluten-free or dairy-free, or infuse flavors like chocolate or citrus to cater to all palates. Make-ahead magic: Prepare these treats in advance, perfect for busy weeknights or surprise guests. Decadent yet light: The creamy filling paired with a crumbly crust strikes the right balance, leaving everyone wanting more. Crowd-pleaser: Whether it’s a family dinner or a party, these individual desserts will surely shine on any table! Discover other delightful recipes like Mini Keto Crustless and Southern Spaghetti Bake for more culinary inspiration.
Creamy Mini Cheesecakes Ingredients
• Discover the key components for these delightful treats!
For the Crust
- Digestive biscuits or graham cracker squares – Provides a crunchy base; you can use gluten-free biscuits for a gluten-free option.
- Unsalted butter – Adds richness; be sure it’s melted for consistent mixing.
- Caster sugar – Sweetens the crust nicely; adjust to your preferred sweetness.
- Cinnamon powder (optional) – Adds warmth and aroma; not necessary if you prefer a neutral crust.
- Salt – Enhances overall flavor; just a pinch is all you need.
For the Filling
- Cream cheese – The star of the show, lending a creamy texture; use block cream cheese at room temperature for best results.
- Plain flour – Stabilizes the filling; this ingredient is essential, so don’t skip it.
- Vanilla extract – Deepens the flavor profile; opt for pure extract for the best taste.
- Sour cream or plain yogurt – Adds a touch of tanginess; Greek yogurt can be used as a healthier substitute.
- Caster sugar (for filling) – Sweetens the mix; adjust based on your taste.
- Lemon zest – Brightens the filling; a little goes a long way in enhancing flavor.
- Eggs – Binds the filling, adding richness; make sure they’re at room temperature for smoother mixing.
For the Topping
- Thickened or heavy cream – A luxurious topping that brings decadence; whip until soft peaks form for the best texture.
- Vanilla extract (for topping) – Enhances the aroma of the whipped cream; just a teaspoon does wonders.
- Icing sugar or caster sugar (for topping) – Sweetens the whipped cream; adjust to taste.
Optional Decorations
- Fresh berries – Add color and freshness; pair wonderfully with the cheesecakes.
- Mint – Provides a refreshing contrast to the rich flavors; it also looks lovely as a garnish.
Now you have all the necessary ingredients to create these creamy mini cheesecakes that will wow your guests!
Step‑by‑Step Instructions for Creamy Mini Cheesecakes
Step 1: Preheat the Oven
Begin by preheating your oven to 160°C (325°F). While it’s heating, line a 12-hole muffin tin with paper liners to prepare for the crust. This step ensures that your creamy mini cheesecakes come out easily after baking and have their own delightful shape.
Step 2: Make the Crust
In a mixing bowl, crush your digestive biscuits or graham crackers until they turn into fine crumbs. Combine them with melted unsalted butter, caster sugar, a pinch of salt, and optional cinnamon. Press this mixture firmly into the lined muffin tin, creating a solid foundation, and bake in the preheated oven for 7 minutes until lightly golden.
Step 3: Prepare to Cool the Crust
Once the crust is baked, carefully remove it from the oven and allow it to cool in the muffin tin for about 10 minutes. This cooling period helps the crust firm up, making it easier to hold the creamy filling when you assemble the mini cheesecakes.
Step 4: Make the Filling
In a large mixing bowl, beat softened cream cheese until smooth and creamy, ensuring there are no lumps. Gradually add plain flour, vanilla extract, sour cream, and caster sugar to the mixture, followed by lemon zest and a pinch of salt. Mix until everything is well combined, and then incorporate the eggs one at a time, blending until the filling is rich and fluffy.
Step 5: Fill the Muffin Tin
Gently spoon the creamy cheesecake filling into each muffin cup over the cooled crusts, filling them about three-quarters full. This ensures they have enough space to rise slightly without overflowing. Place them back into the oven and bake for about 20 minutes, until the edges are set but the centers remain slightly jiggly.
Step 6: Cool and Chill
Once baked, remove the mini cheesecakes from the oven and let them cool in the muffin tin for one hour. Afterward, transfer them to the refrigerator and let them chill for at least 6 hours, or overnight if possible. This chilling process allows the flavors to meld beautifully and the filling to set perfectly.
Step 7: Whip the Cream
When you’re ready to serve your delicious creamy mini cheesecakes, take a bowl and whip the cream with icing sugar and a teaspoon of vanilla extract until soft peaks form. This luxurious topping is the perfect complement to the cheesecakes and elevates their indulgence.
Step 8: Decorate and Serve
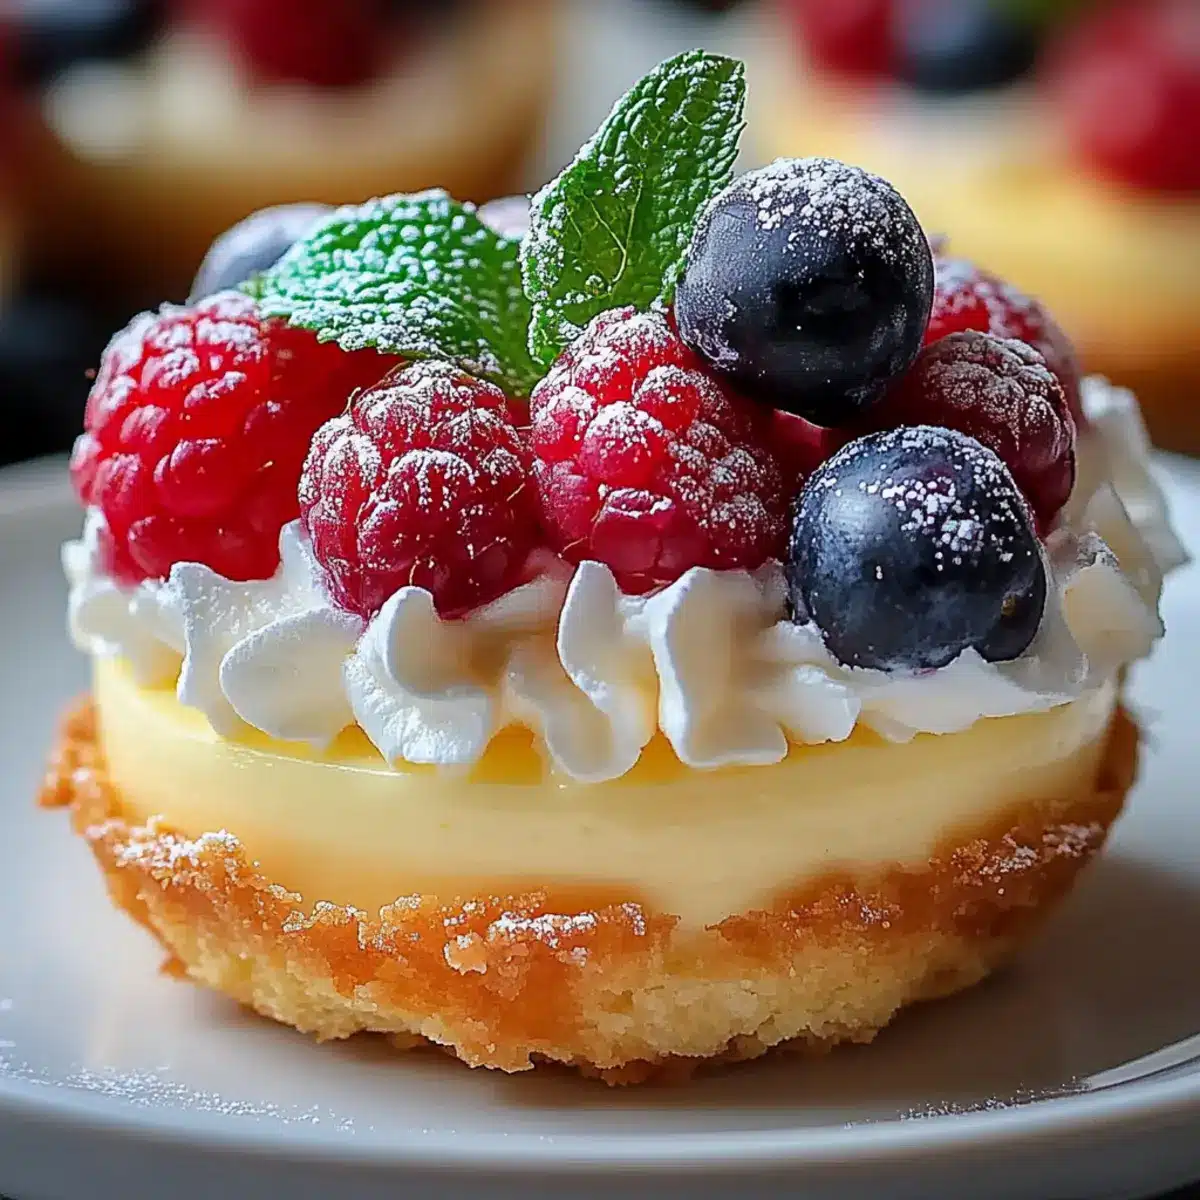
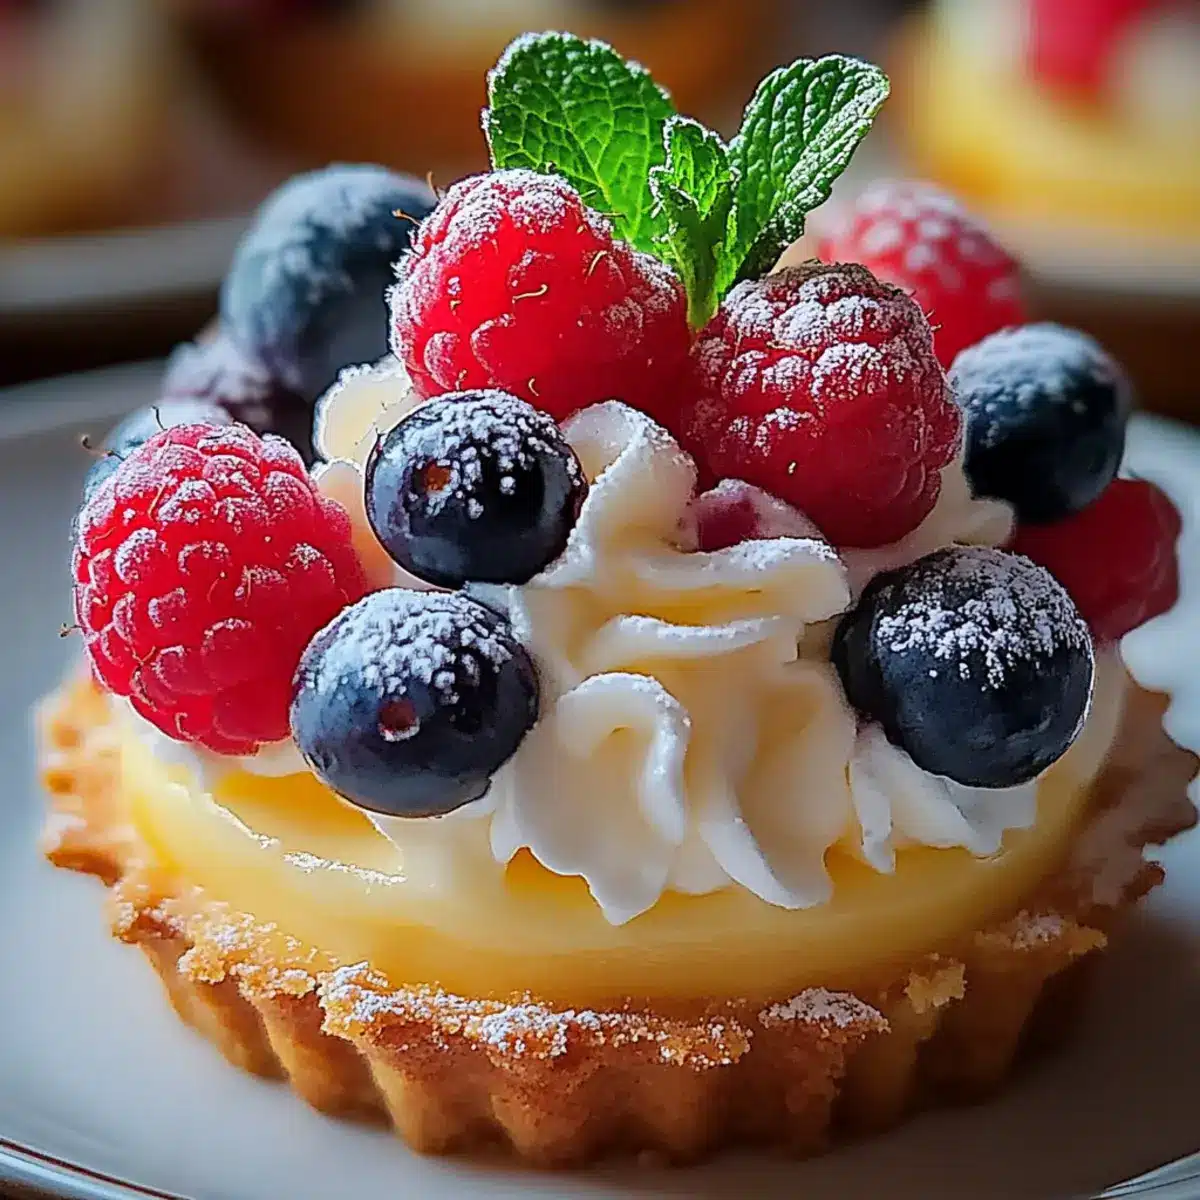
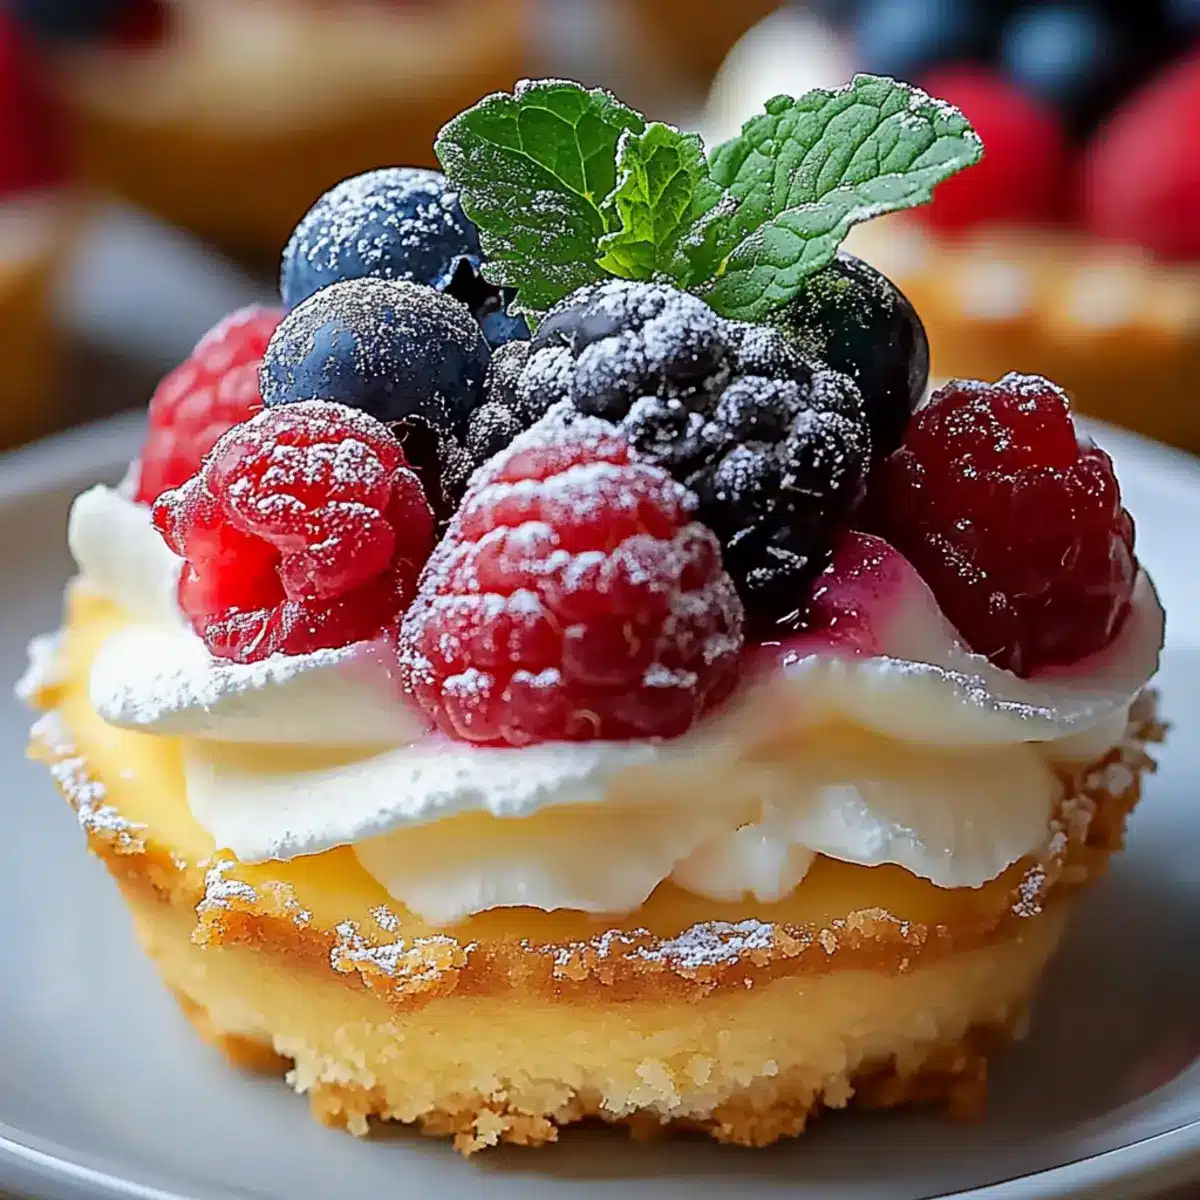
Finally, decorate each mini cheesecake with a generous dollop of whipped cream. For an extra touch, add fresh berries and a sprinkle of mint leaves on top. Dust with a little icing sugar to enhance the presentation, and your irresistible creamy mini cheesecakes are ready to delight!
How to Store and Freeze Creamy Mini Cheesecakes
Fridge: Store your mini cheesecakes in an airtight container in the fridge for up to 5 days. This keeps them fresh and delicious, ensuring you can enjoy their creamy goodness anytime!
Freezer: For longer storage, wrap each mini cheesecake individually and freeze for up to 2 months. When you’re ready to indulge, simply thaw them overnight in the refrigerator for the best texture.
Reheating: These mini cheesecakes are best served cold or at room temperature; avoid reheating in the microwave to maintain their delightful creaminess.
Preparation: Always let the cream cheese and eggs come to room temperature before mixing for an even creamier filling in your next batch.
Creamy Mini Cheesecake Variations
Feel free to explore these delightful twists, allowing your mini cheesecakes to shine with your unique flair!
- Gluten-Free: Substitute digestive biscuits with almond flour for a delicious gluten-free crust. The nutty flavor pairs beautifully with the creamy filling.
- Dairy-Free: Use dairy-free cream cheese and coconut cream to enjoy mini cheesecakes without dairy. These swaps make for a rich and equally smooth treat.
- Chocolate Indulgence: Stir in cocoa powder into the filling for a chocolatey delight. Chocolate lovers will adore this twist!
- Fruity Burst: Fold pureed fruits like strawberries or mangoes into the batter for refreshing variations. Imagine the vibrant colors and flavors!
- Citrus Zest: Add extra lemon or lime zest for a zippy twist that brightens the taste. It’s a simple way to elevate your desserts.
- Spicy Kick: Mix in a pinch of cayenne or chili powder for a surprising heat element. The contrast with sweetness creates an exciting flavor experience.
- Nutty Crunch: Add crushed nuts like pecans or almonds as a topping for extra texture. It adds a delightful crunch that complements the creaminess perfectly.
- Herbal Twist: Consider infusing the filling with fresh herbs, like basil or mint, for a unique taste adventure. Fresh herbs can create an unexpectedly delightful pairing!
For more delightful dishes, check out my recipe for Garlic Butter Herb bites or add some heartiness with a Winter Vegetable Casserole. Happy baking!
Expert Tips for Creamy Mini Cheesecakes
• Chill Ingredients: Make sure to chill all your ingredients before mixing. This ensures a smooth filling and optimal texture for your creamy mini cheesecakes.
• Perfect Bake: Avoid overbaking! Look for a slight jiggle in the center of the cheesecakes to ensure they remain creamy and luscious.
• Chill Overnight: For the best flavor, let the mini cheesecakes chill overnight. This will deepen the flavors and enhance the overall experience.
• Firm Crust: When pressing the crust into the muffin tin, be firm! This helps the crust hold together when serving and adds to the overall quality of each mini cheesecake.
• Don’t Skip the Flour: Remember, plain flour is essential for stabilizing the filling. Don’t omit it, as it helps the cheesecakes set properly.
• Creative Toppings: Feel free to get creative with toppings! Fresh fruits, chocolate drizzles, or even nuts can elevate your creamy mini cheesecakes to a whole new level.
Make Ahead Options
These creamy mini cheesecakes are perfect for meal prep, allowing you to enjoy a delightful dessert without the last-minute rush! You can prepare the crust and filling up to 24 hours in advance. Simply make the crust, cool it, and then store it in the refrigerator. The filling can be mixed and kept in an airtight container, ready to pour into the crust when you’re ready to bake. When you’re set to serve, fill the cooled crusts with the filling and bake as directed. To maintain quality, refrigerate mini cheesecakes for at least 6 hours or overnight to achieve that velvety texture just before enjoying. This makes them a fantastic choice when entertaining or prepping for busy weeknights!
What to Serve with Irresistibly Creamy Mini Cheesecakes?
Indulge in a complete meal experience by pairing these delightful mini cheesecakes with complementary flavors and textures.
- Fresh Berries: Add a burst of vibrant color and freshness, enhancing the sweetness of the cheesecakes while complementing their creamy texture.
- Zesty Lemon Sorbet: This icy treat provides a refreshing contrast and cleanses the palate, making it a perfect companion for rich desserts.
- Creamy Coffee or Espresso: A warm drink with rich flavors that pairs beautifully with the velvety cheesecake, creating a cozy dessert experience.
- Chocolate Drizzle: For a touch of decadence, drizzle melted chocolate over the cheesecakes. It intensifies the dessert’s luxury while satisfying the chocolate lovers.
- Mint Sprigs: Unassuming yet refreshing, a sprig of mint not only beautifies the plate but also offers a crisp contrast to the richness of each bite.
- Crunchy Biscotti: Serve alongside to add satisfying crunch and spice, creating a delightful textural contrast with the creamy filling of the cheesecakes.
- Sparkling Lemonade: This refreshing drink can lighten up the meal, providing a hint of citrus that can mirror the lemon zest in the cheesecakes themselves.
- Vanilla Ice Cream: A scoop of this classic flavor not only enhances the dessert experience but also adds a creamy coolness that balances each rich bite.
- Caramel Sauce: A drizzle of warm caramel brings an indulgent sweetness that perfectly complements the mini cheesecakes, creating a luxurious finish.
Creamy Mini Cheesecakes Recipe FAQs
How do I choose the right ripeness for my ingredients?
Absolutely! For the best flavor and texture in your creamy mini cheesecakes, ensure that your cream cheese is at room temperature for smooth mixing. Eggs should also be at room temperature as this helps them incorporate seamlessly into the filling.
What is the best way to store leftover mini cheesecakes?
Store your mini cheesecakes in an airtight container in the fridge for up to 5 days. This keeps them fresh and maintains their creamy texture, allowing you to enjoy them throughout the week. Remember to cover them well to prevent any odors from affecting their delightful flavor!
Can I freeze the mini cheesecakes?
Yes, indeed! To freeze your creamy mini cheesecakes, wrap each one individually in plastic wrap or place them in a freezer-friendly container. They can be frozen for up to 2 months. When you’re ready to enjoy, simply take them out and let them thaw overnight in the refrigerator. This method will preserve their texture beautifully.
What if my cheesecakes come out cracked or overbaked?
Don’t worry, this happens to the best of us! For perfectly creamy mini cheesecakes, it’s crucial to watch your baking time. If they look slightly jiggly in the center when done, let them cool in the tin for an hour before refrigerating. If they do crack, try topping them with whipped cream or fresh fruits to hide those imperfections!
Are these mini cheesecakes suitable for people with dietary restrictions?
Very much so! To cater to dairy and egg allergies, you can use dairy-free cream cheese and flax eggs as substitutes. Always confirm individual dietary restrictions with your guests before serving. Consider making vegan options or gluten-free variations, as mentioned in the recipe, to ensure everyone can join the indulgence!
What can I do if I forget to chill my ingredients?
No worries! If you forgot to chill your ingredients, gently warm the cream cheese in the microwave for a few seconds to soften it, and ensure your eggs are not cold from the refrigerator before mixing. For the best results, always try to chill ingredients ahead of time as suggested in the recipe!
Decadent Creamy Mini Cheesecakes for Effortless Indulgence
Ingredients
Equipment
Method
- Preheat your oven to 160°C (325°F) and line a 12-hole muffin tin with paper liners.
- Crush digestive biscuits or graham crackers into fine crumbs and mix with melted butter, caster sugar, salt, and optional cinnamon. Press into the muffin tin and bake for 7 minutes.
- Allow the crust to cool in the muffin tin for about 10 minutes.
- Beat cream cheese until smooth, then gradually add flour, vanilla, sour cream, caster sugar, lemon zest, and salt. Mix in eggs one at a time until the mixture is fluffy.
- Fill each muffin cup with the cheesecake filling until three-quarters full and bake for 20 minutes.
- Let the mini cheesecakes cool in the muffin tin for one hour, then transfer to the refrigerator to chill for at least 6 hours.
- Whip together cream, icing sugar, and vanilla extract until soft peaks form.
- Decorate with whipped cream, fresh berries, and mint leaves. Dust with icing sugar before serving.
Leave a Reply