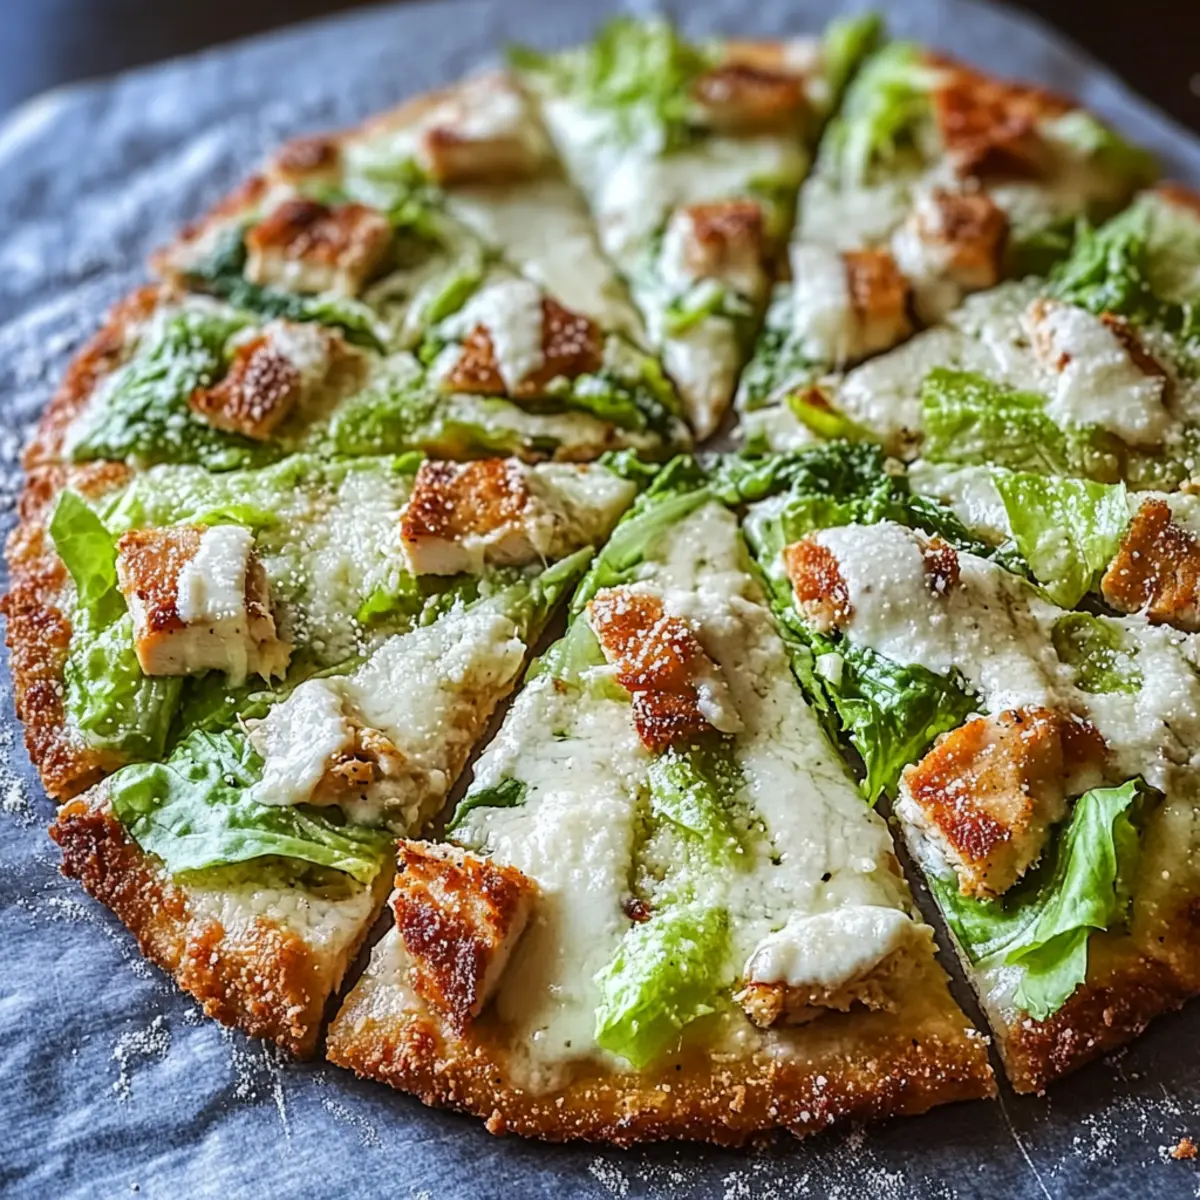
While rummaging through my pantry, I stumbled upon an unexpected twist on a classic—Low-Carb Chicken Crust Caesar Salad Pizza. It’s a brilliant blend of flavors that takes the traditional pizza to new heights while keeping it light and satisfying. This recipe stands out not only for its uniqueness but also because it’s perfect for anyone looking to embrace a healthy lifestyle without sacrificing deliciousness. With the savory chicken crust serving as the perfect base, this dish transforms the beloved Caesar salad into a hearty meal that’s both keto-friendly and ideal for quick meal prep. Trust me, your taste buds will be in for a delightful surprise! Are you ready to find out how to make this scrumptious dish?
Why Choose Chicken Crust Pizza?
Uniqueness: This Chicken Crust Caesar Salad Pizza offers a fresh spin on traditional pizza that you won’t find anywhere else.
Low-Carb Appeal: Perfect for those following a keto diet, it ensures you can enjoy your favorite flavors while staying within your nutritional goals.
Quick Meal Prep: Easy to assemble, this dish makes for a fantastic weeknight dinner that can be whipped up without a fuss.
Flavor Fusion: The savory chicken crust combined with the crisp Caesar salad on top creates a mouthwatering contrast, making each bite irresistible.
Crowd-Pleasing: Whether it’s a family dinner or a gathering, this unique dish is sure to impress guests while keeping things healthy.
Chicken Crust Caesar Salad Pizza Ingredients
For the Chicken Crust
• Ground Chicken – The main component providing protein and structure; substitute with ground turkey for added flavor.
• Mozzarella Cheese – Adds creaminess and helps bind the crust; opt for low-fat for a lighter option.
• Parmesan Cheese – Enhances flavor depth; can be replaced with nutritional yeast for a dairy-free option.
• Egg – Serves as a binder for the crust; ensure it’s at room temperature for better incorporation.
• Italian Herbs – Provide aroma and flavor; a mix of oregano and basil enhances authenticity.
• Garlic Powder – Boosts the flavor profile of the crust; fresh minced garlic can be used as a substitute.
• Salt and Pepper – Essential for seasoning; adjust to taste.
For the Topping
• Romaine Lettuce – Acts as a refreshing topping; kale can be used as a nutritious substitute.
• Caesar Dressing – Coats the salad for added flavor; opt for yogurt-based dressing for a lighter version.
Enjoy making this delightful Chicken Crust Caesar Salad Pizza—a unique and healthy meal that will keep you satisfied!
Step‑by‑Step Instructions for Chicken Crust Caesar Salad Pizza
Step 1: Preheat the Oven
Start by preheating your oven to 400°F (200°C). While the oven heats, line a baking sheet with parchment paper. This will ensure your chicken crust doesn’t stick and will allow for easy release once it’s baked. Your space will start to feel warm, and that’s a great sign you’re on the way to making your delicious Chicken Crust Caesar Salad Pizza!
Step 2: Prepare the Chicken Mixture
In a large mixing bowl, combine the ground chicken, mozzarella cheese, Parmesan cheese, egg, Italian herbs, garlic powder, salt, and pepper. Stir with a spatula until everything is well incorporated and the mixture feels slightly sticky but manageable. This mixture forms the heart of your chicken crust, which will become crispy and golden in the oven.
Step 3: Shape the Chicken Crust
Transfer the chicken mixture onto the prepared baking sheet and use your hands to shape it into a round crust, roughly 10–12 inches in diameter. Make sure the crust is evenly spread and about ½ inch thick to ensure even cooking. Visualize your beautiful Chicken Crust Caesar Salad Pizza taking form as you create a perfect base for your toppings!
Step 4: Bake the Crust
Place the baking sheet in the preheated oven and bake for 20-25 minutes. You’re looking for edges that are golden brown and a crust that feels firm to the touch, indicating it is fully cooked. Enjoy the enticing aroma of the baking crust wafting through your kitchen as you await this flavorful transformation.
Step 5: Toss the Salad
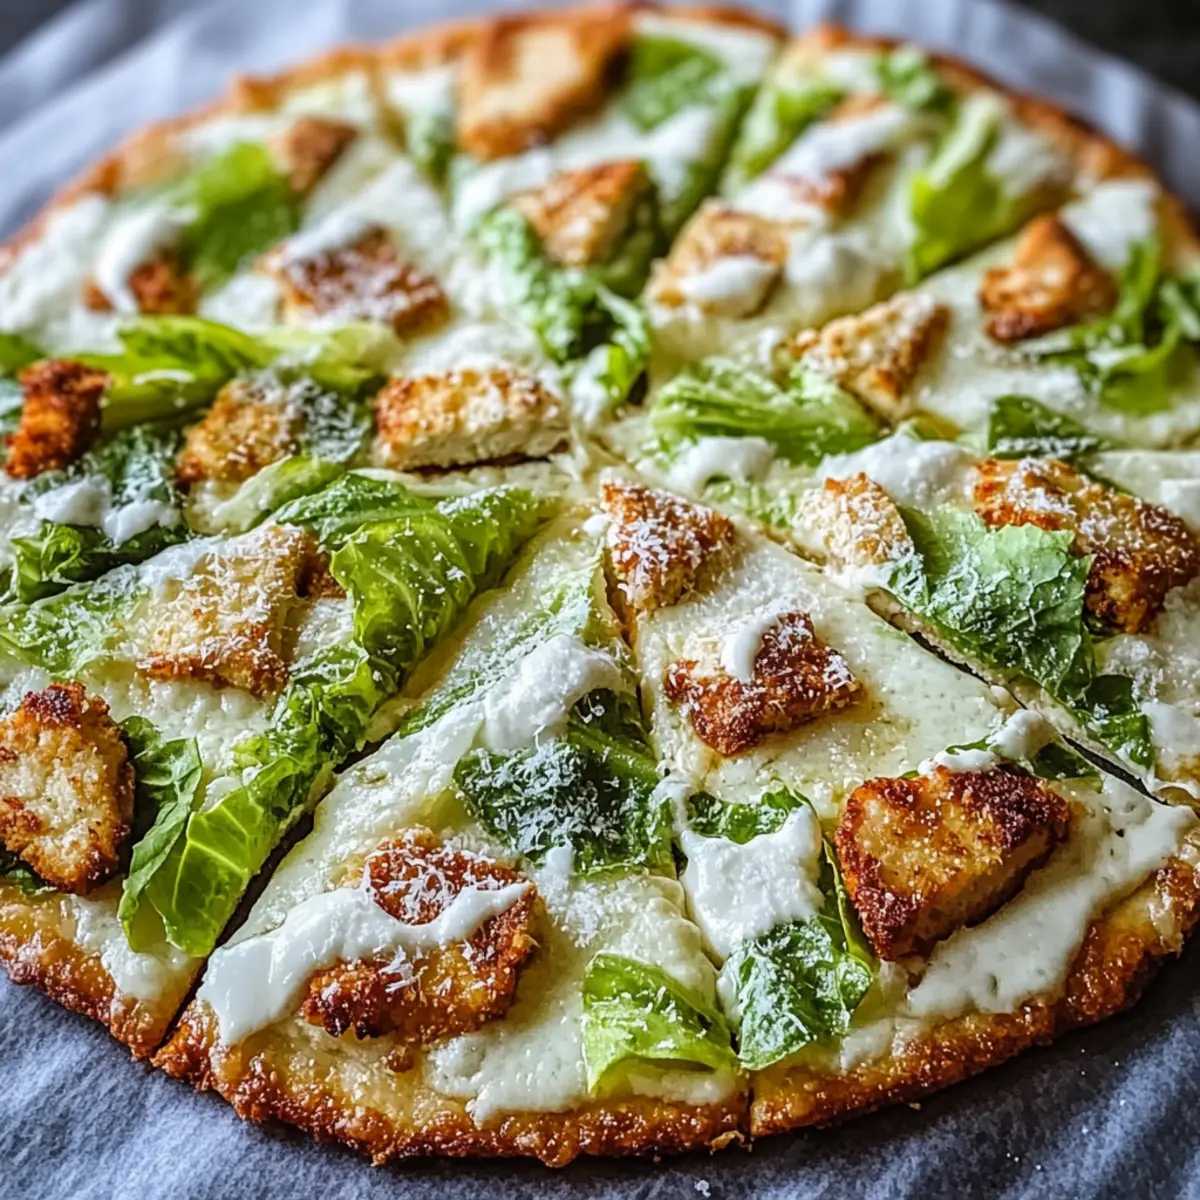
While the chicken crust is baking, take a large bowl and toss in the chopped romaine lettuce. Drizzle Caesar dressing over the greens and sprinkle additional Parmesan cheese on top. Use tongs to mix everything well until the lettuce is beautifully coated. This is the refreshing topping that will perfectly complement your Chicken Crust Caesar Salad Pizza!
Step 6: Cool the Crust
Once the chicken crust is baked to perfection, remove it from the oven and let it cool for about 5 minutes. This brief cooling period is essential as it helps maintain the crispy texture of your crust. You’ll notice how it stabilizes, ensuring a strong foundation for your salad topping.
Step 7: Assemble the Pizza
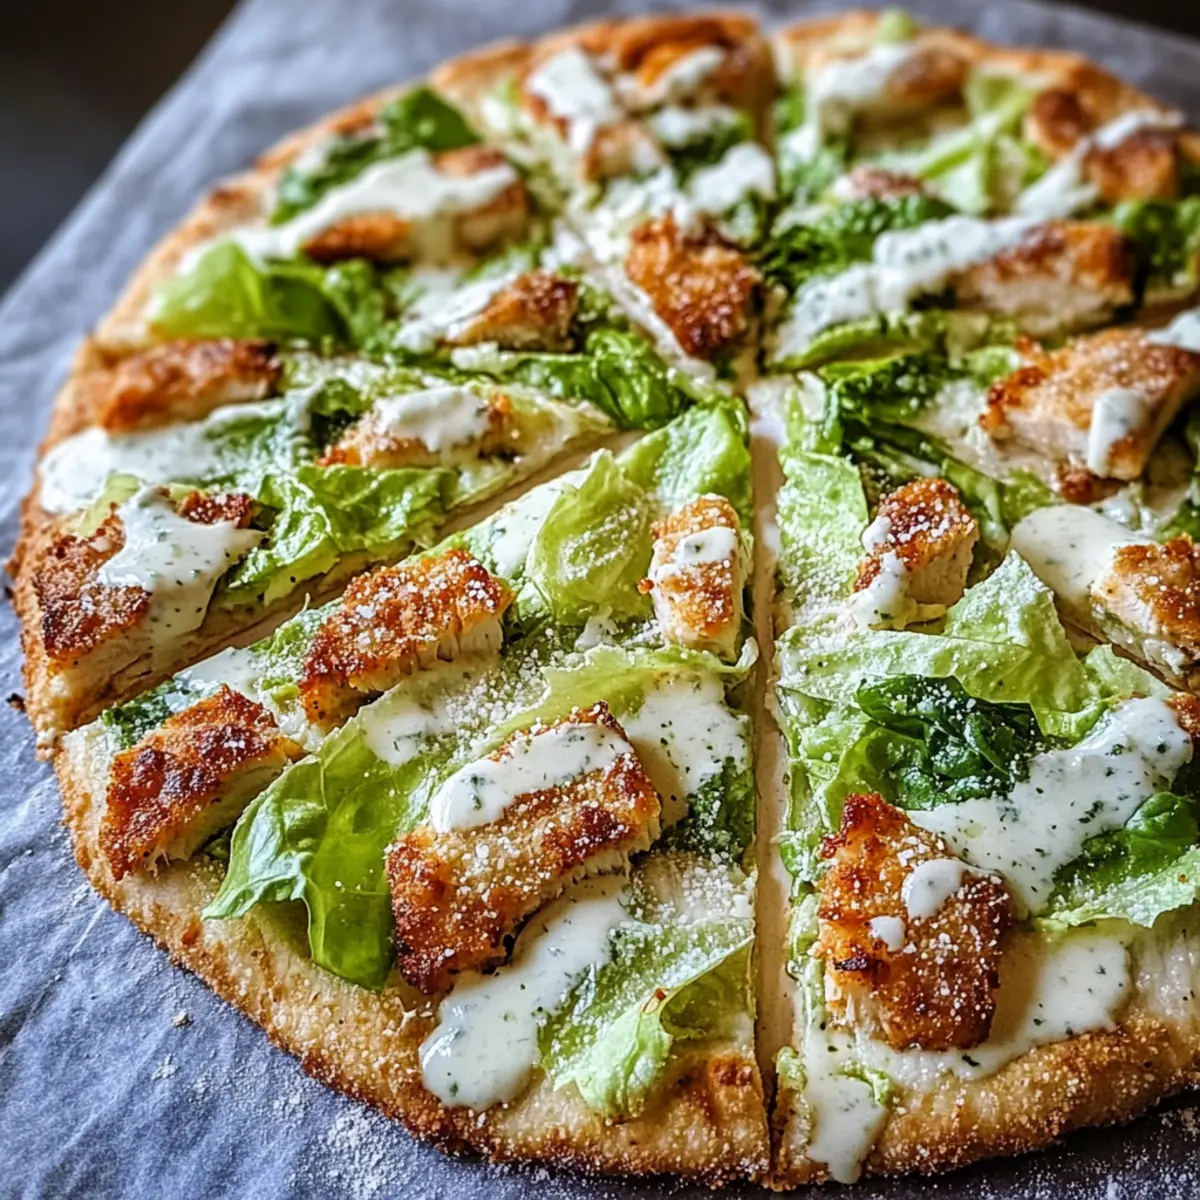
After the crust has cooled, carefully spoon the Caesar salad mixture onto the crust, spreading it evenly. If you’d like, this is also the time to top it with cooked chicken pieces or crispy bacon bits for an extra flavor boost. Visualize your vibrant Chicken Crust Caesar Salad Pizza coming together as you layer on these delicious toppings.
Step 8: Slice and Serve
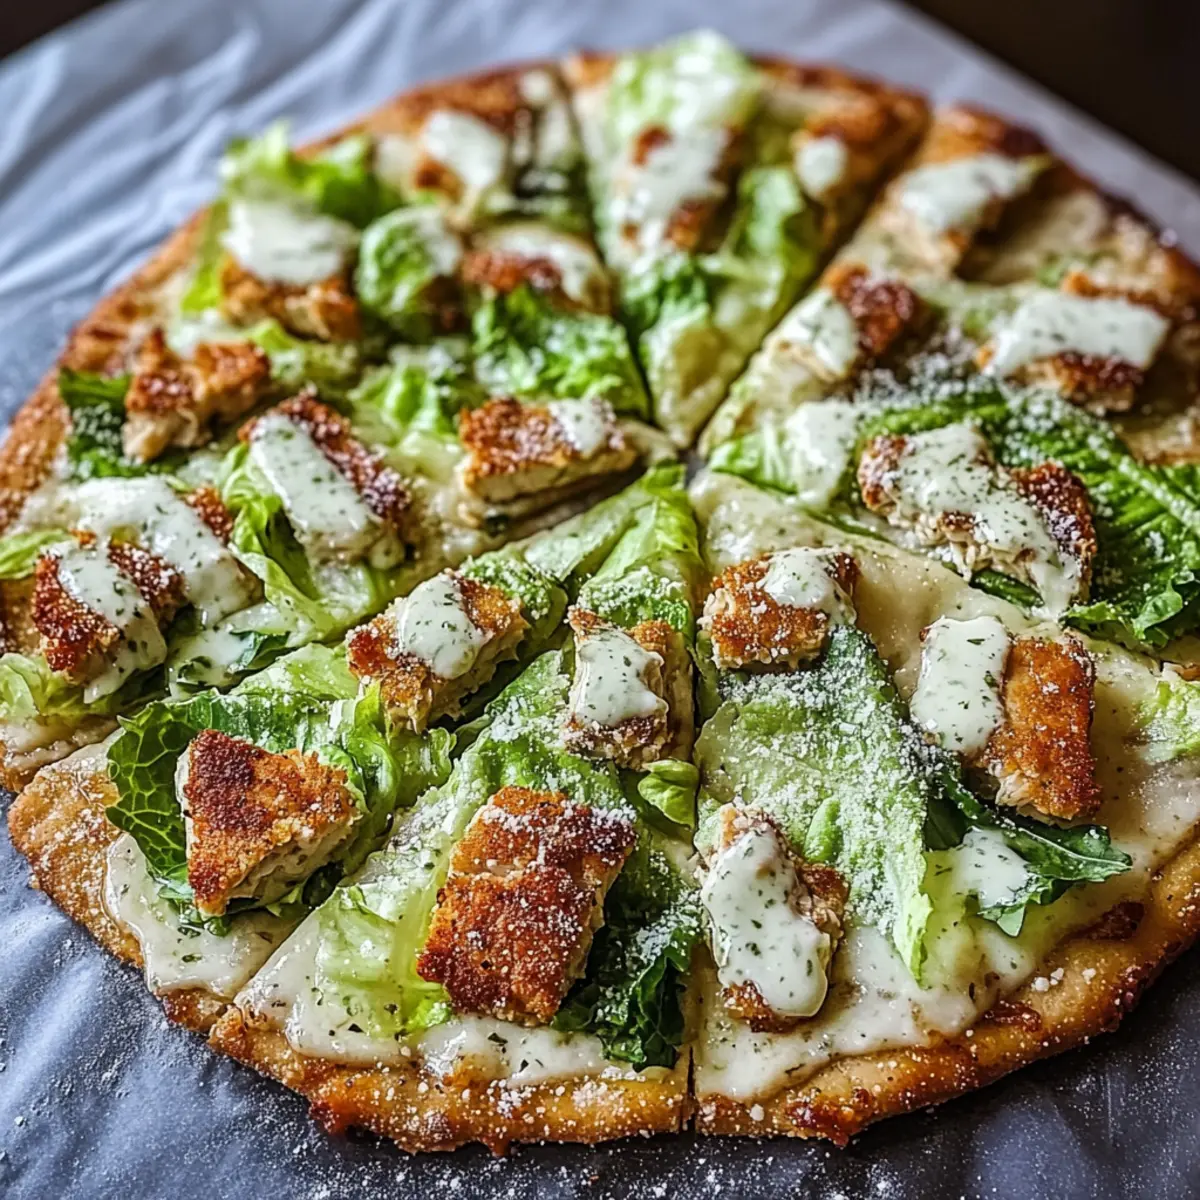
Using a sharp knife or pizza cutter, slice your masterpiece into wedges. Serve immediately to enjoy the perfect contrast between the savory chicken crust and the crisp, refreshing salad on top. Revel in each delightful bite of your Chicken Crust Caesar Salad Pizza as you share it with family and friends!
Chicken Crust Caesar Salad Pizza Variations
Feel free to let your creativity shine as you explore these fun twists to enhance your Chicken Crust Caesar Salad Pizza.
-
Dairy-Free: Replace mozzarella and Parmesan with nutritional yeast and cashew cheese for a creamy, dairy-free option. The flavors will still wow you!
-
Spicy Chicken Crust: Add red pepper flakes or cayenne pepper to the chicken mixture for an exciting kick. Each bite will embrace your taste buds with pleasant heat!
-
Turkey Twist: Substitute ground chicken with ground turkey for a slightly richer taste. This small change can bring a whole new flavor profile to your pizza.
-
Veggie Boost: Toss in finely chopped spinach or bell peppers to the chicken mixture before baking. This adds a delightful crunch while boosting the nutritional value.
-
Herbed Crust: Experiment with fresh herbs like parsley or basil in the chicken crust for a fragrant and fresh flavor. This small addition elevates every bite!
-
Honey Mustard Dressing: Swap Caesar dressing for a honey mustard blend for a sweet yet tangy taste. It’s a flavorful contrast to the savory chicken crust.
-
Crunchy Toppings: Incorporate crispy chickpeas or toasted nuts on top of the salad for an added crunch. You’ll love the texture they bring alongside the fresh greens!
-
Garlic Bread Version: Spread garlic butter on the crust before topping with salad for a deliciously garlicky twist. Pair it up with your favorite dipping sauce for an extra treat.
Explore these variations with your Chicken Crust Caesar Salad Pizza, and don’t forget to check out options like Homemade Chicken Salad to complement your meal or try a delicious Baked Caesar Chicken as another healthy dinner idea!
Make Ahead Options
Preparing your Low-Carb Chicken Crust Caesar Salad Pizza in advance is a smart move for busy weeknights! You can make the chicken crust up to 3 days ahead of time; simply bake it, allow it to cool, and store it in an airtight container in the refrigerator. To ensure the crust remains crispy, cover it loosely with parchment paper before sealing. When you’re ready to serve, just reheat the crust in the oven for about 10 minutes at 350°F (175°C) to restore its crunch. Top it with your prepped Caesar salad right before serving for a fresh, healthy meal that feels effortless!
What to Serve with Chicken Crust Caesar Salad Pizza
Elevate your meal with the perfect pairings that complement your delicious Chicken Crust Caesar Salad Pizza, making every bite delightful.
-
Garlic Breadsticks: These warm, buttery sticks add a comforting aroma and delicious crunch to your meal. They are perfect for savoring leftover salad dressing.
-
Fresh Fruit Salad: A vibrant mix of seasonal fruits offers a refreshing contrast to the savory pizza. The natural sweetness balances the flavors beautifully.
-
Zucchini Chips: These crispy snacks provide a delightful crunch and a healthy, low-carb option to munch on alongside your pizza.
-
Caesar Salad Bites: Mini romaine leaves topped with Caesar dressing and croutons echo the flavors of your pizza. These bites make for a fun, finger-food experience.
-
Sparkling Water: A bubbly, refreshing beverage cleanses the palate and adds a touch of elegance to your meal. Opt for lemon or lime to enhance the flavor profile.
-
Roasted Vegetables: Seasonal roasted veggies like bell peppers and asparagus bring a warm earthiness that complements the protein-packed pizza. Their charred sweetness makes every bite memorable.
Experience the harmony of flavors with these pairings, making your Chicken Crust Caesar Salad Pizza a standout centerpiece for any gathering!
Storage Tips for Chicken Crust Caesar Salad Pizza
Fridge: Store leftover Chicken Crust Caesar Salad Pizza in an airtight container for up to 3 days. Reheat in the oven for 10-15 minutes at 350°F (175°C) to restore crispness.
Freezer: The baked chicken crust can be frozen for up to 1 month. Wrap it tightly in plastic wrap, then in foil. Thaw in the fridge before adding toppings and reheating.
Reheating: For the best texture, heat the pizza in the oven rather than the microwave. This ensures the crust remains crispy while the salad stays fresh.
Assembling Tips: If preparing the crust ahead, assemble the toppings just before serving to maintain freshness and crunch.
Expert Tips for Chicken Crust Caesar Salad Pizza
-
Mix Well: Ensure the chicken mixture is thoroughly combined to prevent crumbling during baking. A well-blended mixture binds the crust beautifully.
-
Cooling Matters: Let the crust cool for a few minutes before adding the salad. This helps keep the crust crispy, enhancing the overall texture of your Chicken Crust Caesar Salad Pizza.
-
Make Ahead: Prepare the chicken crust in advance and store it in the refrigerator for up to 3 days. This makes for a swift assembly on busy nights.
-
Sticky Hands: If you’re struggling to shape the crust due to stickiness, wet your hands slightly. This makes handling the mixture much easier.
-
Custom Toppings: Experiment with additional toppings like cherry tomatoes or unique dressings. This adds extra flavor and keeps your Chicken Crust Caesar Salad Pizza exciting each time you make it!
Chicken Crust Caesar Salad Pizza Recipe FAQs
What type of ground chicken is best for this recipe?
Absolutely! Fresh ground chicken works best for this recipe as it provides the right texture and moisture. You can also use ground turkey for a different flavor profile. Just be mindful of the fat content; leaner meat may yield a drier crust.
How should I store leftovers?
Leftover Chicken Crust Caesar Salad Pizza can be stored in an airtight container in the fridge for up to 3 days. I recommend reheating it in the oven at 350°F (175°C) for about 10-15 minutes to regain its crispy texture; avoiding the microwave keeps that delightful crunch!
Can I freeze the chicken crust?
Absolutely! You can freeze the baked chicken crust for up to 1 month. Simply wrap it tightly in plastic wrap, then in aluminum foil to prevent freezer burn. When you’re ready to use it, thaw it in the fridge overnight before adding your salad toppings. This step ensures you’ll enjoy your meal without compromising its quality.
What’s the best way to troubleshoot a crumbly crust?
If your crust is crumbling, it might be due to insufficient mixing or not enough moisture. To combat this, ensure your chicken mixture is well-combined, and add a tablespoon of chicken broth or a bit more cheese until you reach a sticky but manageable consistency. When shaping, wet your hands slightly to help mold it without sticking.
Are there any dietary restrictions to consider?
It’s important to note that this recipe contains chicken, dairy, and eggs. If you’re preparing for someone with allergies, you can substitute the chicken with a plant-based alternative and use nutritional yeast instead of Parmesan to make it dairy-free. Always ensure to check labels on your Caesar dressing for hidden gluten or dairy ingredients, especially if someone has intolerances.
How can I enhance the flavor or nutrition?
You can absolutely customize your Chicken Crust Caesar Salad Pizza! Consider adding extra herbs like dill or parsley into your chicken mixture for an aromatic lift. For a crunchier topping, toss in some roasted chickpeas or sprinkle with chopped nuts. The more, the merrier—make it your own!
Delicious Chicken Crust Caesar Salad Pizza for Healthy Nights
Ingredients
Equipment
Method
- Preheat your oven to 400°F (200°C) and line a baking sheet with parchment paper.
- In a large mixing bowl, combine the ground chicken, mozzarella cheese, Parmesan cheese, egg, Italian herbs, garlic powder, salt, and pepper. Stir until well incorporated.
- Transfer the chicken mixture onto the prepared baking sheet and shape it into a round crust, about 10–12 inches in diameter and ½ inch thick.
- Bake for 20-25 minutes until golden brown and firm to the touch.
- While the crust is baking, toss the chopped romaine lettuce with Caesar dressing and sprinkle additional Parmesan cheese.
- Remove the baked chicken crust from the oven and let it cool for about 5 minutes.
- Spread the Caesar salad mixture evenly onto the cooled crust.
- Slice the pizza into wedges and serve immediately.
Leave a Reply