As I flipped through the pages of my well-loved cookbook, a joyful memory leapt out at me—the first time I baked an Easter Bunny Cake. This whimsical dessert, with its cute bunny silhouette and cheerful decorations, is hardly just a cake; it’s a celebration of family gatherings and springtime joy. This Easter Bunny Cake is not only visually delightful but also simple to make, perfect for bakers of all skill levels looking to add a touch of magic to their holiday table. Plus, its quick prep allows for more time spent with loved ones, and trust me, it is bound to be a crowd-pleaser! Are you ready to bring some sweetness and charm into your Easter festivities with this delightful centerpiece?
Why is the Easter Bunny Cake a must-try?
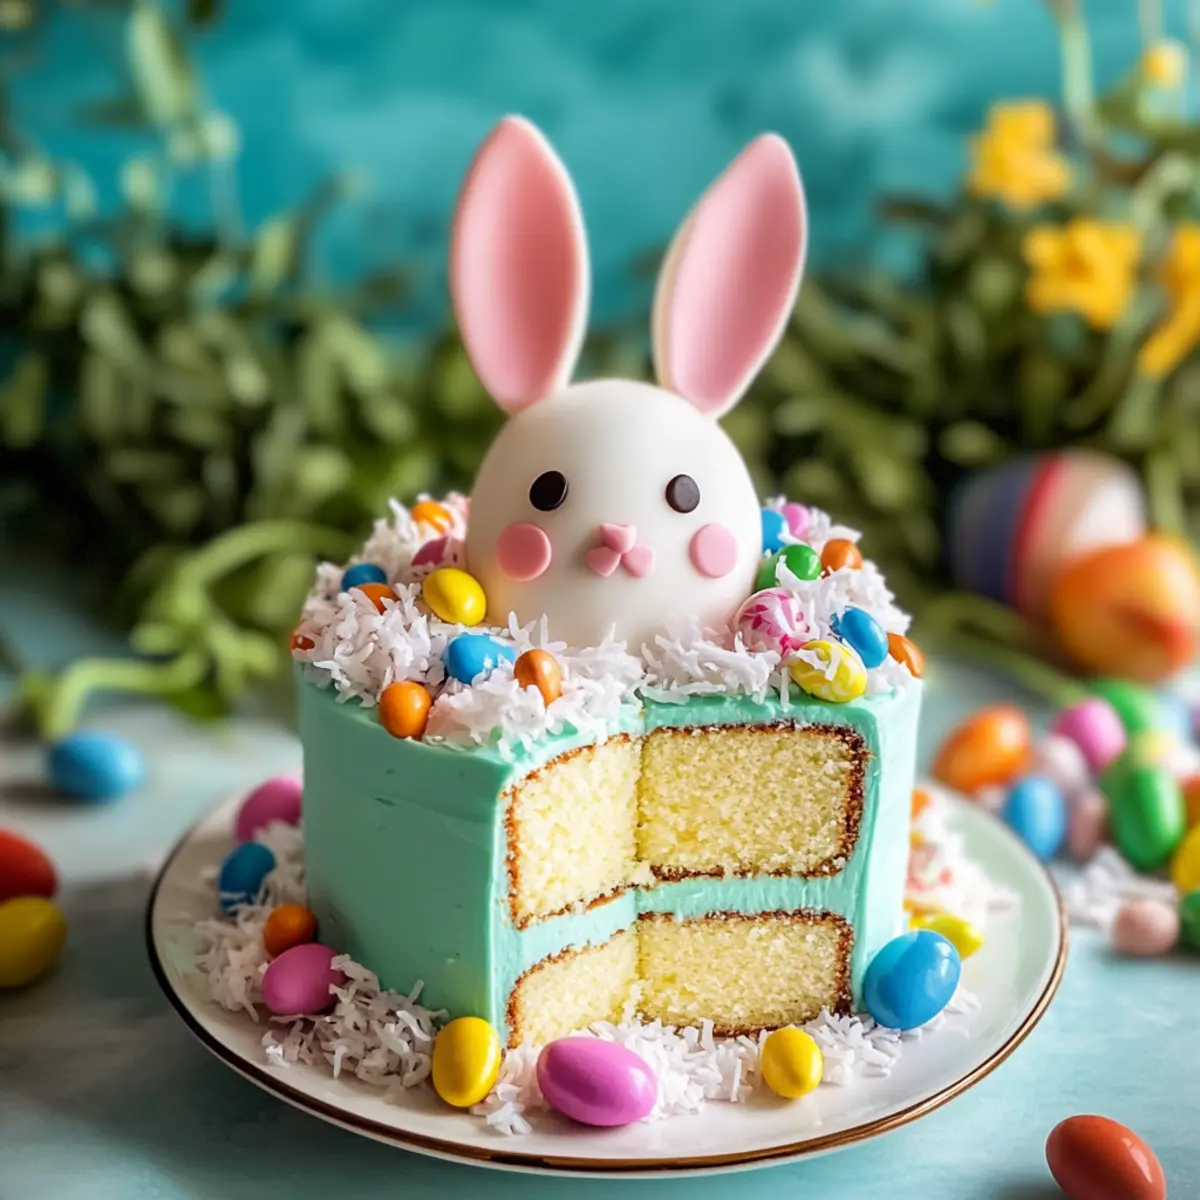
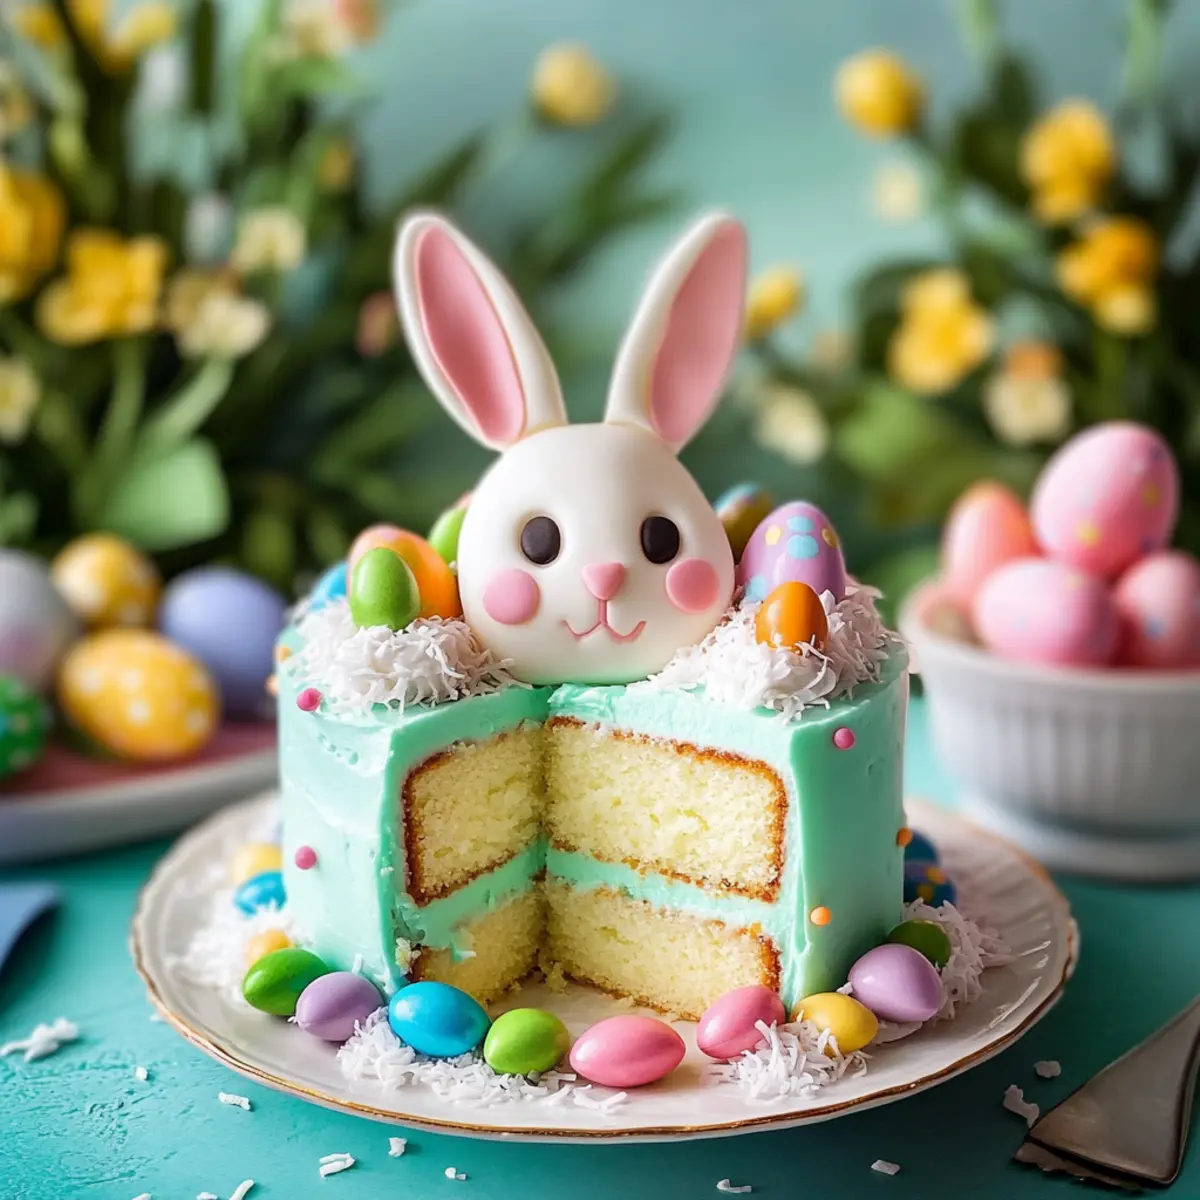
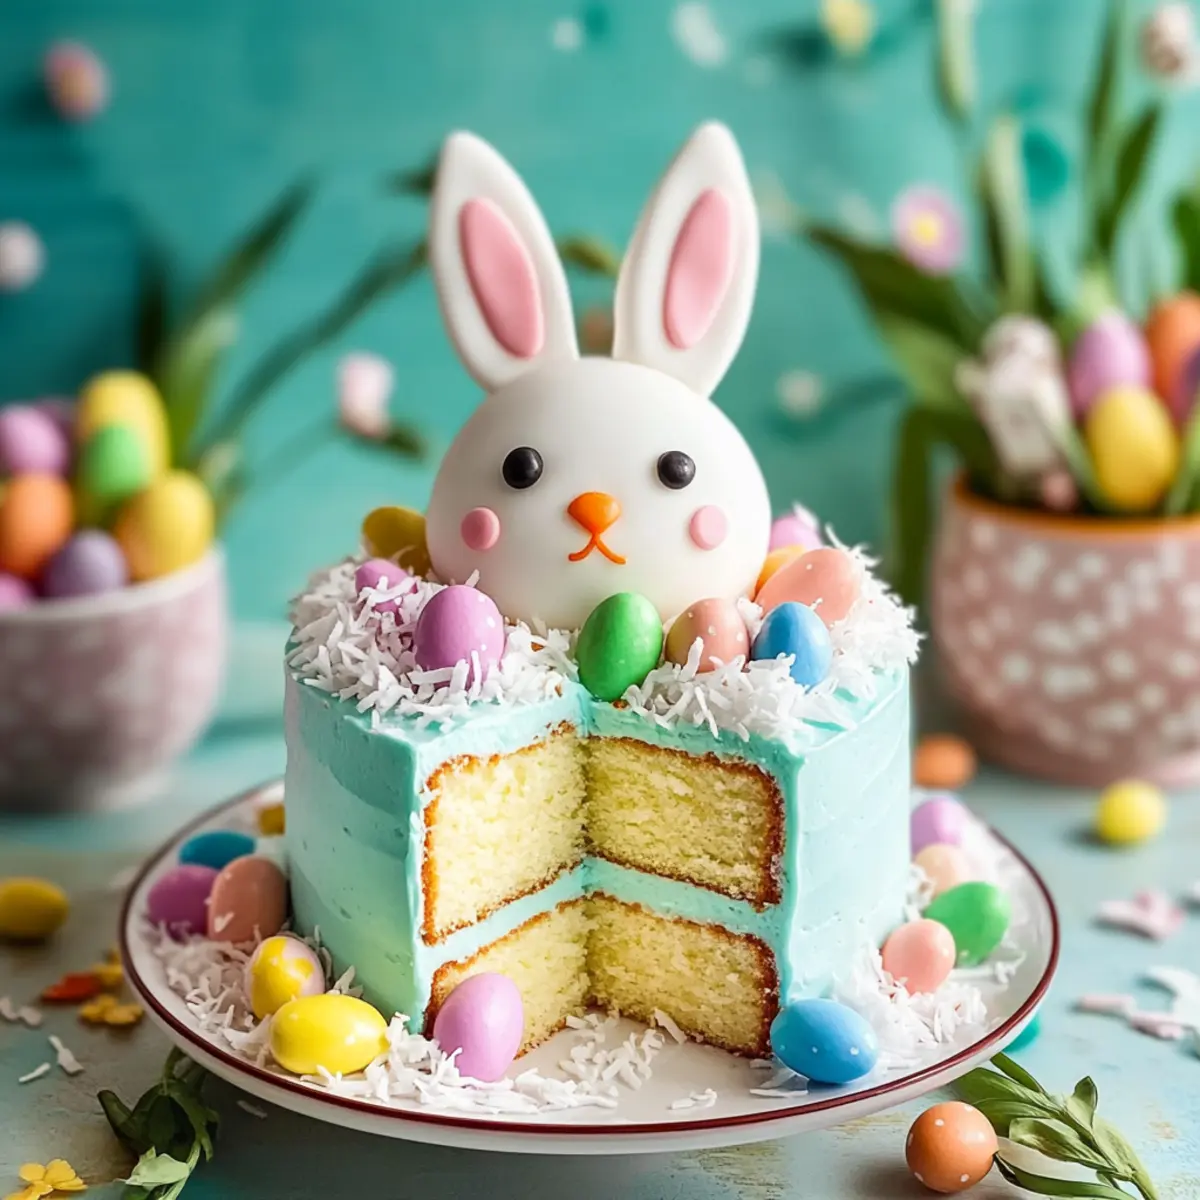
Whimsical Design: The charming bunny shape is not only adorable, but it also elevates your celebration, making it the centerpiece of attention.
Easy to Prepare: Using cake mixes streamlines the process, so you can focus on creating fond memories rather than stressing over complex baking techniques.
Versatile Flavors: Whether you prefer classic vanilla or a twist of chocolate, this cake easily adapts to your taste, mirroring the delightful variety found in our Cinnamon German Pancake.
Fun for All Ages: Get the kids involved in decorating with colorful candies and coconut, turning the cake-making experience into a family bonding fun!
Crowd-Pleasing Sweetness: This cake combines rich flavors with a playful visual appeal that adults and kids alike will adore—perfect for holiday gatherings or Sunday brunch!
Easter Bunny Cake Ingredients
For the Batter
- All-Purpose Flour – Provides structure to the cake; can substitute with cake flour for a lighter texture.
- Granulated Sugar – Sweetens the cake, contributing to its moistness; consider mixing with brown sugar for depth of flavor.
- Eggs – Essential for moisture and binding; use large eggs for best results.
- Dairy (Whole Milk or Buttermilk) – Adds richness and moisture; buttermilk can enhance flavor.
- Cake Mix (Yellow or White) – Forms the base of the cake; an easy option for quicker preparation.
For the Frosting
- Frosting (Buttercream or Cream Cheese) – Provides a smooth, sweet finish; can be colored for festive decoration.
For the Decoration
- Coconut Flakes – Used for texture and decoration; can be colored to match your bunny theme.
- Candy Decorations (e.g., Jelly Beans, Sprinkles) – Adds visual appeal and festive charm, making your Easter Bunny Cake truly pop!
This cheerful Easter Bunny Cake is sure to be a hit at your spring gatherings, bringing joy and sweetness while celebrating the beauty of the season!
Step‑by‑Step Instructions for Easter Bunny Cake
Step 1: Mixing the Batter
In a large mixing bowl, combine the cake mix, eggs, and milk, blending with an electric mixer on medium speed for about 2 minutes until smooth and well combined. The batter should be thick and slightly glossy. Optionally, add a splash of vanilla extract for extra flavor, making sure everything is evenly incorporated for a delightful Easter Bunny Cake base.
Step 2: Baking
Preheat your oven to 350°F (175°C) while you prepare your baking pans. Grease two 9-inch round cake pans with butter or non-stick spray to ensure easy removal after baking. Pour equal portions of the batter into each pan, smoothing the tops. Bake for 25-30 minutes, or until a toothpick inserted into the center comes out clean, and the edges are lightly golden.
Step 3: Cooling
Once your cakes are baked, remove them from the oven and let them cool in the pans for about 10 minutes. Carefully run a knife around the edges to loosen the cakes, then invert them onto a wire rack to cool completely. Proper cooling is crucial to prevent crumbling, ensuring the structure of your Easter Bunny Cake remains intact for shaping.
Step 4: Shaping the Cake
When the cakes are fully cooled, take one cake and cut it in half horizontally. Set one half aside for the ears. Place the intact second cake on a serving platter, and arrange the cut half creatively on top to form the ears of your adorable Easter Bunny Cake. Ensure the pieces fit snugly together for a polished look.
Step 5: Decorating
Spread a generous layer of frosting over the entire cake, smoothing it with a spatula to create a clean finish. Next, sprinkle coconut flakes on top to mimic fluffy bunny fur. Adorn your Easter Bunny Cake with colorful candy decorations like jelly beans and sprinkles to give it that festive flair, letting your creativity shine as you finish the delightful design.

Easter Bunny Cake Variations & Substitutions
Feel free to add your unique twist to this classic Easter Bunny Cake, and let your creativity run wild in the kitchen!
-
Gluten-Free: Use gluten-free cake mix for a delightful cake that everyone can enjoy, ensuring no one feels left out during the festivities.
-
Chocolate Delight: Swap out the yellow cake mix for chocolate cake mix for a rich and indulgent version that adds double the sweetness to your celebration.
-
Zesty Lemon: Incorporate lemon extract or zest into the batter for a refreshing citrus twist that brightens the cake and complements the sweetness of the frosting.
-
Dairy-Free: Substitute almond or coconut milk for whole milk and use a dairy-free frosting to make it suitable for those following a dairy-free lifestyle.
-
Decoration Upgrade: Replace coconut flakes with finely shredded white chocolate for a smooth finish that adds a hint of rich flavor, making your Easter Bunny Cake stand out even more.
-
Flavor Fusion: Blend in extracts like almond or coconut for exciting new flavor profiles; it’s amazing how a simple splash can transform the whole cake!
-
Fruit-Filled Layers: Add a layer of your favorite jam or fresh fruit in between the cakes for a delicious surprise, similar to what you’d find in our Strawberry Custard Cake.
-
Whipped Cream Frosting: For a lighter touch, use whipped cream frosting instead of buttercream. This delicate frosting is perfect for a spring dessert reminiscent of our favorite Japanese Cotton Cheesecake.
Customize your Easter Bunny Cake, and let it be a reflection of your tastes and the joyful spirit of the season!
Make Ahead Options
These delightful Easter Bunny Cakes are perfect for busy home cooks who want to save time during the holiday rush! You can prepare the cake batter and bake it up to 24 hours in advance; simply cover the cooled cakes tightly with plastic wrap before refrigerating. The frosting can also be made ahead and stored in the refrigerator for up to 3 days; just give it a quick whip before spreading to restore its texture. On the day you wish to serve, assemble and decorate the cake with coconut and candies. By prepping the layers ahead of time, you’ll not only cut down on kitchen stress but have more time to enjoy the celebrations with your loved ones!
How to Store and Freeze Easter Bunny Cake
Fridge: Store leftover cake in an airtight container in the refrigerator for up to 3 days. This helps retain its moisture and fresh flavor, preventing it from drying out.
Freezer: If you want to keep the Easter Bunny Cake for a longer period, wrap individual slices tightly in plastic wrap and store in an airtight container in the freezer for up to 3 months.
Thawing: To enjoy frozen cake, remove it from the freezer and let it thaw in the fridge overnight. Once thawed, you can add fresh frosting or decorations if desired.
Reheating: If you prefer a warm slice, gently reheat individual pieces in the microwave for about 10-15 seconds, ensuring not to overheat and dry it out.
What to Serve with Easter Bunny Cake
Looking to elevate the festivities surrounding your delicious Easter Bunny Cake?
-
Fresh Fruit Salad: A vibrant mix of fresh fruits adds a refreshing contrast and balances the sweetness of the cake.
-
Creamy Vanilla Ice Cream: A scoop of creamy vanilla ice cream melts beautifully over a slice, enhancing its delightful flavors and making it a rich indulgence.
-
Lemonade or Iced Tea: These light, citrusy beverages bring a zesty freshness that complements the sweetness of your cake, perfect for spring celebrations.
-
Mini Pastries: Delightful mini pastries like danishes or croissants can offer a light, flaky texture that perfectly contrasts with the soft cake.
-
Chocolate-Covered Strawberries: These decadent treats provide a touch of elegance and a hint of indulgence, making them a memorable pairing for your festive dessert.
-
Whipped Cream: Light and airy, a dollop of whipped cream elevates each bite, adding a plush texture that harmonizes perfectly with the cake’s fluffy body.
Pair these delightful options with your Easter Bunny Cake to create a full spring-themed feast that your loved ones will cherish!
Expert Tips for the Best Easter Bunny Cake
-
Use Fresh Ingredients: Fresh eggs and dairy lead to a moister cake. Check expiration dates to avoid any surprises in flavor for your Easter Bunny Cake.
-
Avoid Overmixing: Mix your batter just until combined; overmixing can result in a dense cake. A light hand is key to achieving that fluffy texture!
-
Cool Completely: Allow your cakes to cool completely before cutting and decorating. This prevents crumbling and ensures a stunning presentation for your Easter Bunny Cake.
-
Creative Decor: Let the kids get involved! Using different candy decorations can bring the cake to life and create a fun, interactive experience.
-
Explore Flavor Variations: Don’t hesitate to experiment with flavorings like almond or lemon extracts. This little twist can elevate your Easter Bunny Cake from ordinary to extraordinary!
Easter Bunny Cake Recipe FAQs
How do I choose the best ingredients for making the Easter Bunny Cake?
Choosing the right ingredients is key! For the best texture and flavor, opt for large, fresh eggs, and consider using buttermilk instead of regular milk for added moisture. When selecting flour, all-purpose works great, but if you want a fluffier cake, cake flour is an excellent alternative. Always check for expiration dates, especially on dairy products, to ensure freshness.
How should I store leftover Easter Bunny Cake?
Absolutely! To keep your leftover cake fresh, store it in an airtight container in the refrigerator for up to 3 days. If you want to save it longer, you can freeze it! Just wrap individual slices tightly in plastic wrap and then place them in an airtight container or freezer bag for up to 3 months. This way, you can enjoy a sweet treat even after the holiday has passed!
Can I freeze the Easter Bunny Cake? If so, how?
Yes, you can freeze the Easter Bunny Cake with ease! First, ensure the cake is fully cooled. Then, wrap it tightly in plastic wrap to prevent freezer burn, and store it in an airtight container. You can freeze whole cakes, or individually sliced pieces, for up to 3 months. When you’re ready to enjoy it, simply transfer the cake to the refrigerator to thaw overnight or let it sit at room temperature for about two hours.
What can I do if my cake turns out too dry?
If your Easter Bunny Cake turns out a tad dry, don’t worry! You can fix this by creating a simple syrup. Combine equal parts sugar and water in a saucepan, heat until the sugar dissolves, then cool. Brush the syrup onto the cake layers before frosting to add moisture and sweetness. Additionally, ensure you’re not overmixing the batter and that you’re using fresh ingredients, as these factors can affect moisture levels during baking.
Does this recipe cater to dietary restrictions?
Yes, it does! To make the Easter Bunny Cake suitable for gluten-free diets, simply substitute the all-purpose flour with a gluten-free cake mix. For a dairy-free version, you can use a dairy-free milk alternative, like almond or coconut milk, and replace the eggs with a vegan egg substitute, such as flaxseed meal mixed with water. These adjustments will still keep the cake delightful and enjoyable for everyone!
Delightful Easter Bunny Cake: Bring Joy to Your Spring Table
Ingredients
Equipment
Method
- In a large mixing bowl, combine the cake mix, eggs, and milk, blending with an electric mixer on medium speed for about 2 minutes until smooth and well combined. Optionally, add vanilla extract.
- Preheat your oven to 350°F (175°C) while you prepare your baking pans. Grease two 9-inch round cake pans and pour equal portions of the batter into each pan. Bake for 25-30 minutes.
- Once your cakes are baked, let them cool in the pans for about 10 minutes. Run a knife around the edges and invert onto a wire rack to cool completely.
- When the cakes are fully cooled, cut one cake in half horizontally. Place the intact cake on a serving platter, using the cut half for the ears.
- Spread a generous layer of frosting over the entire cake, then sprinkle coconut flakes on top and decorate with colorful candy.
Leave a Reply