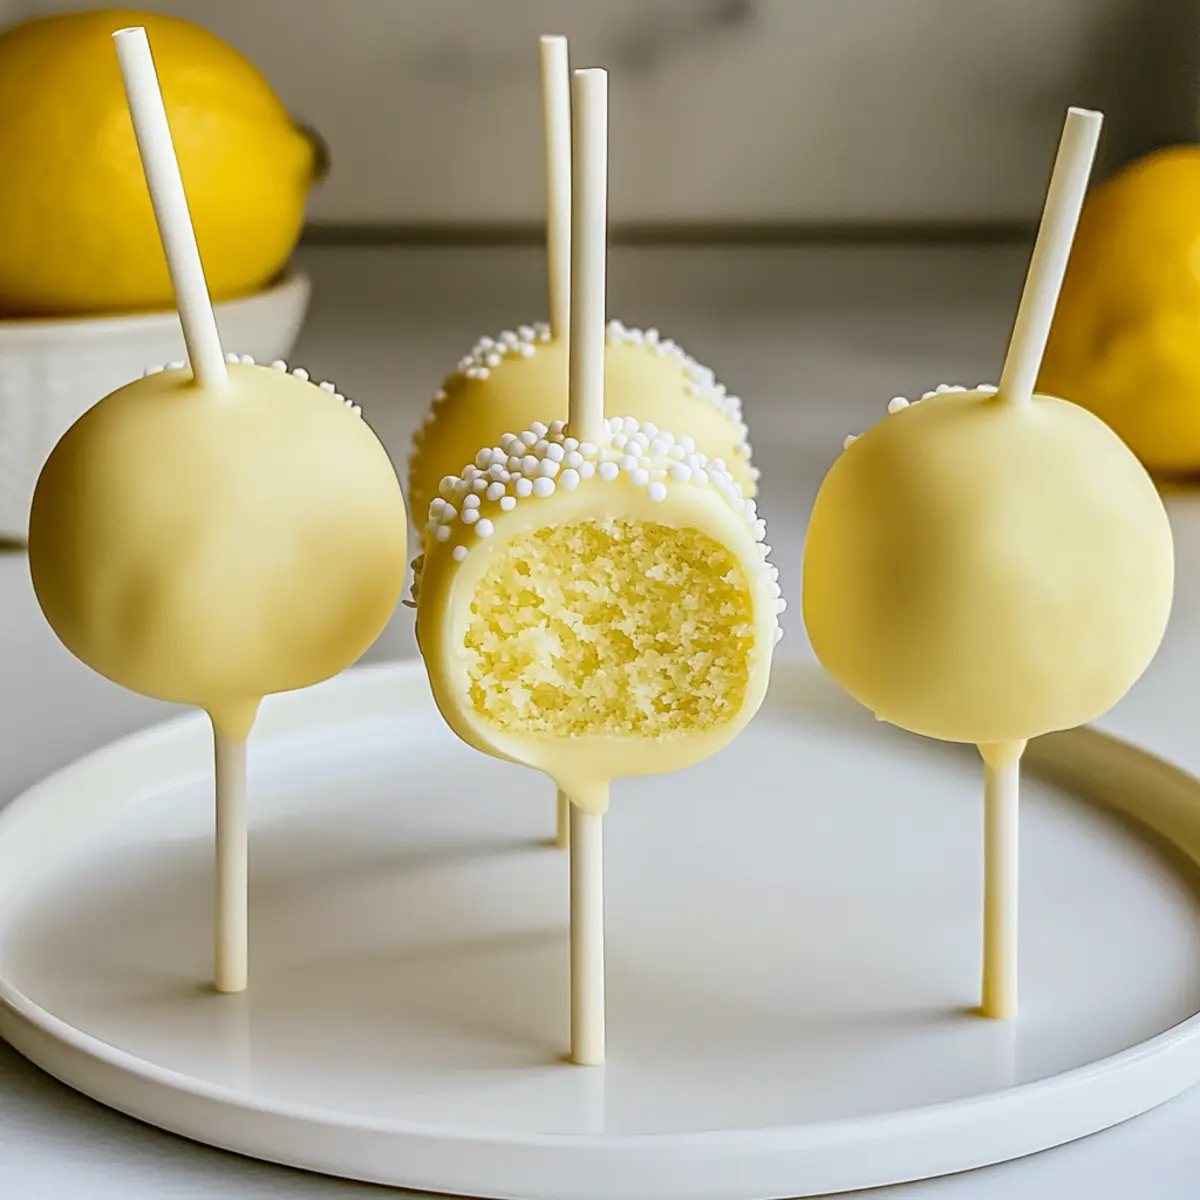
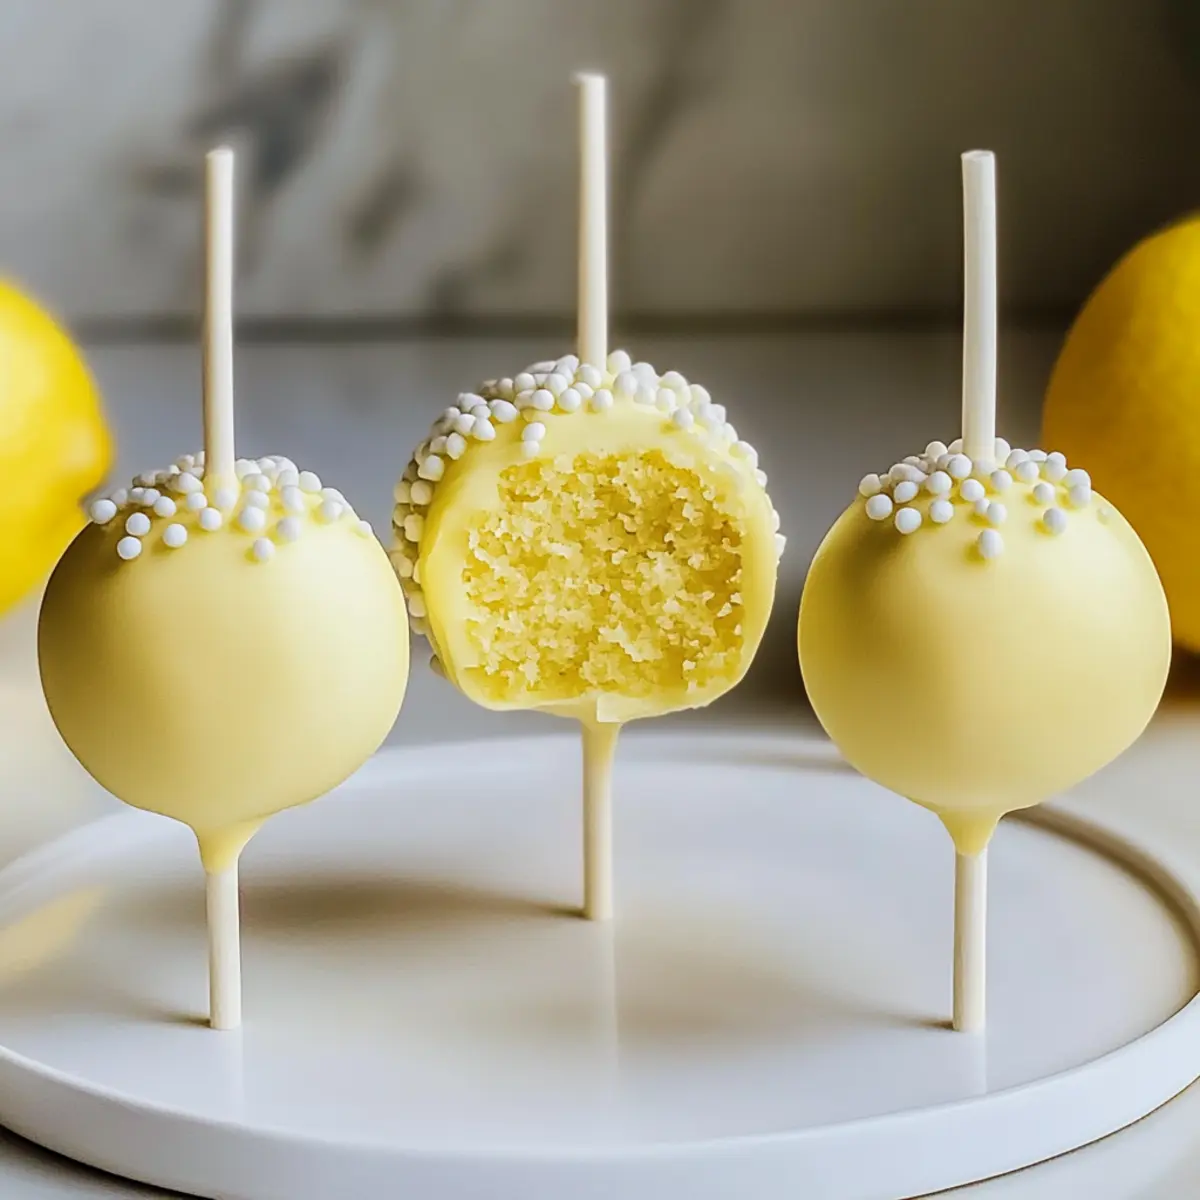
Springtime always brings a sense of renewal, and what better way to celebrate than with a batch of cheerful Lemon Cake Pops? These delightful treats combine the bright zest of lemons with creamy buttercream, creating a sweet and tangy explosion in every delicious bite. With their eye-catching presentation, these cake pops are perfect for Easter gatherings or anytime you want to impress friends and family. One of the best perks? They’re incredibly easy to whip up using lemon cake mix, making them a quick dessert option that can brighten any occasion. Plus, you’ll love how versatile they are—simply customize the coating or add a few sprinkles for a fun twist! Who’s ready to dive into this sweet adventure?
Why Are Lemon Cake Pops So Irresistible?
Bright, Tangy Flavor: The sunshine-inspired combination of lemon and creamy buttercream creates a refreshing taste that tantalizes your taste buds.
Quick and Easy: Thanks to the lemon cake mix, whipping up these cake pops is a breeze, perfect for busy days or last-minute gatherings.
Crowd-Pleasing Treat: Their charming appearance and delightful flavor make them a hit with both kids and adults alike—ideal for Easter or any spring celebration!
Versatile Decorating Options: Feel free to customize the coating or add colorful sprinkles, transforming each batch into a unique masterpiece.
Perfectly Bite-Sized: Unlike traditional desserts, cake pops are fun and portable, making them an excellent snack for parties or picnics.
Get ready to impress your guests with these Lemon Cake Pops! For more tangy treats, try our Italian Grandmas Lemon Custard Cake, or refresh with a bowl of Lemon Ginger Turmeric Chicken and Rice Soup.
Lemon Cake Pops Ingredients
• Perfect for sweet celebrations!
For the Cake Base
- Lemon Cake Mix – A quick foundation; Duncan Hines gives the best flavor.
- Unsalted Butter – Essential for a rich buttercream; ensure it’s softened for easy mixing.
- Lemon Juice (3 tbsp) – For that bright, zesty kick that enhances flavor.
For the Buttercream
- Confectioner’s Sugar (4½ cups) – Key to sweetness and texture; sift if needed for smoothness.
- Whole Milk or Heavy Cream (1½ tbsp) – Adds creamy moisture to your buttercream.
- Lemon Zest (from 2 lemons) – Deepens the lemon flavor, making each bite refreshing!
- Salt – Just a pinch to balance the sweetness.
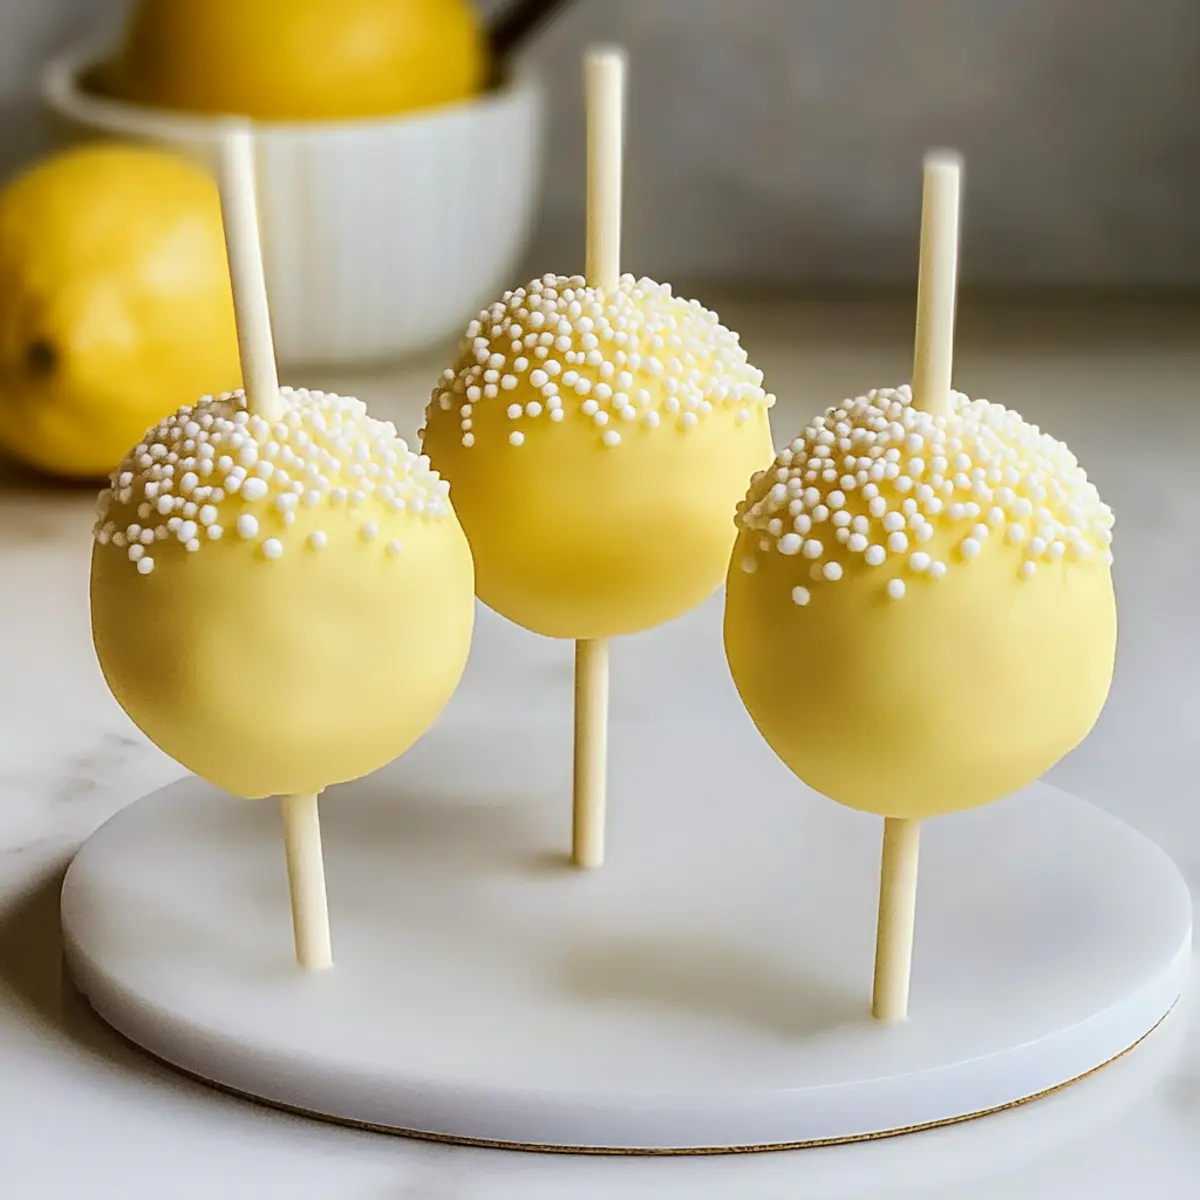
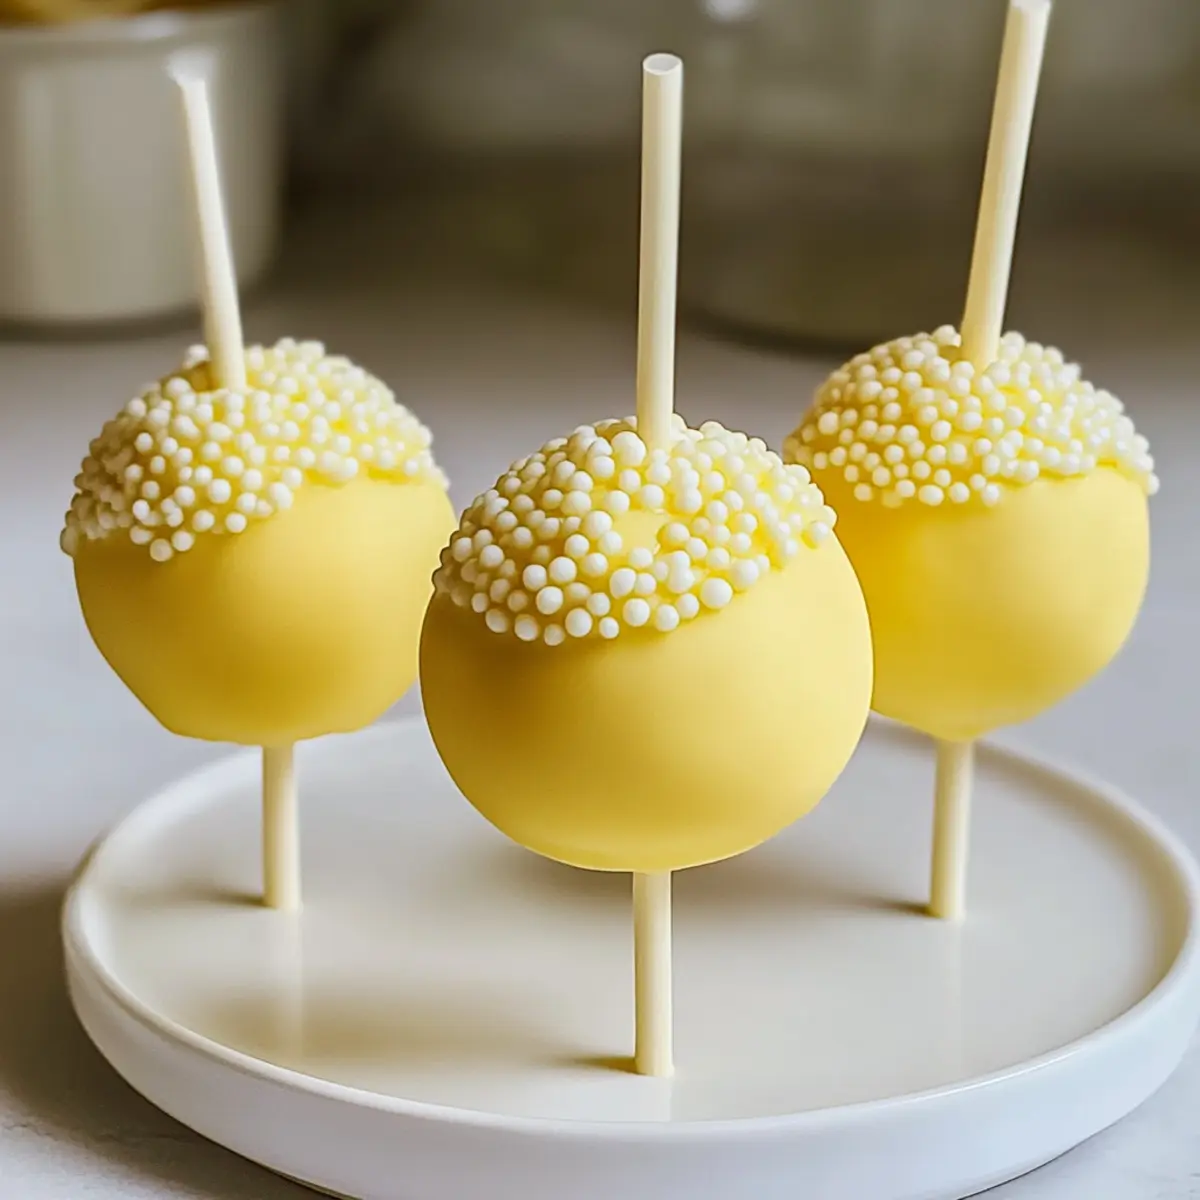
- Yellow Food Coloring – Optional, but it brightens up those cake pops visually.
For the Coating
- White Chocolate Chips (12 oz) – The creamy outer layer; melt them gently for easy dipping.
These Lemon Cake Pops will surely bring cheer and flavor to your festivities! Get ready to create a delightful treat that everyone will love.
Step‑by‑Step Instructions for Lemon Cake Pops
Step 1: Bake Cake
Preheat your oven to 350°F (175°C). Prepare the lemon cake mix according to the package instructions, mixing well until smooth. Once combined, pour the batter into a greased cake pan, spreading it evenly. Bake for about 25-30 minutes or until a toothpick inserted in the center comes out clean. Allow the cake to cool completely on a wire rack.
Step 2: Prepare Buttercream
In a mixing bowl, beat the softened unsalted butter with an electric mixer until creamy, about 2 minutes. Gradually add the confectioner’s sugar, mixing well for another 2-3 minutes until combined. Incorporate the lemon juice, lemon zest, a pinch of salt, and milk or cream, mixing until smooth and fluffy. Add a few drops of yellow food coloring for a vibrant look if desired.
Step 3: Create Cake Mixture
Once the baked lemon cake has cooled completely, crumble it into a large bowl. Gradually add the prepared buttercream to the crumbled cake, mixing with your hands until well combined. Aim for a texture that holds together when rolled into balls, about 5-7 minutes. Adjust with more buttercream if the mixture is too dry to form cohesive balls.
Step 4: Form Cake Balls
Using your hands, scoop out about 2 tablespoons of the cake mixture and roll it into smooth balls. You should get approximately 12 cake balls. Place them on a parchment-lined baking sheet, ensuring they have space between each one. Cover the tray with plastic wrap and refrigerate for around 2 hours, or until the balls are firm.
Step 5: Melt Chocolate
In a microwave-safe bowl, combine the white chocolate chips. Microwave in 30-second intervals, stirring well between each burst, until fully melted and smooth—this should take about 1-2 minutes. If you want colored coating, mix in a few drops of yellow food coloring until fully blended for a bright, eye-catching look.
Step 6: Insert Sticks
Once the cake balls are chilled and firm, carefully dip one end of each lollipop stick into the melted chocolate. Insert the stick halfway into each cake ball to help anchor it in place. Return the cake pops to the baking sheet and allow this chocolate layer to set for about 10 minutes.
Step 7: Coat Cake Pops
Dip each cake pop into the melted chocolate, rolling to coat completely while allowing the excess to drip off. Use a spoon if necessary to help smooth the coating. Immediately decorate your cake pops with colorful sprinkles or edible glitter before the coating sets. Repeat for all pops, ensuring an even coating for visual appeal.
Step 8: Cool
To allow the chocolate coating to harden fully, stand the cake pops upright in a Styrofoam block or use a piece of punctured cardboard. Let them cool completely for about 30 minutes at room temperature. Once set, these delightful Lemon Cake Pops are ready to be enjoyed or stored for later celebrations!
What to Serve with Easy Lemon Cake Pops?
Looking to create a delightful meal experience to pair with your eye-catching sweet treats?
-
Refreshing Lemonade: Perfectly complements the tangy flavors of the cake pops, keeping your palate refreshed during warm gatherings. A cool sip of lemonade enhances the zesty experience, making it a classic duo!
-
Light Fruit Salad: A mix of berries, citrus, and melons not only adds brightness but also offers a healthy contrast to the sweetness of the cake pops. It’s a refreshing option that enhances the overall springtime vibe.
-
Vanilla Ice Cream: The creamy, rich texture of vanilla ice cream contrasts beautifully with the soft, tangy lemon pops, creating a luscious mouthfeel. Try serving them side-by-side for a decadent dessert choice that balances flavors.
-
Sparkling Water with Mint: For a touch of sophistication, serve sparkling water infused with fresh mint. Its slight fizz and herbal notes elevate the casual feel of dessert while cleansing the palate.
-
Chocolate-Covered Strawberries: These treats provide a sweet alternative that echoes the indulgent nature of the cake pops. Their rich chocolate coating and juicy interior add a variety of textures and flavors to dessert time.
-
Cheese Platter: Offering some mild cheese can create a delightful balance against the sweetness of the Lemon Cake Pops. The creamy and salty notes of cheese create a unique flavor journey for your guests.
Expert Tips for Lemon Cake Pops
-
Perfect Buttercream: Ensure your unsalted butter is softened to room temperature for a creamy, smooth buttercream that spreads easily without clumps.
-
Crumble Carefully: When mixing cake and buttercream, add the buttercream gradually to control moisture. Too much can make it difficult to form cohesive balls.
-
Chill Thoroughly: Refrigerating the cake balls for at least 2 hours is crucial. This ensures they hold their shape during the dipping process and helps prevent melting chocolate.
-
Secure Sticks: For better stability, dip the lollipop sticks in melted chocolate before inserting them into the cake balls. This creates a stronger bond.
-
Heat Control: Melt chocolate slowly in short bursts to prevent burning. Stir well between intervals for a smooth coating that adheres perfectly to your Lemon Cake Pops.
Make Ahead Options
These Lemon Cake Pops are perfect for meal prep, saving you time when you need to entertain! You can prepare the cake mixture up to 24 hours in advance by crumbling the cooled lemon cake and combining it with the buttercream. Simply cover the mixture tightly with plastic wrap and refrigerate. The formed cake balls can also be made and chilled for up to 3 days in advance. Just remember to refrigerate them in an airtight container to maintain their shape and moisture. When you’re ready to serve, follow the remaining steps to melt the chocolate, coat the pops, and let them cool. You’ll have delicious, crowd-pleasing Lemon Cake Pops ready to impress your guests with minimal last-minute effort!
Lemon Cake Pops Variations & Substitutions
Feel free to explore these delightful variations to make your Lemon Cake Pops uniquely yours!
-
Flavor Swaps: Substitute lemon cake mix with vanilla or chocolate for a fun twist on the classic flavor profile. Think of how chocolate can provide a rich contrast to the sweet lemon sensation!
-
Mix-Ins: Add-Ins: Play around with the cake mixture by incorporating white chocolate chips, nuts, or colorful sprinkles. These extras not only enhance the texture but also create delightful surprises in each bite.
-
Coating Options: Dark Chocolate: Instead of white chocolate, try dipping the pops in dark chocolate or even candy melts in vibrant colors. This can add depth of flavor and a colorful presentation.
-
Fruity Twist: Berry Lemon: Mix in some crushed freeze-dried berries with the cake mixture for a delicious berry-lemon fusion that’s both tangy and sweet. Imagine the delightful burst of berry flavor intertwined with bright lemon!
-
Hearty Touch: Coconut Flakes: Roll your cake pops in toasted coconut flakes after dipping to add a lovable crunch and a hint of tropical flair. The texture contrasts beautifully with the creamy coating.
For more citrus-inspired delights, you can make our Cod in Coconut Lemon Cream Sauce or enjoy the refreshing taste of Lemon Ginger Turmeric Chicken and Rice Soup. Each recipe adds a zesty touch that’ll brighten your dining experience!
How to Store and Freeze Lemon Cake Pops
Refrigerator: Keep your Lemon Cake Pops in an airtight container for up to 4 days to maintain freshness and flavor.
Freezer: While freezing is not recommended due to the risk of cracking the chocolate coating, if necessary, wrap each pop in plastic wrap and store in a sealed freezer bag for up to 3 months.
Thawing: To enjoy frozen pops, place them in the refrigerator overnight. Avoid using a microwave, as it may cause the coating to melt and lose its shape.
Serving: Serve chilled for the best taste experience, particularly at spring gatherings or celebrations.
Lemon Cake Pops Recipe FAQs
What type of lemon cake mix is best for these cake pops?
Absolutely! While you can use any lemon cake mix you prefer, I highly recommend Duncan Hines for the best flavor. The rich and tangy taste it adds complements the buttercream perfectly, creating a delightful balance.
How long can I store Lemon Cake Pops, and what’s the best way?
You can refrigerate your Lemon Cake Pops in an airtight container for up to 4 days. Ensure they are well-sealed to keep the cake pops fresh and moist. When you’re ready to serve, simply take them out of the fridge and enjoy!
Can I freeze Lemon Cake Pops, and if so, how?
While freezing is not ideal due to the risk of cracking the chocolate coating, you can do so if needed. Wrap each pop individually in plastic wrap, then place them in a sealed freezer bag for up to 3 months. When you’re ready to eat, thaw them in the refrigerator overnight—never in the microwave, as it may ruin their shape.
How can I troubleshoot if my cake pop mixture is too dry?
If the mixture is too dry and won’t hold together when rolling into balls, don’t worry! Gradually add more of the prepared buttercream, mixing it in with your hands. Aim for a consistency that is slightly sticky but can still be formed into smooth balls. This should take about 5-7 minutes of mixing to reach the perfect texture.
Are there any dietary considerations for my Lemon Cake Pops?
Definitely! If you’re preparing these for someone with allergies or dietary restrictions, consider substituting ingredients. For instance, use gluten-free lemon cake mix for a gluten-free option or dairy-free butter for those avoiding dairy. Always check labels to ensure all ingredients are suitable for your guests’ needs.
What should I do if my chocolate coating isn’t smooth?
If you find your melted chocolate is lumpy or doesn’t coat well, it could be overheating. Return it to the microwave and melt in short bursts of 15-20 seconds, stirring vigorously after each burst until smooth. Adding a teaspoon of vegetable oil can also help thin the chocolate for an even better coating.
Delicious Lemon Cake Pops That Brighten Every Celebration
Ingredients
Equipment
Method
- Preheat your oven to 350°F (175°C) and prepare the lemon cake mix according to the package instructions. Pour the batter into a greased cake pan and bake for about 25-30 minutes. Allow to cool completely.
- In a mixing bowl, beat the softened unsalted butter until creamy, then gradually add the confectioner’s sugar. Mix in lemon juice, lemon zest, salt, and milk until smooth.
- Crumble the cooled lemon cake into a large bowl. Gradually mix in the buttercream until the texture holds together when rolled into balls.
- Scoop out about 2 tablespoons of the mixture and roll into smooth balls, placing them on a parchment-lined baking sheet. Refrigerate for about 2 hours to firm up.
- Melt the white chocolate chips in a microwave-safe bowl, stirring in 30-second intervals until smooth. Add food coloring if desired.
- Dip one end of each lollipop stick into the melted chocolate, then insert halfway into each cake ball. Let set for about 10 minutes.
- Dip each cake pop into the melted chocolate and decorate with sprinkles before the coating sets. Repeat for all cake pops.
- Stand the coated cake pops upright in a Styrofoam block to cool completely for about 30 minutes.
Leave a Reply