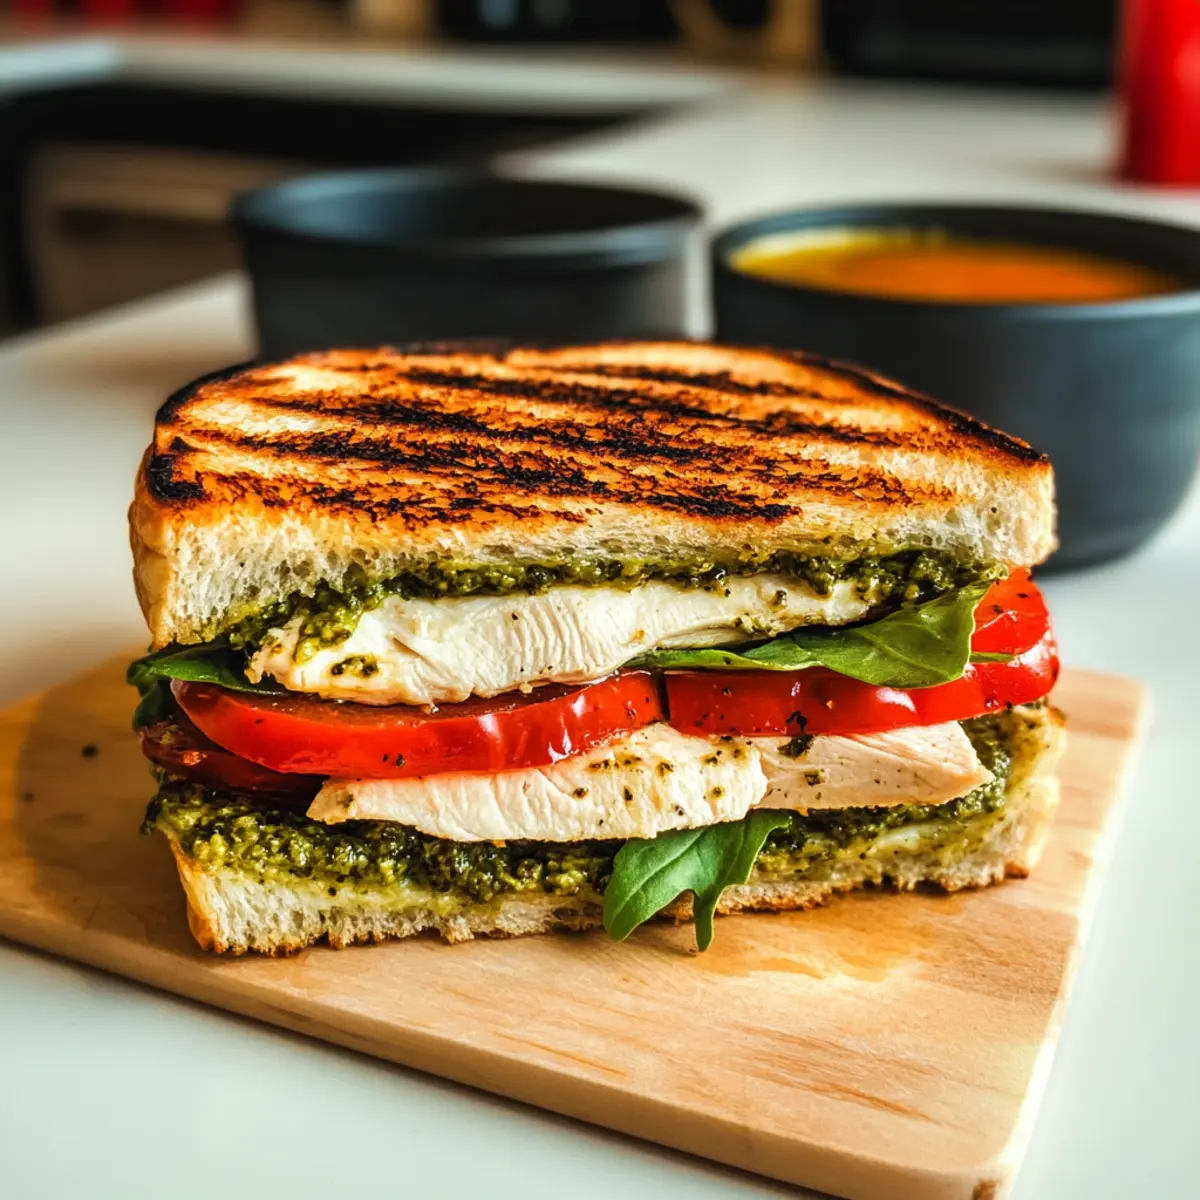
The unmistakable aroma of fresh basil wafts through the kitchen as I blend a vibrant batch of homemade pesto, instantly transporting me to a sun-drenched Italian hillside. Today, I’m excited to share my Loaded Chicken Pesto Panini, a delightful sandwich that transforms simple ingredients into a gourmet experience. With creamy avocado and tangy roasted red peppers nestled between warm, crusty bread, this panini is not just a meal; it’s a celebration of flavor and texture. Quick to prepare and a surefire crowd-pleaser, this sandwich is perfect for lunch, brunch, or whenever you crave something special without the fuss. So, are you ready to take your taste buds on a delicious adventure?
Why is this panini a must-try?
Irresistible Layers: Experience a unique combination of creamy avocado, tangy roasted red peppers, and savory artichokes for a mouthwatering bite.
Quick and Easy: This recipe is simple to whip up, making it perfect for a busy weekday lunch yet impressive enough for weekend brunch.
Health-Conscious Choice: Packed with wholesome ingredients, it’s a delicious way to elevate your meals while keeping health in mind—check out my Garlic Parmesan Chicken for more healthy but tasty ideas!
Versatile Customization: With various ingredient swaps available, it caters to all palates—try it vegetarian by substituting chicken with grilled veggies!
Crowd-Pleasing Delight: Perfect for gatherings or a cozy dinner, this Loaded Chicken Pesto Panini is sure to delight everyone at the table.
Loaded Chicken Pesto Panini Ingredients
For the Pesto
- Extra Virgin Olive Oil – Provides richness and is the base for the pesto; substitute with avocado oil for a different flavor.
- Nuts (Walnuts/Pine Nuts/Mix) – Add texture and nuttiness to the pesto; use almonds if preferred.
- Sea Salt – Enhances flavor; adjust to taste.
- Lemon Juice – Offers acidity to balance the flavors; freshly squeezed juice is recommended.
- Fresh Basil Leaves – The key flavor in homemade pesto; can substitute with spinach for a milder taste.
- Nutritional Yeast – Adds a cheesy flavor to pesto without dairy; omit if dairy is acceptable.
- Minced Garlic – For depth of flavor; fresh garlic recommended for best results.
- Ground Black Pepper – Adds warmth and spice; use white pepper for a milder flavor.
- Water – Adjusts the consistency of the pesto; use as needed.
For the Panini
- Bread (Rosemary Sourdough) – The foundation of the panini, providing a crusty exterior; any sturdy bread can be substituted.
- Ghee (or Butter) – Ensures a crispy crust on the sandwich; regular butter can be used.
- Pesto (Homemade or Store-Bought) – The flavorful spread on the sandwich; homemade is preferred for freshness.
- Calabrian Peppers (optional) – Adds heat; substitute with sun-dried tomatoes for a milder option.
- Avocado – Provides creaminess and healthy fats; substitute with hummus for a different texture.
- Marinated Roasted Sweet Red Peppers – Contributes sweetness and flavor to the panini; any roasted peppers can work.
- Cheese (Goat Cheese recommended) – Melts beautifully and adds creaminess; use mozzarella or cheddar as alternatives.
- Artichoke Hearts – Offer a tangy bite; canned or jarred are convenient.
- Organic Deli Chicken – A protein source providing substance; substitute with turkey or grilled vegetables for a vegetarian option.
- Fresh Arugula – Provides peppery freshness; can be swapped for spinach or kale.
- Fresh Cracked Pepper & Sea Salt – To taste; enhance overall flavor.
Step‑by‑Step Instructions for Loaded Chicken Pesto Panini
Step 1: Make the Homemade Basil Pesto
In a food processor, combine 1/2 cup extra virgin olive oil, 1/4 cup nuts, 1 teaspoon sea salt, 2 tablespoons lemon juice, 2 cups fresh basil leaves, 1/4 cup nutritional yeast, 2 cloves minced garlic, and a pinch of ground black pepper. Pulse until smooth. If the pesto is too thick, add water gradually until desired consistency is reached. You can refrigerate this homemade basil pesto for a few days or freeze it for longer storage.
Step 2: Prepare the Bread and Spread
Take four slices of rosemary sourdough bread and spread 1 tablespoon of ghee on the outer sides of each slice to achieve a perfect golden crust. On the other side of two slices, generously spread the homemade basil pesto. If you’re feeling adventurous, add sliced Calabrian peppers to enhance the panini’s flavor profile.
Step 3: Layer the Fillings
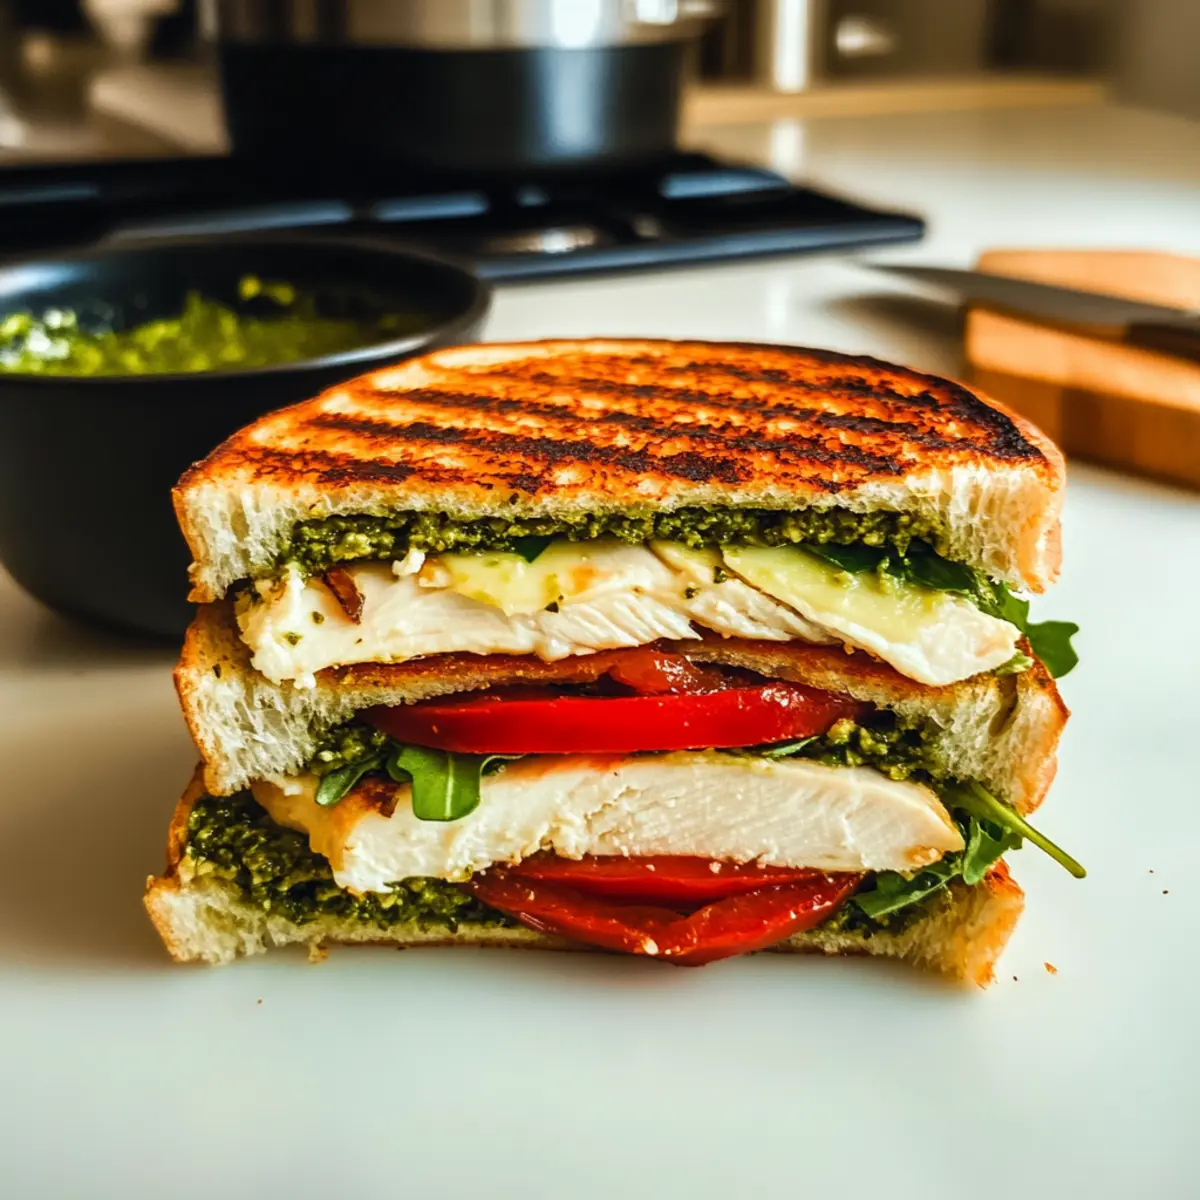
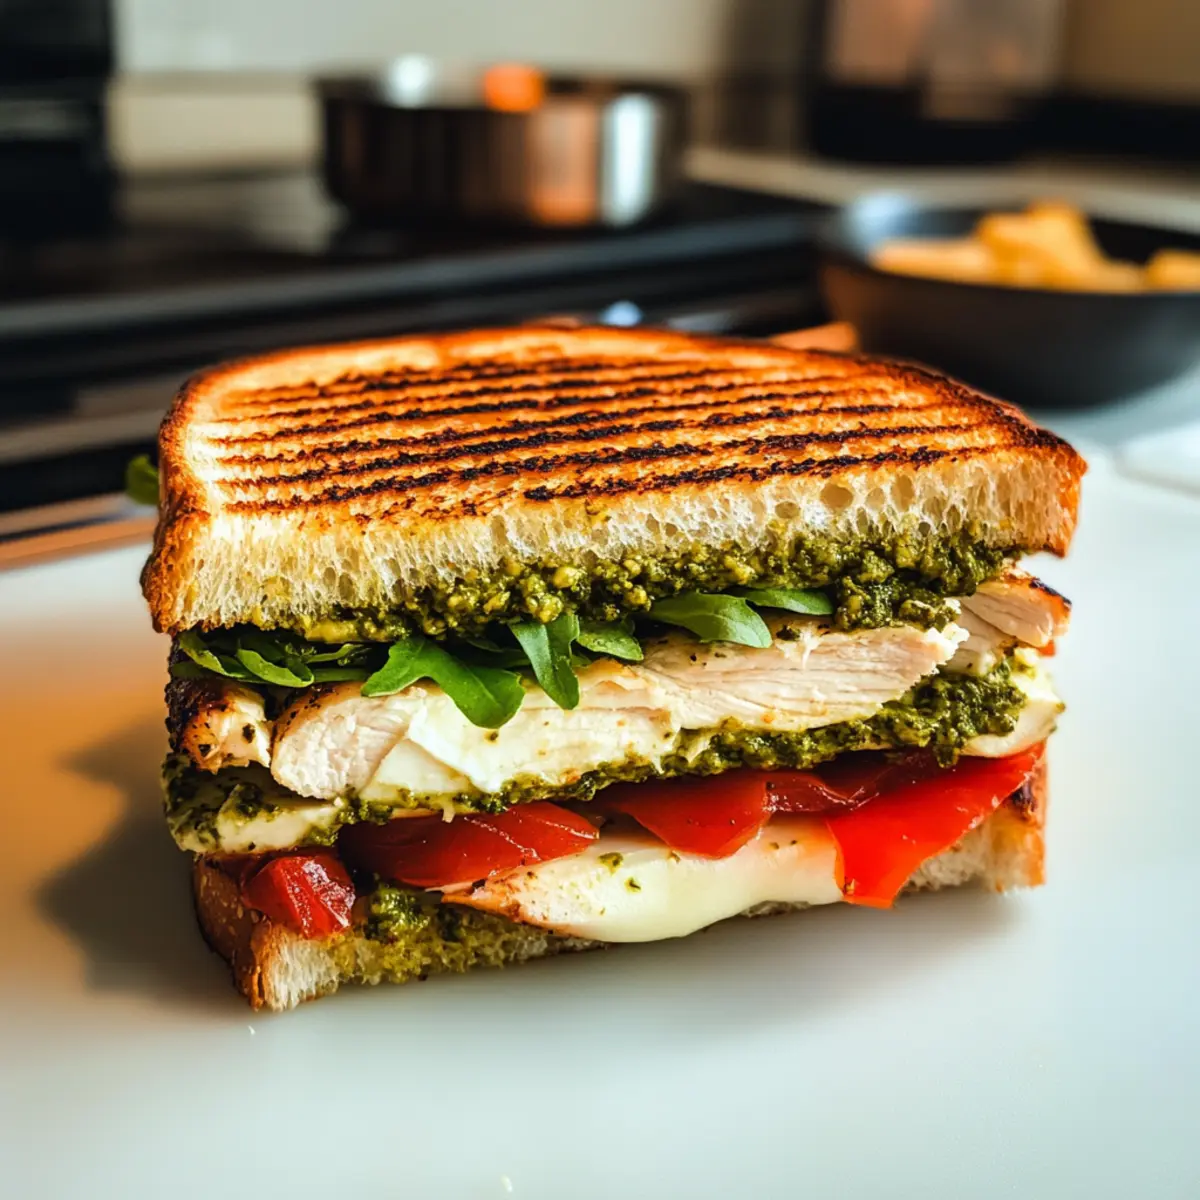
On the pesto-covered slices, layer your ingredients starting with 1 ripe avocado, sliced for creamy texture. Add 1/2 cup marinated roasted sweet red peppers, followed by 8 ounces of organic deli chicken. Sprinkle with freshly cracked black pepper, then place a few slices of goat cheese, artichoke hearts, and a handful of fresh arugula on top, creating a colorful and hearty filling.
Step 4: Grill the Panini
Preheat your panini press or grill pan to medium heat, ensuring it’s nice and hot for optimal grilling. Carefully place the assembled panini, ghee-side down, onto the grill surface. Cook for about 4-5 minutes, until the bread is golden brown and crispy, and the cheese has melted enticingly. If using a grill pan, apply light pressure with a spatula to achieve those grill marks.
Step 5: Serve and Enjoy
Once grilled to perfection, remove the Loaded Chicken Pesto Panini from the heat and allow it to rest for about one minute. This resting time helps the ingredients settle together. Finally, slice the panini in half, revealing the vibrant layers inside, and serve warm alongside a fresh salad or comforting soup for a delightful meal.
Make Ahead Options
These Loaded Chicken Pesto Panini are a fantastic option for busy weeknights, allowing you to meal prep effortlessly ahead of time! You can prepare the homemade basil pesto up to 3 days in advance and store it in an airtight container in the refrigerator. Additionally, you can slice the bread and layer the fillings (without grilling) about 24 hours ahead, keeping the assembly in the fridge, which helps maintain the freshness of the ingredients. When you’re ready to serve, simply grill the panini as directed, and you’ll have a delicious, gourmet sandwich made with minimal effort—just as flavorful as if made fresh!
How to Store and Freeze Loaded Chicken Pesto Panini
Fridge: Store the assembled panini wrapped in parchment or in an airtight container for up to 2 days. This keeps the bread fresh while the fillings remain flavorful.
Freezer: If you’ve made extra paninis, wrap each one tightly in plastic wrap, then in aluminum foil. They can be frozen for up to 3 months. Just be sure to defrost before grilling!
Reheating: To enjoy leftovers, reheat in a panini press or on a grill pan over medium heat for about 5 minutes until heated through and crispy. This brings back the delightful crunch of your Loaded Chicken Pesto Panini!
Make-Ahead: Prepare the pesto in advance and store it in an airtight container in the fridge for up to a week or freeze it in ice cube trays for convenience. This way, you always have fresh pesto ready to elevate your next panini!
Variations & Substitutions for Loaded Chicken Pesto Panini
Feel free to let your creativity shine and adjust this Loaded Chicken Pesto Panini to suit your taste and dietary needs!
-
Vegetarian Delight: Swap out organic deli chicken for grilled vegetables or chickpeas to create a hearty vegetarian option. This swap adds a satisfying texture without missing out on flavor!
-
Gluten-Free Goodness: Use gluten-free bread to accommodate dietary restrictions while still enjoying the crispy, crunchy bite of a delicious panini. With a multitude of gluten-free bread options available, you won’t feel like you’re missing out!
-
Dairy-Free Twist: To keep it dairy-free, use a plant-based cheese alternative or omit cheese altogether. The creamy avocado will still provide that rich mouthfeel everyone loves.
-
Extra Veggies: Add roasted zucchini or squash for deeper flavor and extra nutrients. Not only does this boost the health factor, but it adds a delightful twist to your panini.
-
Different Bread Choice: Experiment with different types of bread such as ciabatta or whole grain for unique flavor profiles. Each kind brings its own character, making your panini feel fresh and new every time!
-
Heat Factor: Spice things up with jalapeños or even chipotle peppers instead of Calabrian for a smoky kick. Just remember, a little heat goes a long way, so use in moderation!
-
Nut-Free Option: Substitute pesto nuts with sunflower seeds for a nut-free version while still retaining that delicious crunch and flavor profile. It’s an excellent way to please those with nut allergies!
-
Lemon Zest Boost: Enhance flavors further with a touch of lemon zest in the pesto. It adds a vibrant brightness that complements the greens and elevates the sandwich as a whole.
If you’re looking for more ideas, try incorporating ingredients and flavors from my other dishes, such as the Cajun Chicken Alfredo or Honey BBQ Chicken, for a delightful twist on this classic!
What to Serve with Loaded Chicken Pesto Panini
Elevate your meal with delightful sides that complement the vibrant flavors of this irresistible panini.
-
Crispy Sweet Potato Fries: A warm, crunchy side that adds a sweet contrast to the savory panini, making every bite a treat.
-
Garden Salad with Balsamic Vinaigrette: Fresh greens topped with tangy dressing to balance the rich flavors, enhancing the overall dining experience.
-
Homemade Tomato Soup: This comforting companion provides a wonderful creamy contrast to the crunchy panini, perfect for dipping.
-
Garlic Parmesan Roasted Brussels Sprouts: Nutty and savory, these provide an earthy dimension next to the bright pesto flavors, making for a delicious combination.
-
Zucchini Noodles with Pesto: For a lighter twist, toss spiralized zucchini with leftover pesto for a refreshing side dish that feels luxurious and healthy.
-
Lemonade or Iced Tea: A refreshing drink with a zesty kick compliments the panini’s intense flavors, making every bite even more enjoyable.
Consider these pairings to create a complete and satisfying meal that will have your taste buds singing!
Expert Tips for the Best Loaded Chicken Pesto Panini
-
Layer Thoughtfully: Always ensure your ingredients are evenly layered to prevent spillage when slicing the Loaded Chicken Pesto Panini. A neat stack keeps everything intact.
-
Adjust Flavors: Play with the amount of pesto and cheese. If you prefer a stronger flavor, don’t hesitate to amp up the quantities for a more robust taste!
-
Rest Before Cutting: Allow the panini to rest for about a minute after grilling. This brief pause will help the fillings settle, making it easier to slice without losing any delicious ingredients.
-
Bread Choice Matters: Choose a sturdy bread like rosemary sourdough for optimal crispiness. If using softer bread, the panini may become soggy instead of crispy.
-
Pesto Perfection: For the freshest flavor, using homemade basil pesto is key. Just remember to store any leftovers in an airtight container for up to a week or freeze for later use.
Loaded Chicken Pesto Panini Recipe FAQs
What kind of bread is best for a Loaded Chicken Pesto Panini?
I recommend using a sturdy bread like rosemary sourdough for optimal crispiness. If you’re in the mood for something different, ciabatta or whole grain bread can also work beautifully. Just remember to avoid overly soft bread, as it may become soggy rather than achieving that delightful crunch!
How should I store leftover Loaded Chicken Pesto Panini?
To keep your assembled panini fresh in the fridge, wrap it in parchment paper or place it in an airtight container for up to 2 days. This method preserves the flavors and texture of the ingredients. If you’ve got extra paninis, you can freeze them by wrapping each one tightly in plastic wrap, then in aluminum foil, where they’ll stay good for up to 3 months.
Can I freeze Loaded Chicken Pesto Panini?
Absolutely! If you want to prepare ahead, wrap each panini tightly in plastic wrap, followed by aluminum foil to prevent freezer burn. They can be stored in the freezer for up to 3 months. Simply defrost in the refrigerator overnight before grilling for a speedy meal!
What should I do if the ingredients spill out while grilling the panini?
To avoid spillage, layer your ingredients thoughtfully and evenly. Make sure the avocado and cheese aren’t overloaded on one side. If you still encounter spillage, just keep your cooking press secure while grilling and press down gently. This should help keep everything in place while achieving that beautiful golden crust!
Can I substitute any ingredients in the Loaded Chicken Pesto Panini?
Very! This panini is quite versatile. For example, you could swap the organic deli chicken for turkey, grilled vegetables, or even chickpeas if you’re looking for a vegetarian option. Additionally, try using hummus instead of avocado for a different texture. The more variations, the merrier!
How long will the homemade basil pesto last?
Homemade basil pesto can be stored in an airtight container in the fridge for up to a week. If you’d like to keep it for a longer period, freeze it in ice cube trays. Once frozen, transfer the cubes to a zip-lock bag and store for up to 3 months. This way, you’ll always have fresh pesto on hand for your next culinary adventure!

Loaded Chicken Pesto Panini
Ingredients
Equipment
Method
- In a food processor, combine the olive oil, nuts, sea salt, lemon juice, basil leaves, nutritional yeast, minced garlic, and ground black pepper. Pulse until smooth. If too thick, add water gradually until desired consistency is reached.
- You can refrigerate the homemade basil pesto for a few days or freeze it for longer storage.
- Spread ghee on the outer sides of the rosemary sourdough bread slices. On the other side of two slices, generously spread the homemade basil pesto. Add sliced Calabrian peppers if desired.
- Layer the fillings starting with sliced avocado, followed by marinated roasted sweet red peppers, organic deli chicken, goat cheese, artichoke hearts, and fresh arugula.
- Preheat the panini press or grill pan to medium heat. Place the assembled panini, ghee-side down, onto the grill surface.
- Cook for about 4-5 minutes until golden brown and crispy.
- Remove the panini from heat, allow to rest for about one minute, slice in half, and serve warm.
Leave a Reply