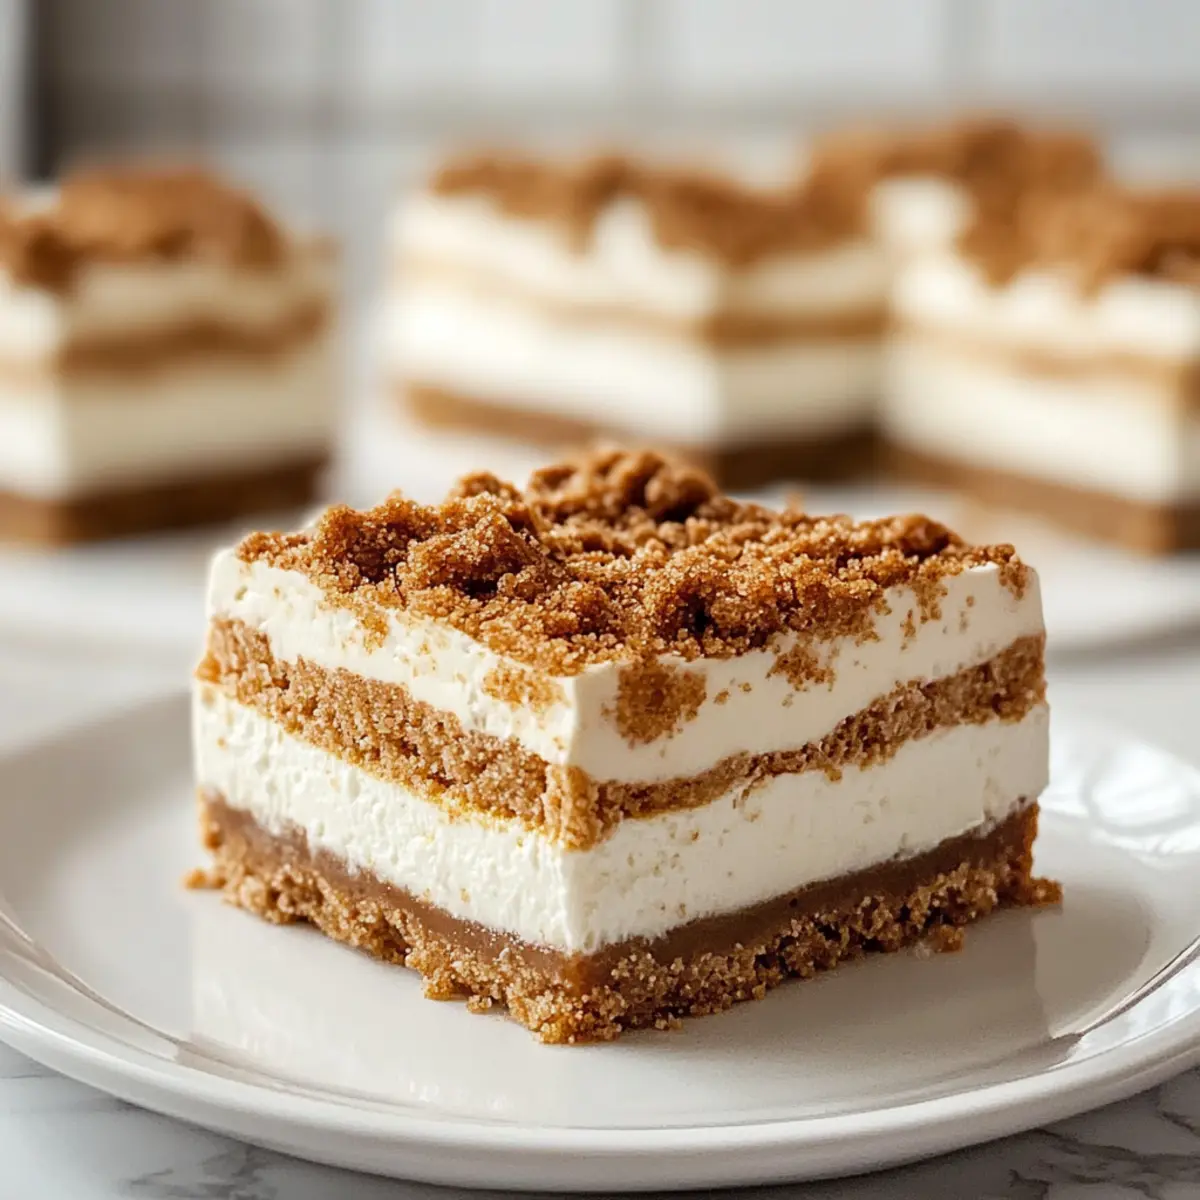
As I stood in my kitchen, the delightful aroma of spiced cookies filled the air, transporting me to a cozy café where treats are celebrated and savored. That’s when the craving for something sweet yet effortless struck me, leading me straight to these No-Bake Biscoff Cheesecake Bars. Combining the creamy texture of a classic cheesecake with the irresistible warmth of Biscoff cookies, this dessert is a true showstopper. Not only are they easy to whip up without an oven, but they also make for a fabulous make-ahead option, perfect for entertaining or simply indulging after a long day. Imagine biting into a velvety slice, the crunch of the Biscoff crust beautifully complementing the rich filling. Curious to see how simple it is to bring this deliciousness to your table? Let’s dive in!
Why are these cheesecake bars a must-try?
Effortless Creation: These No-Bake Biscoff Cheesecake Bars require minimal time and hassle, making them perfect for anyone craving a decadent dessert without the oven.
Irresistible Flavor: Every bite offers a delightful blend of creamy cheesecake and the warm, spiced notes of Biscoff, creating a satisfying experience that will leave your taste buds wanting more.
Make-Ahead Convenience: Ideal for busy schedules, you can prepare these bars in advance and have a delicious treat ready for any occasion.
Crowd-Pleasing Appeal: Whether it’s a family gathering or a friends’ night in, these bars are bound to impress your guests and are easily customizable with toppings, similar to my Maple Donut Bars.
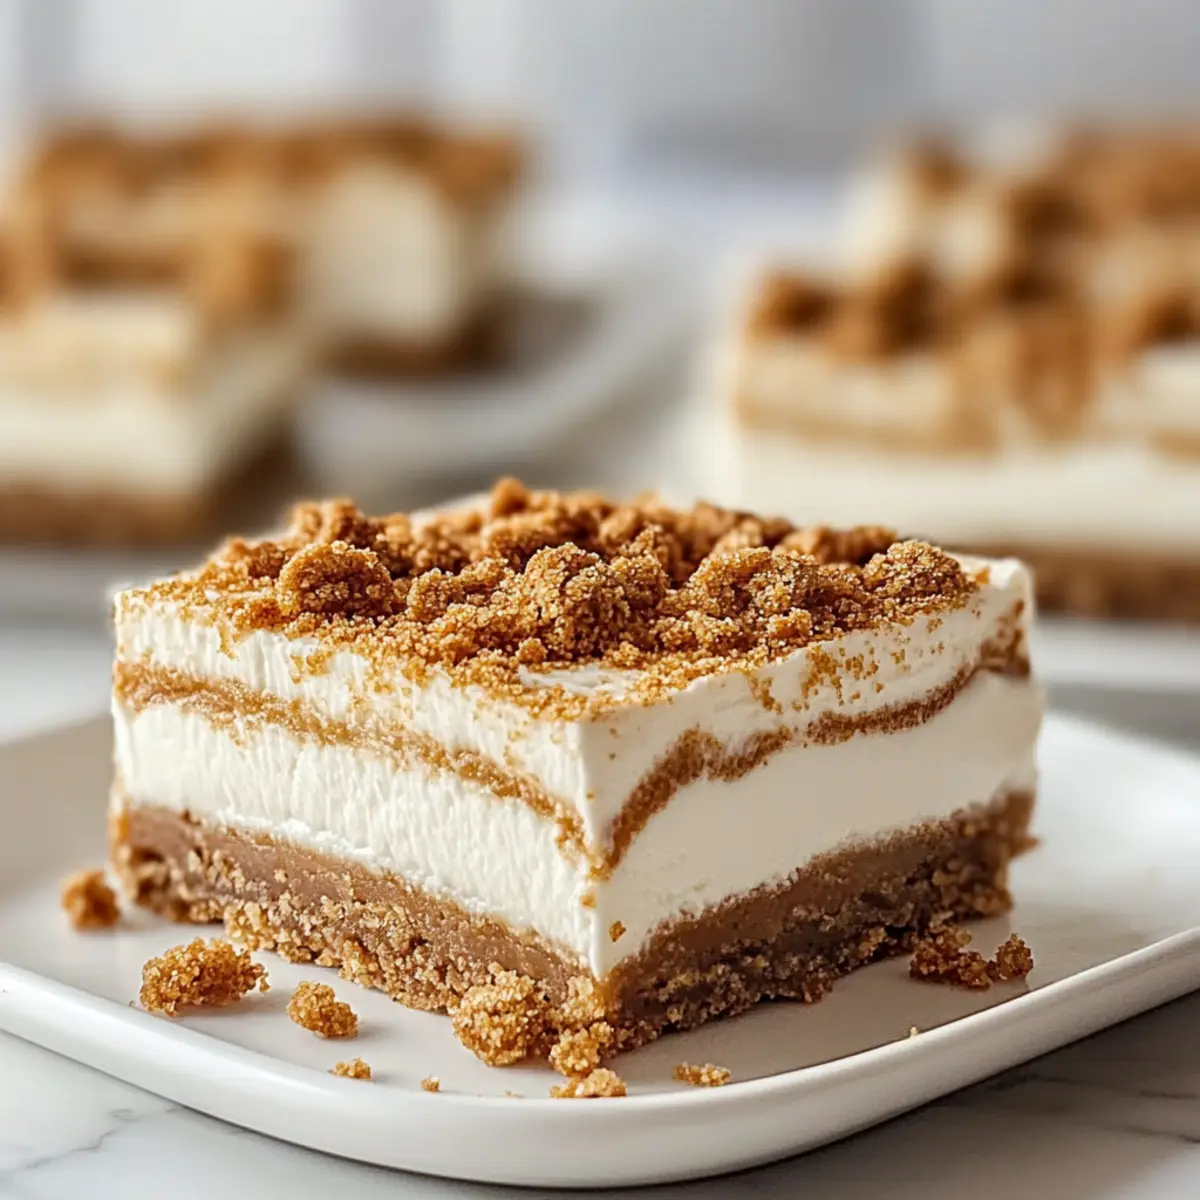
Perfect Texture: The creamy filling paired with a crunchy crust creates a delightful contrast, making these bars an indulgent yet light option for dessert lovers.
Add them to your dessert repertoire and enjoy a bite of bliss anytime!
No-Bake Biscoff Cheesecake Bars Ingredients
Indulge in these easy-to-make cheesecake bars!
For the Crust
• Biscoff Cookies – Base for the crust that adds a spiced flavor; for a gluten-free version, opt for gluten-free cookies.
• Unsalted Butter – Binds the crust ingredients together; coconut oil can be a great dairy-free substitute.
For the Cheesecake Filling
• Cream Cheese – Provides a rich, tangy flavor and creamy texture; ensure it’s at room temperature for easier mixing.
• Powdered Sugar – Sweetens the filling and achieves a smooth texture without specific substitutes recommended.
• Biscoff Cookie Butter Spread – Infuses the cheesecake filling with the iconic Biscoff flavor; you can substitute with any nut or cookie butter, but note that flavors will vary.
• Vanilla Extract – Enhances the overall flavor profile; consider using vanilla bean for an even more intense flavor experience.
• Salt – Balances sweetness and enhances flavors; feel free to omit if you’re watching sodium intake.
For the Whipped Cream
• Heavy Whipping Cream – Adds lightness and creaminess; coconut cream serves as a dairy-free alternative.
• Granulated Sugar – Sweetens the whipped cream; adjust the amount based on your personal sweetness preference.
For the Toppings
• Additional Biscoff Spread – Drizzle on top to enhance flavor and presentation; no substitutions recommended for this.
• Extra Biscoff Cookies – Use as a garnish to add texture and visual appeal; fresh cookies provide the best look.
Step‑by‑Step Instructions for No-Bake Biscoff Cheesecake Bars
Step 1: Prepare the Pan
Begin by lining a 9×13 inch baking pan with parchment paper, allowing some overhang for easy removal later. This will prevent sticking and make for a seamless presentation. Ensure the parchment is smooth against the edges of the pan to create the perfect base for your No-Bake Biscoff Cheesecake Bars.
Step 2: Make the Crust
Using a food processor, pulse Biscoff cookies until they turn into fine crumbs. Mix in melted unsalted butter until the mixture resembles wet sand. Firmly press this mixture evenly into the bottom of your prepared pan, creating a solid crust. Refrigerate for at least 30 minutes, allowing it to set and hold its shape while you prepare the filling.
Step 3: Prepare Filling
In a mixing bowl, beat the softened cream cheese with an electric mixer until it’s smooth and creamy. Gradually add in powdered sugar, Biscoff cookie butter, vanilla extract, and a pinch of salt, mixing until everything is well combined and fluffy. This filling will be the star of your No-Bake Biscoff Cheesecake Bars.
Step 4: Whip Cream
In a separate chilled bowl, whip the heavy whipping cream with granulated sugar until you achieve stiff peaks. This will add lightness to the cheesecake filling. Be careful not to overwhip, as you want to maintain a dreamy texture. Gently fold the whipped cream into the cream cheese mixture, combining until there are no streaks left.
Step 5: Assemble
Spread the creamy filling over the chilled Biscoff crust, smoothing the top with a spatula for an even surface. Warm some additional Biscoff spread in the microwave for about 10 seconds until it’s pourable and drizzle it over the top. Use a toothpick or a knife to swirl the spread gently into the filling for a beautiful final touch.
Step 6: Chill
Cover the pan with plastic wrap or aluminum foil, then place it in the refrigerator to chill for at least 4 hours, or overnight for the best results. This chilling time allows the flavors to meld beautifully and the filling to set perfectly, making your No-Bake Biscoff Cheesecake Bars incredibly satisfying.
Step 7: Serve
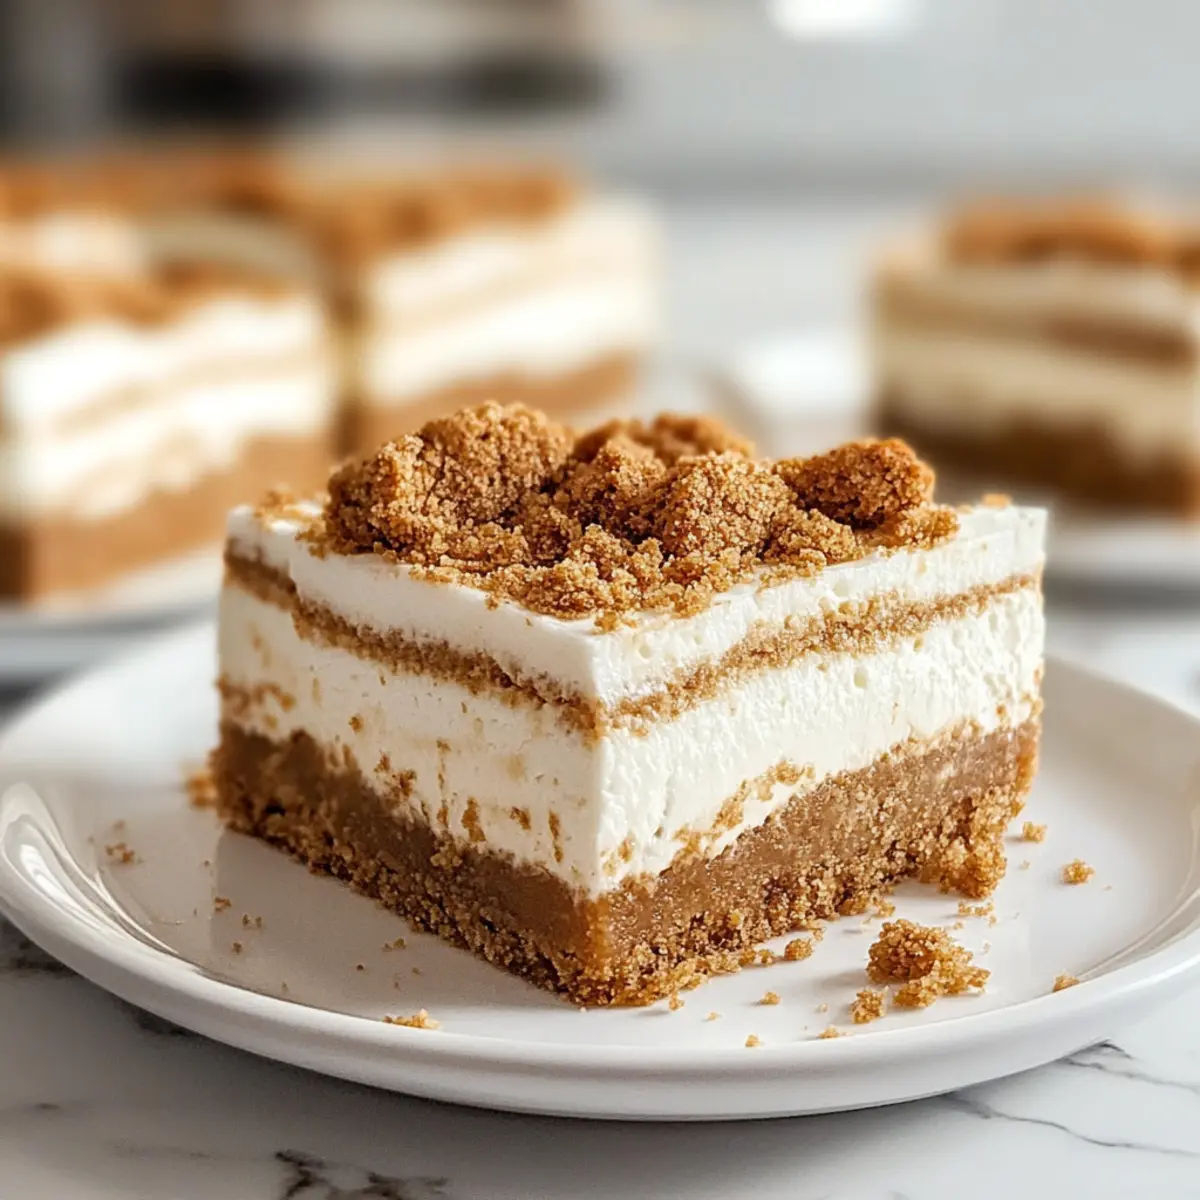
Once chilled, use the parchment overhang to lift the cheesecake bars out of the pan. Slice into squares using a warm, clean knife for neat cuts, wiping between slices. Garnish with extra Biscoff cookies for added texture and a touch of elegance. Your delicious No-Bake Biscoff Cheesecake Bars are now ready to be savored!
Make Ahead Options
These No-Bake Biscoff Cheesecake Bars are an excellent choice for busy home cooks looking to save time! You can prepare the crust and filling up to 24 hours in advance; simply follow the initial steps of making the crust, pressing it into the pan, and preparing the filling as directed. Once assembled, cover the bars tightly and refrigerate. For the best flavor and texture, let them chill overnight. Just remember, to maintain their creamy consistency, always ensure they are stored airtight to prevent the filling from absorbing any unwanted odors. When ready to serve, simply slice and garnish with extra Biscoff cookies for a delightful finish!
Storage Tips for No-Bake Biscoff Cheesecake Bars
Fridge: Store covered in the refrigerator for up to 5 days. The bars will taste even better as they chill, allowing the flavors to meld beautifully.
Freezer: For longer storage, freeze individually wrapped bars for up to 2 months. Thaw in the refrigerator before serving to maintain that magical creamy texture of your No-Bake Biscoff Cheesecake Bars.
Wrap Properly: Use plastic wrap or airtight containers to prevent freezer burn and keep the delectable flavors intact while stored.
Reheating: There’s no need to reheat these bars; simply enjoy them cold for the most refreshing experience!
Expert Tips for No-Bake Biscoff Cheesecake Bars
-
Cream Cheese Prep: Ensure the cream cheese is fully softened to room temperature; this prevents lumps and guarantees a smooth texture in your filling.
-
Whipping Wisely: When whipping the cream, stop as soon as you reach stiff peaks—overwhipping can create a grainy texture, affecting your cheesecake bars.
-
Cutting Cleanly: For the best presentation, dip your knife in warm water and wipe it clean between each slice. This will keep your No-Bake Biscoff Cheesecake Bars looking pristine.
-
Chill Time Magic: Allowing the bars to chill overnight enhances the flavor and texture significantly, so don’t rush this essential step for a truly indulgent dessert.
-
Variations Galore: Feel free to experiment with toppings and flavor add-ins! Swirl in some caramel or add fresh fruits for an exciting twist on these cheesecake bars.
What to Serve with No-Bake Biscoff Cheesecake Bars?
These sweet treats are a wonderful way to elevate any gathering, leaving everyone craving more.
- Rich Coffee: The bold flavors in coffee beautifully balance the creamy sweetness of the cheesecake bars, creating a heavenly pairing.
- Chai Tea: Spiced and aromatic, chai tea harmonizes with the Biscoff notes for a soothing sip alongside your dessert.
- Fresh Berries: Juicy strawberries or raspberries on the side add a tart contrast, making the dessert feel refreshingly light.
- Chocolate Sauce: Drizzling warm chocolate sauce over the bars creates an indulgent experience, enhancing their already decadent nature.
- Vanilla Ice Cream: A scoop of vanilla ice cream brings a cool, creamy element that pairs perfectly with the warm, spiced flavors of the bars.
- Whipped Topping: Light and airy, whipped topping provides an extra layer of creaminess that complements the cheesecake’s texture nicely.
- Caramel Drizzle: Sweet, salty caramel adds a delightful touch that elevates the overall dessert, making it irresistibly attractive.
- Crunchy Nuts: Chopped pecans or hazelnuts sprinkled on top add a crunchy texture that contrasts with the creaminess, creating a delightful bite.
No-Bake Biscoff Cheesecake Bars Variations
Feel free to personalize these delicious cheesecake bars and make them your own!
-
Chocolate Ganache: Add a layer of rich chocolate ganache on top for a luxurious touch that pairs beautifully with the Biscoff flavor. Simply melt chocolate with cream, pour it over, and let it set!
-
Caramel Swirls: Mix in or drizzle caramel sauce into the cheesecake filling for added sweetness. This delightful combination will make each bite decadently rich.
-
Nutty Twist: Substitute Biscoff cookie butter with peanut butter or Nutella for a completely different flavor profile. Each option brings a unique, delightful taste to the bars.
-
Fresh Berries: Top the bars with fresh strawberries, raspberries, or blueberries for a burst of fruity freshness. The tangy berries will harmonize perfectly with the cheesecake’s creamy sweetness.
-
Spiced Variations: Boost the warmth of flavor by adding a dash of cinnamon or nutmeg to the crust or filling. This aromatic touch will elevate the indulgence of your dessert.
-
Zestful Citrus: For a refreshing zing, incorporate some lemon or orange zest into the filling. It will brighten up the overall flavor and provide a lovely contrast to the richness of the cheesecake.
-
Extra Crunch: Fold in crushed nuts or chocolate chips into the cheesecake filling for added texture and a surprise crunch in every bite. This change can bring a delightful new layer to your cheesecake bars.
-
Coconut Bliss: Swap the heavy cream with coconut cream for a tropical twist. Not only does this make it dairy-free, but it also infuses the bars with a delightful coconut flavor that pairs well with the Biscoff.
If you’re enjoying these variations, you might also love my delightful Japanese Cotton Cheesecake for its airy texture or the sweet flavors found in Maple Donut Bars. Enjoy creating your perfect treat!
No-Bake Biscoff Cheesecake Bars Recipe FAQs
What type of Biscoff cookies should I use for the crust?
I recommend using traditional Biscoff cookies for an authentic flavor; however, you can substitute them with gluten-free cookies if you’re looking to make these bars gluten-free. Just ensure the gluten-free option has a similar crumbly texture for the best crust!
How should I store leftover cheesecake bars?
Store the No-Bake Biscoff Cheesecake Bars covered in the refrigerator for up to 5 days. They become even more delicious as they chill, allowing all the flavors to combine beautifully! For longer storage, freeze them wrapped individually in plastic wrap or airtight containers for up to 2 months.
Can I freeze these cheesecake bars? How?
Absolutely! To freeze your No-Bake Biscoff Cheesecake Bars, first cut them into squares and wrap each piece individually with plastic wrap. Then, place the wrapped bars in an airtight container or freezer bag. They’ll stay fresh for up to 2 months! When you’re ready to enjoy, simply thaw them in the refrigerator overnight.
What if my cream cheese is lumpy? How can I fix it?
If your cream cheese is lumpy, it’s likely not softened enough before mixing. Make sure it has reached room temperature for optimal smoothness. If you do find lumps, try beating the cream cheese first until smooth before adding any other ingredients. This will help ensure a creamy filling in your No-Bake Biscoff Cheesecake Bars.
Can I make these cheesecake bars dairy-free?
Yes! You can easily make No-Bake Biscoff Cheesecake Bars dairy-free by substituting heavy whipping cream with coconut cream and using dairy-free cream cheese. Ensure your Biscoff cookies and cookie spread are also dairy-free or vegan-friendly to stick to your dietary preferences.
Are there any allergens in this recipe?
This recipe contains common allergens such as dairy and gluten (from Biscoff cookies if not gluten-free). If you have allergies, consider using gluten-free cookies and dairy-free alternatives to cream cheese and whipping cream. Always check labels to ensure the products match your dietary needs!
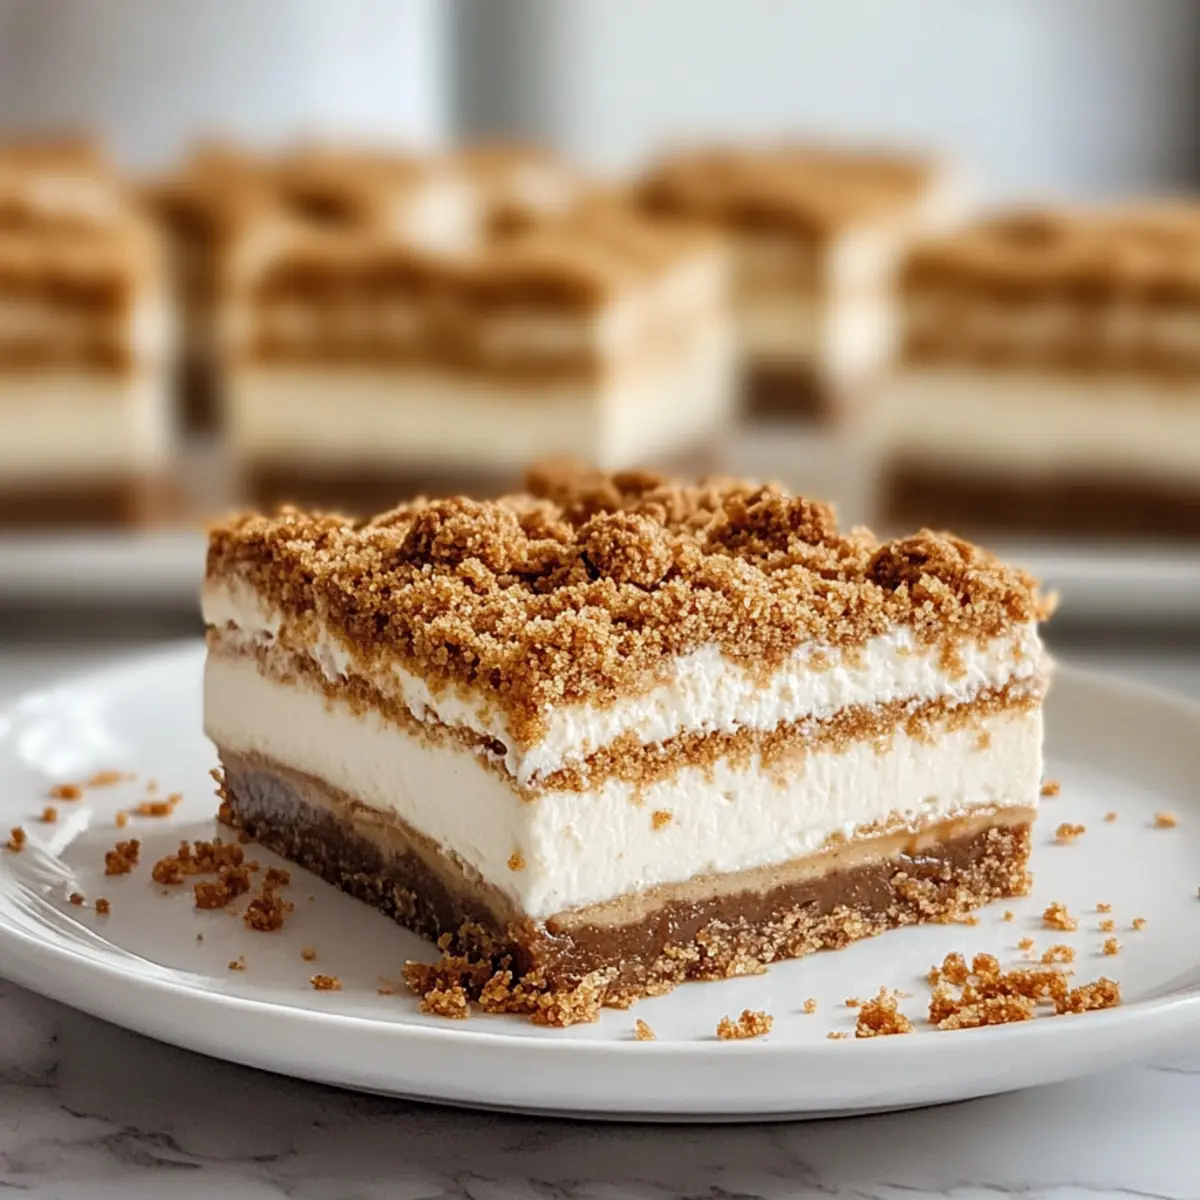
Decadent No-Bake Biscoff Cheesecake Bars
Ingredients
Equipment
Method
- Line a 9x13 inch baking pan with parchment paper, allowing overhang for easy removal.
- Pulse Biscoff cookies into fine crumbs and mix with melted butter until resembling wet sand. Press into the bottom of the prepared pan and refrigerate for 30 minutes.
- Beat softened cream cheese until smooth. Gradually add powdered sugar, Biscoff spread, vanilla extract, and salt until well combined.
- Whip heavy cream with sugar until stiff peaks form and gently fold into the cream cheese mixture.
- Spread filling over chilled crust, drizzle with warmed Biscoff spread, and swirl gently.
- Cover and chill for at least 4 hours or overnight before serving.
- Use parchment overhang to lift bars from the pan, slice into squares, and garnish with extra cookies.
Leave a Reply