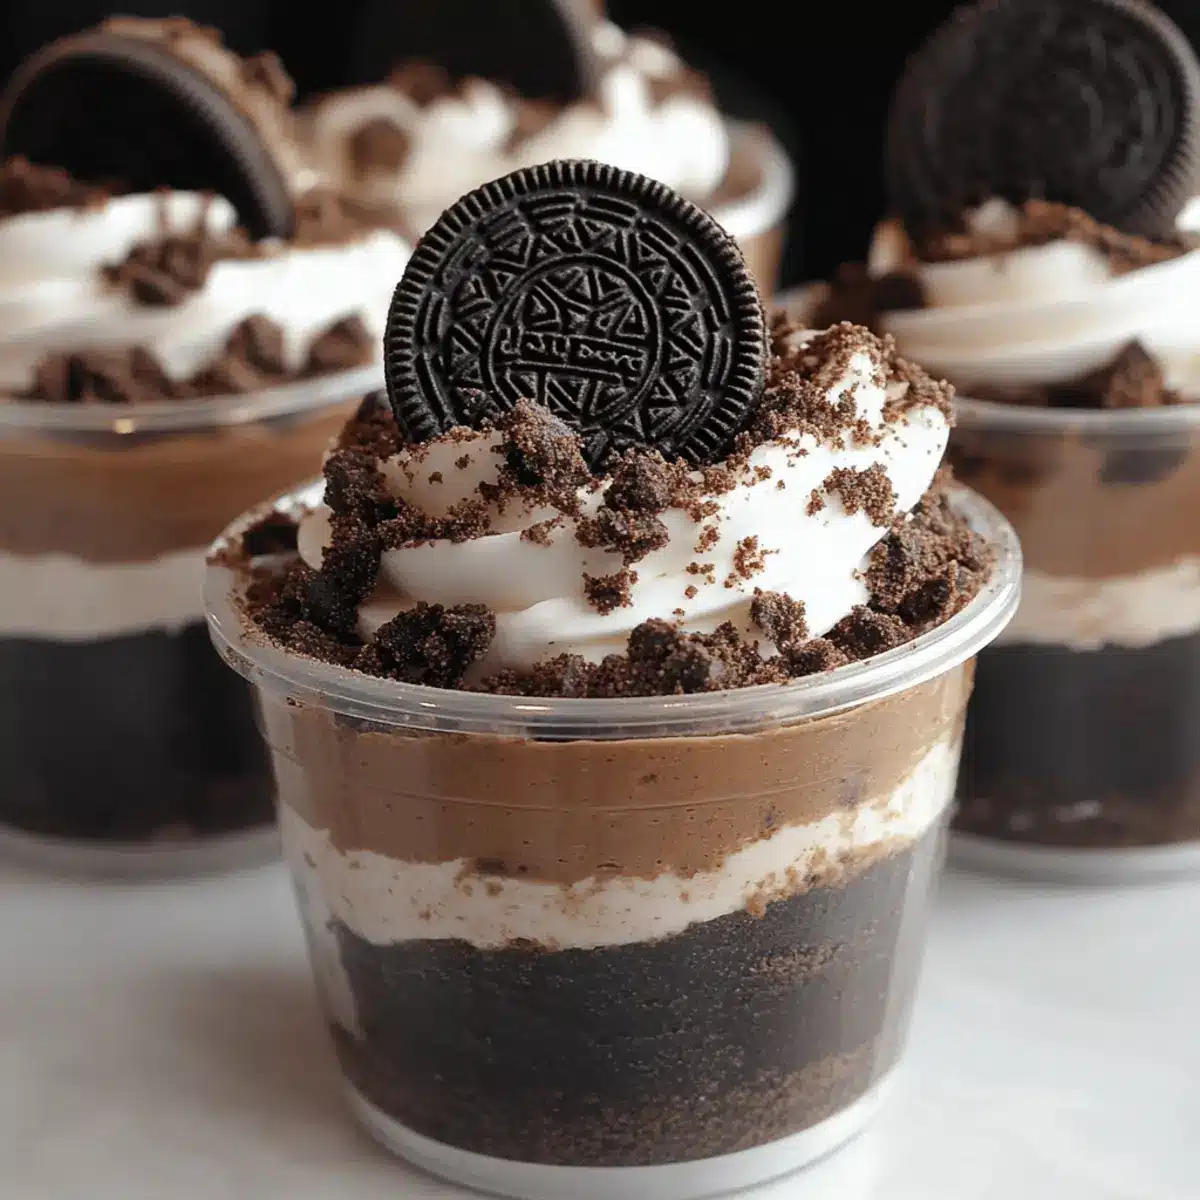
As I flipped through old family cookbooks this weekend, I stumbled upon a handwritten note that whispered sweet memories of summer gatherings packed with laughter and dessert. Those carefree days always featured a bowl of creamy goodness, and today, I’m thrilled to share my take on that nostalgia: No-Bake Oreo Dessert Cups. With this easy, no-oven-required recipe, you’ll discover a delightful blend of smooth chocolate mousse and the satisfying crunch of crushed Oreos. Not only are these cups perfect for a quick and budget-friendly dessert, but their customizable nature means you can add your favorite flavors to make them truly unique. Whether you’re hosting friends or craving a personal treat, these dessert cups will surely impress. Ready to dive into a world of delicious layers and textures? Let’s get started!
Why are No-Bake Oreo Dessert Cups a must-try?
Simplicity at Its Core: With no baking required, this recipe is perfect for those who crave a homemade dessert without the hassle of an oven.
Endless Customization: Feel free to mix and match flavors! Swap vanilla pudding for chocolate or even peanut butter for a fun twist.
Total Crowd-Pleaser: Whether you’re serving kids or adults, these dessert cups are sure to be a hit at any gathering.
Quick Assembly: In just a few easy steps, you can layer and chill these cups, making them an ideal last-minute treat.
Budget-Friendly Bites: Utilizing pantry staples like Oreo cookies and cream cheese, you can whip up this delightful dessert without breaking the bank.
Get ready to impress your guests with these deliciously simple creations and explore more delightful dessert ideas in our dessert section!
No-Bake Oreo Dessert Cup Ingredients
-
For the Crunchy Base
Oreo Cookies – Essential for a crunchy base and layered topping; substitute with gluten-free cookies for a gluten-free version. -
For the Creamy Mousse
Heavy Cream – Provides a rich and fluffy texture; using whipped topping as an alternative will yield a lighter consistency.
Cream Cheese – Adds creaminess and a pleasant tang; mascarpone can be used for a more delicate flavor.
Vanilla Pudding Mix – Introduces sweetness and flavor; feel free to swap for different flavors like peanut butter or mocha.
Milk – Used to mix the pudding; any dairy-free milk will work as long as it has a thicker consistency.
Prepare yourself for delightful No-Bake Oreo Dessert Cups that will make your taste buds sing with joy!
Step‑by‑Step Instructions for No-Bake Oreo Dessert Cups
Step 1: Prepare the Mousse
In a mixing bowl, add 1 cup of heavy cream and whip it with an electric mixer on medium speed until soft peaks form, about 3-4 minutes. Then, add in 8 ounces of cream cheese, beating until smooth and creamy, around 2 more minutes. Gently fold in a packet of vanilla pudding mix, combining until fully incorporated and the mousse is fluffy and light.
Step 2: Crush Oreos
Take a package of Oreo cookies and place them in a zip-top bag. Using a rolling pin, crush the cookies into fine crumbs, ensuring you have about 1-2 cups for layering. Alternatively, you can use a food processor for a quicker method; pulse until you achieve a sandy texture. Set the crushed Oreos aside for layering in your dessert cups.
Step 3: Layer the Cups
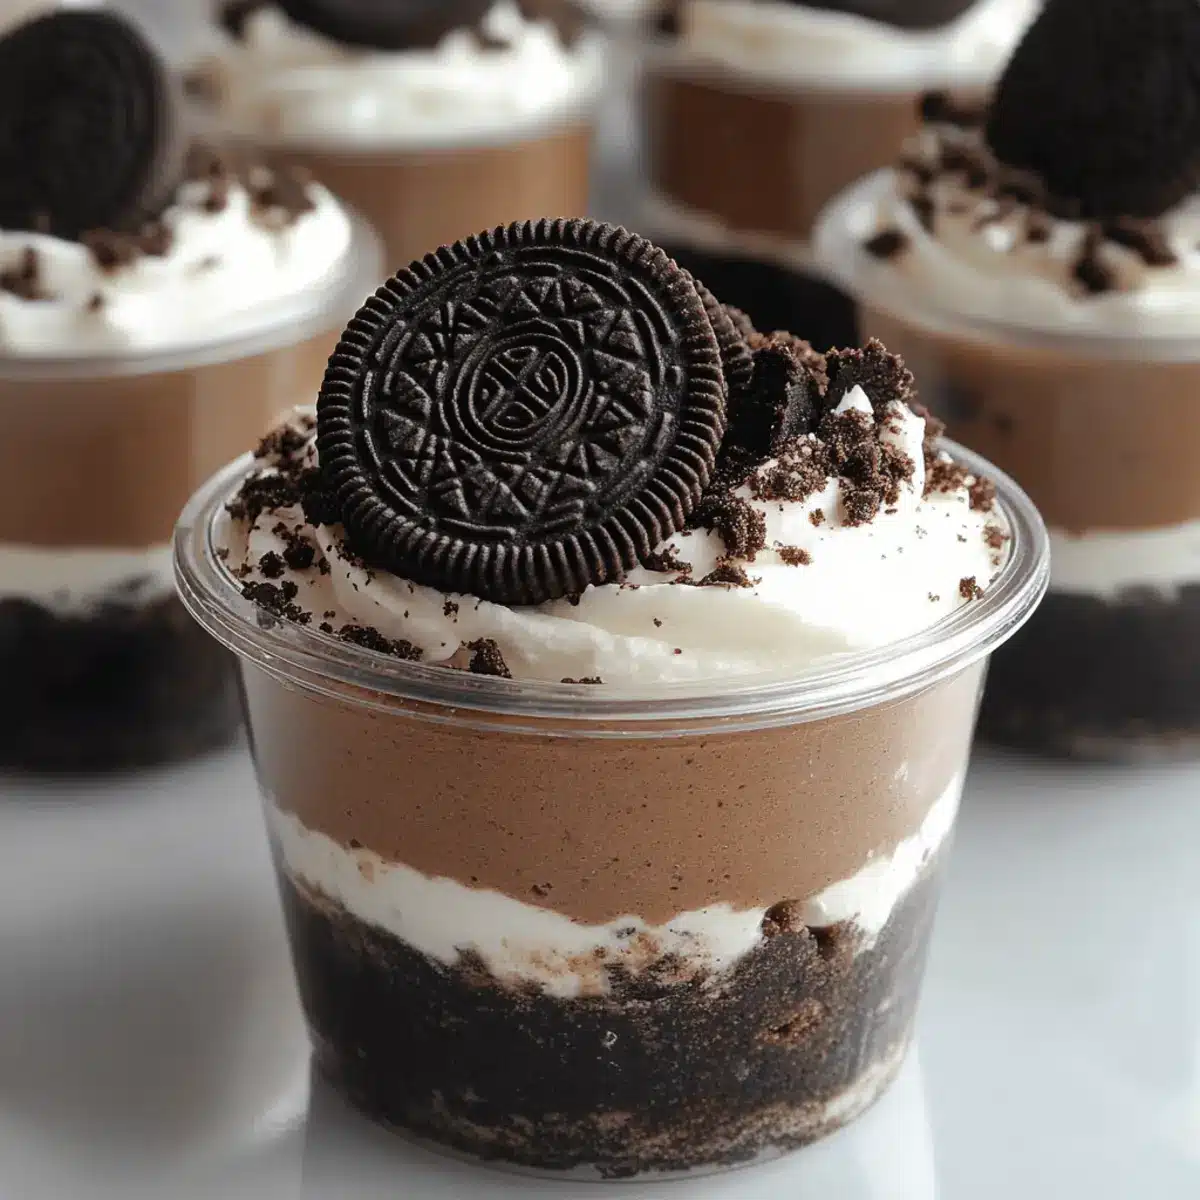
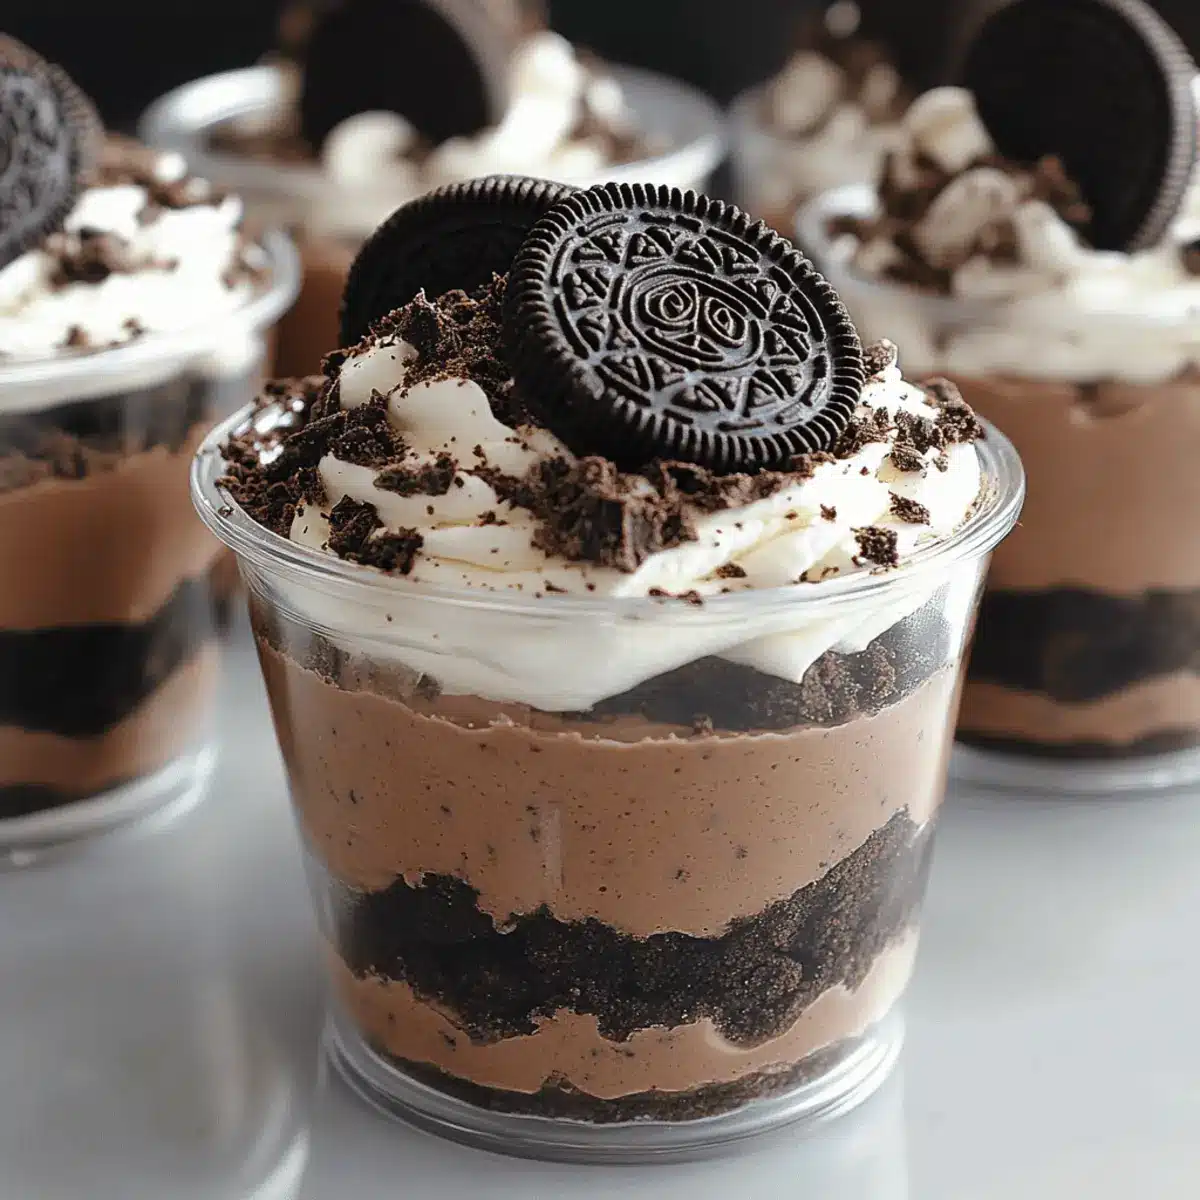
Grab 4 clear dessert cups and begin by adding a layer of crushed Oreos at the bottom, about 1-2 tablespoons high. Next, spoon a layer of the prepared mousse on top of the Oreos, filling the cup about halfway. Repeat this process, alternating layers of crushed Oreos and mousse until the cups are full, leaving a bit of space at the top for a final decorative touch.
Step 4: Chill
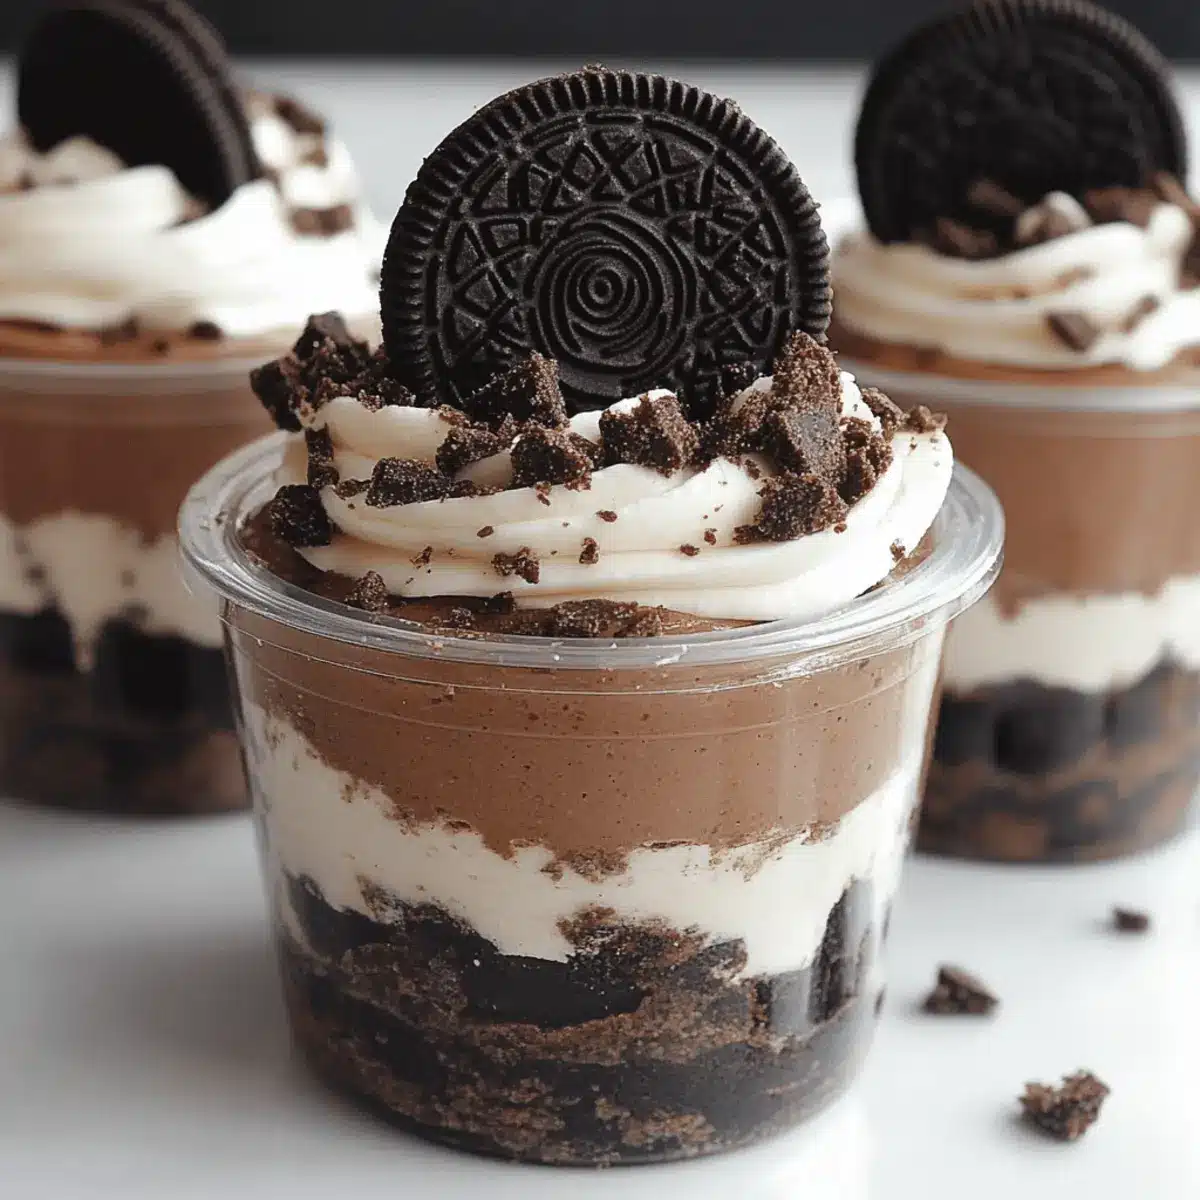
Once filled, cover your dessert cups with plastic wrap and refrigerate them for at least 1 hour to allow the mousse to set perfectly. If you want to prepare them in advance, they can chill for up to 24 hours. For an added crunch, consider placing a whole Oreo on top of each cup just before serving.
Step 5: Serve
When it’s time to serve the No-Bake Oreo Dessert Cups, take them out of the refrigerator. Optionally, garnish each cup with whipped cream, chocolate shavings, or extra crushed Oreos for a delightful presentation. Serve chilled, and enjoy the happy faces as everyone digs into these decadent dessert treats!
Expert Tips for No-Bake Oreo Dessert Cups
-
Chill the Cream: Make sure your heavy cream is chilled before whipping for the best texture—this ensures it whips up fluffy and light.
-
Don’t Over-Mix: When folding in the pudding mix, do so gently to maintain the mousse’s airiness. Over-mixing can lead to a denser result.
-
Keep Oreos Crunchy: If you’re preparing these cups ahead of time, wait to top with a whole Oreo until just before serving to retain its crunch.
-
Perfect Layering: For visually appealing layers, make sure each layer of crushed Oreo is even—this creates beautiful contrast and structure in your No-Bake Oreo Dessert Cups.
-
Smart Storage: Leftovers (if they last!) can be covered and stored in the fridge for up to 3 days. Just remember to reapply any toppings like whipped cream before serving again.
What to Serve with No-Bake Oreo Dessert Cups
Indulging in these creamy dessert cups is just the beginning; pair them with delightful sides to create an unforgettable meal experience.
-
Fresh Berries: Juicy strawberries or raspberries offer a refreshing contrast to the rich mousse, enhancing the overall flavor profile.
-
Whipped Cream: A dollop of freshly whipped cream on top adds an extra lightness and elegance, making each spoonful even more delightful.
-
Chocolate Drizzle: A simple drizzle of chocolate sauce adds a luxurious touch, elevating the presentation and flavor of your dessert cups.
-
Coffee or Espresso: Serving a shot of espresso or a cup of coffee provides a delightful balance to the sweetness, perfect for coffee lovers.
-
Ice Cream: Vanilla bean or cookies and cream ice cream adds a creamy texture that complements the crunchy Oreos, creating the ultimate indulgence.
-
Mint Leaves: A sprig of fresh mint serves as a lovely garnish, adding a pop of color and a refreshing hint of flavor that brightens the dish.
-
Fruit Salad: A light fruit salad filled with seasonal fruits adds brightness and freshness, offering a refreshing palate cleanser between spoonfuls.
-
Chocolate Chip Cookies: Serve alongside warm chocolate chip cookies for a comforting sweet treat combination that delights both kids and adults.
No-Bake Oreo Dessert Cups Variations
Feel free to customize your No-Bake Oreo Dessert Cups and delight your taste buds with exciting new flavors and textures!
- Gluten-Free: Use gluten-free Oreo cookies or alternative cookies for the base to create a delicious treat for everyone.
- Nutty Delight: Add some chopped nuts or nut butter into the mousse for a crunchy and rich flavor boost.
- Dairy-Free: Substitute heavy cream with coconut cream and cream cheese with dairy-free alternatives for a vegan-friendly version.
- Flavor Twist: Replace vanilla pudding with butterscotch or pistachio pudding for an unexpected flavor adventure. Each option will elevate your dessert experience in a unique way.
- Fruit Fun: Add layers of fresh strawberries or bananas between the mousse and Oreos for an added touch of sweetness and freshness.
- Chocolate Drizzle: Enhance your dessert with a drizzle of melted chocolate or caramel sauce over the top before chilling for an indulgent finish.
- Spicy Kick: Mix in a pinch of cinnamon or cayenne to the mousse to give an unexpected warmth to your dessert experience.
- Layer Swap: Instead of crushed Oreos, try layers of Nilla Wafers or graham crackers for a different take on this classic treat.
Explore more creative dessert ideas and substitutions in our dessert section to keep your sweet tooth satisfied!
Make Ahead Options
These No-Bake Oreo Dessert Cups are perfect for busy weeknights or last-minute gatherings! You can prepare the creamy mousse and layer the cups up to 24 hours ahead of time; just store them covered in the refrigerator. To maintain the ideal texture, layer the crushed Oreos and mousse in the dessert cups and keep them chilled until serving. Right before you serve, pop a whole Oreo on top of each cup to keep it crunchy and delightful. This way, you’ll have a deliciously simple dessert ready with minimal effort, making meal planning a breeze while still enjoying a homemade treat!
Storage Tips for No-Bake Oreo Dessert Cups
-
Fridge: Keep your No-Bake Oreo Dessert Cups covered in the refrigerator for up to 3 days. This helps maintain their creamy texture and flavors.
-
Preparation Ahead: Assemble your dessert cups a day in advance for convenience, but avoid topping with whole Oreos until just before serving to keep them crunchy.
-
Freezer: Though not recommended for best texture, if needed, these dessert cups can be frozen for up to 2 weeks. Thaw in the fridge overnight before serving.
-
Reheating: These dessert cups are best enjoyed chilled, so no reheating is necessary. Just pull them out of the fridge when you’re ready to indulge!
No-Bake Oreo Dessert Cups Recipe FAQs
How do I select the best Oreos for my dessert cups?
Absolutely! When choosing Oreo cookies, look for those that are fresh and have no dark spots all over, as this indicates staleness. For a gluten-free option, you can use gluten-free chocolate sandwich cookies, which will give you a similar texture and flavor.
What’s the best way to store No-Bake Oreo Dessert Cups?
Keep your No-Bake Oreo Dessert Cups covered in the refrigerator for up to 3 days. This helps maintain their creamy texture. To store, simply cover each cup tightly with plastic wrap or place them in an airtight container.
Can I freeze these dessert cups for later?
Very! Although the texture is best when served fresh, you can freeze the No-Bake Oreo Dessert Cups for up to 2 weeks. To do this, wrap the cups individually in plastic wrap and then place them in a freezer-safe bag. When you’re ready to enjoy, thaw them in the refrigerator overnight. Just remember to add any toppings before serving.
What should I do if my mousse is too thick or lumpy?
If your mousse ends up being too thick or lumpy, don’t worry! Simply add a splash of milk and gently mix it in until you reach the desired consistency. If it’s too lumpy, try whisking it again with an electric mixer on low speed to smooth it out. Maintaining a gentle touch while mixing will ensure a fluffy texture.
Are there any allergy considerations I should know about?
Definitely! The No-Bake Oreo Dessert Cups contain dairy due to the cream cheese and heavy cream. It’s essential to inform any guests about these ingredients, especially if they have allergies. For a dairy-free version, use coconut cream and dairy-free cream cheese for a similar creamy texture and flavor.
Can I modify the flavors of the mousse?
The more the merrier! You can easily customize the mousse flavor by swapping out the vanilla pudding mix for other flavors, such as chocolate or even a rich peanut butter pudding. This opens up a world of flavor possibilities, keeping dessert exciting for everyone!
Decadent No-Bake Oreo Dessert Cups for Easy Indulgence
Ingredients
Equipment
Method
- In a mixing bowl, add 1 cup of heavy cream and whip it with an electric mixer on medium speed until soft peaks form, about 3-4 minutes. Then, add in 8 ounces of cream cheese, beating until smooth and creamy, around 2 more minutes. Gently fold in a packet of vanilla pudding mix, combining until fully incorporated and the mousse is fluffy and light.
- Take a package of Oreo cookies and place them in a zip-top bag. Using a rolling pin, crush the cookies into fine crumbs, ensuring you have about 1-2 cups for layering. Alternatively, you can use a food processor for a quicker method; pulse until you achieve a sandy texture. Set the crushed Oreos aside for layering in your dessert cups.
- Grab 4 clear dessert cups and begin by adding a layer of crushed Oreos at the bottom, about 1-2 tablespoons high. Next, spoon a layer of the prepared mousse on top of the Oreos, filling the cup about halfway. Repeat this process, alternating layers of crushed Oreos and mousse until the cups are full, leaving a bit of space at the top for a final decorative touch.
- Once filled, cover your dessert cups with plastic wrap and refrigerate them for at least 1 hour to allow the mousse to set perfectly. If you want to prepare them in advance, they can chill for up to 24 hours. For an added crunch, consider placing a whole Oreo on top of each cup just before serving.
- When it's time to serve the No-Bake Oreo Dessert Cups, take them out of the refrigerator. Optionally, garnish each cup with whipped cream, chocolate shavings, or extra crushed Oreos for a delightful presentation. Serve chilled, and enjoy the happy faces as everyone digs into these decadent dessert treats!
Leave a Reply