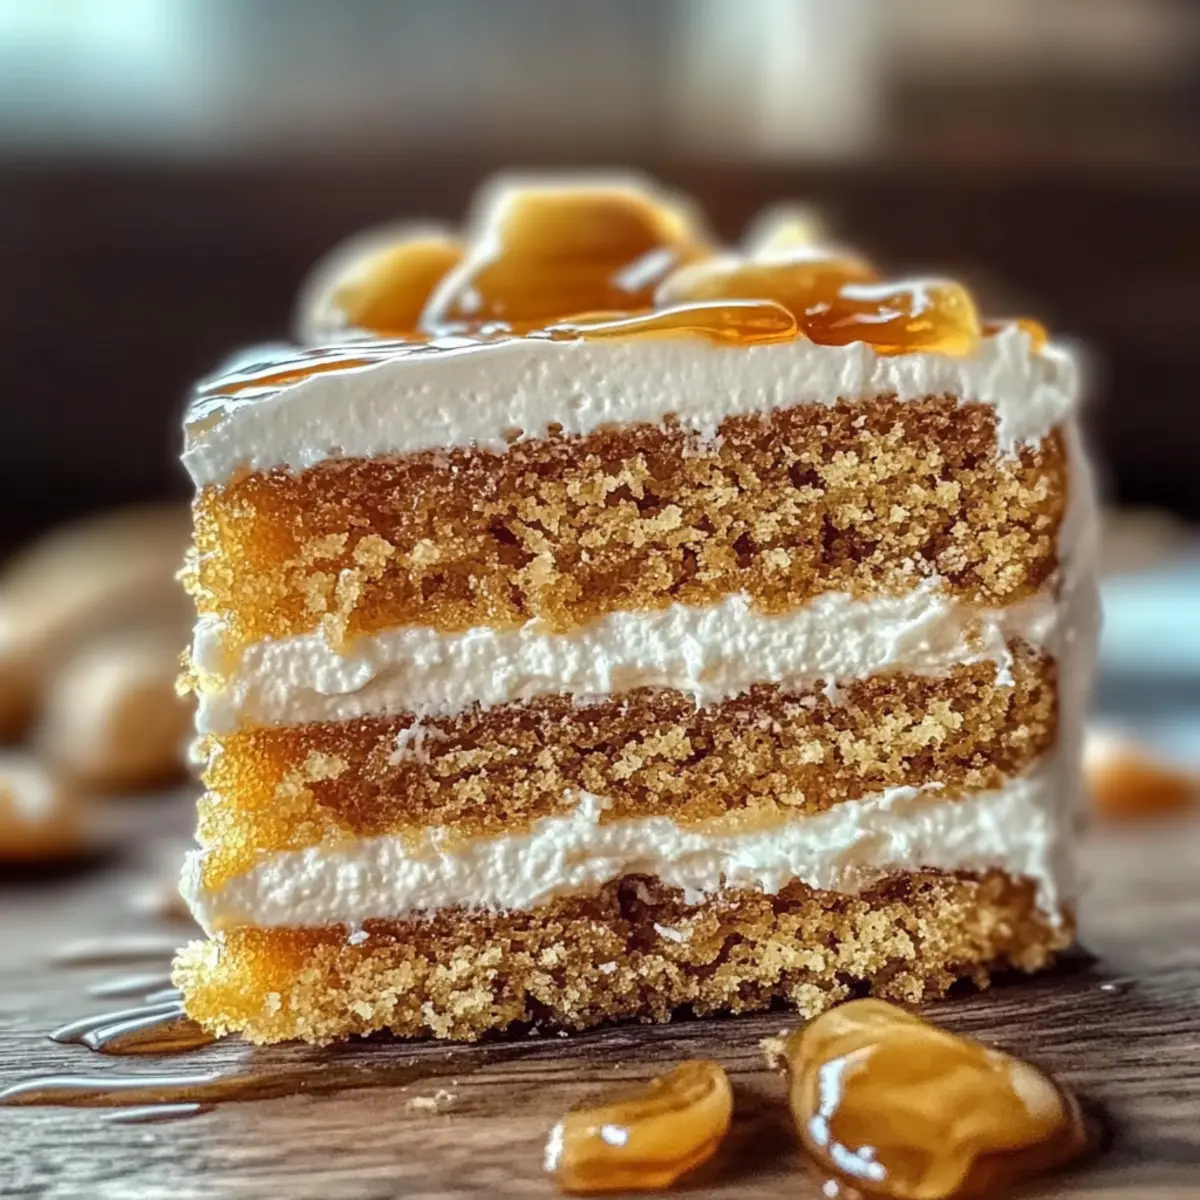
As I sifted through my grandmother’s old recipe box, the faint scent of honey and nostalgia wafted up, igniting memories of family gatherings filled with laughter and love. I couldn’t wait to share my take on the Traditional Russian Honey Cake, or Medovik, a layered delight that not only brings people together but also serves up a beautiful infusion of rich flavors and textures. This cake is an absolute crowd-pleaser with its quick prep time and impressive presentation—perfect for celebrations or cozy afternoons alike. Whether you’re looking to impress guests or simply enjoy a sweet slice of tradition, this honey cake will not disappoint. Are you ready to learn the secrets behind crafting your own Medovik masterpiece?
Why Is Russian Honey Cake So Special?
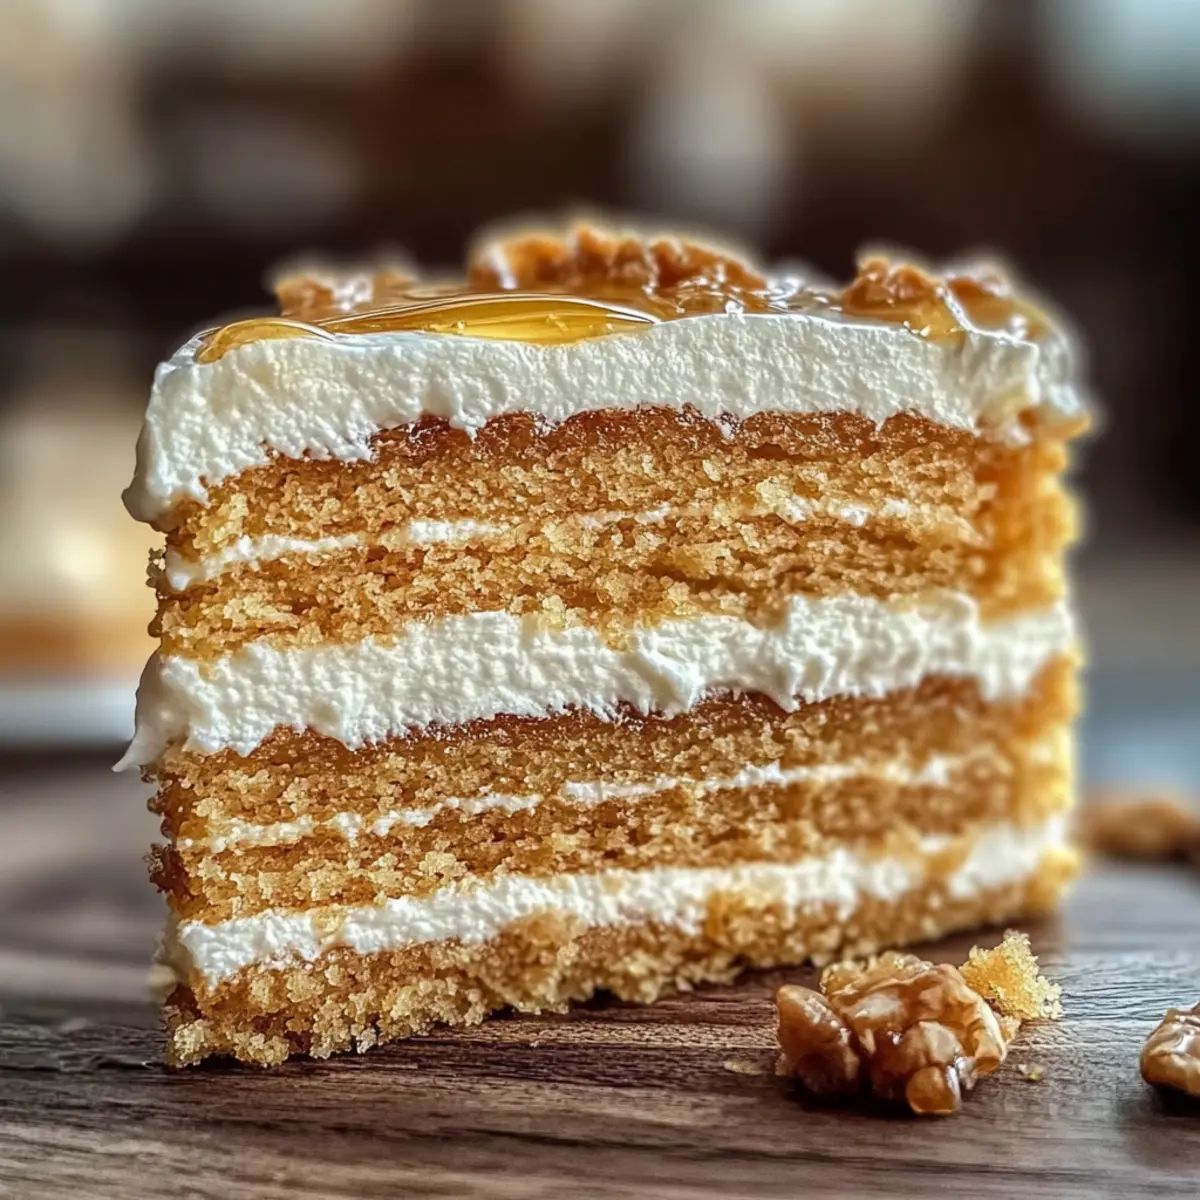
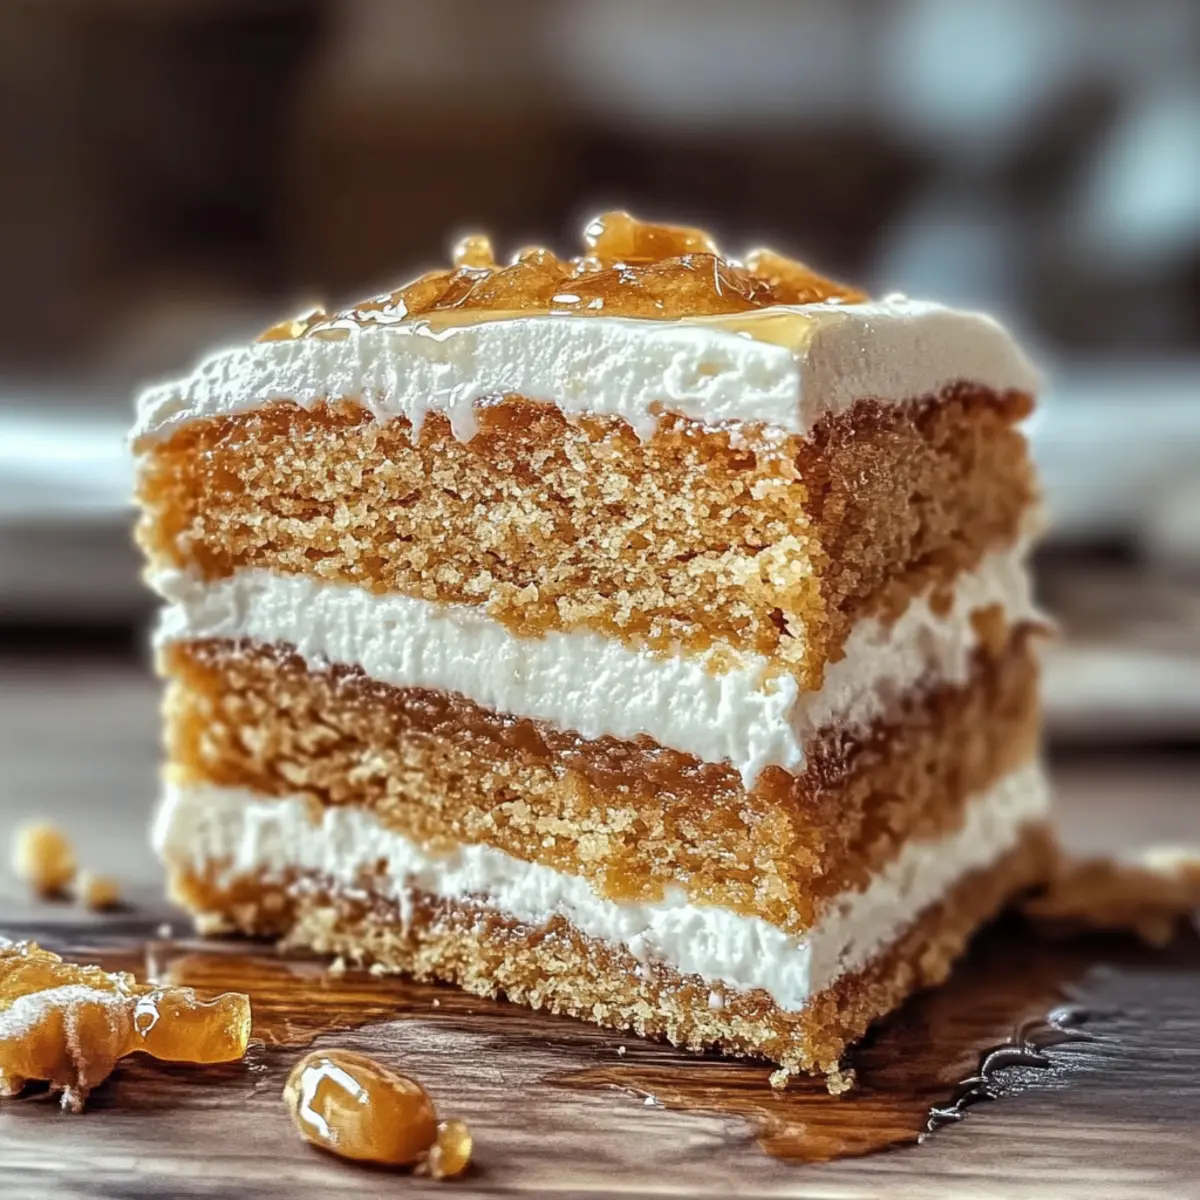
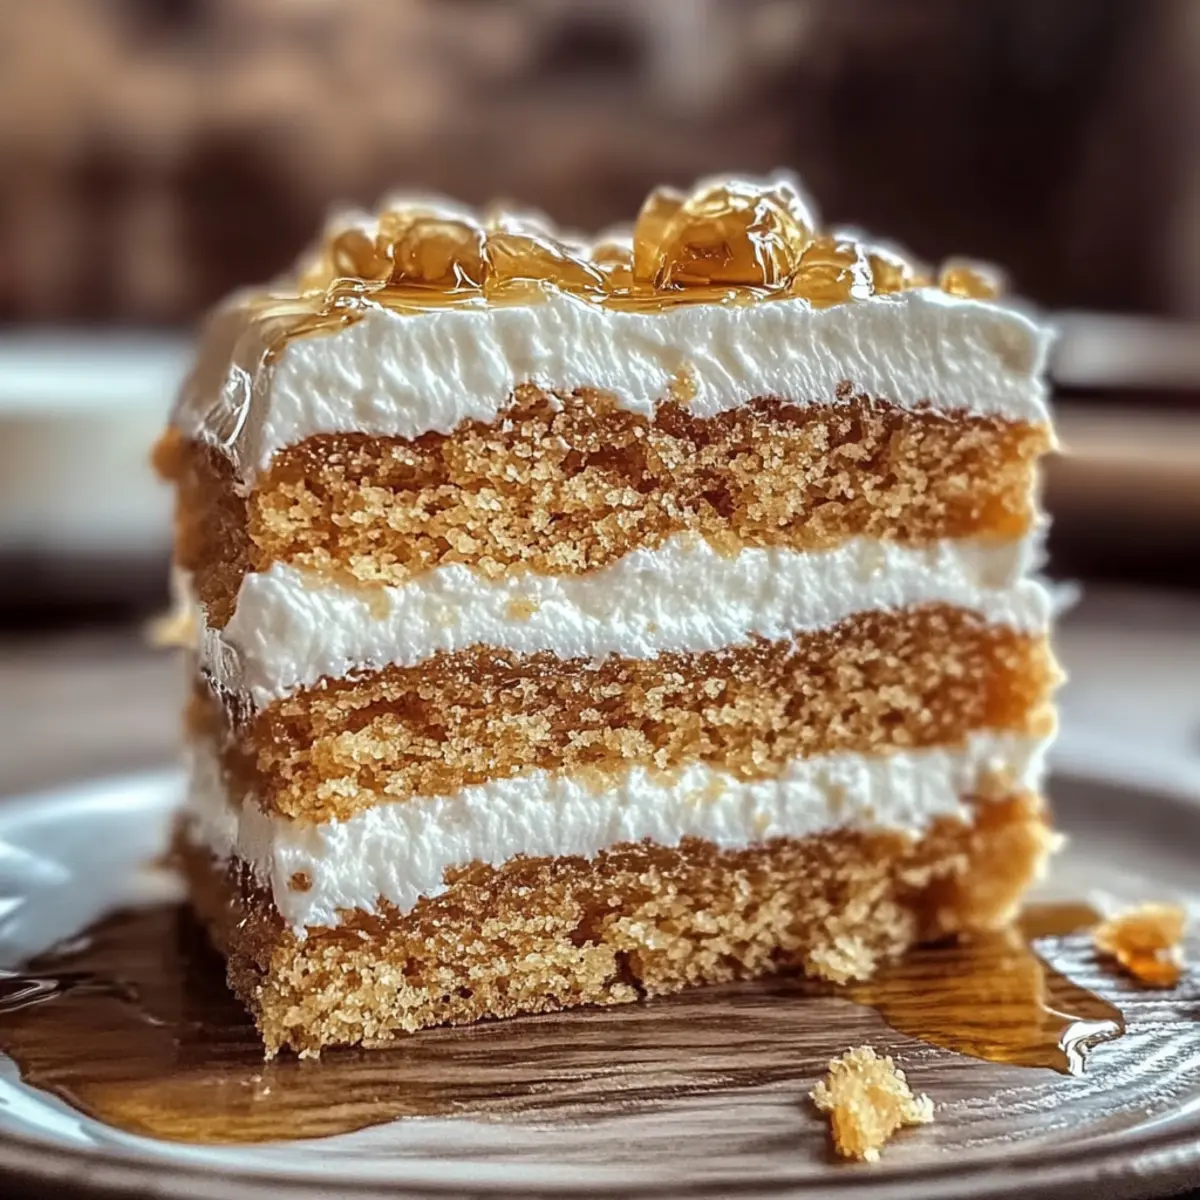
Layers of Bliss: The delicate, honey-infused layers create a delightful texture that’s simply unforgettable.
Nostalgic Taste: Rooted in tradition, each bite brings a wave of warmth and fond memories.
Effortless Elegance: Impress your guests without spending hours in the kitchen—this recipe is surprisingly easy!
Versatile Occasion: Perfect for family gatherings, holidays, or a simple afternoon treat with tea. Combine this cake with a vibrant Salad Spinach Honey for a complete experience.
Crowd Favorite: With its rich flavors and creamy filling, it’s sure to be a hit at any gathering!
Russian Honey Cake Ingredients
For the Cake Layers
• All-purpose flour – Provides structure for the cake layers; you can substitute with whole wheat flour for a nuttier flavor.
• Granulated sugar – Sweetens and aids in browning; feel free to adjust the amount based on your sweetness preference.
• Unsalted butter – Enriches the dough and contributes to its flavor; ensure it’s softened for easier mixing.
• Honey – The star ingredient that gives the cake its distinct flavor and moisture; lighter honey varieties, like clover, work wonderfully too.
• Eggs – Bind the ingredients and add richness; use large, fresh eggs at room temperature for optimal results.
• Baking soda – Acts as a leavening agent to help the cake rise; combine with honey for the best results.
• Ground cinnamon – Adds a warm, spicy note to the cake’s flavor; you may customize with additional spices if desired.
For the Cream Filling
• Sour cream – Adds tanginess and moisture; mixing with heavy cream yields an even creamier texture.
• Heavy cream – Whipped into the filling, providing body and richness; chill the bowl and whisk to improve whipping efficiency.
• Powdered sugar – Sweetens and stabilizes the whipped cream; adjust according to your taste.
• Vanilla extract – Enhances the overall flavor; using pure vanilla provides the best aroma in your filling.
Step‑by‑Step Instructions for Russian Honey Cake
Step 1: Preheat the Oven
Start by preheating your oven to 350°F (175°C). This ensures that your Russian Honey Cake layers will bake evenly. While the oven warms, prepare your baking sheets by lining them with parchment paper—this will prevent the layers from sticking and make cleanup effortless.
Step 2: Make the Dough
In a large mixing bowl, cream together 1 cup of softened unsalted butter, 1 cup of granulated sugar, and 1/2 cup of honey until the mixture is light and fluffy, about 3-5 minutes. Add in 3 large eggs one at a time, beating well after each addition, until fully incorporated. The mixture should be smooth and slightly pale in color.
Step 3: Combine Dry Ingredients
In a separate bowl, whisk together 4 cups of all-purpose flour, 1 teaspoon of baking soda, 1 teaspoon of ground cinnamon, and a pinch of salt. Gradually add this dry mixture to your wet ingredients, stirring until just combined. The dough will be thick and slightly sticky, indicating it’s ready for the next step.
Step 4: Form Layers
Divide the dough into 8 equal portions for thin layers of your Russian Honey Cake. On a lightly floured surface, roll out each portion to about 1/8 inch thick. Use a round cutter or the edge of a plate to cut circles from each rolled-out layer, ensuring they are all the same size for uniform baking.
Step 5: Bake Layers
Place the cut dough circles onto the prepared baking sheets and bake in the preheated oven for 5-7 minutes, or until they turn a light golden brown. Keep an eye on them as they bake; you want them dry but not overdone. Once baked, transfer to wire racks to cool completely.
Step 6: Prepare Filling
In a large mixing bowl, whisk together 1 cup of sour cream, 1 cup of heavy cream, 1 cup of powdered sugar, and 1 teaspoon of vanilla extract. Beat until soft peaks form, which usually takes about 3-5 minutes. The filling should be light and fluffy, perfect for layering between the cake circles.
Step 7: Assemble the Cake
Now it’s time to create your stunning Russian Honey Cake. Place one cooled cake layer on a serving platter and spread a generous layer of the cream filling on top. Continue layering the remaining cake circles, adding filling between each layer. Once assembled, refrigerate the cake for at least 6 hours or overnight to set and develop its flavors.
What to Serve with Traditional Russian Honey Cake (Medovik)
The perfect meal accompaniment elevates the experience of savoring this delightful dessert, making every bite even more special.
- Strong Black Tea: A classic pairing that balances the cake’s sweetness and enhances its honey flavor, creating a comforting experience.
- Rich Coffee: The deep, bold notes of coffee complement the creamy filling beautifully, making each bite feel indulgent.
- Fresh Berries: A vibrant mix of raspberries or strawberries adds a tart contrast, refreshing the palate after rich layers of cake.
- Vanilla Ice Cream: A scoop of creamy vanilla ice cream melts into the honey cake, enriching its texture and flavor with delightful creaminess.
- Honey Drizzle: A light drizzle of honey over the top not only enhances sweetness but also adds a gorgeous finishing touch to your cake.
- Chocolate Ganache: A chocolate drizzle or decorative ganache brings a luxurious twist, creating a decadent layer of flavor to entice chocolate lovers.
- Lemon Tart: The bright, zesty layers of a lemon tart offer a refreshing counterpoint to the cake’s richness, cleansing the palate beautifully.
- Nuts & Seeds: Sprinkle chopped walnuts or almonds on top for added crunch and earthy notes that enhance the overall flavor profile.
- Sparkling Water: A glass of bubbly water can provide a refreshing sip between rich bites, cleansing the palate for the next layer of cake.
- Fresh Mint Tea: The cool, aromatic qualities of mint tea offer a light, herbaceous balance, making the meal feel bright and airy.
Make Ahead Options
These Russian Honey Cake layers are perfect for meal prep, allowing you to save time on busy days! You can prepare the cake layers up to 24 hours in advance by baking them and storing them in an airtight container at room temperature. The creamy filling can also be made and refrigerated for up to 3 days before assembling; just be sure to stir it gently before use to revive its fluffy texture. When you’re ready to serve, simply layer the cooled cake circles with the creamy filling, let it set in the fridge for another 6 hours (or overnight), and enjoy a delightful dessert that’s just as delicious as if made fresh!
Russian Honey Cake Variations & Substitutions
Customize your Russian Honey Cake experience with these delightful variations and swaps that add a personal touch.
- Nuts Galore: Add crushed walnuts or almonds between cake layers for a delightful crunch.
- Honey Drizzle: Drizzle extra honey on top for added sweetness and a glossy finish.
- Spice It Up: Substitute ground cinnamon with nutmeg or cardamom for a warm twist.
- Fruity Layer: Incorporate layers of fruit, like thinly sliced strawberries or raspberries, for a fresh burst of flavor.
- Choco-Love: Fold cocoa powder into the cream filling for a chocolatey spin that’s irresistible.
- Dairy-Free: Replace heavy cream with a rich coconut cream to turn this into a dairy-free delight.
- Citrus Zest: Add lemon or orange zest to the cream for a refreshing citrus note that brightens each bite.
- Herbal Infusion: Infuse the cream with fresh mint or lavender to introduce a unique aromatic flair.
For an even more indulgent pairing, try serving your cake alongside a warm cup of Honey Garlic Chicken and a vibrant Salad Spinach Honey — the perfect balance of savory and sweet!
Storage Tips for Russian Honey Cake
Fridge: Cover the assembled cake with plastic wrap or a cake dome, and store in the refrigerator for up to one week. This allows the flavors of the Russian Honey Cake to deepen and improve over time.
Freezer: If you need to freeze the cake, wrap individual layers tightly in plastic wrap and place them in an airtight container. They can be frozen for up to 3 months; thaw in the fridge before layering with cream.
Reheating: For best results, serve the cake chilled. If you prefer it at room temperature, simply remove the cake from the fridge 30 minutes before serving.
Leftover Filling: Store any leftover cream filling in an airtight container in the fridge for up to 3 days. You can use it to add a dollop on top of each slice or to create desserts like parfaits later!
Expert Tips for Russian Honey Cake
Cool Layers Completely: Allow the cake layers to cool fully before frosting to prevent a melty disaster.
Measure Flour Correctly: Use the spoon-and-level method to avoid packing flour, which can lead to dense layers.
Whip Cream Just Right: Stop whipping your filling when soft peaks form; over-whipping can turn it grainy.
Layer Evenly: Use an offset spatula for spreading cream to create even layers and a beautiful presentation.
Refrigerate Overnight: For the best flavor and texture, refrigerate the assembled Russian Honey Cake overnight before serving.
Russian Honey Cake Recipe FAQs
What type of honey is best for Russian Honey Cake?
Using high-quality, light honey such as clover honey enhances the flavor without being overwhelming. Avoid dark, strong honey varieties, as they can overpower the delicate layers of the cake.
How should I store my Russian Honey Cake?
Cover the assembled cake with plastic wrap or a cake dome and store it in the refrigerator for up to one week. This allows the flavors to develop further, making each slice taste even better over time.
Can I freeze the Russian Honey Cake?
Absolutely! To freeze, wrap individual cake layers tightly in plastic wrap, then place them in an airtight container. They can be frozen for up to 3 months. When you’re ready to enjoy, simply thaw in the refrigerator and layer with the cream filling.
What if my cake layers turned out too thick?
If your layers seem thicker than 1/8 inch after rolling out, don’t fret! Simply bake them a little longer until they are golden. For the next time, use a ruler to measure while rolling for consistency.
Can I make this cake gluten-free?
Yes, you can use a gluten-free all-purpose flour blend as a substitute for regular flour. Be sure to check the blend’s guidelines to ensure it works well for baking so your Russian Honey Cake turns out beautifully.
Is this cake suitable for pets?
It’s important to note that the ingredients in Russian Honey Cake, like honey and sugar, are not advisable for pets. It’s a treat best enjoyed by humans only—keep this sweet indulgence for yourself and share your kitchen adventures with your furry friends in other ways!
Decadent Russian Honey Cake: Layers of Sweet Love
Ingredients
Equipment
Method
- Preheat your oven to 350°F (175°C) and line baking sheets with parchment paper.
- Cream together softened unsalted butter, granulated sugar, and honey until light and fluffy. Add eggs one at a time until fully incorporated.
- Whisk together flour, baking soda, ground cinnamon, and a pinch of salt. Gradually add to wet ingredients until just combined.
- Divide dough into 8 equal portions, roll each to 1/8 inch thick, and cut out circles.
- Bake the cut dough circles for 5-7 minutes until light golden. Cool on wire racks.
- Whisk together sour cream, heavy cream, powdered sugar, and vanilla extract until soft peaks form.
- Layer the cooled cake with cream filling, refrigerate for at least 6 hours or overnight.
Leave a Reply