
As the sun dips low on the horizon, the scent of smoky goodness pulls me outside, where friends and family gather for our annual 4th of July celebration. There’s nothing quite like the mouthwatering allure of grilled BBQ baby back ribs, slathered in an easy smoky dry rub that balances sweetness and a hint of spice. This recipe not only promises tender, juicy perfection but also fits perfectly into a summer cookout without breaking the bank. Whether it’s a holiday feast or a relaxed weekend soirée, these ribs are a surefire way to impress your guests with minimal effort. Are you ready to elevate your grill game and create some unforgettable summer memories?
Why are These Ribs a Must-Try?
Simplicity at Its Best: These ribs come together with just a few basic ingredients, making it easy for anyone to master the art of BBQ.
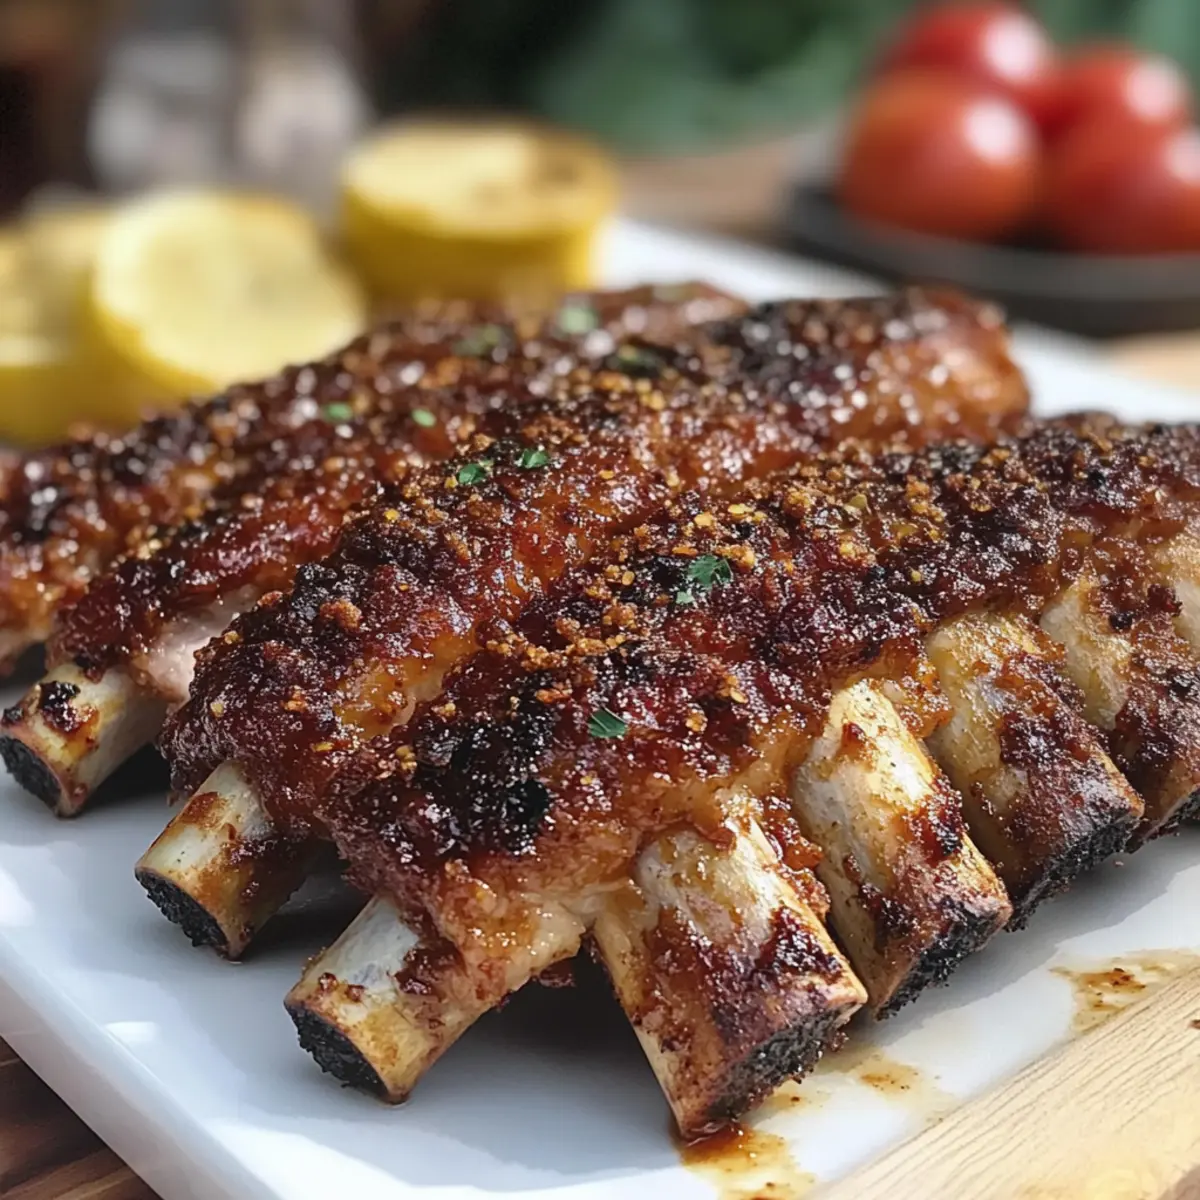
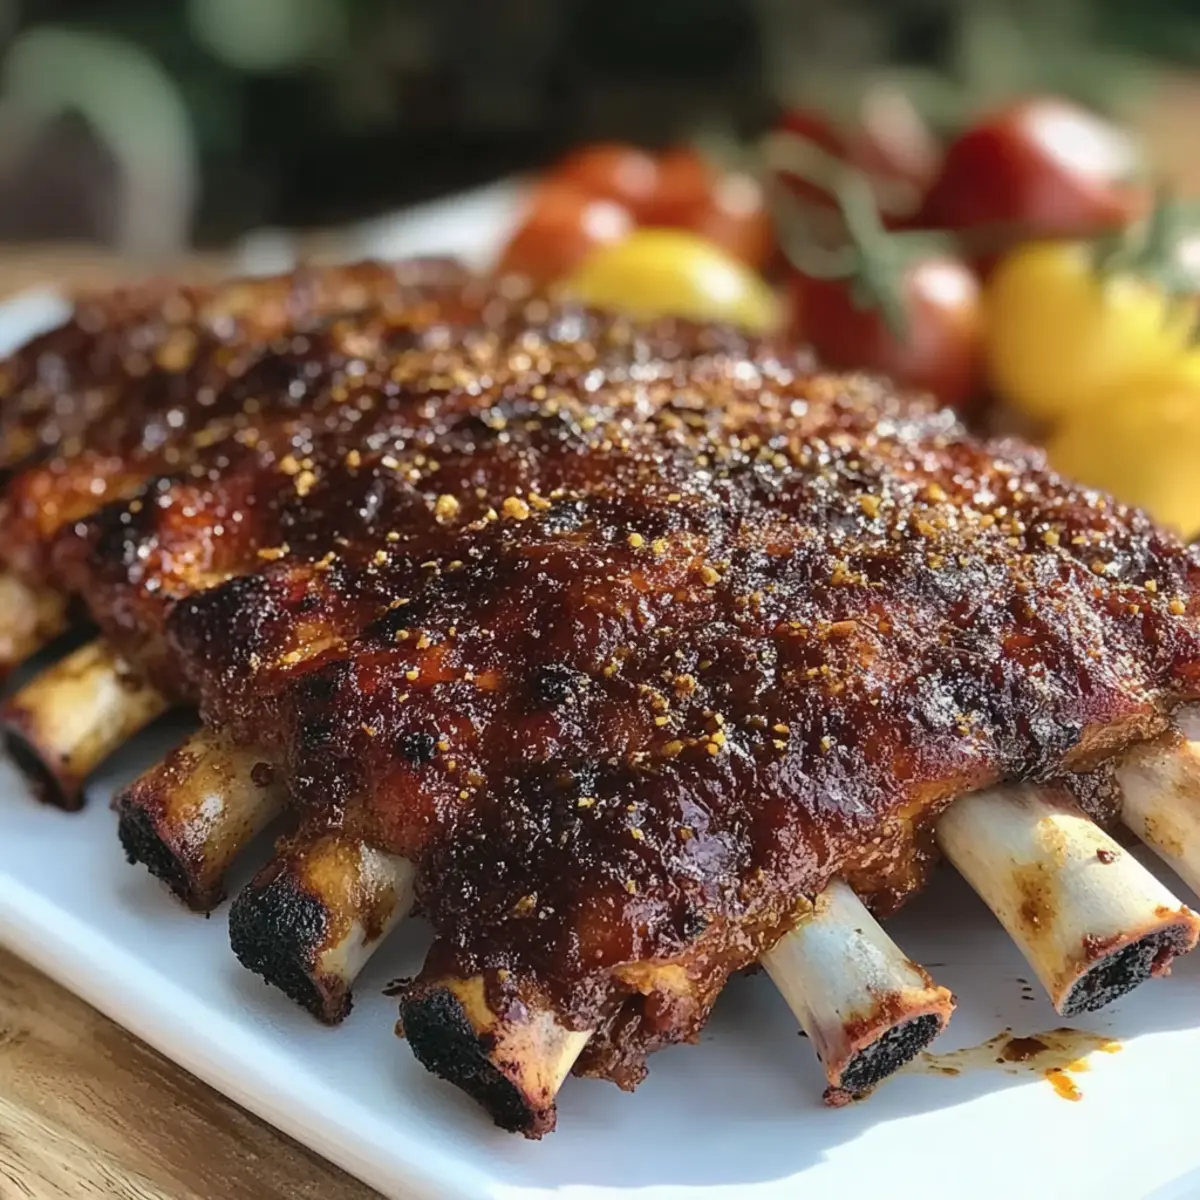
Bursting with Flavor: The smoky dry rub creates a caramelized crust that enhances each bite, offering a delightful blend of sweet and spicy notes.
Versatile Adjustments: Feel free to tweak the spice levels—add cayenne for heat or increase brown sugar for sweetness depending on your taste!
Ideal for Gatherings: Perfect for family BBQs or summer celebrations, these ribs will impress your guests and make you the star of the cookout.
Make Ahead: Season the ribs up to 24 hours in advance for deeper flavor, and enjoy stress-free cooking when it’s time to serve.
Check out our Honey BBQ Chicken for another great grilling option!
4th of July Grilled BBQ Baby Back Ribs Ingredients
For the Ribs
• Baby Back Ribs – Choose meaty racks for more flavor and tenderness.
For the Smoky Dry Rub
• Smoked Paprika – Provides a deep smoky flavor; substitute with regular paprika for a milder taste.
• Brown Sugar – Adds sweetness and helps create a delicious caramelized crust; use coconut sugar for a lower glycemic option.
• Garlic Powder – Enhances the aroma and flavor profile; fresh garlic can work too, but use less as it’s more potent.
• Chili Powder – Adds warmth and spice; adjust based on your heat preference, and consider cayenne for an extra kick!
• Salt – Essential for enhancing the overall flavor of the ribs.
• Black Pepper – Provides additional spice; swap with freshly ground white pepper for a milder flavor.
Each ingredient plays a key role in ensuring that your 4th of July Grilled BBQ Baby Back Ribs will be a hit!
Step‑by‑Step Instructions for 4th of July Grilled BBQ Baby Back Ribs
Step 1: Prep Ribs
Begin by preparing your baby back ribs. Carefully remove the silver membrane from the bone side using a paper towel for grip, ensuring better tenderness. Once cleaned, rinse the ribs under cold water, then pat them dry with paper towels to prepare them for seasoning.
Step 2: Make Dry Rub
In a mixing bowl, combine smoked paprika, brown sugar, garlic powder, chili powder, salt, and black pepper to create your smoky dry rub. Stir well to ensure an even blend. This flavorful rub will enhance your 4th of July grilled BBQ baby back ribs with sweetness and spice, adding depth to each bite.
Step 3: Apply Rub
Generously coat both sides of the ribs with the smoky dry rub mixture using your hands to ensure full coverage. Rub the spices deeply into the meat for maximum flavor. For best results, let the seasoned ribs marinate in the refrigerator for up to 24 hours, allowing the flavors to penetrate the meat.
Step 4: Preheat Grill
As the ribs marinate, preheat your grill to a low and steady temperature between 250°F and 275°F. Use indirect heat by turning on only half of the burners if using a gas grill or by arranging coals to one side on a charcoal grill. This will create a warm environment ideal for slow cooking.
Step 5: Cook Ribs
Place the seasoned baby back ribs on the grill, bone side down, away from the direct heat. Close the lid and cook low and slow for approximately 2.5 to 3 hours. Every 30 minutes, spritz the ribs with water or apple juice using a spray bottle to keep them moist and infuse added flavor.
Step 6: Wrap in Foil
About halfway through cooking, around the 1.5-hour mark, carefully wrap the ribs in aluminum foil. This step locks in moisture and ensures the ribs remain tender. Return them to the grill and continue cooking for the remaining time.
Step 7: Finish Cooking
In the last 30 minutes of cooking, remove the foil to allow the ribs to develop a nice char. For added flavor, you can brush your favorite BBQ sauce on the ribs during this time, but avoid applying it too early to prevent burning. Keep the ribs away from direct heat for the best results.
Step 8: Check Doneness
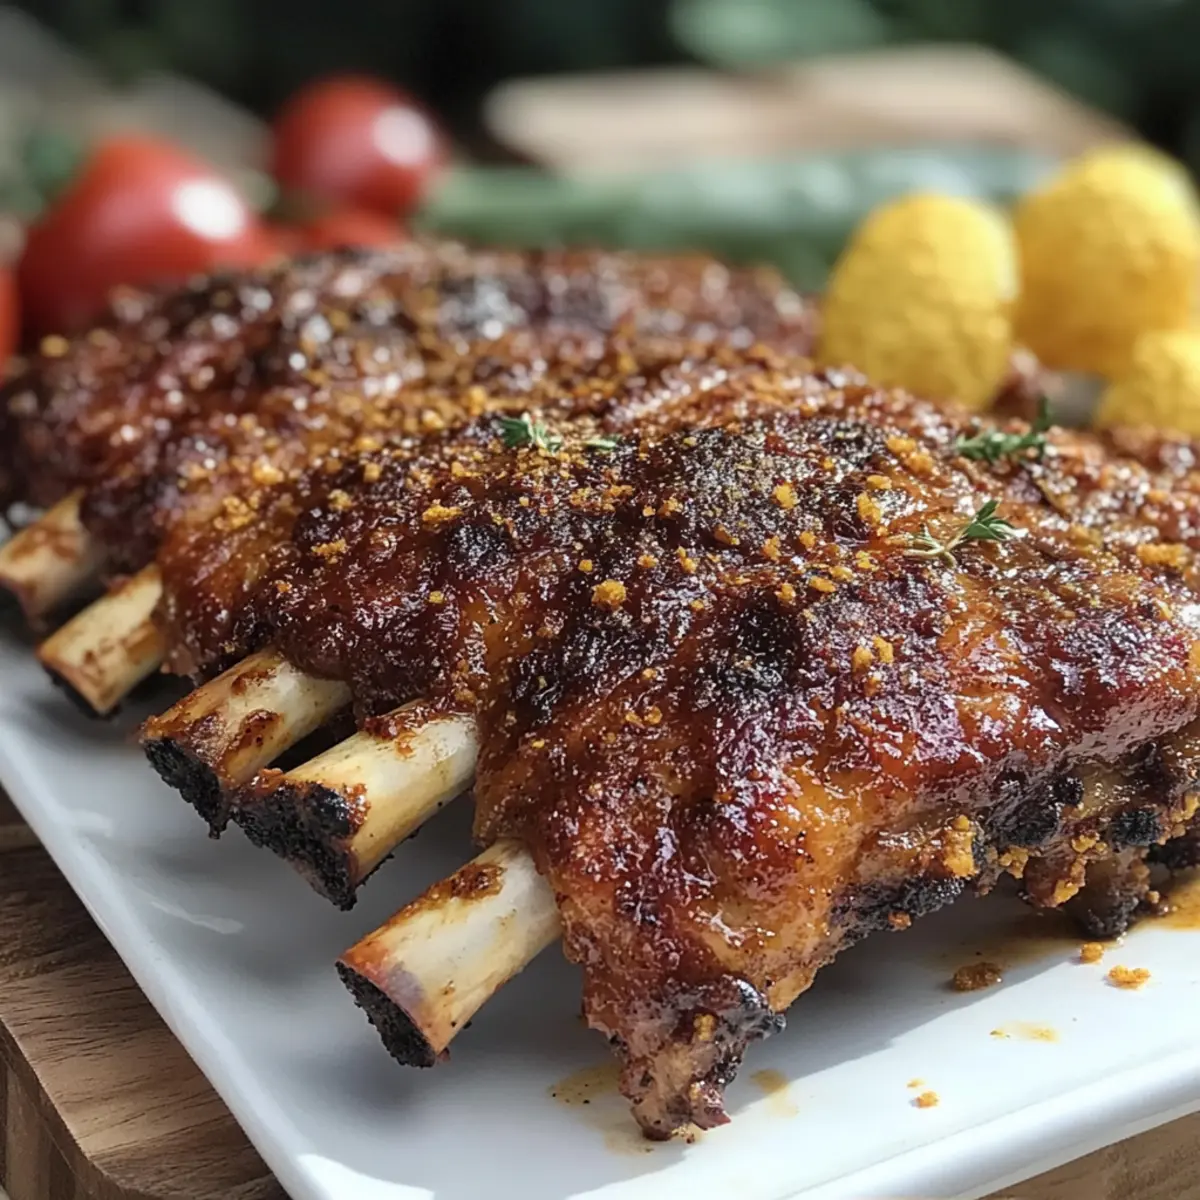
As your 4th of July grilled BBQ baby back ribs approach the end of cooking, check for doneness. The meat should be tender and fall off the bone, while the exterior should show a beautiful caramelized crust. If necessary, give them a few more minutes on the grill for that perfect finish.
Step 9: Rest and Serve
Once cooked, remove the ribs from the grill and let them rest for about 10 minutes. This crucial step allows juices to redistribute throughout the meat. After resting, slice the ribs between the bones, and serve them with your favorite sides, ready to enjoy at your summer barbecue!
4th of July Grilled BBQ Baby Back Ribs Variations
Feel free to get creative and personalize this recipe to match your taste buds and cooking style!
-
Spicy Twist: Increase cayenne or chipotle powder for an extra kick. The heat will elevate the flavor profile, appealing to those who crave a zesty bite!
-
Sweet & Smoky: Adjust the smoked paprika and brown sugar ratios based on preference, making the ribs either sweeter or smokier. This simple change can turn the dish into a flavor sensation everyone will love.
-
Coconut Sugar Swap: Replace brown sugar with coconut sugar for a lower glycemic index option. This swap keeps your ribs sweet while making them a bit healthier, perfect for those mindful of sugar intake.
-
Fresh Garlic Upgrade: Use fresh minced garlic instead of garlic powder for an aromatic boost. Fresh ingredients tend to add an extra layer of flavor that wraps beautifully around the meat.
-
Different Cuts: Try using spare ribs or even beef ribs for a unique twist. Just adjust cooking times as necessary; each cut brings its own flavor and texture to the grill.
-
Herb Infusion: Mix dried herbs like thyme or oregano into your dry rub for a fresh touch. Adding herbs will enhance the flavor and give your ribs an aromatic flair.
-
BBQ Sauce Glaze: Experiment by glazing ribs with your favorite BBQ sauce in the last 30 minutes of cooking. This gives a sticky, rich finish that complements the smoky undertones beautifully.
-
Vegetarian Option: For a vegetarian alternative, try using grilled portobello mushrooms or cauliflower steaks marinated in the same dry rub. They’ll provide that smoky flavor with a delightful texture.
Looking for more inspiration? Don’t miss out on our Grilled Cheese Burrito for a delightful twist to your cookout feast or savor a plate of Baby Lemon Impossible Pies for a refreshing dessert to finish off your meal!
What to Serve with 4th of July Grilled BBQ Baby Back Ribs
As your succulent ribs sizzle and fill the air with savory aromas, think about sides that will perfectly complement your feast and enhance the festive spirit.
-
Garlic Bread: The warm, buttery flavors of garlic bread provide a delightful contrast to the smoky ribs, perfect for soaking up any sauce or juices.
-
Coleslaw: A fresh, tangy coleslaw adds crunch and a cooling effect to balance the richness of the ribs, keeping everyone refreshed under the summer sun.
-
Grilled Corn on the Cob: Charred to perfection, sweet corn brings a pop of sweetness that pairs beautifully with the smoky flavors of the ribs. It’s a summer must-have!
-
Potato Salad: Creamy and cool, potato salad offers a hearty side that complements the BBQ scene without overshadowing the main event.
-
Watermelon Salad: This refreshing fruit salad introduces a splash of color and sweetness, making it a light complement to the rich and savory ribs served hot off the grill.
-
Iced Tea or Lemonade: A chilled glass of homemade iced tea or lemonade quenches the thirst and adds a festive vibe, making each bite of the ribs even more enjoyable.
-
Fruit Tart: Finish off the meal with a light and sweet fruit tart, which provides a refreshing end to the rich barbecue experience while celebrating summer’s best flavors.
How to Store and Freeze 4th of July Grilled BBQ Baby Back Ribs
Fridge: Store leftover ribs in an airtight container for up to 3 days. Reheat gently in the oven or on the grill to retain moisture and flavor.
Freezer: For longer storage, freeze ribs wrapped tightly in aluminum foil or plastic wrap for up to 3 months. Thaw in the fridge before reheating.
Reheating: To maintain tenderness, reheat in the oven at 250°F, covered with foil, until warmed through. Alternatively, grill them for about 10-15 minutes, brushing with BBQ sauce if desired.
Preparation Ahead: You can season the ribs with the dry rub up to 24 hours before cooking, allowing flavors to deepen while they sit in the refrigerator.
Make Ahead Options
These 4th of July Grilled BBQ Baby Back Ribs are a fantastic choice for meal prep, saving you time when hosting summer gatherings! You can prepare the smoky dry rub and generously apply it to the ribs up to 24 hours in advance, allowing the flavors to deepen and infuse the meat. Simply store the seasoned ribs in an airtight container or tightly wrap them in plastic wrap before refrigerating. This way, they’ll be just as delicious when you get to grilling! When you’re ready to cook, take the ribs out, preheat your grill, and follow the cooking instructions as usual for that tender, succulent result everyone will love.
Expert Tips for 4th of July Grilled BBQ Baby Back Ribs
-
Maintain Temperature: Keep your grill at a low, steady temperature between 250°F and 275°F to ensure even cooking and tenderness in your ribs.
-
Avoid Early BBQ Sauce: Apply BBQ sauce only in the last 30 minutes of cooking to prevent it from burning and ensure a perfect finish.
-
Stay Moist: Spritz the ribs every 30 minutes with water or apple juice to keep them moist. This helps achieve juicy, flavorful 4th of July grilled BBQ baby back ribs.
-
Rest Before Serving: Allow the ribs to rest for at least 10 minutes after grilling. This helps the juices redistribute, resulting in tastier bites.
-
Cut with Care: Slice between the bones to serve, ensuring each piece remains intact and showcases that delicious smoky flavor.
4th of July Grilled BBQ Baby Back Ribs Recipe FAQs
How do I choose the right baby back ribs?
Absolutely! When selecting baby back ribs, look for meaty racks with a good amount of flesh on the bone. The meat should have a light pink hue, and fat marbling is a plus for extra flavor and tenderness. Avoid ribs with a lot of dark spots or a dried-out appearance, as these can indicate age and poor quality.
What is the best way to store leftover ribs?
Very! Make sure to store leftover 4th of July Grilled BBQ Baby Back Ribs in an airtight container in the refrigerator. They’ll stay fresh for up to 3 days. If you want to keep them longer, wrapping the ribs tightly in aluminum foil or plastic wrap and placing them in a freezer bag will allow you to freeze them for up to 3 months. Make sure to label and date the bags so you know when you stashed them away!
Can I freeze the ribs before cooking?
You can definitely freeze the ribs before cooking! Prep them as you normally would, then wrap each rack tightly in plastic wrap followed by aluminum foil to prevent freezer burn. You can freeze them for up to 3 months. When ready to cook, simply thaw them in the fridge overnight before seasoning and grilling. This method helps the spices absorb even better.
How do I prevent the ribs from drying out during cooking?
Stay moist! To prevent drying out while cooking, spritz the ribs generously with water or apple juice every 30 minutes during the grilling process. Using a water pan in the grill can also introduce moisture to the cooking environment. It’s best to keep the grill lid down to maintain a steady temperature and humidity; this ensures that your ribs stay juicy and tender throughout.
Are these ribs gluten-free?
Yes! The 4th of July Grilled BBQ Baby Back Ribs recipe is gluten-free as long as you confirm that your dry rub ingredients, specifically the spices, do not contain any gluten. Always check the labels for potential cross-contamination if you’re preparing them for someone with a gluten sensitivity.
What can I serve with BBQ baby back ribs?
Great question! To complete your meal, consider serving your ribs with classic BBQ sides such as coleslaw, garlic bread, or grilled corn on the cob. A light green salad or a refreshing corn and black bean dip can also complement the richness of the ribs beautifully. The more the merrier when it comes to sides!
Irresistible 4th of July Grilled BBQ Baby Back Ribs Recipe
Ingredients
Equipment
Method
- Begin by preparing your baby back ribs. Carefully remove the silver membrane from the bone side using a paper towel for grip, ensuring better tenderness. Once cleaned, rinse the ribs under cold water, then pat them dry with paper towels to prepare them for seasoning.
- In a mixing bowl, combine smoked paprika, brown sugar, garlic powder, chili powder, salt, and black pepper to create your smoky dry rub. Stir well to ensure an even blend.
- Generously coat both sides of the ribs with the smoky dry rub mixture using your hands to ensure full coverage. For best results, let the seasoned ribs marinate in the refrigerator for up to 24 hours.
- As the ribs marinate, preheat your grill to a low and steady temperature between 250°F and 275°F, using indirect heat for slow cooking.
- Place the seasoned baby back ribs on the grill, bone side down, away from direct heat, and cook for approximately 2.5 to 3 hours.
- About halfway through cooking, around the 1.5-hour mark, carefully wrap the ribs in aluminum foil to lock in moisture.
- In the last 30 minutes of cooking, remove the foil to allow the ribs to develop a nice char and brush with BBQ sauce if desired.
- Check for doneness; the meat should be tender and fall off the bone. If necessary, grill for a few more minutes.
- Once cooked, remove the ribs from the grill and let them rest for about 10 minutes before slicing and serving.
Leave a Reply