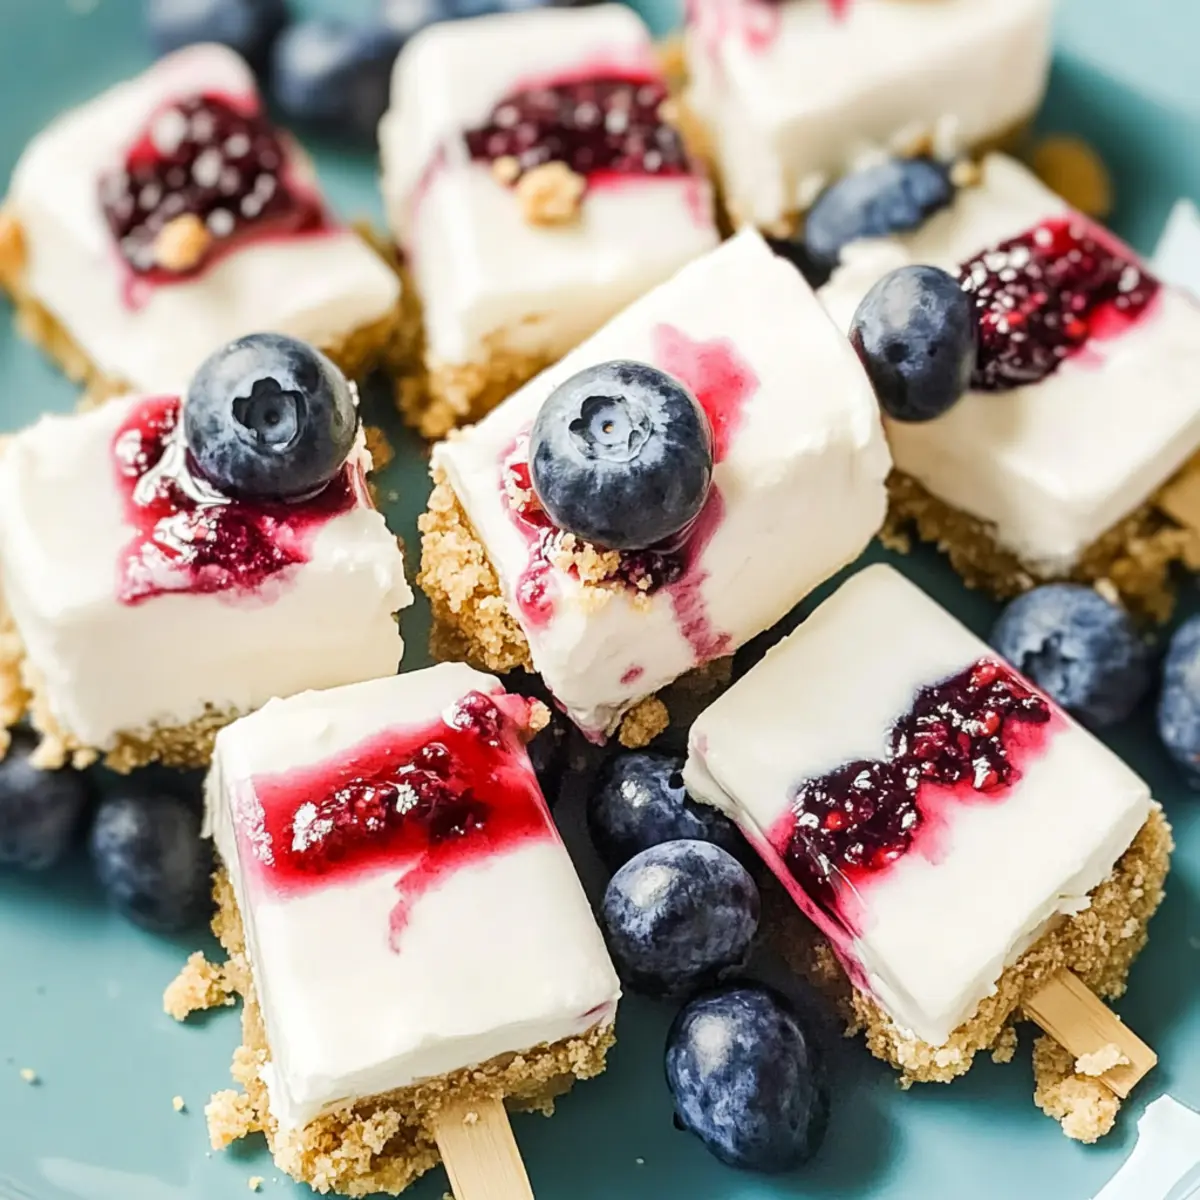
As I rummaged through my freezer one sweltering afternoon, I stumbled upon a delightful surprise: a batch of Frozen Cheesecake Bites just waiting to be savored. These no-bake treats are not only a refreshing way to tackle the summer heat but also an enticing option for those of us who crave something a bit more wholesome! Made lighter with low-fat cream cheese and tangy Greek yogurt, these bites combine a creamy texture with a natural sweetness from honey—perfect for satisfying a sweet tooth without the guilt. They’re incredibly quick to whip up, making them the ideal last-minute treat for family gatherings or a little self-indulgence. Curious about how to create these delightful bites? Let’s dive into this scrumptious recipe!
Why You’ll Love These Cheesecake Bites
Refreshing: These Frozen Cheesecake Bites are a cool delight, perfect for hot summer days when you need something sweet yet light.
Guilt-Free Indulgence: Made with low-fat cream cheese and Greek yogurt, they offer a creamy texture without the excess calories.
Quick & Easy: With just a few simple steps, these no-bake treats come together in no time—ideal for those impromptu gatherings!
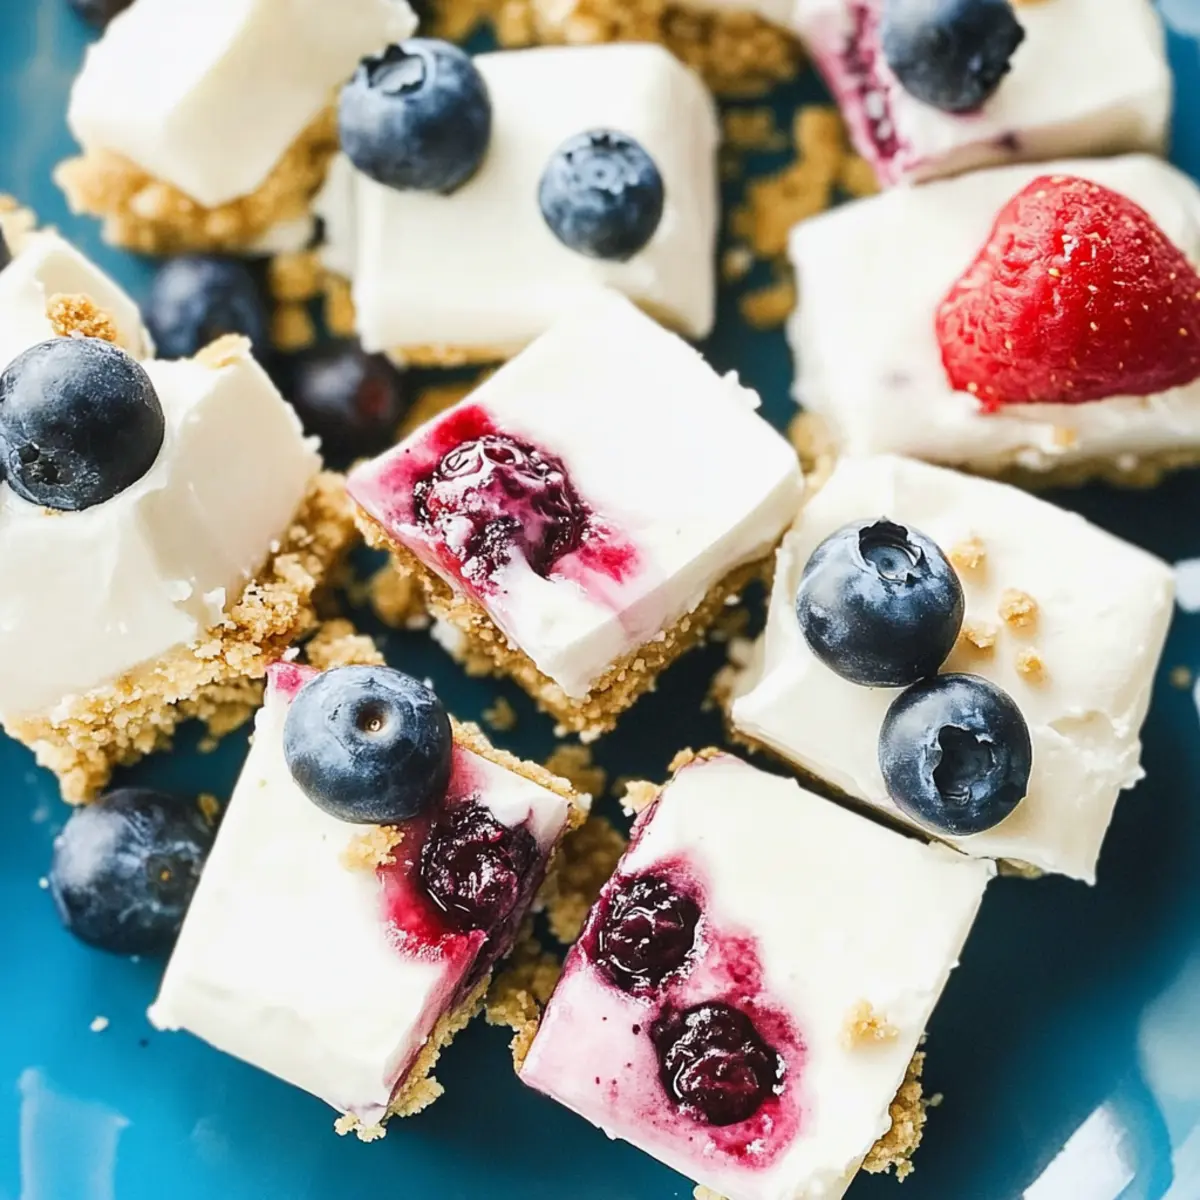
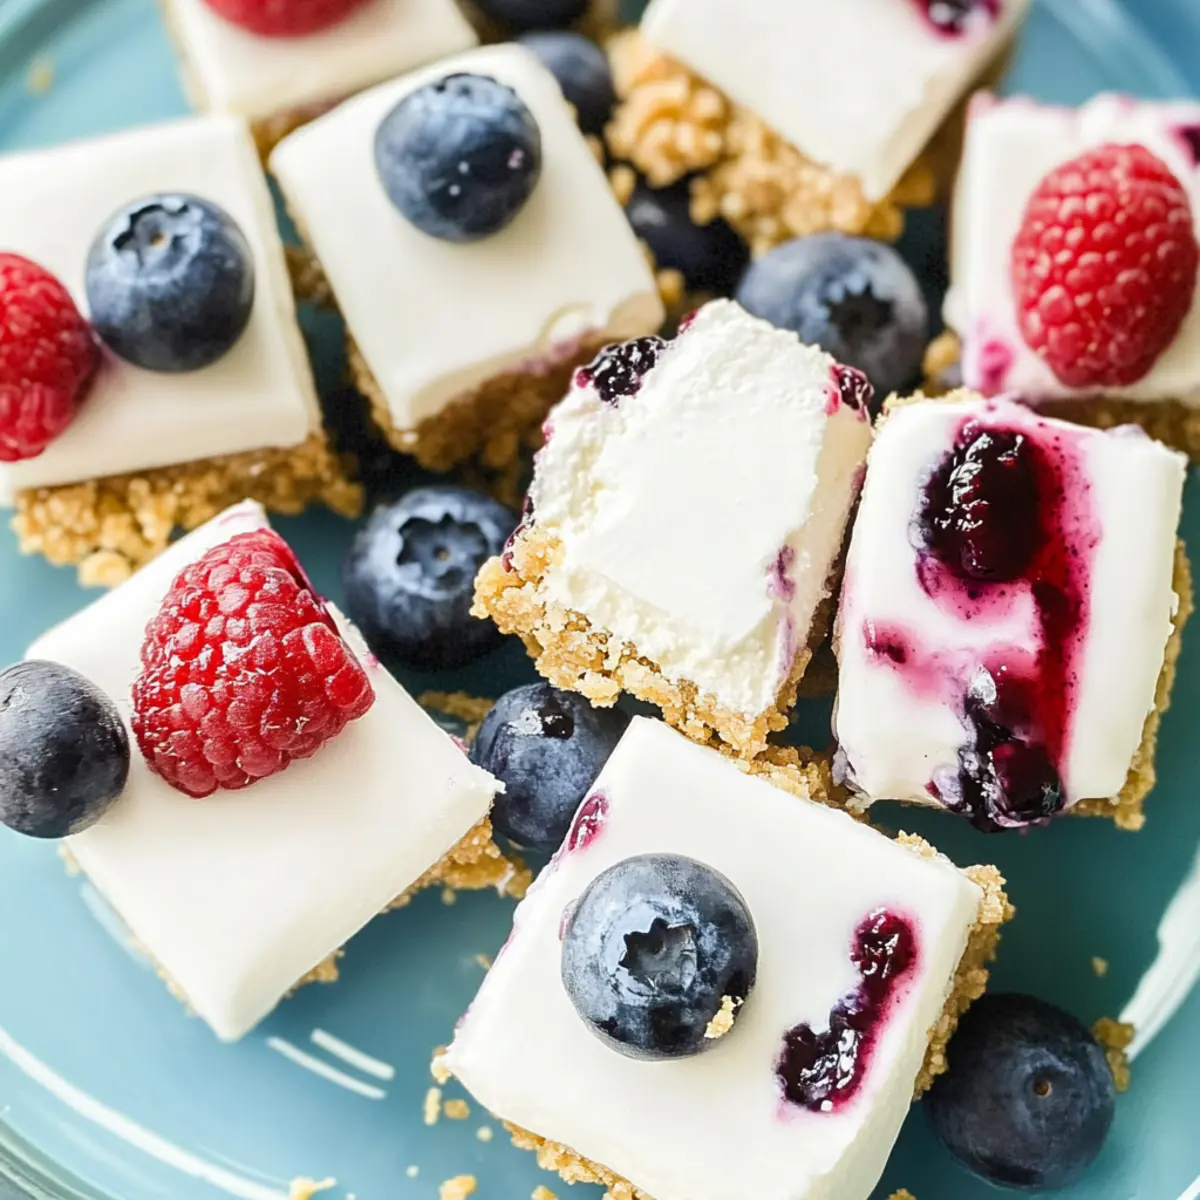
Versatile Flavors: Topped with fresh blueberries, or you can mix it up by adding your favorite fruits like strawberries.
Family-Friendly Fun: Kids love them, making it a hit for family snacks or parties—pair them with Peanut Butter Bites for an extra treat!
Perfect Storage: Store them in the freezer, and enjoy your delicious bites whenever a sweet craving strikes!
Frozen Cheesecake Bites Ingredients
• Get ready to create your guilt-free summer treat with these delightful bites!
For the Cheesecake Mixture
• Low-Fat Cream Cheese – Provides creamy texture and structure; substitute with full-fat for a richer flavor.
• Plain Greek Yogurt – Adds tartness and creaminess; use regular yogurt for a less thick consistency.
• Vanilla Extract – Enhances flavor; pure vanilla offers the best results.
• Lemon Juice – Brightens flavor profile; fresh lemon juice is preferable.
• Honey – Acts as a natural sweetener; maple syrup can be used as a vegan alternative.
For the Crust
• Graham Crackers – Forms a base crust; gluten-free crackers can be substituted for a gluten-free version.
• Unsalted Butter – Binds the crust together; coconut oil serves as a dairy-free option.
For Topping
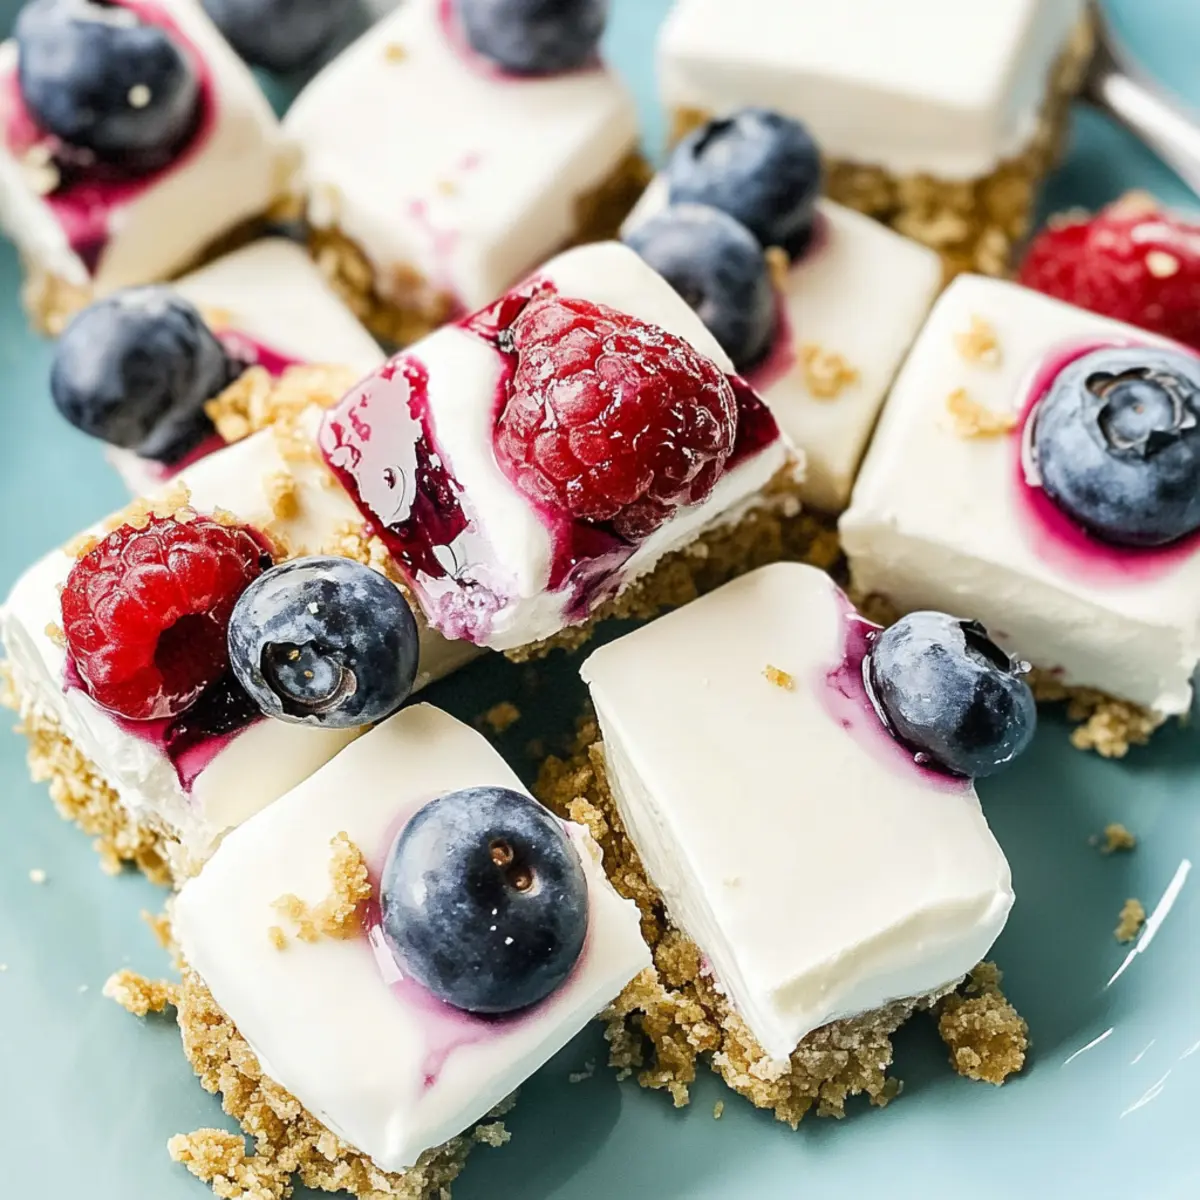
• Blueberries – Fresh fruit topping invitingly garnishes each bite; swap for other berries or banana slices according to preference.
These Frozen Cheesecake Bites are not only easy to prepare, but they also bring a refreshing twist to your dessert table!
Step‑by‑Step Instructions for Frozen Cheesecake Bites
Step 1: Soften the Cream Cheese
Begin by taking your low-fat cream cheese out of the refrigerator and allowing it to soften at room temperature for about 30 minutes. This step is crucial for achieving a smooth texture. Once softened, use an electric mixer to beat the cream cheese in a mixing bowl until it’s creamy and free of lumps.
Step 2: Mix the Cheesecake Filling
Next, add the plain Greek yogurt, vanilla extract, fresh lemon juice, and honey into the bowl with the cream cheese. Mix all the ingredients together at medium speed until they are completely blended and smooth. The mixture should be creamy with no visible lumps, ensuring a delightful texture for your Frozen Cheesecake Bites.
Step 3: Prepare the Crust
While the cheesecake filling is coming together, take your graham crackers and crush them into fine crumbs using a food processor or by placing them in a zip-top bag and rolling over them with a rolling pin. In a separate bowl, combine the crushed graham crackers with melted unsalted butter until the mixture resembles wet sand, creating the perfect base for your Frozen Cheesecake Bites.
Step 4: Form the Crust in the Ice Cube Tray
Now it’s time to create the crust. Take an ice cube tray and evenly distribute the graham cracker mixture into each compartment. Use your fingers or a small spoon to press the crust firmly into the bottom of the tray, ensuring a sturdy base for each cheesecake bite. The crust should be tightly packed and form a solid foundation for the creamy filling.
Step 5: Fill the Tray with Cheesecake Mixture
Spoon the creamy cheesecake filling over the prepared crust in your ice cube tray, carefully smoothing the tops with a spatula for an even surface. Make sure to distribute the cheesecake mixture evenly among all compartments, filling them to the top. This will ensure that every bite is packed with that delicious cheesecake flavor.
Step 6: Add Toppings (Optional)
If you like, you can add fresh blueberries on top of each filling for a burst of color and flavor! Gently press each blueberry into the cheesecake mixture, and for extra fun, you can insert a small popsicle stick into the center of each bite, making them easy to grab once frozen.
Step 7: Freeze the Cheesecake Bites
Place the ice cube tray in the freezer and allow the cheesecake bites to chill for at least 2 hours, or if possible, overnight. This freezing time is essential for the cheesecake bites to firm up completely and achieve that refreshing icy texture.
Step 8: Pop Out and Serve
Once they’re fully frozen, remove the tray from the freezer. To release your Frozen Cheesecake Bites, run a thin knife around the edges of each compartment to loosen them. Carefully pop out the bites and enjoy them immediately, or store them in an airtight freezer-safe container for a delightful treat whenever you desire!
Expert Tips for Frozen Cheesecake Bites
-
Soften Cream Cheese: Always ensure your cream cheese is completely softened before mixing to achieve a smooth cheesecake texture; this prevents lumps.
-
Firm Crust: Pack the graham cracker crust tightly in the ice cube tray. A sturdy base will support the creamy filling without crumbling.
-
Freeze Completely: For easy removal, freeze the cheesecake bites until they are fully set. This ensures they maintain their shape when popped out.
-
Storage Matters: Store any leftover Frozen Cheesecake Bites in an airtight container to prevent freezer burn and maintain their delightful flavor.
-
Flavor Variations: Feel free to experiment with toppings; try using chopped strawberries or raspberries to switch it up while keeping that guilt-free indulgence vibe!
Make Ahead Options
These Frozen Cheesecake Bites are a fantastic option for meal prep enthusiasts! You can prepare the cheesecake filling and crust up to 24 hours in advance by mixing and storing them separately in the refrigerator. Just remember to keep the crust tightly sealed to maintain its crunch. When you’re ready to serve, simply fill the ice cube tray with the cheesecake mixture, smooth the tops, and freeze for at least 2 hours (or overnight for best results). This way, you can whip up these delightful bites in a matter of minutes right before you need them, ensuring they’re just as delicious and fresh when it’s time to enjoy!
Frozen Cheesecake Bites Variations & Substitutions
Customization is key when it comes to these delightful Frozen Cheesecake Bites—let your creativity shine through!
-
Creamier Base: Substitute cream cheese with mascarpone for an even richer and creamier texture that’ll elevate each bite.
-
Dairy-Free Delight: Use coconut cream instead of cream cheese and full-fat coconut yogurt to create a fabulous dairy-free version that’s just as luscious!
-
Nutty Flavors: Add 1/4 cup of crushed nuts like almonds or pecans into the crust for an extra crunch and a delightful nutty flavor that pairs beautifully with cheesecake.
-
Chocolate Lovers: Mix in 1/4 cup of cocoa powder with the cream cheese mixture for a chocolate version, or drizzle melted chocolate over each bite once frozen for a decadent touch.
-
Zesty Twist: Incorporate zest from one lemon or lime into the cheesecake filling for an extra zing that wakes up the flavors, perfect for summer gatherings.
-
Fruity Options: Swap out blueberries for your choice of fresh raspberries or diced strawberries; the fruity burst adds a refreshing twist and vibrant color to your bites.
-
Cinnamon Spice: Sprinkle in a dash of cinnamon or nutmeg into the crust for a warm spiced flavor; great for a cozy treat that’s perfect alongside a cup of tea.
-
Frozen Bars: For an alternative presentation, pour the mixture into a loaf pan instead of an ice cube tray; once frozen, cut into bars for a handheld dessert option that’s easy to grab and go.
Feel free to experiment and mix these suggestions with other fabulous recipes like our easy Butter Cod Bites for a delightful meal or finish off the day with an elegant dessert, just like our Japanese Cotton Cheesecake. Embrace the delicious possibilities!
How to Store and Freeze Frozen Cheesecake Bites
Freezer: Place the bites in a single layer on a baking sheet until completely frozen, then transfer them to an airtight container. They can be stored for up to 2 months.
Airtight Container: Ensure the container is well-sealed to prevent freezer burn, which can affect the taste and texture of your Frozen Cheesecake Bites.
Serving Tips: To enjoy, remove the desired number of bites from the freezer and allow them to sit at room temperature for a couple of minutes for easier removal.
Snack On the Go: These bites are perfect for quick snacks! Just grab a few from the freezer for a refreshing treat – no thawing necessary for an instant sweet fix!
What to Serve with No-Bake Ice Cube Tray Cheesecake Bites
These delightful cheesecake bites are perfect for crafting a complete summer spread that your family and friends will adore!
-
Fresh Fruit Salad: A mixture of vibrant seasonal fruits adds a refreshing contrast, enhancing the dessert’s sweet and tangy notes.
-
Chocolate Drizzle: A simple melted chocolate drizzle takes these bites to the next level, inviting a rich sweetness that harmonizes beautifully with the tangy cheesecake.
-
Minty Limeade: This effervescent drink provides a zesty kick, offering a refreshing counterpoint to the creamy cheesecake bites, perfect for summer gatherings.
-
Graham Cracker Crust Cups: Serve mini cups filled with the same graham cracker crust; it ties the dessert together for a cohesive experience, enhancing the crunch factor!
-
Frozen Yogurt Parfaits: Layer your favorite yogurt with berries to create an additional light and creamy dessert. It pairs perfectly with the cheesecake bites, offering complementary textures.
-
Pineapple Sorbet: This sweet and icy sorbet is a delightful palate cleanser that will leave everyone feeling refreshed after the cheesecake bites.
-
Sparkling Water with Berries: Infuse sparkling water with fresh berries for a bubbly, sophisticated beverage that keeps you hydrated and pairs well with sweet treats.
-
Chocolate-Covered Nuts: A handful of chocolate-covered almonds or cashews can bring a crunchy, nutty contrast to the smoothness of the cheesecake, perfectly rounding out your dessert table.
-
Key Lime Pie Drink: This creamy, tangy beverage mirrors the cheesecake flavor profile, providing a seamless transition from one sweet bite to the other.
-
Mini Cookie Sandwiches: Offering these alongside the cheesecake bites adds a delightful variety; the chewy texture contrasts wonderfully with the creamy cheesecake for a satisfying treat.
Frozen Cheesecake Bites Recipe FAQs
How do I choose ripe blueberries for topping?
When selecting blueberries, look for firm, plump berries that are deep blue in color. Avoid those with white or green spots, as these indicate under-ripeness. Fresh blueberries should also be dry and free of dark spots or mushiness. If you can, sample a few; ripe blueberries have a sweet and juicy flavor that will elevate your cheesecake bites!
What is the best way to store leftover Frozen Cheesecake Bites?
Store leftover Frozen Cheesecake Bites in an airtight container in the freezer. They can be kept for up to 2 months without losing flavor or texture. Make sure to layer them between sheets of parchment paper to prevent sticking. Take only what you need from the freezer, and keep the rest sealed until you’re ready for more delicious bites!
Can I freeze my cheesecake mixture before adding it to the tray?
Absolutely! If you wish to freeze the cheesecake filling before assembly, pour the mixture into a freezer-safe container. When ready to use, let it thaw in the refrigerator for a few hours before filling your ice cube tray. This method helps maintain the creamy texture of the filling while allowing you to enjoy fresh bites whenever the craving strikes.
What should I do if the cheesecake bites won’t come out of the ice cube tray?
If you find that the cheesecake bites are sticking to the tray, don’t worry! First, allow them to sit at room temperature for a minute or two. This will help slightly thaw the edges. If they’re still stuck, run a thin knife around the edges of each compartment. For future batches, ensure the bites are fully frozen before trying to pop them out, as this helps maintain their shape.
Are these cheesecake bites pet-friendly?
These Frozen Cheesecake Bites are not suitable for pets, specifically due to the presence of honey and dairy ingredients like cream cheese. Many pets can be sensitive to these ingredients and it could cause digestive issues. Always consult a veterinarian before sharing human food with your furry friends to ensure they stay safe and healthy.
Can I use other fruits for topping?
Very! You can easily swap blueberries with a variety of fruits such as raspberries, chopped strawberries, or even slices of kiwi. Just be sure that the fruits you choose are not overly watery, which could affect the texture of your cheesecake bites. Get creative with your toppings to enjoy different flavors, making each batch a new adventure!
Frozen Cheesecake Bites: A Guilt-Free Summer Treat
Ingredients
Equipment
Method
- Soften the cream cheese by leaving it at room temperature for about 30 minutes. Beat until creamy and free of lumps.
- Mix the plain Greek yogurt, vanilla extract, lemon juice, and honey with the cream cheese until smooth.
- Crush graham crackers into fine crumbs, then combine with melted butter until it resembles wet sand.
- Evenly distribute the graham cracker mixture into an ice cube tray and press down to form the crust.
- Spoon the cheesecake filling over the crusts, smoothing the tops.
- Optionally, add fresh blueberries on top, pressing them into the filling.
- Freeze the tray for at least 2 hours until the bites are firm.
- To serve, run a knife around each compartment to loosen and pop out the bites.
Leave a Reply