
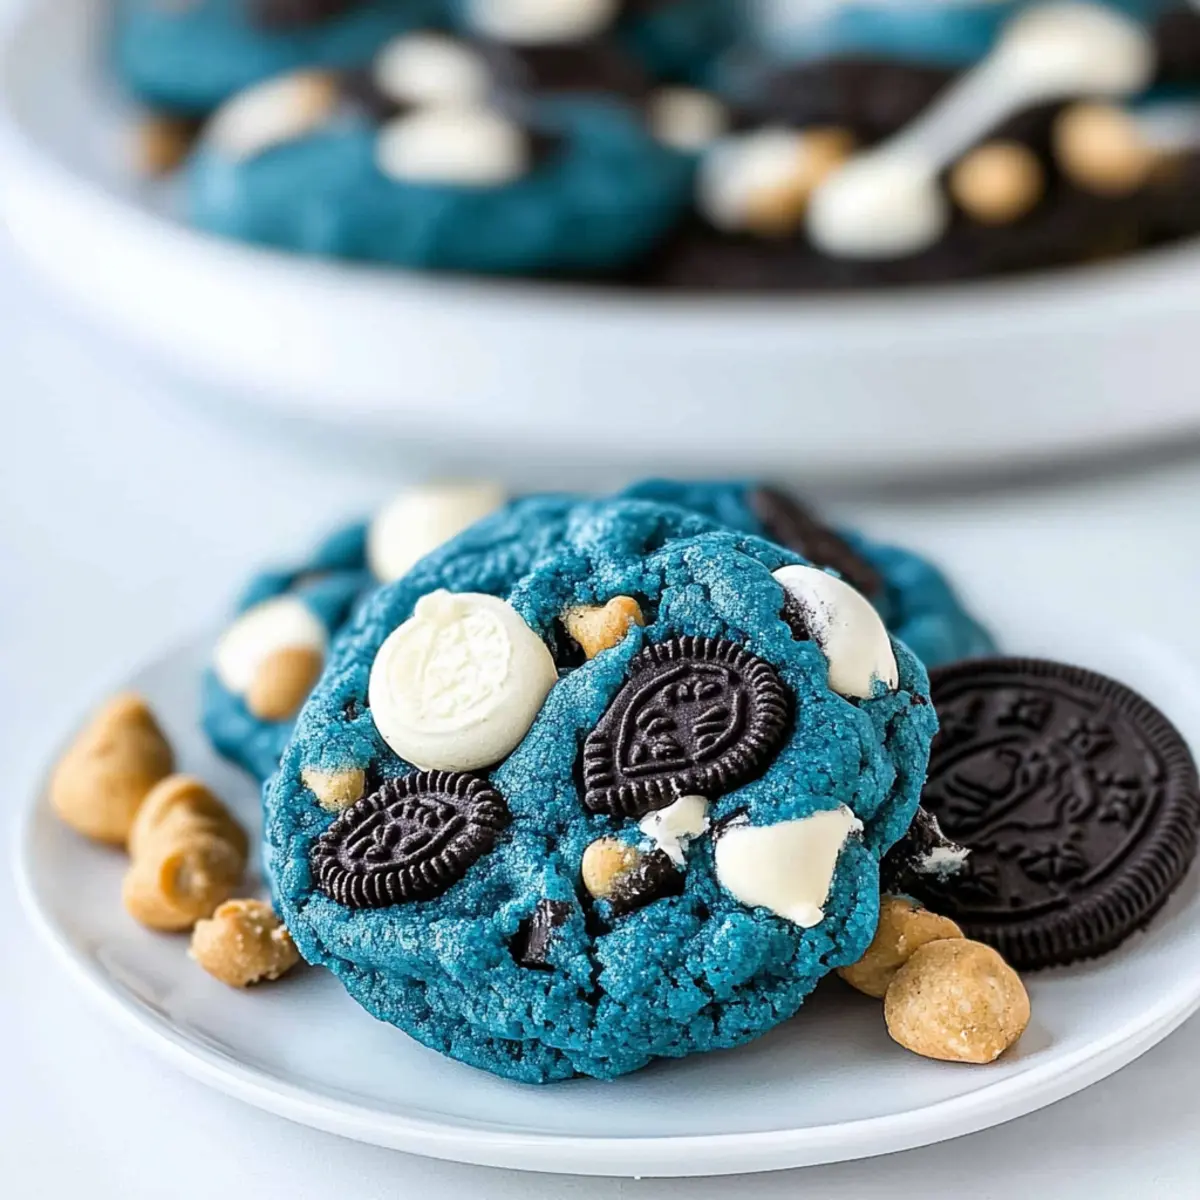
“Did you hear that?” a friend exclaimed, staring wide-eyed at the vibrant blue cookies cooling on my counter. Today, I’m excited to share my fun and colorful Cookie Monster Cookies, a delightful mix that will charm both kids and adults alike! Imagine a soft and chewy cookie packed with white chocolate chips, bits of Chips Ahoy, and crushed Oreos—every mouthful is a playful surprise. Not only are these cookies easy to whip up, but they also make for an eye-catching treat at parties or special occasions. There’s something undeniably joyful about creating these whimsical cookies that invites everyone to gather and indulge. Are you ready to dive into this colorful baking adventure and bring a smile to your loved ones’ faces?
Why Are Cookie Monster Cookies So Fun?
Delightful Visual Appeal: These cookies boast a vibrant blue hue, making them an instant hit at any gathering. Flavor Explosion: Packed with white chocolate chips, Chips Ahoy bits, and Oreos, each bite offers a delicious crunch and sweetness. Versatile Treat: Feel free to swap in your favorite cookie mix-ins for a personalized touch! Perfect for birthday parties or casual hangouts, they’re sure to leave everyone smiling—just like my Almond Cherry Cookies, which are another crowd favorite. Quick and Easy: With straightforward steps and fewer than 15 minutes to bake, you can have these whimsical treats ready in no time!
Cookie Monster Cookies Ingredients
• Get ready for a delightful baking experience with these Cookie Monster Cookies!
For the Cookie Dough
- All-Purpose Flour – Provides structure to the cookies. Use gluten-free flour for a gluten-free version.
- Cornstarch – Increases softness and chewiness. Omit if needed for dietary preferences.
- Baking Soda – Helps cookies rise. Baking powder can be used, but adjust the amount to avoid over-leavening.
- Salt – Enhances flavor. Always include for best taste.
- Unsalted Butter – Adds richness and moisture. Can substitute with margarine or dairy-free butter for a non-dairy version.
- Brown Sugar – Brings sweetness and a hint of chewiness. Use only granulated sugar if brown sugar is unavailable, but texture may vary.
- Granulated Sugar – Increases sweetness and helps cookies spread.
- Eggs – Provide moisture and binding. Aquafaba can be used as a vegan substitute (3 tbsp = 1 egg).
- Vanilla Extract – Imparts flavor. Use pure vanilla extract for best results.
- Gel Food Coloring (Royal Blue, Electric Blue, Violet) – Creates the cookie’s bright blue color. Typically, adjust by eye for desired color.
For the Mix-Ins
- White Chocolate Chips – Adds sweetness and texture. Substituting with milk or dark chocolate chips is acceptable.
- Chopped Chips Ahoy Cookies – Introduces additional crunch. Homemade chocolate chip cookie pieces can be used instead.
- Chopped Oreos – Adds flavor and fun texture. Other cookie crumbles may work, such as Nutter Butters for a different taste.
Step‑by‑Step Instructions for Cookie Monster Cookies
Step 1: Preheat the Oven
Start by preheating your oven to 350°F (175°C). While it’s heating up, line your cookie sheets with parchment paper or silicone mats to ensure the cookies bake evenly and don’t stick. This preparation is essential for making your delightful Cookie Monster Cookies, so don’t skip it!
Step 2: Blend the Dry Ingredients
In a medium bowl, whisk together the all-purpose flour, cornstarch, baking soda, and salt until well combined. This mixture forms the base of your Cookie Monster Cookies, contributing to their soft and chewy texture. Set this bowl aside, as it will be mixed with the wet ingredients shortly.
Step 3: Cream the Butter and Sugars
In a large mixing bowl, beat the unsalted butter, brown sugar, and granulated sugar with an electric mixer on medium speed. Continue mixing until the blend becomes fluffy and pale, about 2-3 minutes. This step adds air into the mixture, leading to wonderfully soft cookies that will delight everyone.
Step 4: Incorporate the Wet Ingredients
Add the eggs and vanilla extract into the creamed mixture, then beat for an additional 30 seconds until everything is well incorporated. The eggs provide moisture and help bind the ingredients together. This is a crucial part of the Cookie Monster Cookies that enhances their overall flavor and texture.
Step 5: Color the Dough
With the mixer on low speed, gradually add the dry ingredients from your earlier bowl into the wet mixture. As you mix, add the gel food coloring bit by bit until the cookie dough reaches a deep blue hue. This colorful step is what makes your Cookie Monster Cookies visually fun!
Step 6: Add the Mix-Ins
Using a spatula, gently fold in the white chocolate chips, chopped Chips Ahoy cookies, and Oreos by hand. Be careful not to overmix, as you want to maintain the integrity of the cookie dough while ensuring those delightful mix-ins are evenly distributed throughout your vibrant Cookie Monster Cookies.
Step 7: Shape the Cookies
With a cookie scoop or tablespoon, form the dough into 2-tablespoon balls and roll them smooth. If desired, press additional cookie pieces onto the outside for extra crunch. Place the shaped dough onto your prepared cookie sheets, leaving space between each ball to allow for spreading during baking.
Step 8: Bake the Cookies
Slide the cookie sheets into the preheated oven and bake for 10-12 minutes. Keep an eye on them, looking for the edges to set without browning. The centers should appear slightly underbaked; they will continue to cook once removed from the oven, ensuring your Cookie Monster Cookies remain soft and chewy.
Step 9: Cool the Cookies
Once baked, let the cookies cool on the baking sheets for about 15 minutes. This resting period allows them to firm up slightly before transferring them to a cooling rack. Enjoy the delightful aroma as they cool, knowing that soon you’ll get to relish these whimsical Cookie Monster Cookies!
What to Serve with Cookie Monster Cookies?
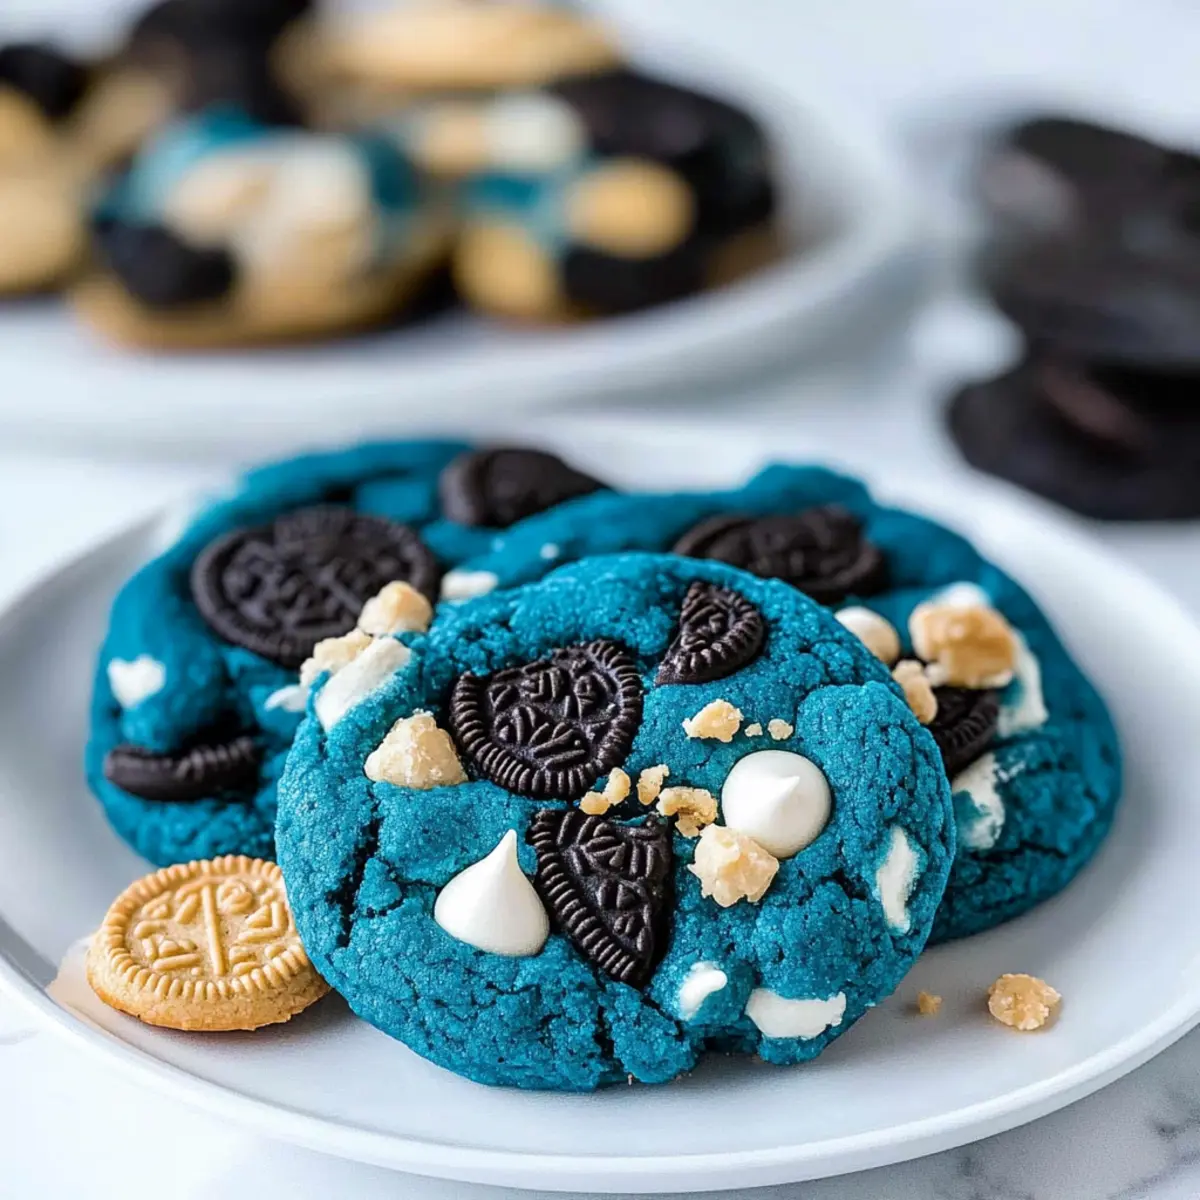
Indulging in these playful, vibrant treats opens up a world of delightful pairings that enhance your sweet experience.
- Cold Glass of Milk: The classic companion! The coldness balances the sweetness and complements the chewy texture perfectly.
- Scoop of Vanilla Ice Cream: Ice cream adds a creamy contrast, making each bite even more indulgent and enjoyable. Imagine biting into a warm cookie paired with melting ice cream—heavenly!
- Chocolate Dipping Sauce: For chocoholics, a drizzle of warm chocolate sauce can take your Cookie Monster Cookies to the next level of decadence.
- Fruit Salad: A fresh fruit salad brings a refreshing touch to the sweet cookies, adding a burst of color and a palate cleanser after indulging.
- Cup of Hot Chocolate: A warm drink like hot chocolate cozies up your cookie experience and adds an extra layer of sweetness.
- Coffee or Espresso: For a more adult touch, a strong cup of coffee perfectly offsets the sweetness while highlighting the rich flavors of the cookies.
- Gummy Bears or Candy Pieces: Offering colorful gummy candies on the side can enhance the playful nature of these cookies, perfect for a party atmosphere!
- Mini Cheesecake Bites: These delightful little cheesecake bites provide a creamy, tangy contrast to the sweetness of the cookies.
How to Store and Freeze Cookie Monster Cookies
Room Temperature: Keep cooled Cookie Monster Cookies in an airtight container for up to 3 days. This helps maintain their delightful softness and flavor.
Fridge: If you want your cookies to stay fresh longer, refrigerate them in an airtight container for up to a week. Just note that refrigeration may slightly affect their texture.
Freezer: For longer storage, freeze the cookies in an airtight freezer bag or container for up to 3 months. Thaw the cookies in the refrigerator before enjoying them.
Reheating: To regain that fresh-baked taste, gently heat chilled or thawed cookies in the microwave for about 5-10 seconds. This will warm them up and make them soft again!
Expert Tips for Cookie Monster Cookies
-
Perfect Color: Combine gel food colors gradually until you achieve the desired deep blue. Always remember, a little goes a long way!
-
Avoid Overbaking: Keep a close eye on your cookies. They should be soft in the center when you pull them out; they’ll continue to set as they cool.
-
Precise Measurements: Use a kitchen scale to measure your flour accurately. Too much flour can lead to flat, dense cookies instead of the chewy Cookie Monster Cookies you want!
-
Mix-ins Matter: Don’t be afraid to experiment with different cookie mix-ins. Just remember to keep the ratios consistent for a balanced flavor.
-
Storage Tips: Store your cooled cookies in an airtight container to retain freshness. They’re typically best enjoyed within 3 days, though they can be refrigerated for longer shelf life.
Make Ahead Options
These Cookie Monster Cookies are a fantastic option for meal prep, saving you time on busy days! You can prepare the cookie dough up to 24 hours in advance by mixing all your ingredients and storing the dough in an airtight container in the refrigerator. This keeps the dough fresh and the flavors intact. Alternatively, you can scoop the dough into balls and freeze them for up to 3 months; just place the balls on a baking sheet to freeze, then transfer them to a freezer bag. When you’re ready to bake, there’s no need to thaw—just add an extra minute or two to the baking time for perfectly fresh cookies. Enjoy the convenience without sacrificing quality!
Cookie Monster Cookies Variations
Customize your Cookie Monster Cookies for even more fun and flavor! Let your creativity embrace the colorful and whimsical nature of these delightful treats.
-
Chocolate Swap: Replace white chocolate chips with dark or milk chocolate for a different sweetness profile. This swap adds complexity!
-
Cookie Alternatives: Experiment with other cookies like peanut butter or chocolate wafer cookies as mix-ins for varied tastes and textures. Imagine the delicious combination of peanut butter and blue that’s not just playful but also unforgettable.
-
Nutty Delight: Toss in some chopped nuts to the dough for added crunch. Walnuts or pecans work wonderfully alongside the sweetness of chocolate.
-
Flavor Burst: Add a tablespoon of peanut butter or cookie butter to the dough for a rich flavor twist. Swirling these spreadables into the mix enables each cookie to be a surprise!
-
Choco-Chip Surprise: For an extra chocolatey treat, fold in chocolate chunks along with the mix-ins. They’ll melt slightly during baking, creating a decadent, gooey center.
-
Color Variations: Change up the food coloring for other vibrant hues to match any theme! Whether it’s pink for Valentine’s Day or green for St. Patrick’s Day, vibrant cookies can fit any occasion.
-
Dairy-Free Delight: Swap the butter for coconut oil and use a dairy-free chocolate option for a dairy-free treat that doesn’t skimp on flavor. These will be a hit among all your plant-based friends!
-
Add Spice: Dust in a pinch of cinnamon or a dash of sea salt to enhance the overall flavor profile. Just a bit can elevate the sweetness and balance beautifully.
For more cookie inspiration, check out my Almond Cherry Cookies or explore how you can create your unique spin on traditional favorites!
Cookie Monster Cookies Recipe FAQs
How do I choose ripe ingredients for Cookie Monster Cookies?
Absolutely! For the best flavor, always use fresh ingredients. Look for eggs that have a clean, uncracked shell and are at room temperature for better mixing. Use good-quality unsalted butter that is soft but not melted. Fresh vanilla extract adds depth to your cookies, so avoid anything that’s been sitting on the shelf for too long.
How should I store my Cookie Monster Cookies?
To keep your cookies fresh, store them in an airtight container at room temperature for up to 3 days. If you need them to last longer, refrigerate them for up to a week. Just make sure to wrap the container well as refrigeration can slightly change the texture, making them a bit firmer.
Can I freeze Cookie Monster Cookies?
Absolutely! You can freeze your baked cookies for up to 3 months. Place them in an airtight freezer bag or container. If you prefer, you can also freeze the cookie dough before baking. Just scoop the dough into balls, place them on a baking sheet to freeze for a couple of hours, then transfer to a freezer bag. To bake, thaw the dough in the fridge overnight before baking.
What should I do if my Cookie Monster Cookies turn out too flat?
Very! If your cookies spread too much, check your flour measurements first; using too little can lead to flat cookies. Make sure to sift your dry ingredients for even distribution and measure flour properly, ideally with a kitchen scale. Also, chilling the dough for at least 30 minutes before baking can help the cookies hold their shape better.
Are Cookie Monster Cookies suitable for people with allergies?
The more the merrier! However, these cookies contain common allergens like wheat, eggs, and dairy. For gluten-free cookies, use certified gluten-free flour. You can substitute eggs with aquafaba (3 tbsp = 1 egg) for a vegan option. Always check your add-ins, like chocolate and cookies, for any specific allergens before baking.
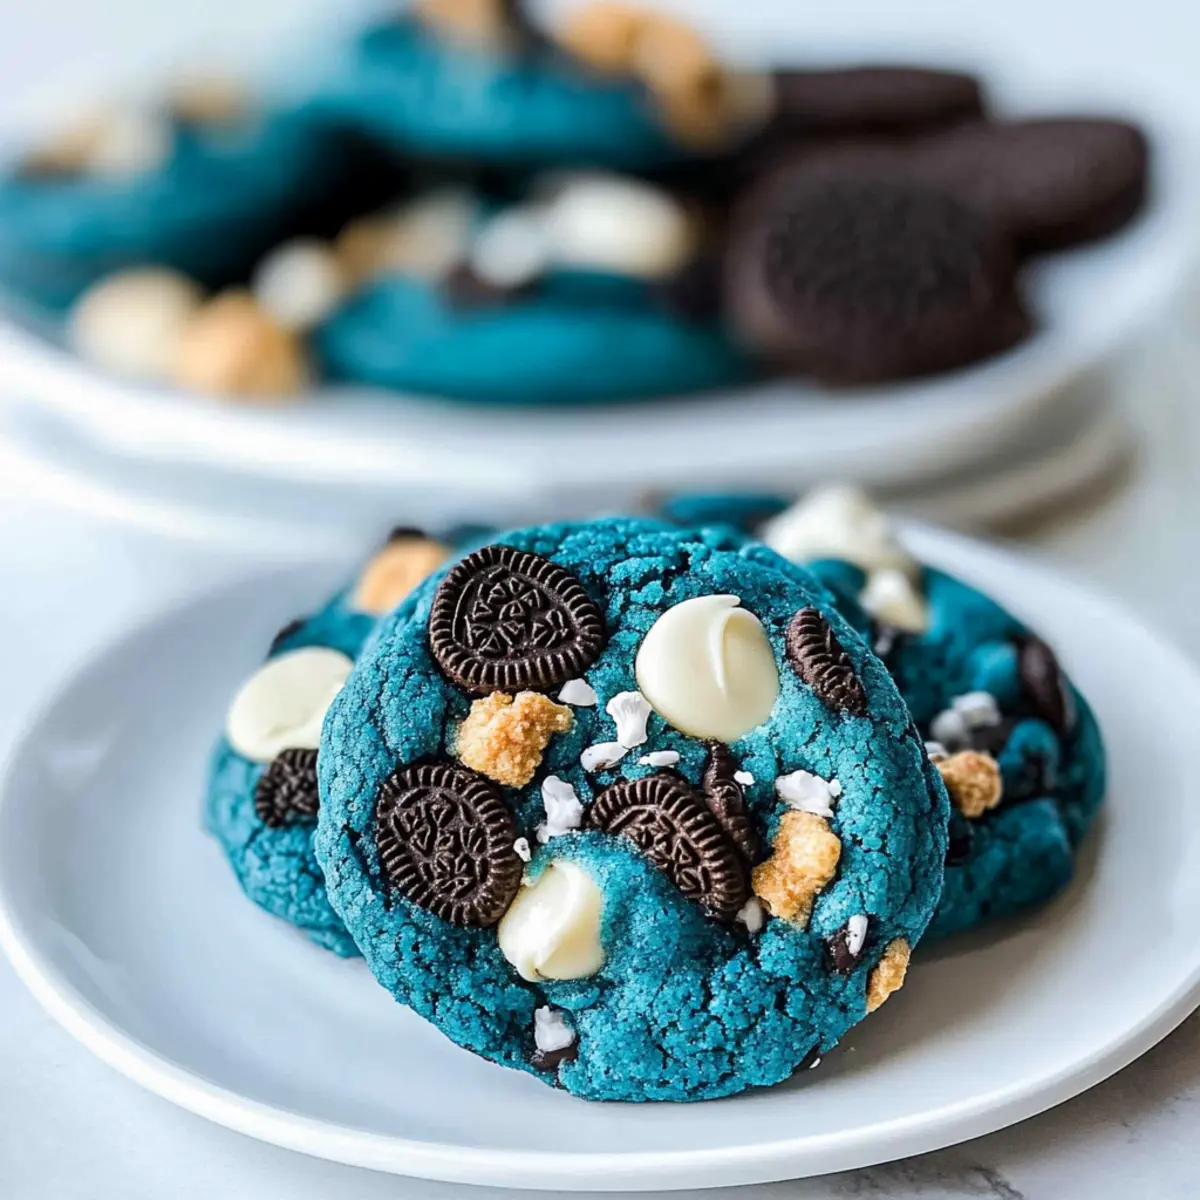
Delightful Cookie Monster Cookies for Every Sweet Tooth
Ingredients
Equipment
Method
- Preheat the oven to 350°F (175°C) and line cookie sheets with parchment paper.
- Whisk together the flour, cornstarch, baking soda, and salt in a medium bowl.
- Beat the butter, brown sugar, and granulated sugar until fluffy, about 2-3 minutes.
- Add the eggs and vanilla, then beat for 30 seconds until well combined.
- Gradually add the dry ingredients to the wet mixture, adding gel food coloring until desired color is reached.
- Fold in the white chocolate chips, chopped Chips Ahoy cookies, and Oreos by hand.
- Form dough into 2-tablespoon balls, place on prepared sheets, leaving space between each.
- Bake for 10-12 minutes until edges are set but centers are slightly underbaked.
- Cool on baking sheets for 15 minutes before transferring to a cooling rack.
Leave a Reply