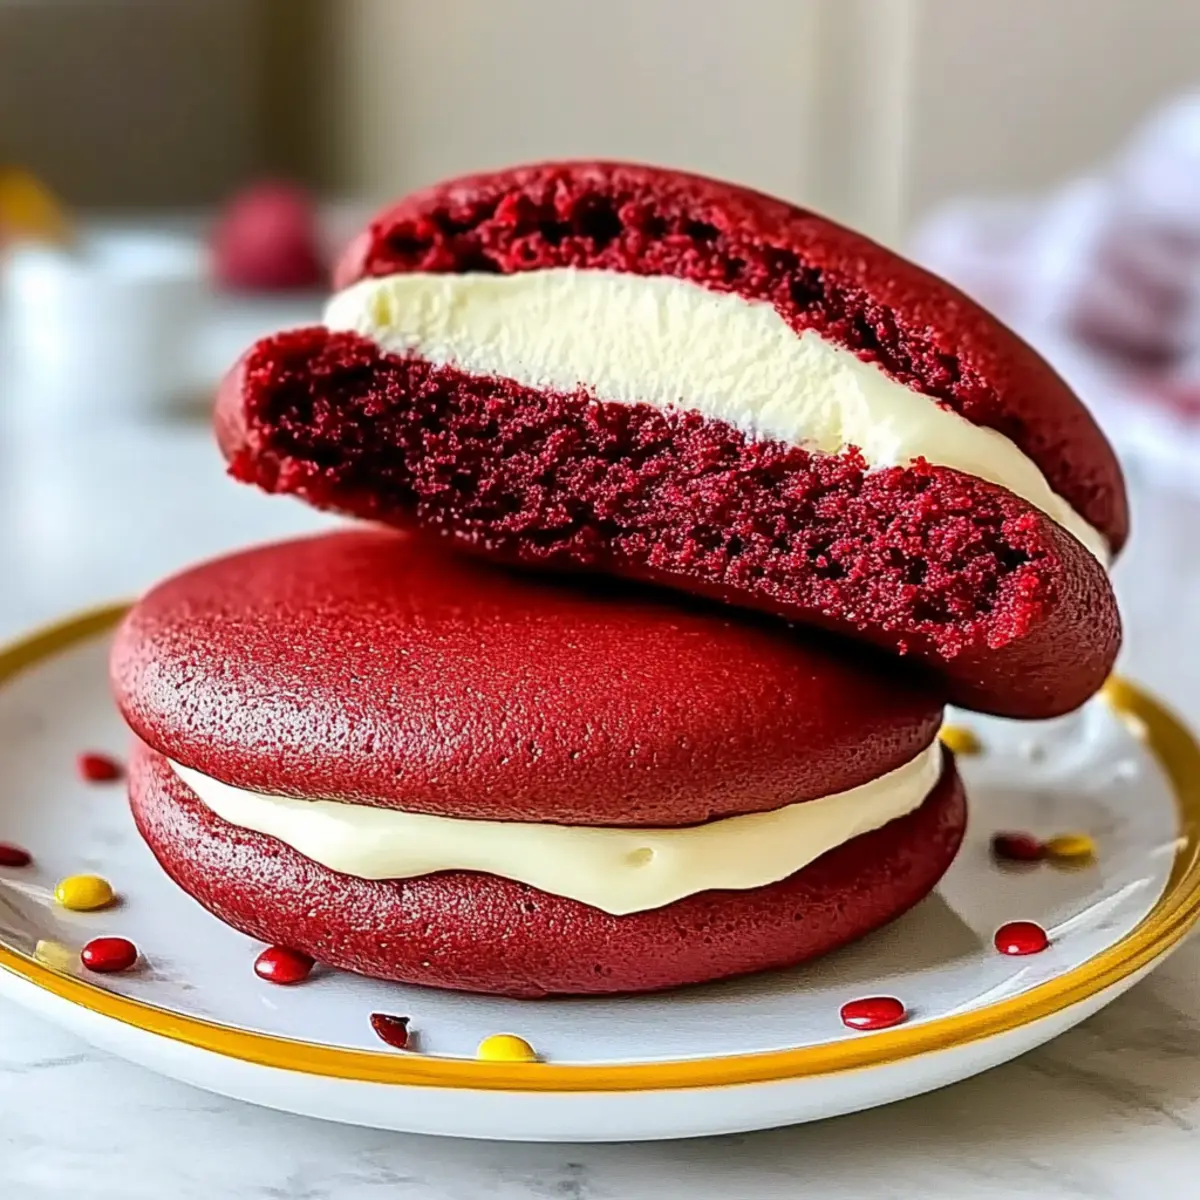
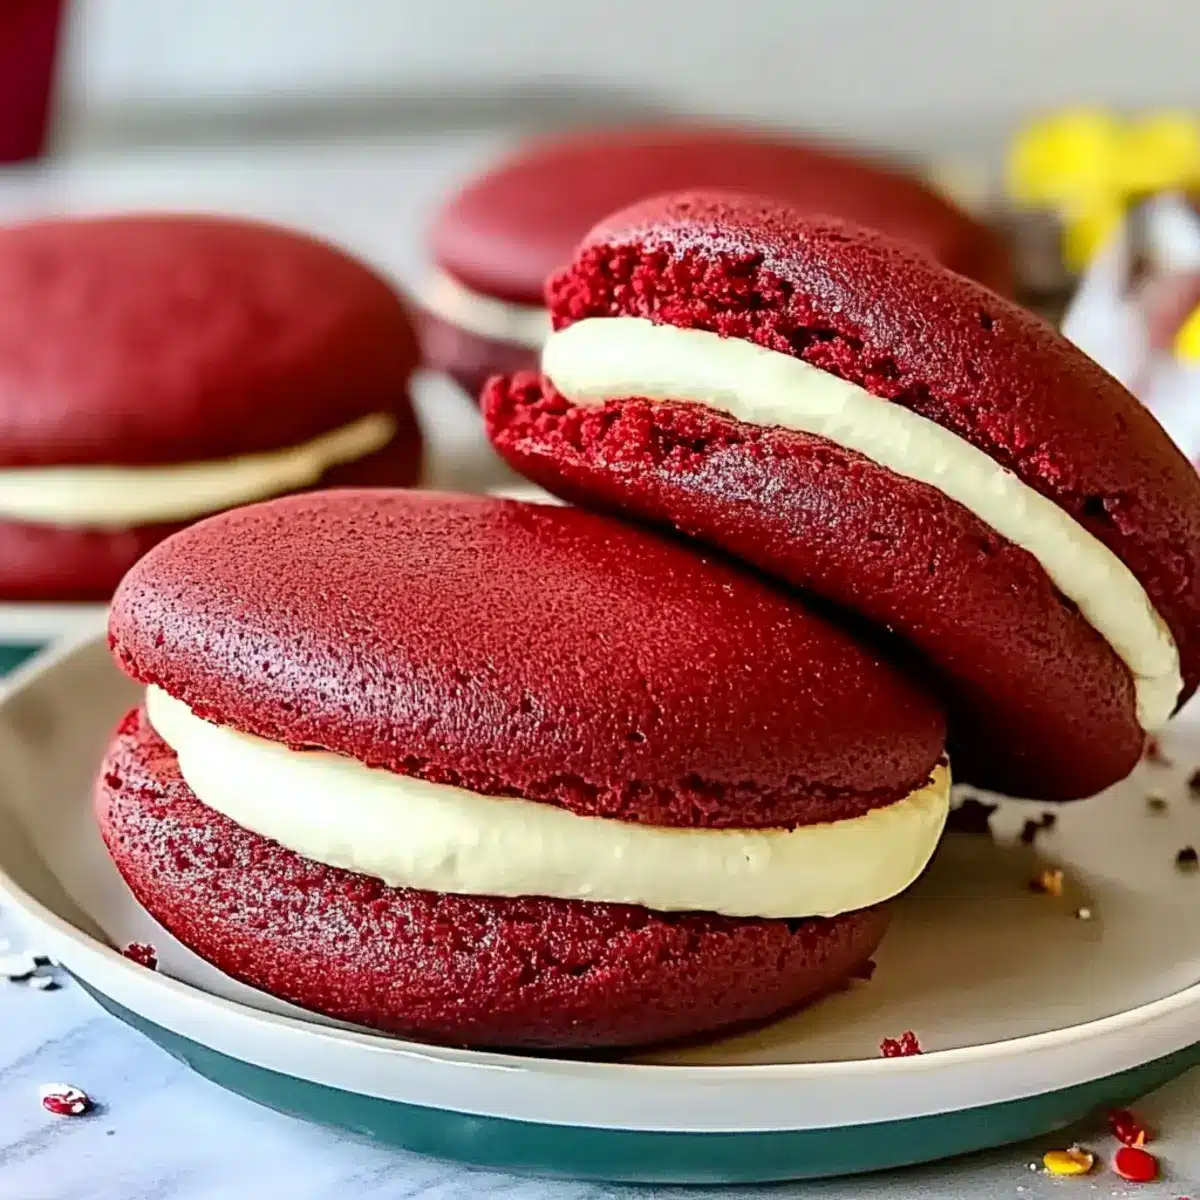
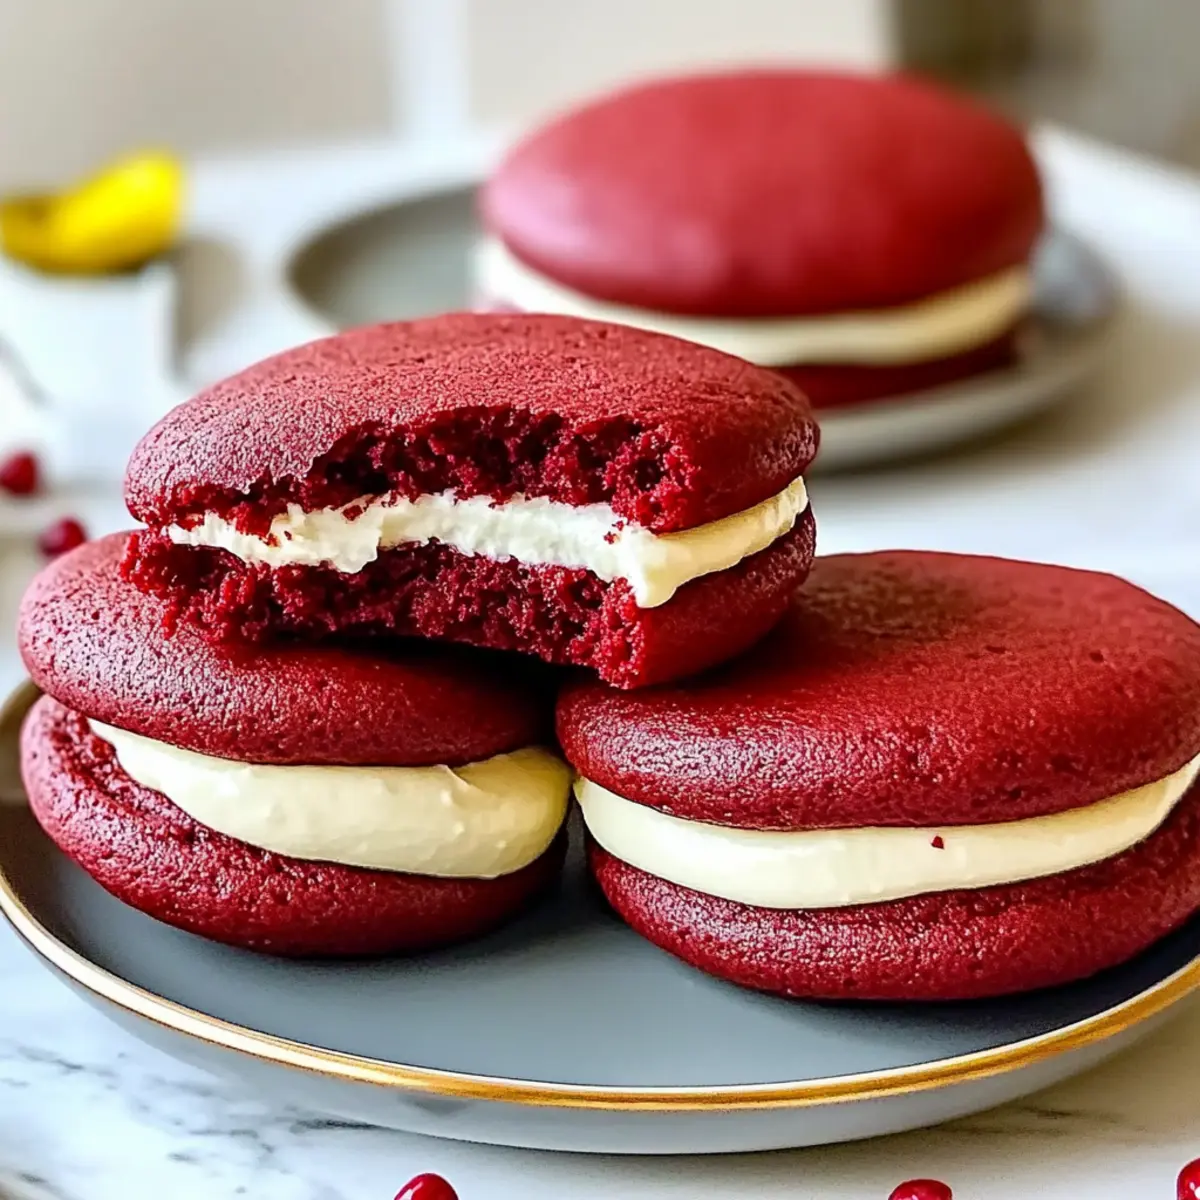
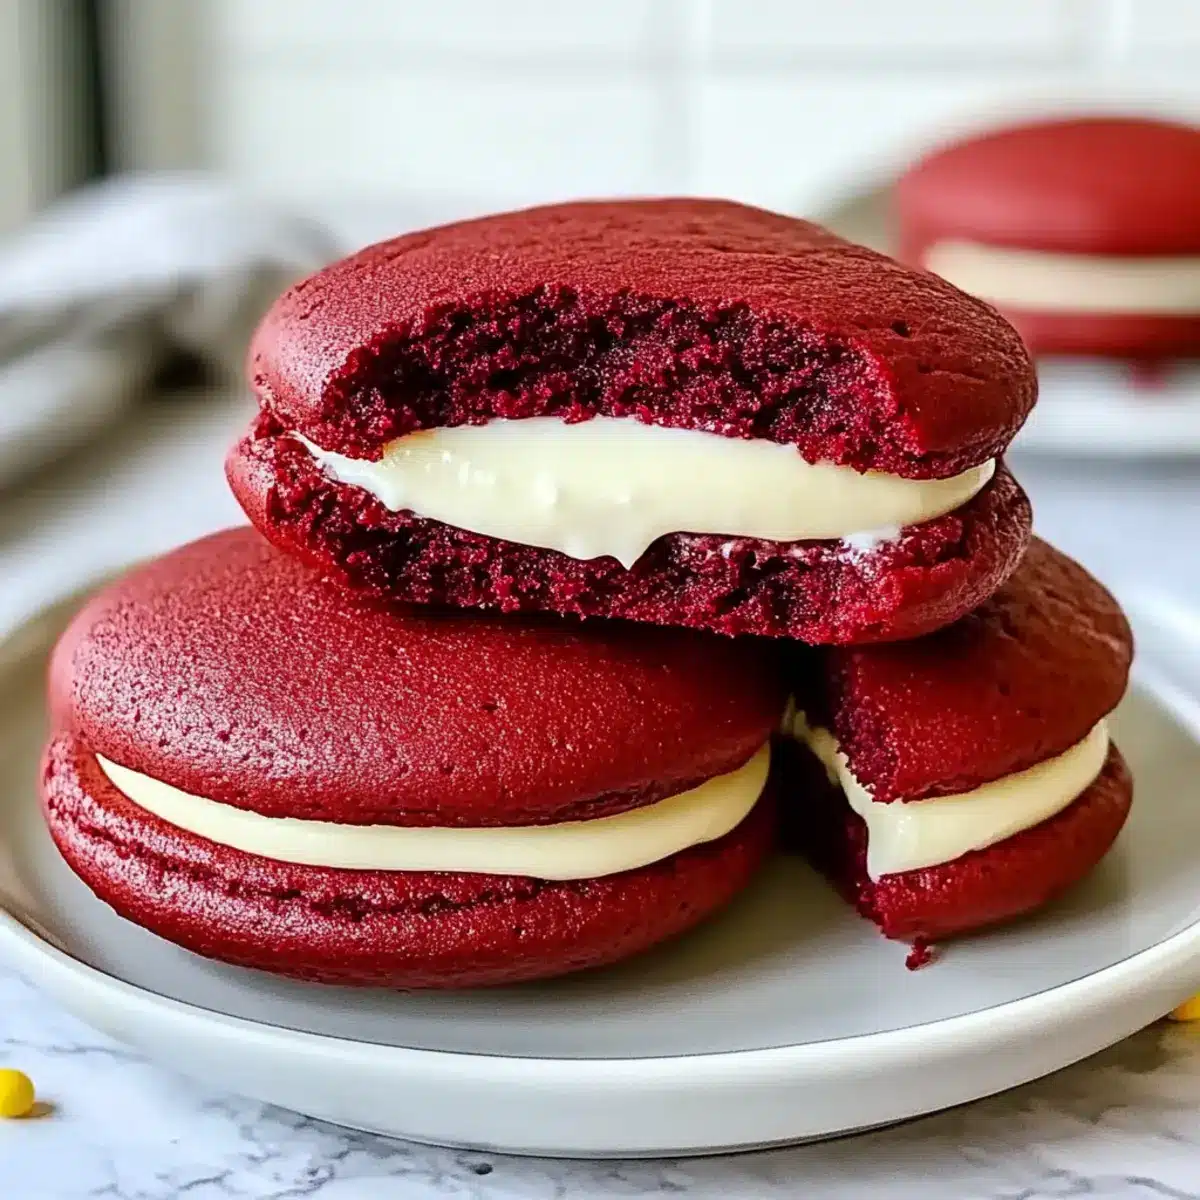
As I stood in the kitchen, the rich aroma of baking wafted through the air, teleporting me back to childhood celebrations filled with laughter and joy. There’s something undeniably magical about Red Velvet Whoopie Pies—soft, pillowy cakes cradling a luscious cream cheese filling that always seems to elicit smiles. These delightful desserts are not just a treat; they’re a perfect blend of nostalgia and indulgence, making them crowd-pleasers at any gathering. With quick prep and a fun twist on classic flavors, they promise to transform your dessert game. Whether you’re surprising loved ones or simply treating yourself, these whoopie pies are destined to steal the spotlight. Ready to embrace a little sweetness in your kitchen?
Why are Red Velvet Whoopie Pies a Must-Try?
Irresistible sweetness awaits: These Red Velvet Whoopie Pies are a true indulgence, featuring soft, velvety cakes that complement their rich cream cheese filling perfectly. Quick and easy to whip up, they’re a fantastic way to impress at gatherings without spending all day in the kitchen. Versatile too, you can elevate flavors by adding chocolate chips or festive sprinkles. And with the magical nostalgia they evoke, they’re sure to become a family favorite, much like my famous Lemon Impossible Pies. Treat yourself and your loved ones to a delightful dessert experience that’s as fun to make as it is to eat!
Red Velvet Whoopie Pies Ingredients
• To create these delightful treats, gather the following ingredients!
For the Cakes
- Cake Flour – Provides light texture and structure; substitute with all-purpose flour for a denser cake.
- Cocoa Powder – Adds a subtle chocolate flavor; ensure it’s unsweetened for the right taste.
- Granulated Sugar – Sweetens the batter; can be swapped with brown sugar for a deeper flavor.
- Baking Powder – Helps the whoopie pies rise; ensure it’s fresh for the best results.
- Baking Soda – Works with the acidic components for leavening.
- Salt – Balances sweetness and enhances flavor.
- Oil – Adds moisture to the cakes; substitute with melted butter if desired.
- Buttermilk – Contributes moisture and tanginess; use milk with vinegar as a substitute.
- Eggs – Provide structure; ensure they are at room temperature for better incorporation.
- Red Food Coloring – Provides the signature red hue; adjust amount to preference for vibrancy.
For the Cream Cheese Filling
- Cream Cheese – Forms the base of the filling; can be substituted with mascarpone for a different flavor.
- Powdered Sugar – Sweetens the filling; adjust according to taste preference.
- Vanilla Extract – Enhances the flavor profile; use almond extract for a twist.
With this selection of ingredients, you’re all set to make the most delightful Red Velvet Whoopie Pies! Enjoy the process and the sweet memories created along the way.
Step‑by‑Step Instructions for Red Velvet Whoopie Pies
Step 1: Preheat the Oven
Begin by preheating your oven to 350°F (175°C). This ensures that it’s hot enough to provide an even bake for your delightful Red Velvet Whoopie Pies. As the oven heats up, gather your baking sheets and line them with parchment paper, readying them for the batter.
Step 2: Mix the Dry Ingredients
In a large mixing bowl, whisk together the cake flour, cocoa powder, baking powder, baking soda, and salt until well combined. This blend of dry ingredients will contribute to the light and airy texture of the cakes. Look for an even mixture with no clumps before moving on to the next step.
Step 3: Prepare the Wet Ingredients
In a separate bowl, combine the oil, granulated sugar, and eggs. Using a hand mixer or whisk, beat the mixture until it becomes creamy and slightly thickened, which should take about 2-3 minutes. This creamy base will create the moist environment essential for your Red Velvet Whoopie Pies.
Step 4: Combine Wet and Dry Ingredients
Gradually add the dry mixture to the wet ingredients, alternating with the buttermilk. Start with a third of the dry mix, then half of the buttermilk, continuing this pattern until everything is combined. As you mix gently, be sure to add red food coloring until you reach your desired hue, creating that iconic red color.
Step 5: Scoop the Batter
Using a tablespoon or cookie scoop, drop rounded amounts of batter onto the prepared baking sheets, leaving at least 2 inches of space between each scoop. Ensure that the batter is evenly distributed for consistent baking. This spacing allows the Red Velvet Whoopie Pies to rise without merging together.
Step 6: Bake the Cakes
Place the baking sheets in the preheated oven and bake for 10-12 minutes. The cakes are done when they spring back gently when touched and have a soft, cake-like exterior. Keep an eye on them to avoid overbaking, as you want a delicate texture.
Step 7: Cool on a Wire Rack
Once baked, remove the whoopie pie cakes from the oven and let them cool on the baking sheets for about 5 minutes. Then, transfer them to a wire rack to cool completely. This step is crucial to prevent the filling from melting when you assemble your delightful treats.
Step 8: Make the Cream Cheese Filling
While your cakes cool, prepare the cream cheese filling. In a mixing bowl, beat together the cream cheese, powdered sugar, and vanilla extract until smooth and fluffy, about 2-3 minutes. This luscious filling will be the delicious centerpiece of your Red Velvet Whoopie Pies.
Step 9: Assemble the Whoopie Pies
To assemble, take one cooled cake and spread a generous amount of the cream cheese filling on its flat side. Top it with another cake, flattening it slightly to create a sandwich. Repeat this process until all cakes are filled, creating a delightful stack of your homemade whoopie pies ready for enjoyment!
How to Store and Freeze Red Velvet Whoopie Pies
Room Temperature: Store these delightful treats in an airtight container at room temperature for up to 2 days, keeping them soft and fresh.
Fridge: If you prefer, you can keep them in the fridge for up to a week. Just ensure they’re in a sealed container to maintain their moist texture.
Freezer: For longer storage, freeze the assembled whoopie pies in layers separated by parchment paper in an airtight container for up to 3 months. Thaw them in the fridge or at room temperature before serving.
Reheating: To enjoy them warm, gently reheat in the microwave for a few seconds. Be careful not to overheat, as this can melt the cream cheese filling.
Make Ahead Options
These Red Velvet Whoopie Pies are perfect for busy weeknights and can be prepped in advance to save you time! You can prepare the cake portions up to 24 hours ahead; simply store them in an airtight container at room temperature after cooling. The cream cheese filling can also be made up to 3 days in advance and refrigerated; just remember to bring it to room temperature and re-whip it before assembling to ensure a smooth texture. When you’re ready to serve, assemble the whoopie pies by spreading the filling between two cakes. This way, you’ll have delicious, freshly filled treats without the last-minute rush—just as delightful as when you first made them!
Expert Tips for Red Velvet Whoopie Pies
-
Room Temperature Ingredients: Ensure your eggs, buttermilk, and cream cheese are at room temperature for smoother mixing and better texture in the Red Velvet Whoopie Pies.
-
Check Freshness: Always check that your baking powder and baking soda are fresh. Expired leavening agents can lead to dense cakes that don’t rise properly.
-
Don’t Overmix: When combining wet and dry ingredients, mix just until incorporated. Overmixing can lead to tough cakes instead of the soft, tender texture you want.
-
Cooling Time: Allow the cakes to cool completely on a wire rack before adding the cream cheese filling. This prevents melting and maintains the integrity of your delicious whoopie pies.
-
Even Sizing: Use a cookie scoop for uniform cake sizes. This helps ensure even baking and creates a polished look for your Red Velvet Whoopie Pies.
Red Velvet Whoopie Pies Variations
Don’t be afraid to personalize these delightful treats and make them uniquely yours!
-
Gluten-Free: Substitute gluten-free flour to enjoy these delightful whoopie pies without gluten. The flavor remains intact, ensuring everyone’s included in the sweet festivities.
-
Chocolate Lovers: Add chocolate chips to the cream cheese filling for an extra layer of indulgence. The interplay of chocolate and cream cheese will have everyone coming back for seconds!
-
Festive Sprinkles: Elevate your whoopie pies by adding colorful sprinkles to the outer edges of the cream cheese filling. This little touch adds a festive flair, perfect for celebrations.
-
Nutty Twist: Mix in finely chopped nuts, such as pecans or walnuts, into the cake batter for added texture and richness. This not only enhances the flavor but also gives a delightful crunch.
-
Spiced Up: Incorporate a sprinkle of cinnamon or nutmeg into the cream cheese filling for a warm, spiced version that’s perfect for cooler months. The aroma alone will warm your heart!
-
Tropical Vibe: Replace the cream cheese with coconut cream for a tropical twist that dances on your palate. It’s a delicious way to take your whoopie pies on a mini-vacation!
For more tantalizing dessert recipes, check out my delicious Thai Coconut Red Lentil Soup or consider making Cod Roasted Red for dinner followed by these sweet treats! Each suggestion enhances your culinary journey, turning every meal into an extraordinary experience.
What to Serve with Red Velvet Whoopie Pies
As your Red Velvet Whoopie Pies bake, imagine creating an inviting spread that will delight guests and family alike.
-
Rich Coffee: A warm cup of coffee beautifully balances the sweetness of whoopie pies, elevating the dessert experience to cozy comfort.
-
Cold Milk: The classic pairing of chilled milk with these dessert delights soothes the palate and amplifies the joy of each bite.
-
Vanilla Ice Cream: Creamy vanilla ice cream adds an indulgent creaminess, perfect for contrasting the rich filling and enhancing the overall enjoyment.
-
Fresh Berries: A side of strawberries or raspberries brings a burst of freshness, cutting through the sweetness while adding a splash of color to your platter.
-
Chocolate Sauce Drizzle: Serve with a drizzle of chocolate sauce to enhance the rich cocoa flavor, making every bite even more decadent.
-
Sparkling Water: For a festive touch, pair the whoopie pies with sparkling water infused with citrus. The effervescence refreshes and complements the flavors beautifully.
-
Cream Cheese Frosting Dip: Consider a small bowl of cream cheese frosting for dipping the whoopie pies; it’s a fun and decadent twist everyone will adore.
-
Chocolate-Covered Strawberries: These elegant treats add a chocolatey flair that pairs wonderfully with the chocolate and cream cheese elements of the whoopie pies.
-
Coconut Macaroons: The chewy texture and sweetness of coconut macaroons create a lovely contrast to the soft, velvety whoopie pies, making every bite a new experience.
Red Velvet Whoopie Pies Recipe FAQs
How do I select ripe ingredients for Red Velvet Whoopie Pies?
Absolutely! For your ingredients, select ripe eggs at room temperature, as they incorporate better into the batter. Ensure your buttermilk is fresh and has not expired. For cocoa powder, look for unsweetened types, and when selecting oil, go for a light, neutral oil to maintain the cake’s flavor integrity.
How should I store my Red Velvet Whoopie Pies?
You can store these delightful treats in an airtight container at room temperature for up to 2 days to keep them soft. If you’d like to extend their life, place them in the refrigerator, where they can last for up to a week. Just make sure to seal them well for maximum freshness!
Can I freeze Red Velvet Whoopie Pies? If so, how?
Yes, you can! To freeze, first, wrap each assembled whoopie pie in plastic wrap individually and then place them in an airtight container. They will maintain their deliciousness for up to 3 months. When you’re ready to enjoy them, simply thaw them in the fridge or at room temperature, and they’re good to go!
What should I do if my cakes turn out too dense?
Very much! If your whoopie pies turn dense, it might be due to overmixing the batter or using expired leavening agents. To remedy this, ensure your baking powder and baking soda are fresh and mix gently until just combined. Also, try to keep an eye on the baking time—overbaking can also lead to a drier texture.
Are there any dietary considerations for making Red Velvet Whoopie Pies?
Absolutely! These whoopie pies contain gluten and dairy, so if you’re making them for someone with allergies, consider using gluten-free flour and dairy-free cream cheese alternatives. There are many great options available that can still deliver a delicious flavor without compromising on taste.
Irresistible Red Velvet Whoopie Pies for Sweet Celebrations
Ingredients
Equipment
Method
- Preheat your oven to 350°F (175°C) and line baking sheets with parchment paper.
- Whisk together the cake flour, cocoa powder, baking powder, baking soda, and salt in a large mixing bowl until well combined.
- In a separate bowl, combine the oil, granulated sugar, and eggs; beat until creamy and slightly thickened, about 2-3 minutes.
- Gradually add the dry mixture to the wet ingredients, alternating with the buttermilk. Add red food coloring to reach desired hue.
- Scoop rounded amounts of batter onto prepared baking sheets, leaving at least 2 inches between each scoop.
- Bake for 10-12 minutes until the cakes spring back gently when touched.
- Cool the cakes on the baking sheets for 5 minutes, then transfer to a wire rack to cool completely.
- Prepare the cream cheese filling by beating together cream cheese, powdered sugar, and vanilla extract until smooth and fluffy, about 2-3 minutes.
- Spread a generous amount of cream cheese filling on the flat side of one cake, top with another cake to create a sandwich. Repeat until all cakes are filled.
Leave a Reply