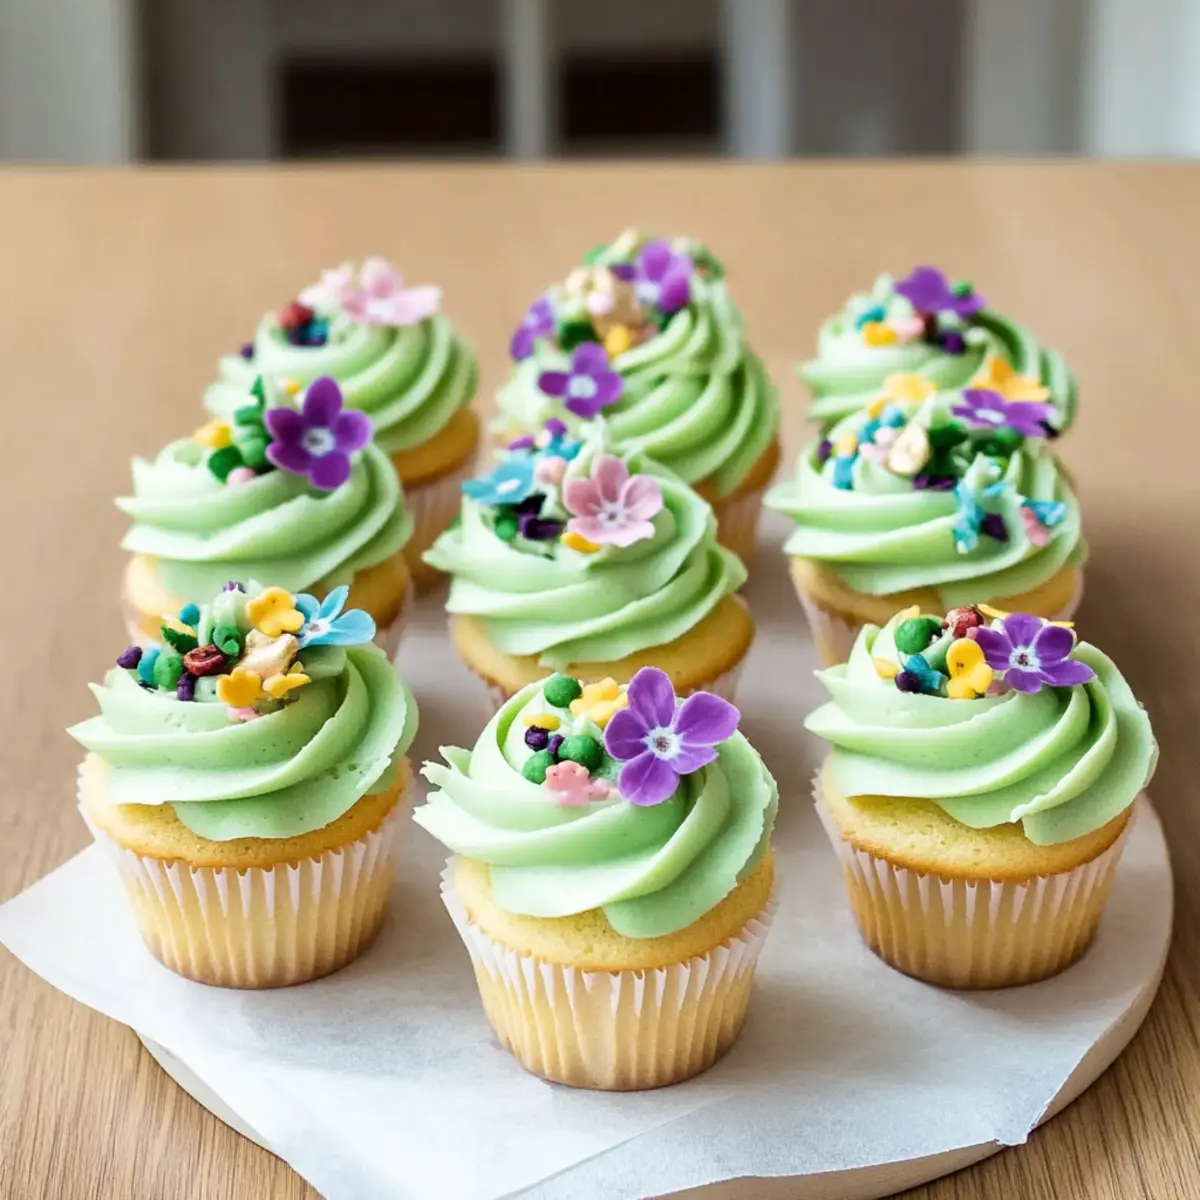
As I took my first step into the world of spring baking, I stumbled upon a treasure that transformed my gatherings: Springtime Cupcakes. These light and fluffy delights are more than just a sweet treat; they capture the essence of the season in every bite. With the perfect balance of airy texture and delicate sweetness, they’re versatile enough to fit any occasion, from vibrant spring parties to cozy afternoons at home. The best part? They’re quick to whip up and can be decorated in an array of colorful, seasonal themes, making them a hit with family and friends alike. Who wouldn’t want to share these charming creations? Ready to dive into the magic of creating your own Springtime Cupcakes? Let’s get started!
What makes these cupcakes a must-try?
Lightness and Fluffiness: Each bite of these Springtime Cupcakes feels like a cloud, perfectly embodying the season’s brightness.
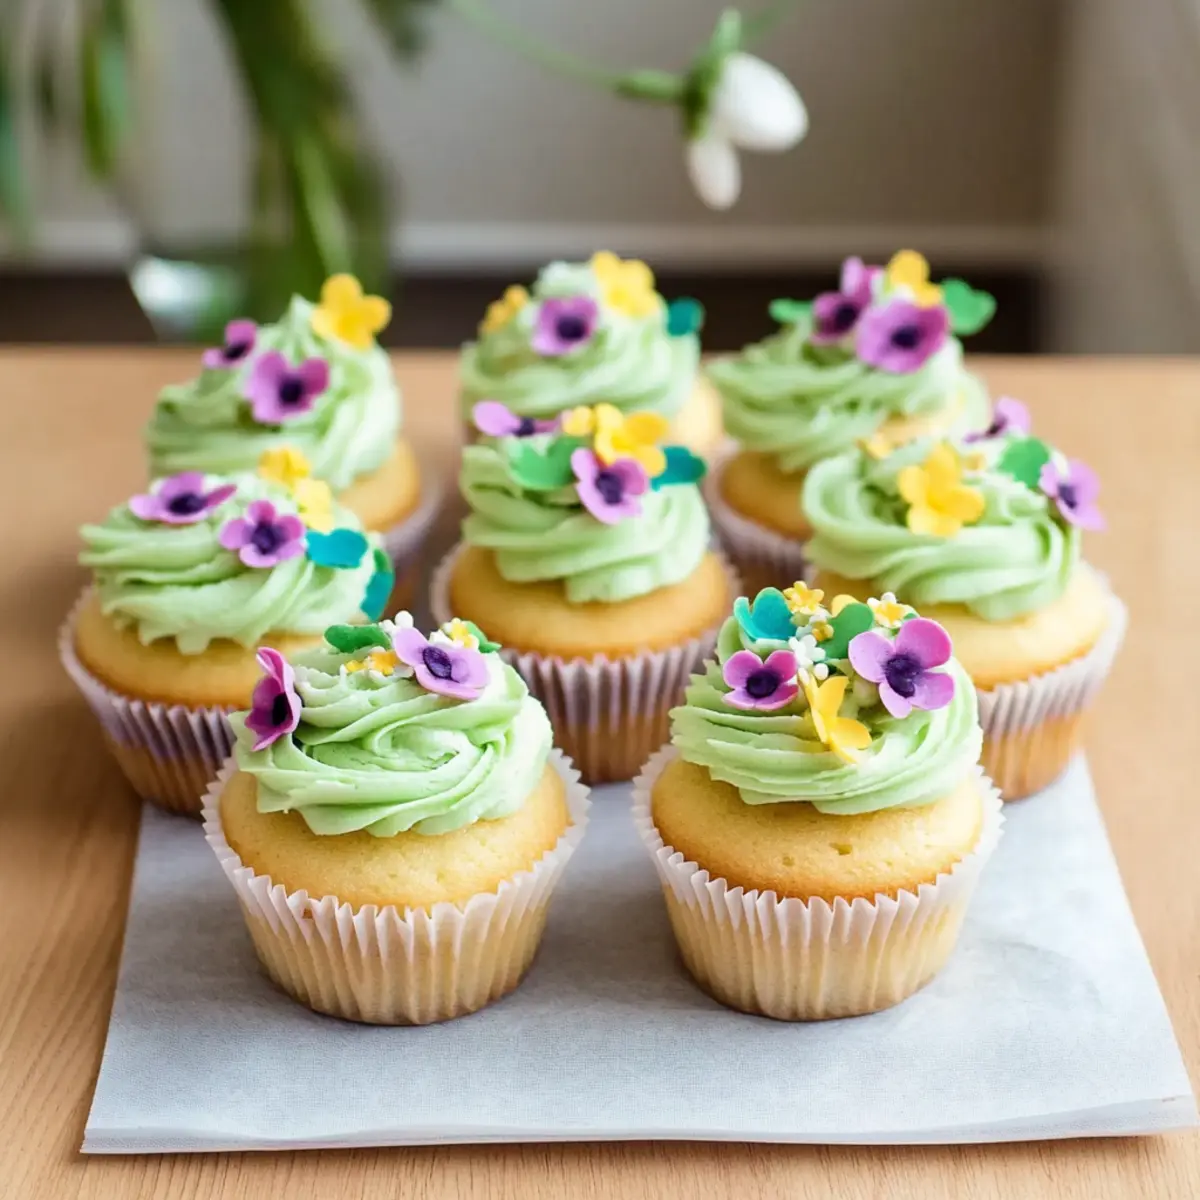
Versatile Decor: Let your imagination run wild with decorations! From fresh edible flowers to colorful sprinkles, you can craft unique treats for any occasion.
Quick and Easy: Ready in less than an hour, these cupcakes are perfect for spontaneous gatherings.
Crowd-Pleaser: Their delightful taste and lovely presentation will wow your family and friends, ensuring they’re the star of your next event.
Seasonal Ingredients: Celebrate spring with fresh flavors like lemon or almond, reflecting the essence of the season in every cupcake.
For even more scrumptious ideas, check out my delightful Cotton Cheesecake Cupcakes!
Springtime Cupcake Ingredients
• Dive into the delightful world of Springtime Cupcakes with these essential ingredients!
For the Batter
- All-Purpose Flour – Provides structure and body to the cupcakes; can substitute with gluten-free flour blend for a gluten-free option.
- Baking Powder – A leavening agent that helps the cupcakes rise; ensure it’s fresh for the best results.
- Salt – Enhances the overall flavor and sweetness of the cupcakes.
- Unsalted Butter – Adds richness and moisture; room temperature butter is preferred for even mixing.
- Granulated Sugar – Provides sweetness and contributes to the cupcake’s tender texture.
- Large Eggs – Binds the ingredients and adds moisture; use at room temperature for better emulsification.
- Vanilla Extract – Adds depth of flavor; can substitute with almond extract for a different twist.
- Milk – Keeps the batter moist; dairy-free options like almond or oat milk can be used.
- Green Food Coloring (optional) – Enhances visual appeal to reflect spring themes.
For Decoration
- Your Favorite Frosting – Decorates and adds sweetness; consider cream cheese or buttercream frosting.
- Spring-themed Decorations – Such as colorful sprinkles or edible flowers, to make the cupcakes visually appealing.
Step‑by‑Step Instructions for Springtime Cupcakes
Step 1: Preheat and Prepare
Begin your delightful journey to making Springtime Cupcakes by preheating the oven to 350°F (175°C). While the oven warms up, line a muffin tin with colorful cupcake liners to prepare for the fluffy batter. This step not only sets the stage for baking but also adds a cheerful touch to your spring-themed treats.
Step 2: Whisk the Dry Ingredients
In a medium bowl, whisk together 2 cups of all-purpose flour, 2 teaspoons of baking powder, and 1/2 teaspoon of salt. This mixture is essential for creating the perfect texture in your Springtime Cupcakes. Make sure to break up any lumps in the flour as you whisk, which will ensure an even rise and lightness in every bite.
Step 3: Cream the Butter and Sugar
In a large mixing bowl, cream together 1/2 cup of softened unsalted butter and 1 cup of granulated sugar until the mixture is light and fluffy, about 3-5 minutes. This is a critical step for incorporating air into the batter, which helps create that delightful lightness in your cupcakes. Use a hand mixer or stand mixer for the best results, and don’t forget to scrape the sides as you blend!
Step 4: Incorporate the Eggs and Vanilla
Add 3 large eggs, one at a time, to the creamed butter and sugar, beating well after each addition. Follow this by mixing in 1 teaspoon of vanilla extract. The eggs not only bind the ingredients together but also contribute to the cupcakes’ moistness. At this point, your batter will start to take on a rich texture and aroma.
Step 5: Combine the Dry Ingredients and Milk
Gradually add the dry ingredient mixture to the wet ingredients, alternating with 1/2 cup of milk. Start with one-third of the dry mix, followed by half of the milk, stirring gently until just combined. Repeat this process but avoid overmixing, which can lead to dense cupcakes. The batter should be smooth and slightly thick.
Step 6: Add Color for Fun
If you choose to embrace the spring theme actively, add a few drops of green food coloring to the batter. Mix until the color is evenly distributed, giving your Springtime Cupcakes a vibrant and festive feel. This step is optional but adds a picturesque charm to your delightful creation!
Step 7: Fill and Bake
Carefully spoon the batter into the prepared cupcake liners, filling them about two-thirds full. Place the muffin tin in the preheated oven and bake for 18-20 minutes. The cupcakes are done when they spring back lightly when touched and a toothpick inserted into the center comes out clean. Baking can vary, so keep an eye on them as they approach the 18-minute mark.
Step 8: Cool the Cupcakes
Once baked, remove the tin from the oven and let the cupcakes cool for about 5 minutes in the tin. Then, gently transfer them to a wire rack to cool completely. This is crucial for maintaining their fluffy texture; rushing this step can lead to soggy bottoms!
Step 9: Frost and Decorate
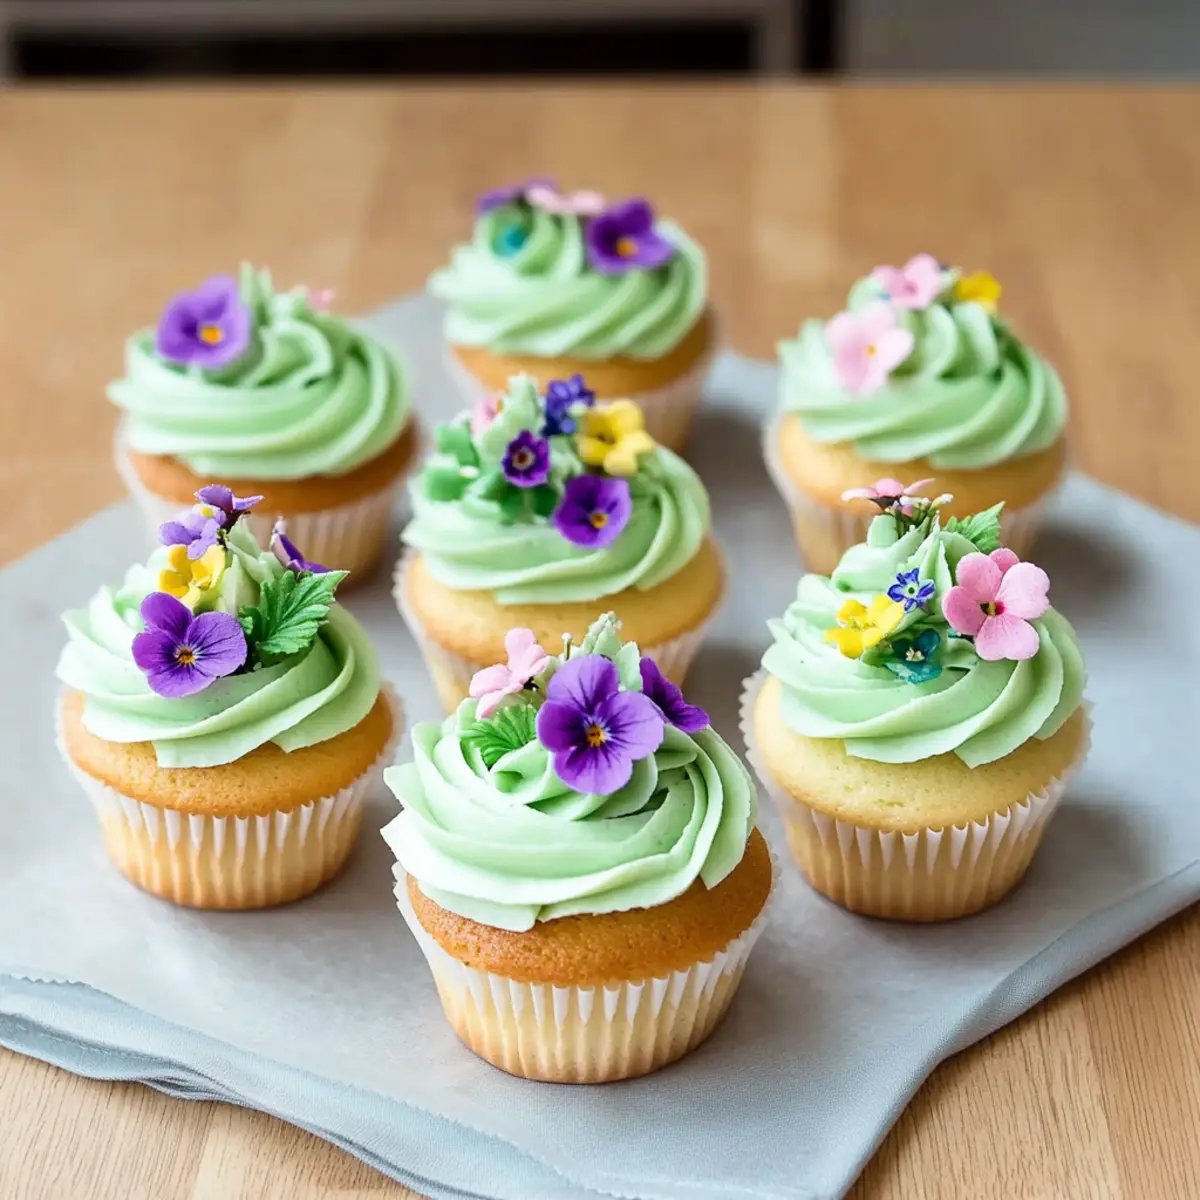
After the cupcakes are completely cool, it’s time for fun! Frost them with your favorite icing, like buttercream or cream cheese frosting, then finish with delightful spring-themed decorations. Whether you choose to sprinkle on some edible flowers or colorful sprinkles, your Springtime Cupcakes will be a delicious sight to behold!
Springtime Cupcakes Variations & Substitutions
Customize your Springtime Cupcakes to reflect your unique taste and creativity with these delightful twists and substitutions!
- Gluten-Free: Substitute all-purpose flour with a gluten-free flour blend to enjoy these cupcakes without sacrificing flavor or texture.
- Dairy-Free: Replace milk with almond milk or oat milk and use a dairy-free butter to create a cupcake that everyone can enjoy.
- Flavor Twist: Experiment with different extracts like lemon or almond instead of vanilla for a refreshing flavor change.
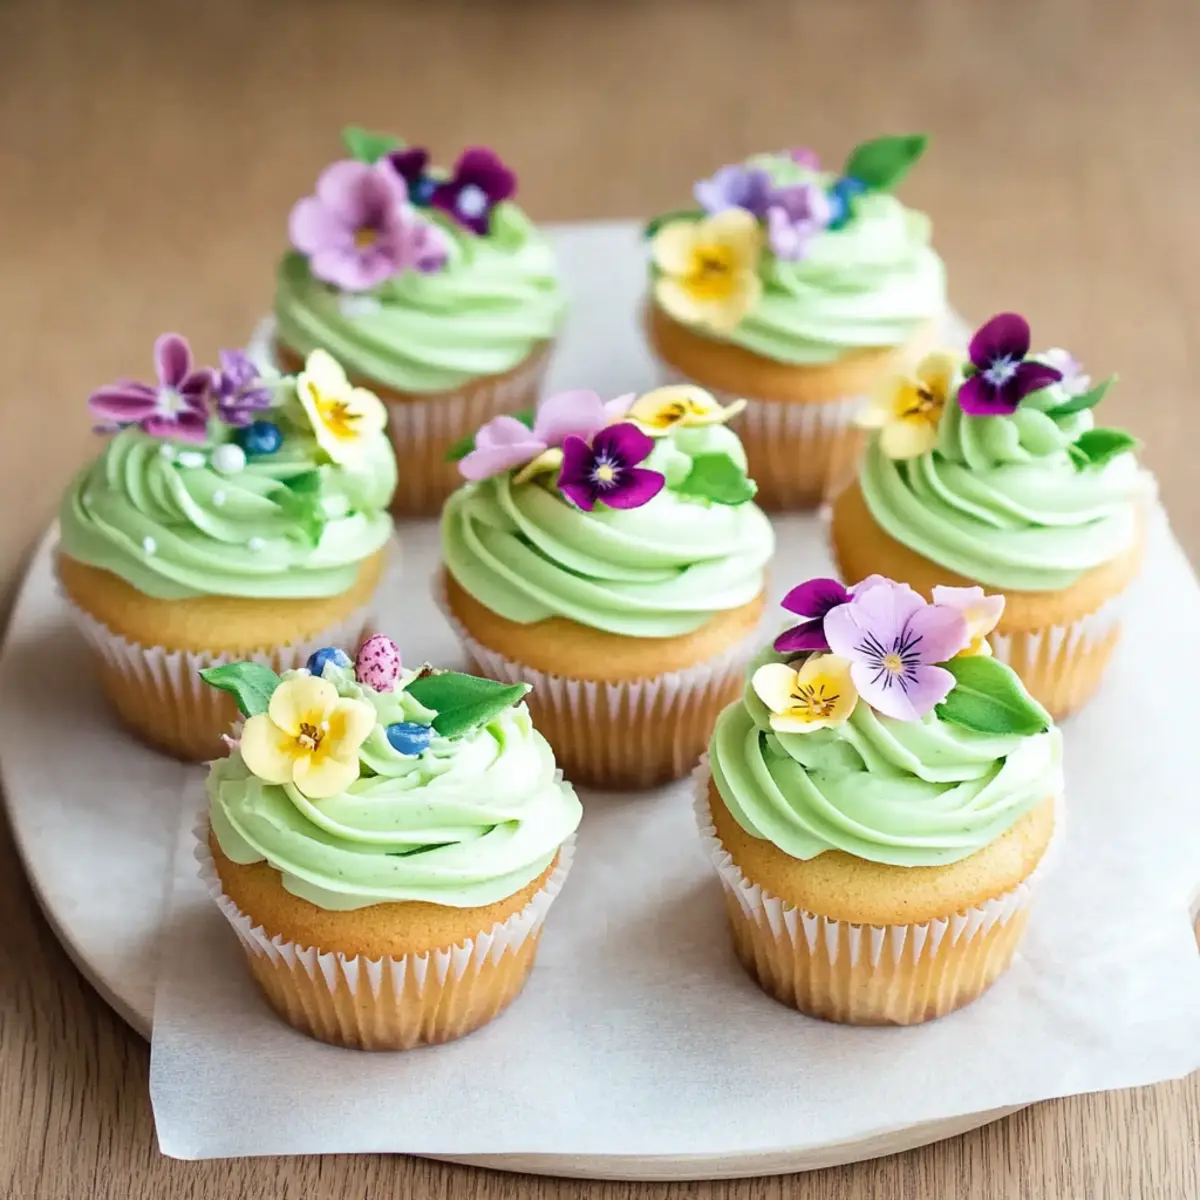
- Edible Flower Delight: Swap out regular sprinkles for edible flowers for a beautiful and natural touch that captures the essence of spring.
- Zesty Addition: Mix in citrus zest—like lemon or orange—for an extra zing that will awaken your taste buds.
- Chocolate Lovers: Fold in mini chocolate chips for a rich surprise in every bite, appealing to the chocolate enthusiast in your life.
- Frosting Fun: Try whipping up a light cream cheese frosting or a citrus-infused frosting for a delightful twist on traditional flavors. The tanginess complements the sweetness beautifully!
- Spicy Kick: For those who like it hot, a hint of cayenne or chili powder in the batter will offer a surprising yet exciting flavor profile!
For more inspiration, don’t forget to try my scrumptious Cotton Cheesecake Cupcakes as a delightful alternative or treat!
What to Serve with Springtime Cupcakes
Pair these delightful little treats with a variety of dishes and drinks for a festive celebration brimming with flavor and charm.
-
Lemonade Stand Punch: A refreshing blend of lemonade and sparkling water adds a bubbly touch, balancing the sweetness of the cupcakes perfectly. Its vibrant color also enhances the festive feel of your gathering.
-
Fruit Salad Medley: A colorful assortment of fresh seasonal fruits like strawberries, kiwi, and berries brings a light, fruity contrast to the cupcakes. The natural sweetness and juicy textures elevate the overall experience.
-
Mini Quiches: These savory gems, filled with fresh vegetables and cheese, create a beautiful flavor balance with the sweet Springtime Cupcakes. Their rich texture offers a satisfying counterpoint to the fluffy dessert.
-
Herbed Scones: Soft, buttery scones infused with fresh herbs make for a lovely addition to your spring spread. The savory notes pair beautifully with the sweetness of the cupcakes, creating a delightful bite.
-
Lavender Iced Tea: Served chilled, this aromatic beverage complements the floral notes in cupcakes decorated with edible flowers. It’s a soothing sipper that brings the essence of spring right to your glass.
-
Chocolate Dipped Strawberries: A decadent treat to indulge in, these berries add a luxurious twist while offering a fresh and fruity option that harmonizes perfectly with your Springtime Cupcakes.
Transform your tabletop into a springtime celebration! Each pairing enhances the lightness and charm of the cupcakes, making your gathering an unforgettable experience.
Tips for the Best Springtime Cupcakes
-
Room Temperature Ingredients: Ensure all your ingredients, especially butter and eggs, are at room temperature for smoother mixing and better texture in Springtime Cupcakes.
-
Don’t Overmix: Gently combine the wet and dry ingredients to avoid developing gluten, which can lead to dense cupcakes. Remember, a few lumps are okay!
-
Check Oven Temperature: Ovens can vary, so use an oven thermometer to ensure accuracy. Starting to check for doneness at 18 minutes helps prevent overbaking.
-
Cool Properly: Allow cupcakes to cool fully on a wire rack to maintain their fluffy texture. Skipping this step can result in soggy bottoms.
-
Creative Decorations: Have fun choosing seasonal toppings—think edible flowers or pastel sprinkles! Unique decor enhances both visual appeal and the joy of presenting your Springtime Cupcakes.
Make Ahead Options
These Springtime Cupcakes are a perfect make-ahead option for busy weeknights or festive gatherings! You can prepare the cupcake batter up to 24 hours in advance by mixing all the ingredients and storing it in an airtight container in the refrigerator. This not only saves time but also helps the flavors meld beautifully. Additionally, you can bake the cupcakes and store them in an airtight container at room temperature for up to 3 days. To maintain their fluffy texture, let them cool completely before stacking. When it’s time to serve, simply frost and decorate your cupcakes with spring-themed toppings, and you’ll have delightful treats ready with minimal effort!
Storage Tips for Springtime Cupcakes
Room Temperature: Store cupcakes in an airtight container at room temperature for up to 3 days. This keeps them fresh without drying out.
Fridge: If you need to store cupcakes longer, refrigerate them in a sealed container for up to a week. Ensure they’re well-wrapped to prevent them from absorbing odors.
Freezer: Freeze cupcakes without frosting for up to 2 months. Wrap them in plastic wrap and place them in a freezer-safe bag to maintain freshness.
Reheating: To enjoy frozen cupcakes, thaw them overnight in the fridge, then let them sit at room temperature for about 30 minutes before frosting and decorating. Enjoy your Springtime Cupcakes!
Springtime Cupcakes Recipe FAQs
What ingredients should I use for perfect Springtime Cupcakes?
Absolutely! For fluffy Springtime Cupcakes, make sure to use room temperature ingredients, especially the butter and eggs, as they mix better and create a lighter texture. I recommend all-purpose flour for structure, and if you’re looking for a gluten-free alternative, opt for a gluten-free flour blend. Fresh baking powder is essential too, so ensure it’s not expired for the best rise.
How should I store my Springtime Cupcakes?
Store your cupcakes in an airtight container at room temperature for up to 3 days to keep them fresh. If you want them to last longer, you can refrigerate them for up to a week; just make sure they’re well-wrapped to avoid any odors from the fridge.
Can I freeze my Springtime Cupcakes?
Yes, you can definitely freeze your cupcakes! I suggest wrapping them tightly in plastic wrap and then placing them in a freezer-safe bag. They will stay fresh for up to 2 months. When you’re ready to enjoy them, thaw overnight in the fridge, then bring them to room temperature before frosting.
What should I do if my batter is too thick?
If you find that your batter is too thick, it’s likely due to overmixing or not enough liquid. Take a tablespoon of milk and gently fold it into the batter until you achieve a smooth consistency. Remember, a few lumps are perfectly fine; overmixing can lead to dense cupcakes!
Are these cupcakes safe for everyone to enjoy?
These Springtime Cupcakes are generally allergen-friendly, but be mindful of any specific dietary restrictions. They can be made dairy-free by using almond or oat milk, and substituting the butter with a vegan option works splendidly too. For those with gluten allergies, just use a certified gluten-free flour blend. Always check labels for potential allergens!
Springtime Cupcakes: Light & Fluffy Delights for Every Celebration
Ingredients
Equipment
Method
- Preheat the oven to 350°F (175°C) and line a muffin tin with colorful cupcake liners.
- In a medium bowl, whisk together 2 cups of all-purpose flour, 2 teaspoons of baking powder, and 1/2 teaspoon of salt.
- In a large mixing bowl, cream together 1/2 cup of softened unsalted butter and 1 cup of granulated sugar until light and fluffy.
- Add 3 large eggs one at a time, mixing well after each addition, then mix in 1 teaspoon of vanilla extract.
- Gradually add the dry ingredient mixture to the wet ingredients alternating with 1/2 cup of milk until just combined.
- Optional: Add a few drops of green food coloring and mix until evenly distributed.
- Spoon the batter into the prepared cupcake liners, filling them about two-thirds full, and bake for 18-20 minutes.
- Cool the cupcakes in the tin for 5 minutes before transferring to a wire rack to cool completely.
- Frost the cooled cupcakes and decorate with spring-themed decorations before serving.
Leave a Reply