As I stood in the kitchen, the sweet scent of melted butter and brown sugar wafted through the air, instantly transporting me back to my childhood. There’s something truly magical about classic chocolate chip cookies that brings everyone together—whether it’s the chewy center or those perfectly crisp edges, they remind us of warm, happy moments shared with loved ones. This easy recipe is a delightful go-to, capturing the essence of nostalgia while being simple enough for even the newest home baker. Best of all, these cookies can be enjoyed fresh out of the oven or stored for later, guaranteeing a treat whenever the craving strikes. Ready to indulge in some cookie magic? Let’s dive into baking!
Why Are These Cookies Irresistible?
Comforting, Familiar Taste: These classic chocolate chip cookies evoke images of home, making them the perfect treat for gatherings or a cozy night in.
Easy to Make: With just a few simple steps, you’ll have a batch of gooey cookies ready to enjoy. No complicated techniques here!
Customizable Variations: From double chocolate to oatmeal chocolate chip, you can easily adapt the recipe to suit every palate.
Crowd-Pleasing Aroma: The enticing scent wafting from your oven is enough to attract friends and family, turning any ordinary day into a sweet celebration.
Perfect for Sharing: Package them up as a gift or serve them at your next get-together. Either way, they’re sure to be a hit!
These cookies pair beautifully with a glass of milk or even alongside some warm Deliciously Crockpot Pie. Enjoy the bliss of homemade treats anytime!
Chocolate Chip Cookie Ingredients
• Here’s what you’ll need to create these delightful treats!
For the Batter
- Unsalted Butter – provides richness and moisture; ensure it’s at room temperature for even mixing.
- Granulated Sugar – adds sweetness and helps create a crisp texture; can be replaced with coconut sugar for a lower-glycemic option.
- Brown Sugar – deepens flavor and promotes chewiness; light brown offers a milder taste, while dark brown adds deeper molasses notes.
- Eggs – bind ingredients and add moisture; for a vegan version, substitute with flax eggs.
- All-Purpose Flour – creates structure for the cookies; swap with a 1:1 gluten-free flour blend for a gluten-free option.
- Baking Soda – acts as a leavening agent for that perfect cookie lift.
- Salt – enhances all the flavors; don’t skip this vital ingredient.
- Semi-Sweet Chocolate Chips – the heart of this recipe! Consider dark or milk chocolate alternatives depending on your sweetness preference.
These classic chocolate chip cookies, with the right ingredients, guarantee a warm, homemade delight cherished by everyone!
Step‑by‑Step Instructions for Decadent Butterfinger Pie with Peanut Butter Bliss
Step 1: Prepare the Crust
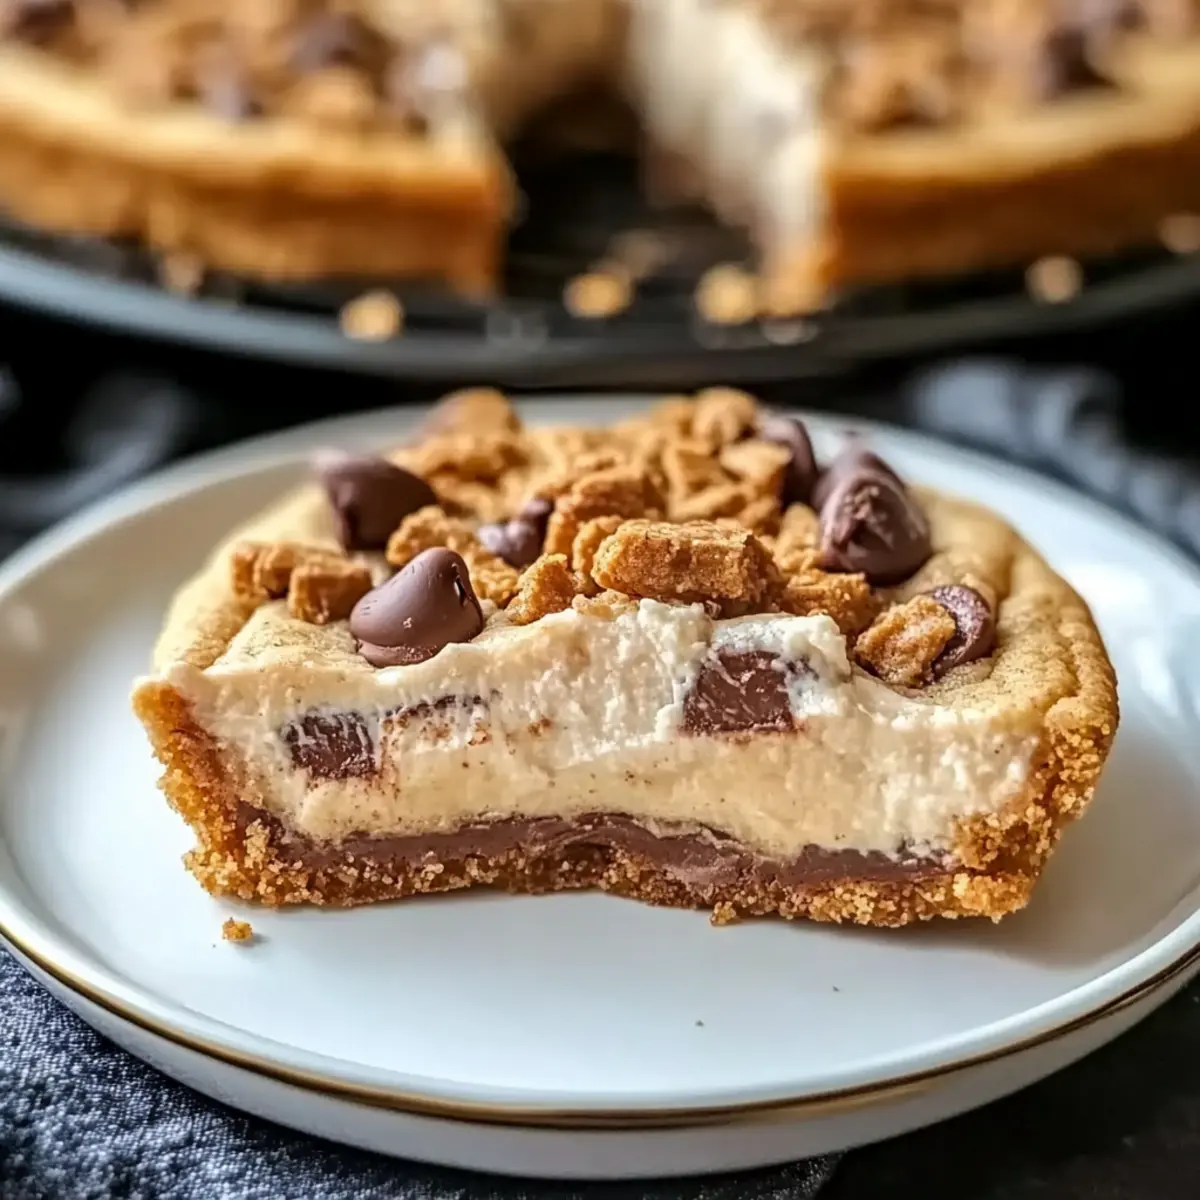
Start by preheating your oven to 350°F (175°C). In a medium bowl, combine crushed graham crackers with melted butter until evenly coated. Press this mixture firmly into the bottom of a pie pan to form an even crust. Bake in the preheated oven for 8-10 minutes until golden and fragrant. Allow the crust to cool completely before filling.
Step 2: Create the Peanut Butter Filling
In a large mixing bowl, blend together the creamy peanut butter, cream cheese, and powdered sugar until smooth and fluffy. This should take about 2-3 minutes using an electric mixer on medium speed. Once blended, fold in the whipped topping gently until fully incorporated, creating a light and fluffy filling perfect for the Butterfinger Pie.
Step 3: Assemble the Pie
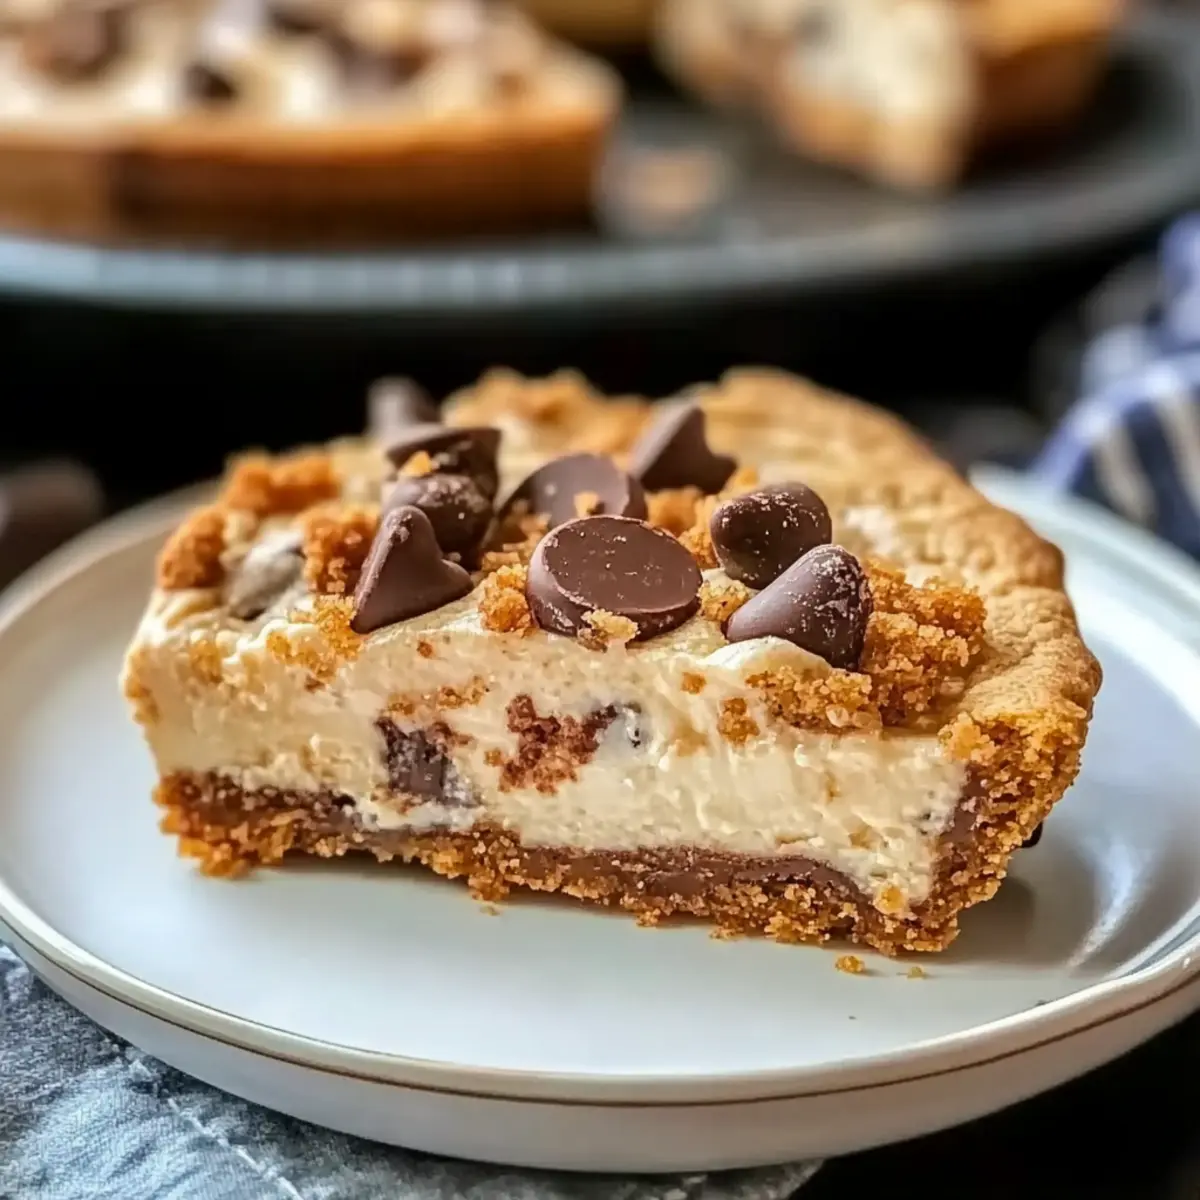
Once the crust has cooled, pour the peanut butter filling into the crust, spreading it evenly with a spatula. Make sure to push it gently into the edges for the best presentation. As you fill the crust, prepare some Butterfinger candy bars by crushing them into small pieces to sprinkle on top, adding texture and flavor to this decadent pie.
Step 4: Chill the Pie
Cover the assembled Butterfinger pie with plastic wrap and place it in the refrigerator for at least 4 hours, or overnight if possible. This chilling time allows the flavors to meld beautifully and gives the filling a chance to firm up, creating the perfect sliceable pie consistency that everyone will love.
Step 5: Garnish and Serve
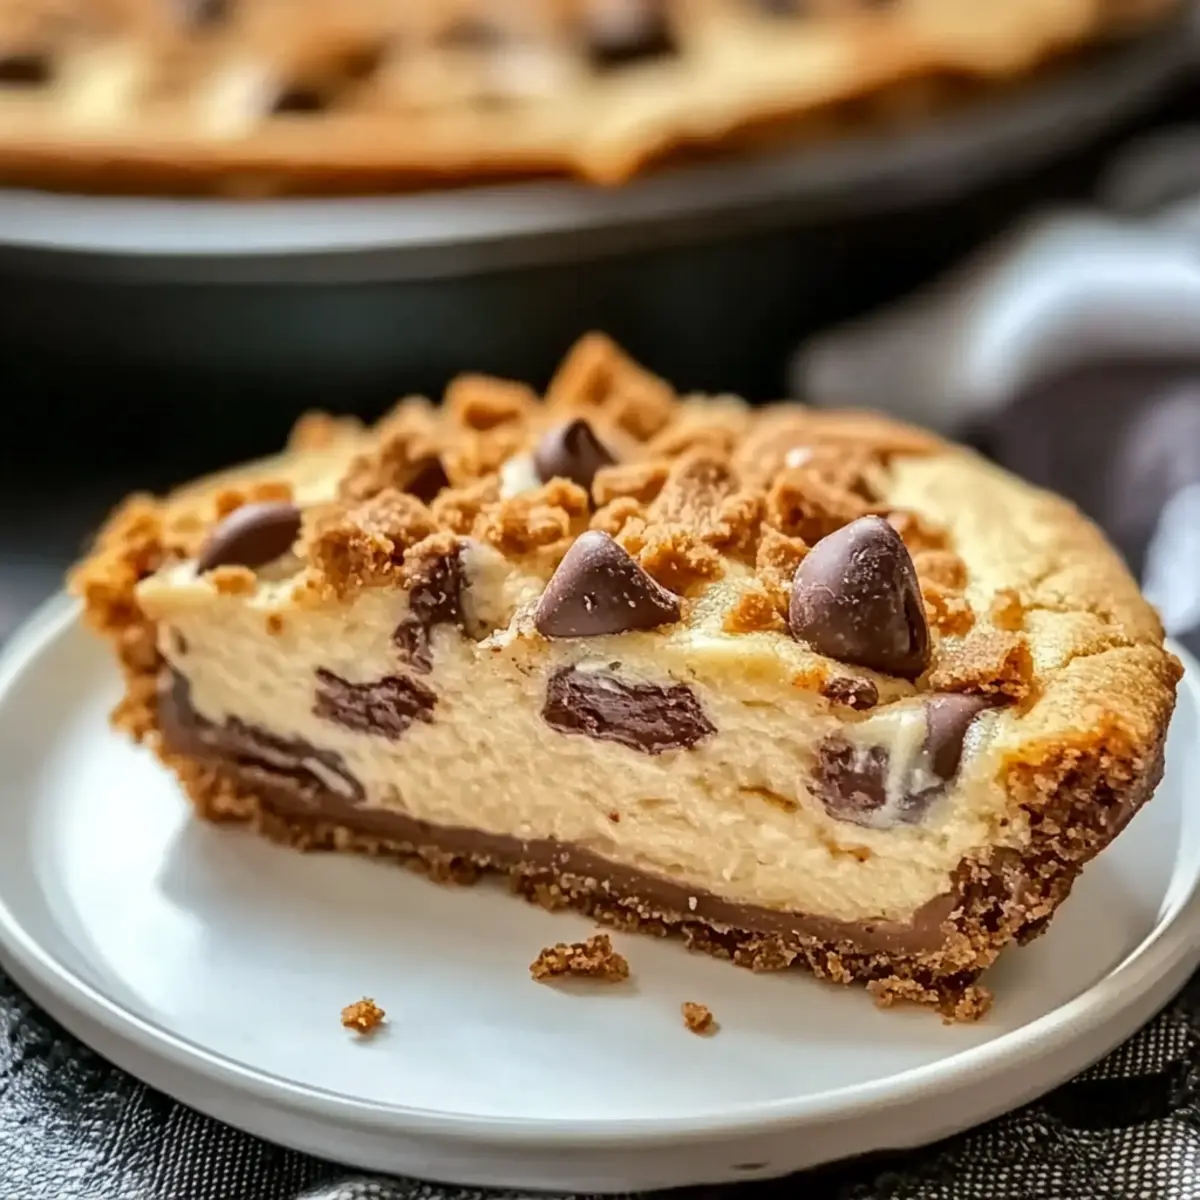
Before serving, remove the pie from the refrigerator and sprinkle a generous amount of crushed Butterfinger on top for a delightful crunch. Optionally, you can drizzle chocolate sauce or whipped cream around the edges for a stunning presentation. Slice into wedges, and watch as everyone enjoys this sweet and creamy Butterfinger Pie with Peanut Butter Bliss!
Make Ahead Options
These Classic Chocolate Chip Cookies are perfect for busy home cooks who want to enjoy warm, homemade treats without the last-minute rush! You can prepare the cookie dough up to 24 hours in advance. Simply mix all your ingredients, roll the dough into balls, and place them on a baking sheet lined with parchment paper. Cover the sheet tightly with plastic wrap and refrigerate. This method helps the flavors develop beautifully while maintaining the cookies’ delightful texture. When you’re ready to bake, just preheat your oven, place the chilled dough on a baking sheet, and bake as directed—your cookies will be just as delicious as if made fresh! Enjoy the convenience of having ready-to-bake dough on hand for any occasion!
What to Serve with Classic Chocolate Chip Cookies?
There’s nothing quite like indulging in the rich, buttery flavor of freshly baked chocolate chip cookies; let’s elevate your experience even further!
- Chilled Milk: A classic pairing, the cold milk complements the warm cookies, balancing out the sweetness while enhancing the rich flavors.
- Ice Cream Sundae: Placing a warm cookie atop a scoop of vanilla ice cream creates a delightful melting experience, perfect for a cozy dessert at home.
- Fresh Berries: The tartness of raspberries or strawberries adds a refreshing contrast to the sweet cookies, enhancing the overall palate.
- Coffee: A steaming cup of coffee will intensify the chocolatey flavors, making each bite of your cookie even more enjoyable.
- Caramel Sauce: Drizzling warm caramel over cookies introduces a rich, indulgent layer that will elevate the classic cookie experience to new heights.
- Chocolate Milkshake: Pairing your cookies with a thick chocolate milkshake turns snacks into an irresistible treat, perfect for sharing or enjoying solo!
- Peanut Butter Dip: Create a fun and interactive dessert by serving cookies with creamy peanut butter for dipping; it’s a delightful twist on the classic!
- Nutty Trail Mix: For a crunchy contrast, serve a side of trail mix with nuts and dried fruits; its texture complements the soft cookie perfectly.
- S’mores Dip: A gooey s’mores dip for dunking adds a sweet, toasty flavor profile that harmonizes beautifully with the chocolate chip goodness of the cookies.
Variations & Substitutions for Butterfinger Pie with Peanut Butter
Delight in the endless possibilities of customizing your Butterfinger Pie, where flavors can dance and textures can play!
-
Chocolate Crust: Substitute the graham cracker crust with a chocolate cookie crust for an extra layer of indulgence. Just crush your favorite chocolate cookies and blend with melted butter for a delicious twist.
-
Nut Butters: Swap out peanut butter for almond or cashew butter for a delightful nutty flavor while still keeping it creamy and delicious. Each nut brings a unique richness that elevates the pie!
-
Vegan Delight: For a vegan version, use coconut cream instead of cream cheese and a plant-based whipped topping. This will ensure you still achieve that smooth, fluffy filling without compromising on taste.
-
Extra Crunch: Mix crushed Butterfinger candies into the filling alongside the topping for an unexpected textural surprise in every bite. This makes each slice a delightful treasure trove!
-
Chocolate Drizzle: Drizzle melted chocolate over the top for an extra touch of decadence. The richness of the chocolate pairs beautifully with the peanut butter and Butterfinger for an irresistible flavor combination.
-
Layered Pie: Alternate the peanut butter filling with layers of chocolate pudding made from our Chocolate Chip Cookies recipe for a super indulgent layered treat.
-
Spiced Crunch: Add a pinch of cinnamon or a sprinkle of sea salt over the top for a subtle flavor boost that enhances the richness and ties all the elements together beautifully.
-
Fruit Topping: Fresh banana slices or strawberries can be added on top before serving for a fruity note that cuts through the creaminess, providing a refreshing contrast!
With these variations and substitutions, your Butterfinger Pie will continue to amaze and satisfy every palate at your table! Enjoy the delightful creativity in your kitchen!
Expert Tips for Chocolate Chip Cookies
- Room Temperature Butter: Ensure that the butter is at room temperature for a smooth, creamy mixture and the best texture in your chocolate chip cookies.
- Don’t Over-mix: Stir the dough until just combined; over-mixing can lead to tough cookies, taking away from that beloved chewiness.
- Cookie Scoop Magic: Use a cookie scoop for uniform sizes; it guarantees even baking and a perfectly consistent look for your cookies.
- Chill the Dough: Letting the dough chill in the refrigerator for about 30 minutes helps enhance the flavor and prevents excessive spreading during baking.
- Avoid Overbaking: Keep an eye on the cookies; remove them when the edges are golden and the center looks a bit underbaked for that soft, chewy texture.
Enjoy making the best homemade chocolate chip cookies that’ll create delightful memories!
Storage Tips for Chocolate Chip Cookies
Room Temperature: Store cookies in an airtight container at room temperature for up to 1 week. This will keep them fresh and chewy, ready to be enjoyed anytime.
Freezer: For longer storage, freeze chocolate chip cookies in a single layer on a baking sheet for 1-2 hours. After they’re frozen solid, transfer cookies to a zip-seal bag and freeze for up to 3 months.
Reheating: To enjoy frozen cookies, preheat your oven to 350°F (175°C) and bake them for about 5-7 minutes. This helps restore that freshly baked warmth and texture.
Dough Storage: If you want to prepare ahead, cookie dough can be frozen in logs wrapped tightly in plastic wrap for up to 3 months. Slice and bake as needed for fresh cookies!
Chocolate Chip Cookies Recipe FAQs
How do I choose the right ingredients for my cookies?
Absolutely! Opt for unsalted butter at room temperature for the best texture and flavor. When selecting chocolate chips, feel free to use semi-sweet, dark, or milk chocolate—go with the one that you love the most! Fresh ingredients yield the best results, so avoid using any that show signs of spoilage, like the butter or eggs being close to expiration.
What’s the best way to store my chocolate chip cookies?
Great question! Keep your cookies in an airtight container at room temperature for up to 1 week to maintain freshness. If you’re saving some for later, I often freeze them for up to 3 months. Just place them in a single layer on a baking sheet for a couple of hours until solid, then transfer to a zip-seal bag and freeze. This way, the cookies can be enjoyed whenever a sweet craving strikes!
Can I freeze the cookie dough for later?
You absolutely can! To freeze the dough, shape it into a log and wrap it tightly in plastic wrap. It will stay good for up to 3 months. When you’re ready to bake, just slice off the desired number of cookies, place them on a baking sheet, and pop them straight into the oven—no need to thaw! Bake for an extra minute or two if they were frozen.
What should I do if my cookie dough is too dry?
If your dough feels crumbly and dry, don’t worry! This can happen sometimes, especially if you’ve measured the flour too densely. Add a teaspoon of milk or water at a time until you achieve the desired consistency. Be careful not to overmix after adding the liquid, as that could lead to tough cookies.
Can I make these cookies gluten-free?
Absolutely! Just substitute all-purpose flour with a 1:1 gluten-free flour blend and you’re good to go. It’s a delightful alternative that still delivers that chewy texture and delicious flavor we all love. Always check the ingredients in your chocolate chips too, as some may contain gluten.
Are there any allergy considerations for these cookies?
Yes! Keep in mind that chocolate chip cookies can contain common allergens like gluten, dairy, and eggs. For a vegan version, swap out eggs with flax eggs or applesauce, and use dairy-free chocolate chips. Always read labels when purchasing ingredients to ensure they meet dietary restrictions for your loved ones!
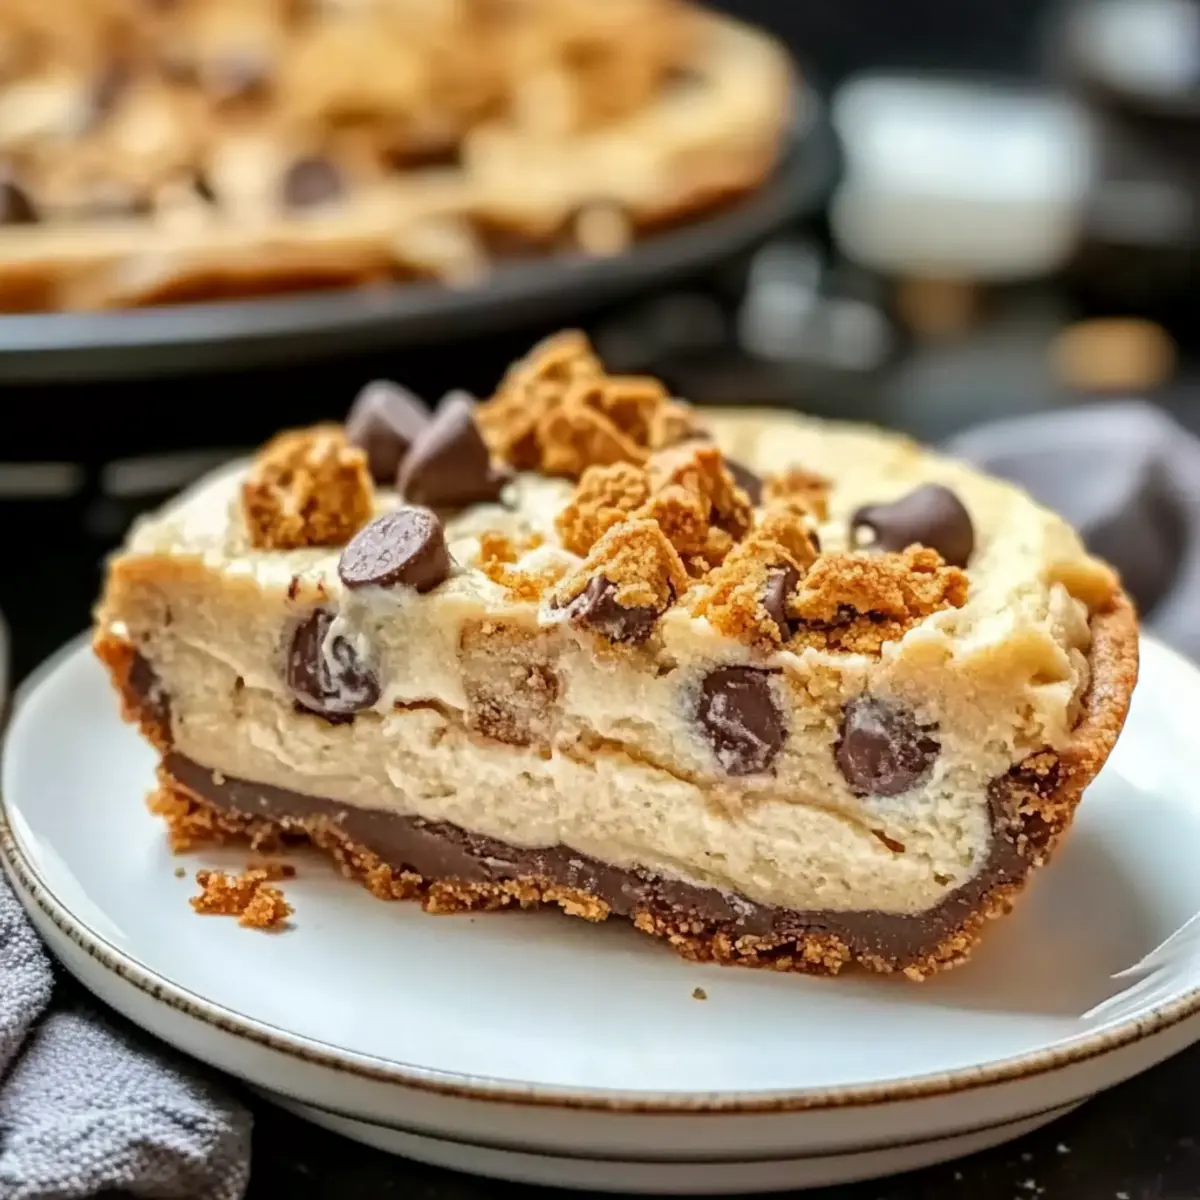
Decadent Butterfinger Pie with Peanut Butter Bliss
Ingredients
Equipment
Method
- Preheat your oven to 350°F (175°C). In a medium bowl, combine crushed graham crackers with melted butter until evenly coated. Press the mixture into the bottom of a pie pan to form a crust. Bake for 8-10 minutes until golden and fragrant. Allow to cool completely.
- In a large mixing bowl, blend together the creamy peanut butter, cream cheese, and powdered sugar until smooth and fluffy, about 2-3 minutes using an electric mixer. Fold in the whipped topping until fully incorporated.
- Pour the peanut butter filling into the cooled crust, spreading it evenly with a spatula. Prepare the Butterfinger candy bars by crushing them into small pieces and sprinkle on top.
- Cover the pie with plastic wrap and refrigerate for at least 4 hours, or overnight if possible.
- Before serving, sprinkle crushed Butterfinger on top and optionally drizzle chocolate sauce or whipped cream around the edges. Slice and serve.
Leave a Reply