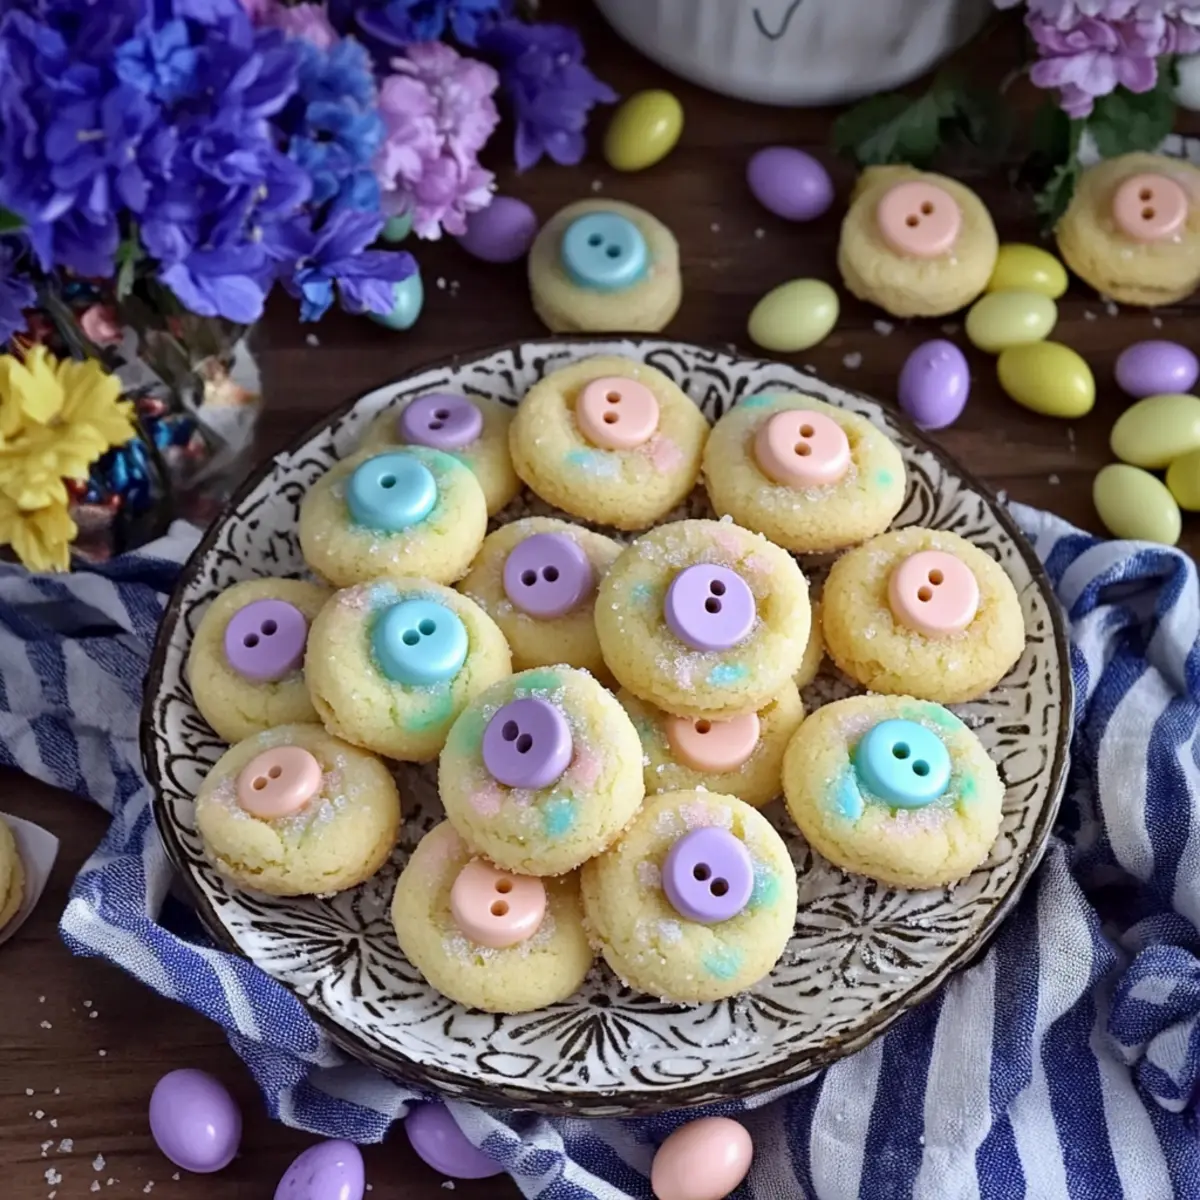
As I stood in my kitchen, the aroma of freshly baked cookies enveloped me like a warm hug, instantly transporting me back to my childhood. The buzz of excitement in the air hinted at the upcoming holiday, and what better way to celebrate than with these delightful Easter Bunny Button Cookies? They’re a quick joy to whip up and, with their tender, buttery texture and cheerful pastel candy centers, they add a touch of whimsy to any dessert table. In just 25 minutes, you can create these charming treats that are perfect for gifting or enjoying with loved ones—all while keeping your kitchen mess-free. So, why not bring a bit of spring cheer to your next gathering and discover how these irresistible cookies can become the highlight of your Easter celebration?
Why Are These Cookies So Irresistible?
Quick, Easy Prep: With just 25 minutes needed, these cookies are perfect for those last-minute baking urges or fun family activities.
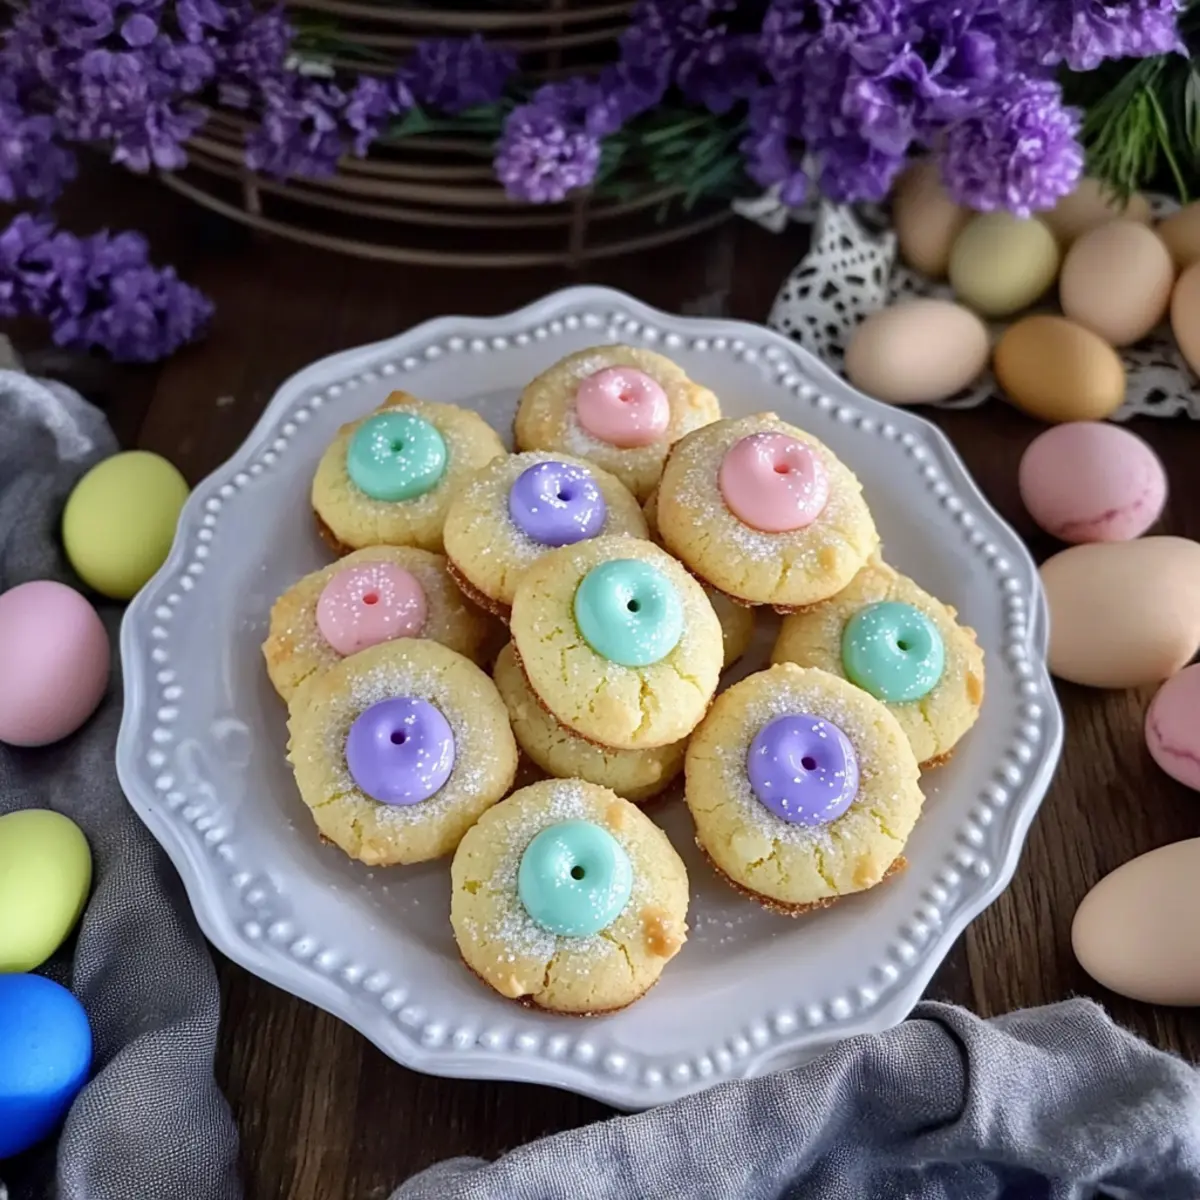
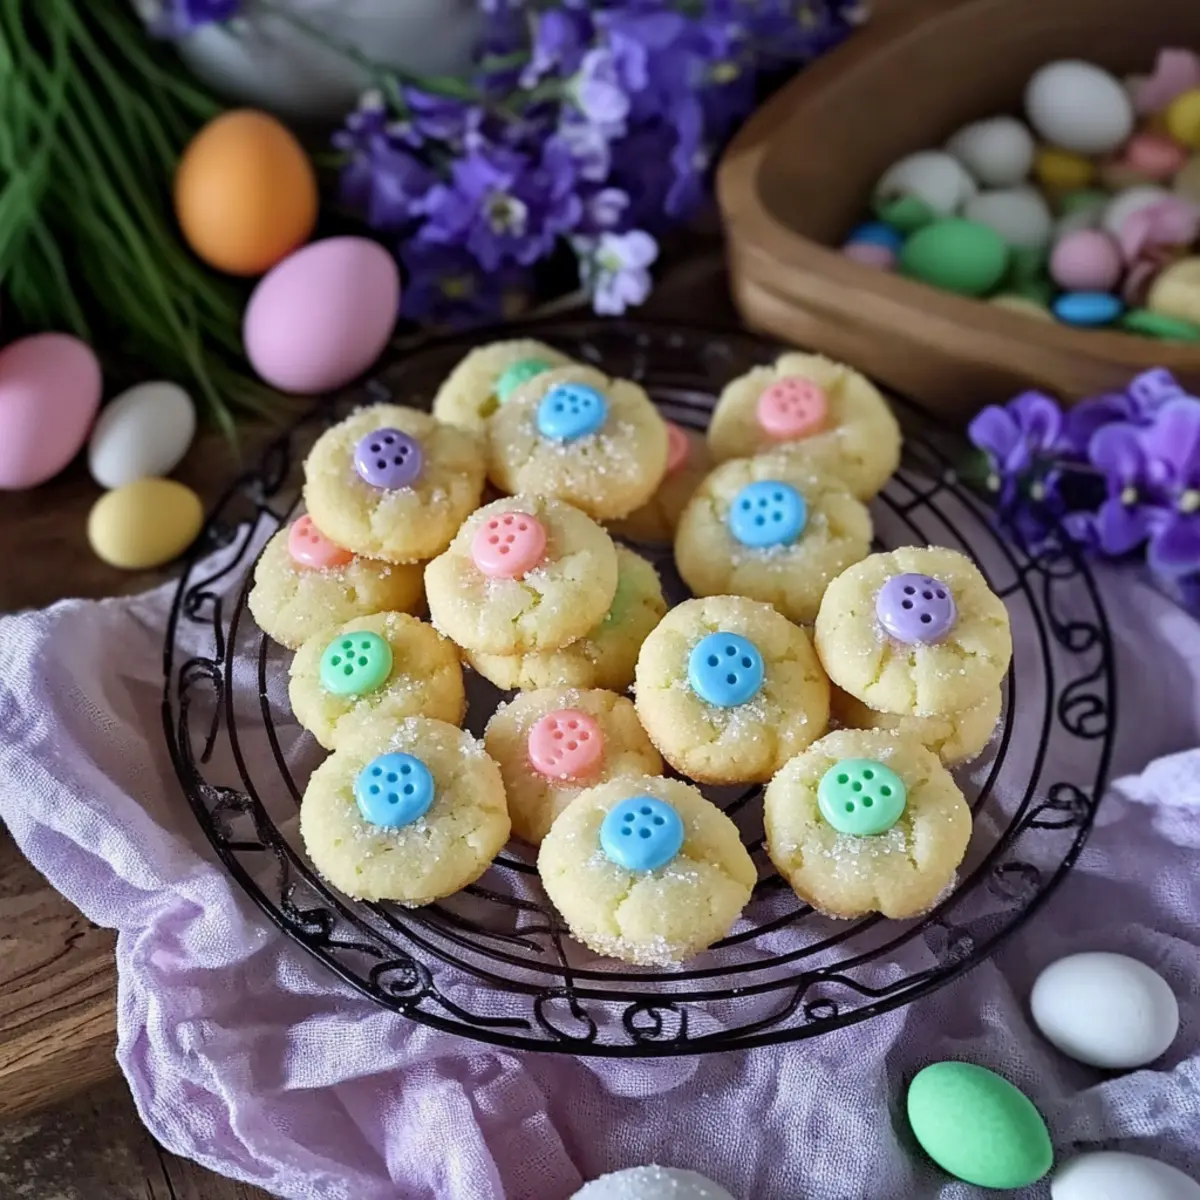
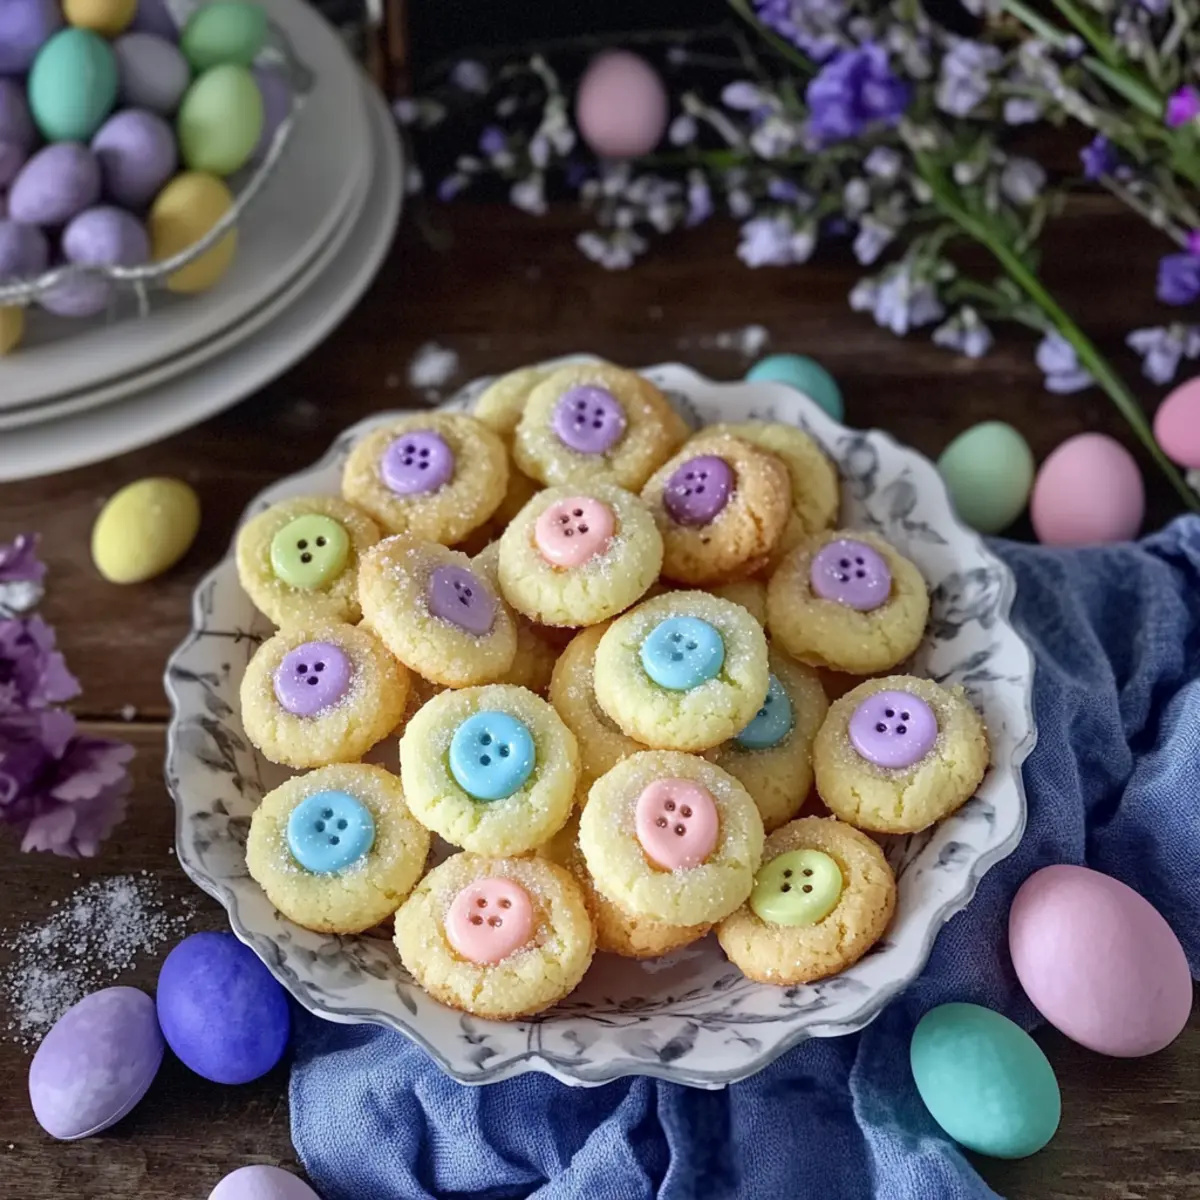
Adorable Presentation: Their charming button-like appearance, thanks to colorful candy centers, makes them a hit with both kids and adults.
Tender Texture: Expect a delightful melt-in-your-mouth experience with a buttery base that’s both crisp and soft.
Festive Versatility: Pair them with other Easter treats like Coconut Custard Cake for a stunning dessert spread.
Fun for Everyone: Involve the kids in the decorating process; it’s a wonderful way to create lasting holiday memories together.
Easter Bunny Button Cookies Ingredients
For the Dough
- Butter – softened to room temperature for that tender, shortbread-like texture; no substitutes for best results.
- Granulated Sugar – adds sweetness and structure, balancing the buttery flavor beautifully.
- Egg Yolks – two yolks enrich the dough; avoid whole eggs as the whites may affect the texture.
- Vanilla Extract – rounds out the flavor; consider almond extract as a delightful alternative for a unique twist.
- All-Purpose Flour – forms the cookie’s foundation, essential for that perfect structure.
For the Coating
- Coarse Sanding Sugar – provides a sparkling crunch; do not substitute with granulated sugar, as it melts into the dough.
For the Decoration
- Pastel Candy-Coated Chocolate Pieces – pressed into the cookies for a charming “button” look; for variations, you can use jelly beans or mini chocolate eggs, ensuring they hold shape during baking.
Embrace the joy of making Easter Bunny Button Cookies and create a deliciously tender treat that brightens up your holiday gatherings!
Step‑by‑Step Instructions for Easter Bunny Button Cookies
Step 1: Preheat and Prepare
Begin by preheating your oven to 350°F (175°C). While the oven warms up, line a baking sheet with parchment paper or a silicone mat. This will prevent the Easter Bunny Button Cookies from sticking and ensure even baking. Keep your baking essentials close at hand for a seamless experience.
Step 2: Cream the Butter and Sugar
In a mixing bowl, combine the softened butter and granulated sugar. Using a hand mixer or stand mixer, beat them together until the mixture is light and fluffy, about 2-3 minutes. This step is crucial for achieving that tender texture in your cookies, so keep an eye on the airy consistency.
Step 3: Add the Egg Yolks and Vanilla
Next, incorporate the two egg yolks and vanilla extract into the creamed mixture. Beat the mixture until everything is well combined and silky smooth. This will enrich your dough, contributing to the delightful buttery flavor that defines your Easter Bunny Button Cookies.
Step 4: Mix in the Flour
Gradually add the all-purpose flour to your mixture. Mix on low speed just until the dough comes together—be careful not to overmix, as this could lead to tough cookies. The key is to maintain the tender texture that will make these cookies a hit.
Step 5: Shape and Coat the Dough
Scoop small, teaspoon-sized portions of dough and roll each into a ball using your hands. Once shaped, roll the dough balls in coarse sanding sugar to coat them evenly. This coating not only adds sweetness but provides a beautiful, sparkly finish to your Easter Bunny Button Cookies.
Step 6: Arrange and Decorate
Place the sugar-coated dough balls on the prepared baking sheet, ensuring they are spaced about 2 inches apart. Gently press a pastel candy-coated chocolate piece into the center of each ball, creating an adorable “button” appearance that will delight everyone at the table.
Step 7: Bake to Perfection
Bake the cookies in your preheated oven for 8 to 10 minutes, or until the edges are lightly golden and the tops have just set. Keep an eye on them to avoid overbaking, as you want that soft, melt-in-your-mouth texture typical of Easter Bunny Button Cookies.
Step 8: Cool and Transfer
Once baked, allow the cookies to cool on the baking sheet for about 5 minutes. This helps them set properly before transferring. Using a spatula, gently move the cookies to a wire rack to cool completely, ensuring they retain their delightful texture and flavor.
How to Store and Freeze Easter Bunny Button Cookies
Airtight Container: Store your cookies in an airtight container at room temperature for up to 3 days to maintain their delightful texture and flavor.
Freezer: For longer storage, place cookies in a sealed freezer bag or airtight container; they can be frozen for up to 3 months without losing taste.
Thawing: To enjoy frozen Easter Bunny Button Cookies, thaw them in the fridge overnight before serving. Rewarm in a microwave for a few seconds if desired.
Avoid Moisture: Ensure the cookies are completely cool before storing to prevent moisture buildup, which can make them soggy.
What to Serve with Easter Bunny Button Cookies
Bring a lovely balance to your dessert table with delightful accompaniments that elevate your festive experience.
- Coconut Custard Cake: This creamy, coconut-infused cake adds a luscious contrast that pairs beautifully with the sweet cookies.
- Easter Trifle: Layered with fruit, sponge cake, and custard, this colorful dessert creates a vibrant centerpiece and complements the cookies’ playful nature.
- Carrot Sticks with Hummus: For a fresh and crunchy side, these carrot sticks provide a healthier snack option that kids will enjoy between cookies.
- Fresh Fruit Salad: A bright mix of seasonal fruits can refresh the palate and add a vibrant splash of color to your table.
- Sweet Iced Tea: A lightly sweetened iced tea offers a cooling drink option that balances the richness of the cookies and keeps the refreshment going.
- Mini Chocolate Eggs: These are perfect for popping alongside the cookies, creating a delightful candy experience that ties beautifully into the Easter theme.
- Lemonade Spritzer: A light, fizzy lemonade adds brightness and a refreshing zing, enhancing the overall experience of your springtime gathering.
- Cream Cheese Frosting Dip: A sweet dip for fresh fruit or cookie dippers, this indulgent treat adds a creamy layer that’s simply irresistible.
- Pistachio Gelato: Rich and nutty, this gelato offers a delightful creamy texture that pairs wonderfully with the buttery cookies.
Make Ahead Options
These delightful Easter Bunny Button Cookies are perfect for busy home cooks looking to save time! You can prepare the cookie dough up to 24 hours in advance. Simply follow the steps up to shaping the dough balls, then refrigerate the unbaked dough wrapped in plastic to keep it fresh and prevent drying. When you’re ready to bake, roll the chilled dough in coarse sanding sugar, press the candy pieces into the centers, and bake them straight from the fridge for deliciously fresh cookies just in time for the holiday! This allows you to focus on other preparations while still enjoying those charming, melt-in-your-mouth Easter Bunny Button Cookies.
Easter Bunny Button Cookies Variations
Feel free to let your imagination soar and customize these delightful cookies to suit your taste and dietary needs!
-
Gluten-Free: Substitute all-purpose flour with a gluten-free blend for a tasty alternative that everyone can enjoy.
These cookies can be just as tender and sweet, bringing joy to guests with gluten sensitivities. -
Nutty Twist: Add finely chopped walnuts or pecans to the dough for an extra layer of flavor and crunch.
This little twist can create a delightful contrast to the buttery base, making every bite more exciting. -
Dairy-Free: Replace butter with coconut oil or vegan butter for a dairy-free option that doesn’t skimp on taste.
You won’t miss out on that tender texture, ensuring everyone can enjoy these tasty treats at your Easter gathering. -
Citrus Zest: Incorporate lemon or orange zest into the dough for a bright, citrusy flavor that beautifully complements the sweetness.
This refreshing addition brings a delightful burst of springtime taste with every nibble. -
Spiced Sugar: Use cinnamon sugar instead of coarse sanding sugar for a warm, spicy finish that’s perfect for the holiday season.
The fragrant aroma of cinnamon will evoke cozy memories as they bake, making your home feel extra inviting. -
Choco-Buttons: Swap out pastel candy-coated chocolates for dark chocolate chips for a rich and indulgent twist.
The decadent chocolate flavor creates a delightful contrast, appealing to those who crave a deeper taste. -
Colorful Sprinkles: Instead of candy, top your cookies with colorful sprinkles for a festive touch that delights the eyes.
This option allows the cookies to remain simple yet stunning while adding an extra pop of joy. -
Miniature Versions: Make bite-sized versions of the cookies for cute, snackable treats that are perfect for sharing.
Smaller cookies are a delightful addition to any dessert table and invite everyone to grab one (or two!) guilt-free.
More delightful ideas await in our Almond Cherry Cookies recipe, where you can explore more customizations!
Expert Tips for Easter Bunny Button Cookies
-
Don’t Overmix: Mixing the dough just until combined is key to keeping your Easter Bunny Button Cookies tender and light. Overmixing could lead to tough cookies.
-
Correct Sugar Choice: Always use coarse sanding sugar for the coating; granulated sugar melts into the dough and won’t provide that lovely crunch.
-
Keep an Eye on Baking: Ovens can vary, so start checking your cookies around the 8-minute mark to achieve perfectly golden edges without overbaking.
-
Cool Wisely: Let cookies cool on the baking sheet for a few minutes before transferring them to a wire rack. This prevents them from breaking and helps maintain the ideal texture.
-
Experiment with Decorations: Feel free to swap out the pastel candy for other decorative options, like mini chocolate eggs or jelly beans, while ensuring they remain intact during baking.
Easter Bunny Button Cookies Recipe FAQs
What is the best way to select butter for these cookies?
Absolutely! Always choose unsalted butter that is softened to room temperature. This ensures a tender, shortbread-like texture that’s essential for the mouthwatering quality of your Easter Bunny Button Cookies. Avoid using margarine or oil, as butter provides the necessary richness and flavor for the cookies.
How should I store the Easter Bunny Button Cookies?
To maintain their delightful freshness, store your cookies in an airtight container at room temperature for up to 3 days. This helps keep them soft and flavorful. If you need to keep them for a longer period, they can be frozen in a sealed container for up to 3 months. Just remember to cool them completely before storing to avoid moisture buildup!
Can I freeze Easter Bunny Button Cookies?
Absolutely! For the best results, after baking, let the cookies cool completely. Then, place them in a single layer in a sealed freezer bag or airtight container. For long-term storage, they can stay in the freezer for up to 3 months. When you’re ready to enjoy them, simply thaw in the fridge overnight, and if desired, give them a quick rewarm in the microwave for a few seconds.
What should I do if my cookie dough is too sticky?
If your dough feels too sticky to handle, don’t worry! It’s likely just a matter of adding a bit more all-purpose flour—start with a tablespoon at a time until it reaches a smooth consistency. Mixing just until combined is key; overmixing can lead to tougher cookies. Remember, tender is the way to go!
Are there any dietary considerations for pets or allergies in this recipe?
Yes! Since this recipe contains butter and egg yolks, it’s not suitable for vegan diets, and be cautious with any allergies related to eggs and dairy. Additionally, the pastel candy-coated chocolates can contain common allergens like dairy and nuts. Always check the packaging for allergy warnings before serving these cookies, especially around pets or guests with dietary restrictions.
Can I make substitutions for the pastel candy-coated chocolate pieces?
Very! If you’re looking to switch things up, you can replace the pastel candies with jelly beans or mini chocolate eggs. Just be sure that whatever you choose can hold its shape in the oven. It’s all about customizing these Easter Bunny Button Cookies to fit your personal taste and creative vision!
Easter Bunny Button Cookies: Adorable Melt-in-Your-Mouth Treats
Ingredients
Equipment
Method
- Preheat your oven to 350°F (175°C) and line a baking sheet with parchment paper.
- Cream together the softened butter and granulated sugar until light and fluffy.
- Add the egg yolks and vanilla extract, mixing until well combined.
- Gradually incorporate the all-purpose flour until just combined.
- Scoop small portions, roll into balls, and coat in coarse sanding sugar.
- Arrange on baking sheet, pressing a candy piece into the center of each.
- Bake for 8 to 10 minutes until lightly golden.
- Cool on the baking sheet for 5 minutes before transferring to a wire rack.
Leave a Reply