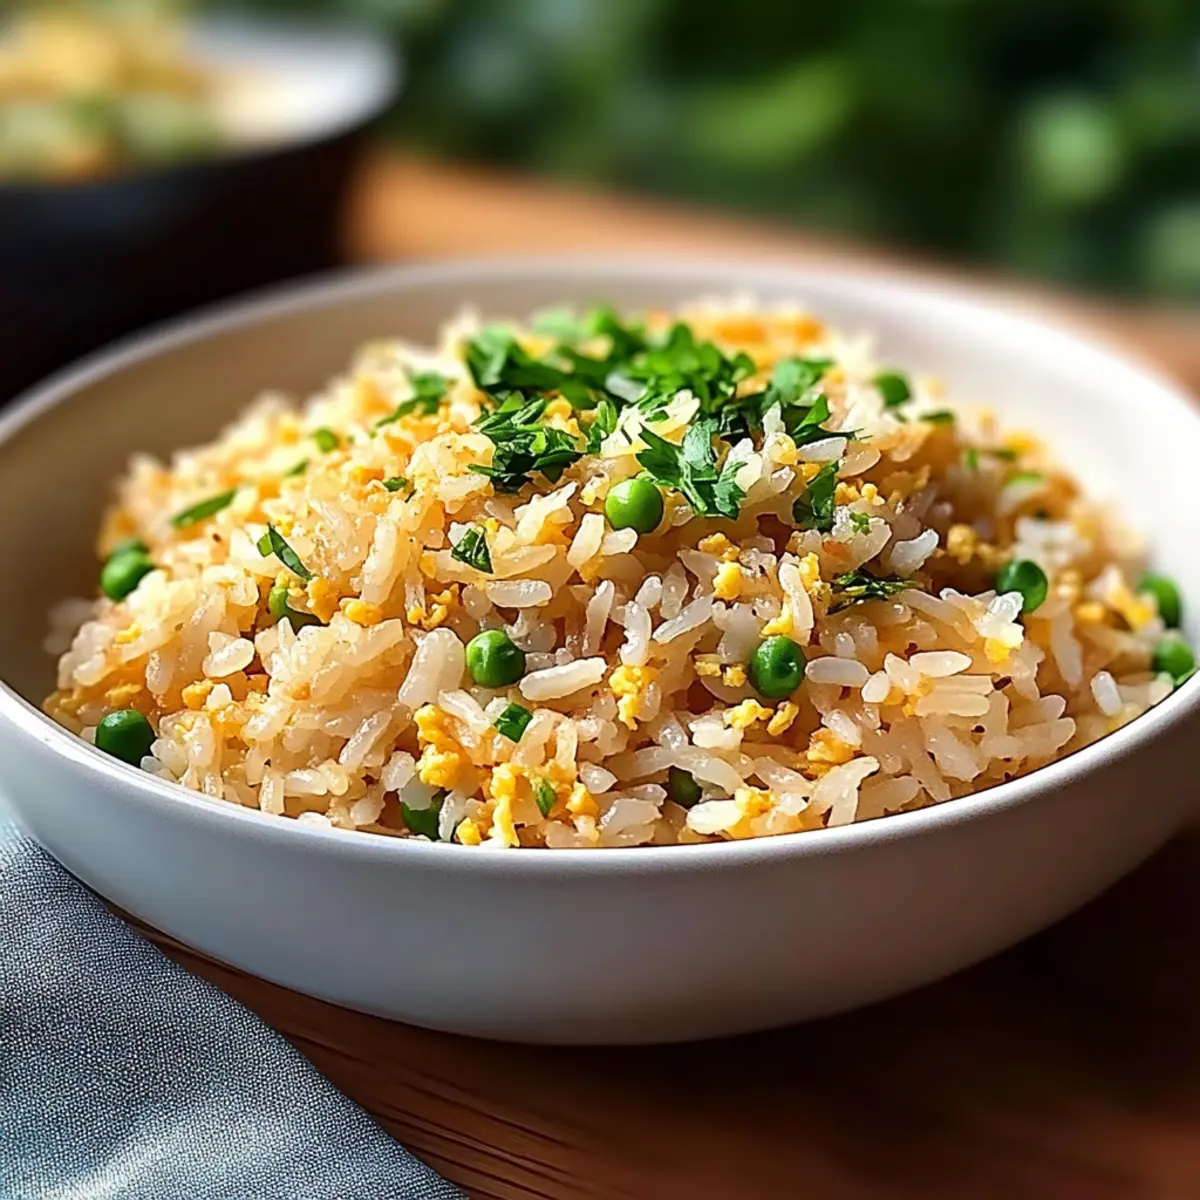
There’s nothing quite like the moment your kitchen fills with the enticing scent of garlic sizzling in the pan. This Japanese Garlic Fried Rice is a delightful rush of flavors that transforms a simple dish into something truly special. With just 30 minutes of prep time, you can whip up this comforting meal that serves as a versatile side or a satisfying stand-alone entree. The magic lies in the combination of nutty garlic and creamy Kewpie mayonnaise, creating a dish that’s both easy to customize and incredibly delicious. Plus, it’s a perfect way to elevate weeknight dinners while impressing your family or guests with minimal effort! Looking for a unique twist to add to your dinner repertoire? Let’s dive into the recipe!
Why is Japanese Garlic Fried Rice a Must-Try?
Ease of Preparation: You can whip this dish up in just 30 minutes, making it a quick and satisfying option for busy weeknights.
Customizable Delight: Swap in your favorite proteins or veggies to make it your own. Imagine mixing in shrimp or adding colorful bell peppers!
Rich Flavor Fusion: The creamy Kewpie mayonnaise combined with the aromatic sautéed garlic is a flavor explosion that will leave you craving more.
Comfort Food Perfection: This recipe brings the cozy, warm vibe of home cooking to your table, perfect for anyone tired of fast food.
Crowd-Pleasing Choice: Serve it with dishes like Garlic Butter Beef or Cajun Garlic Chicken and watch it disappear from the table!
Japanese Garlic Fried Rice Ingredients
For the Rice
• Japanese Short Grain Rice – This sticky rice is essential for an authentic texture; avoid long-grain rice for the best results.
• Sea Salt – Use to season the rice; adjust according to the saltiness from the soy sauce.
For the Flavor Base
• Unsalted Butter – Adds richness to the dish; substitute with olive oil for a lighter touch.
• Garlic (3 cloves, finely chopped) – Infuses the dish with savory flavor; feel free to adjust based on your garlic love!
• Soy Sauce (1.5 tablespoons) – Provides depth of umami; tamari is a great gluten-free alternative.
For the Creaminess
• Kewpie Mayonnaise – Essential for a rich and creamy texture; regular mayonnaise works but won’t taste the same.
For the Protein
• Eggs (2 large, lightly whisked) – Adds protein and texture; skip or replace with a plant-based substitute for a vegan option.
For the Garnish
• Finely Chopped Parsley (2 teaspoons) – Brings a fresh touch to the finished dish; scallions or cilantro can also brighten things up.
Step‑by‑Step Instructions for Japanese Garlic Fried Rice
Step 1: Prepare the Rice
Start by rinsing and soaking 2 cups of Japanese short grain rice for 30 minutes to enhance the texture. Once soaked, drain the rice and place it in a saucepan with 2¼ cups of water. Bring it to a boil over medium heat, then reduce to a low simmer and cover. Cook for 10 minutes, then let it rest for another 10 minutes, keeping it covered.
Step 2: Combine Mayonnaise
Fluff the warm, cooked rice in a large bowl using a fork for a light texture. While the rice is still warm, gently fold in 3 tablespoons of creamy Kewpie mayonnaise until it is evenly distributed. This step adds a rich flavor and ensures that each grain is coated, making your Japanese Garlic Fried Rice irresistibly creamy.
Step 3: Sauté Garlic
In a large skillet or wok, melt 2 tablespoons of unsalted butter over medium-high heat. Once melted, add 3 finely chopped garlic cloves to the pan and sauté for about 1 minute until the garlic is golden and fragrant, taking care not to burn it. This aromatic base will provide a deep flavor profile for your fried rice.
Step 4: Stir-Fry Rice
Add the prepared rice mixture to the skillet, tossing it gently for about 30 seconds to combine with the sautéed garlic. Then drizzle in 1.5 tablespoons of soy sauce, stirring well to ensure that the rice absorbs the umami flavor. The rice should have a beautiful color and aroma, signaling that it’s well-seasoned.
Step 5: Add Eggs
Push the rice mixture to one side of the skillet, creating a space to pour in 2 lightly whisked eggs. Let the eggs set for about 30 seconds, then scramble them in the space until they are just cooked through. Once scrambled, fold the eggs into the rice, ensuring an even distribution throughout your Japanese Garlic Fried Rice.
Step 6: Final Seasoning
Taste your Japanese Garlic Fried Rice and season with a pinch of sea salt, adjusting it according to your preference. When satisfied with the flavor, sprinkle 2 teaspoons of finely chopped parsley over the top for a fresh finish. Serve immediately, enjoying the delightful aroma and richness of this comforting dish.
Expert Tips for Japanese Garlic Fried Rice
-
Warm Rice Matters: Ensure the rice is warm when you mix in the Kewpie mayonnaise for proper incorporation and creamy texture.
-
Avoid Garlic Burn: Sauté garlic over medium-high heat but watch closely to prevent it from burning, which can leave a bitter taste.
-
Taste Before Serving: Always taste your Japanese Garlic Fried Rice before serving to adjust seasoning. A little extra salt or soy sauce can elevate the flavors!
-
Fluff Your Rice: Pre-soaking the rice is key to achieving a fluffy texture. Don’t skip this step for the best results.
-
Customize Freely: Don’t hesitate to add your favorite proteins or veggies to the mix. Customize it to your taste for a personalized treat!
Japanese Garlic Fried Rice Variations
Feel free to get creative with this recipe, adding your favorite ingredients for a personalized touch that tantalizes your taste buds!
-
Vegetable Boost: Include 1 cup of mixed vegetables like peas, carrots, or bell peppers. It’s a colorful way to enhance nutrition and flavor. Don’t be shy to toss in your seasonal favorites!
-
Protein Power: Add cooked chicken, shrimp, or tofu for a heartier dish. This option not only elevates your meal but also makes it more filling, perfect for those who want a complete dinner in one bowl.
-
Spicy Kick: Stir in a teaspoon of chili paste or red pepper flakes as you sauté the garlic. It adds a zesty heat that transforms your fried rice into an adventurous culinary experience. If you’re a fan of spice, this variation is for you!
-
Nutty Twist: Drizzle toasted sesame oil over your fried rice just before serving for an extra layer of flavor. The nutty aroma it brings creates an unforgettable finish, making your dish truly memorable.
-
Fruit Fusion: Mix in diced pineapple for a sweet-savory contrast. The bright fruitiness pairs beautifully with the savory elements, adding an unexpected and delightful surprise with every bite.
-
Herb Infusion: Swap parsley for fresh cilantro or basil to create a new flavor profile. Fresh herbs can brighten the dish and give it a summer feel, perfect for serving at a garden party!
-
Creamy Alternative: Try using Greek yogurt instead of Kewpie mayonnaise for a tangy twist. It retains creaminess while introducing a deliciously different flavor, making your fried rice feel lighter and refreshing.
-
Crispy Delight: Top with fried shallots or crispy garlic for added crunch. This not only gives texture but adds a gourmet feel to your homemade meal, making it restaurant-worthy!
These variations will elevate your Japanese Garlic Fried Rice experience and keep your family and friends eagerly asking for more! For a delightful protein option, consider pairing it with dishes like Garlic Shrimp Over Mashed Potatoes or a stunning plate of Sticky Garlic Chicken for a full-flavored feast.
What to Serve with Japanese Garlic Fried Rice
Elevate your dining experience with complementary side dishes and flavors that will make your meal unforgettable.
-
Teriyaki Salmon: The sweet, savory glaze of teriyaki salmon pairs beautifully with the rich umami of the fried rice, creating a balanced plate. A perfect blend of textures, the tender salmon contrasts with the fluffy rice.
-
Spicy Edamame: These protein-packed beans seasoned with a spicy kick enhance the meal without overwhelming it. Their freshness juxtaposes the creamy rice, making for a delightful crunch.
-
Crisp Asian Slaw: Tossed in a tangy sesame dressing, this vibrant slaw adds a refreshing crunch that balances the richness of the garlic fried rice. The variety of colors and textures will enliven your meal.
-
Sesame Garlic Greens: Sautéed greens tossed in sesame oil and garlic bring a delicious earthy flavor to your plate. They not only provide a pop of color but also help brighten the overall meal.
-
Pickled Ginger: A small bowl of pickled ginger offers a zesty contrast to the savory fried rice, cleansing your palate between bites. It adds a delightful tang that enhances the entire dish.
-
Miso Soup: This comforting broth serves as a warm counterpart to the fried rice. Its subtle flavors and warmth make each bite of the rice even more enjoyable.
-
Fruit Salad: A light, fresh fruit salad brings sweetness that complements the savory notes of the dish. Choose seasonal fruits for a burst of flavor that brightens the meal with a refreshing finale.
How to Store and Freeze Japanese Garlic Fried Rice
Fridge: Store leftover Japanese Garlic Fried Rice in an airtight container for up to 3 days. This keeps it fresh and ready for a quick lunch or dinner!
Freezer: For longer preservation, freeze portions in airtight containers or freezer bags for up to 2 months. When you’re ready to enjoy, thaw overnight in the fridge.
Reheating: Reheat the rice in a skillet over medium heat until warmed through, adding a splash of water if needed to revive the creamy texture.
Cooling: Let the rice cool to room temperature before storing. This helps maintain its quality and prevents moisture buildup that can lead to spoilage.
Make Ahead Options
These Japanese Garlic Fried Rice are perfect for busy cooks looking to save time during hectic weeknights! You can prepare the rice and sautéed garlic mixture up to 24 hours in advance, storing them separately in airtight containers in the refrigerator to maintain their freshness. To keep the rice fluffy, make sure it’s completely cool before refrigerating. When you’re ready to enjoy this savory dish, simply reheat the rice in a pan, and stir-fry it together with the sautéed garlic, adding in the soy sauce and eggs as you mix it all together. This way, your Japanese Garlic Fried Rice will be just as delicious and satisfying as if made fresh!
Japanese Garlic Fried Rice Recipe FAQs
What type of rice should I use for Japanese Garlic Fried Rice?
Absolutely! For the best results, use Japanese short grain rice. Its sticky texture is essential for holding the flavors together beautifully. Avoid long-grain rice, as it won’t provide the same authentic experience.
How do I store leftover Japanese Garlic Fried Rice?
You can store leftovers in an airtight container in the fridge for up to 3 days. This keeps the flavors intact! If you want to save it for longer, freeze portions in airtight bags for up to 2 months. Just remember to let it cool to room temperature before storage to maintain its quality.
Can I freeze Japanese Garlic Fried Rice?
Yes, you can freeze it! Here’s how: Portion the cooled fried rice into airtight containers or resealable freezer bags. Be sure to remove as much air as possible before sealing. When you’re ready to eat, simply thaw it overnight in the fridge and reheat in a skillet with a splash of water for that creamy texture.
What should I do if the garlic burns while sautéing?
Oh no! If your garlic burns, it can create a bitter taste. In this case, I recommend starting over with a fresh batch of garlic. Make sure to sauté it over medium-high heat—just enough to become fragrant but not brown, which usually takes about a minute. Keeping an eye on it helps avoid burning!
Is Japanese Garlic Fried Rice suitable for a vegan diet?
Very much so! To make it vegan-friendly, simply skip the eggs or replace them with a plant-based egg substitute. You can also add extra veggies or proteins like tofu to amp up the dish without compromising on flavor.
Can my pet enjoy any of the ingredients in this fried rice?
While Japanese Garlic Fried Rice contains ingredients like rice and eggs that are generally safe in small amounts for pets, it’s best to avoid sharing due to garlic and soy sauce, which can be harmful to dogs and cats. Always check with your vet before introducing new foods to your pet’s diet.

Savory Japanese Garlic Fried Rice Ready in Just 30 Minutes
Ingredients
Equipment
Method
- Rinse and soak the rice for 30 minutes. Drain and cook in a saucepan with water for 10 minutes, then let it rest, covered, for another 10 minutes.
- Fluff the rice in a bowl and fold in the Kewpie mayonnaise while still warm.
- Melt butter in a skillet and sauté garlic for about 1 minute until golden.
- Add the rice mixture to the skillet and toss with garlic. Drizzle in the soy sauce and stir.
- Push the rice to the side, pour in the eggs, scramble for 30 seconds, then mix with the rice.
- Season with sea salt and garnish with parsley before serving.
Leave a Reply