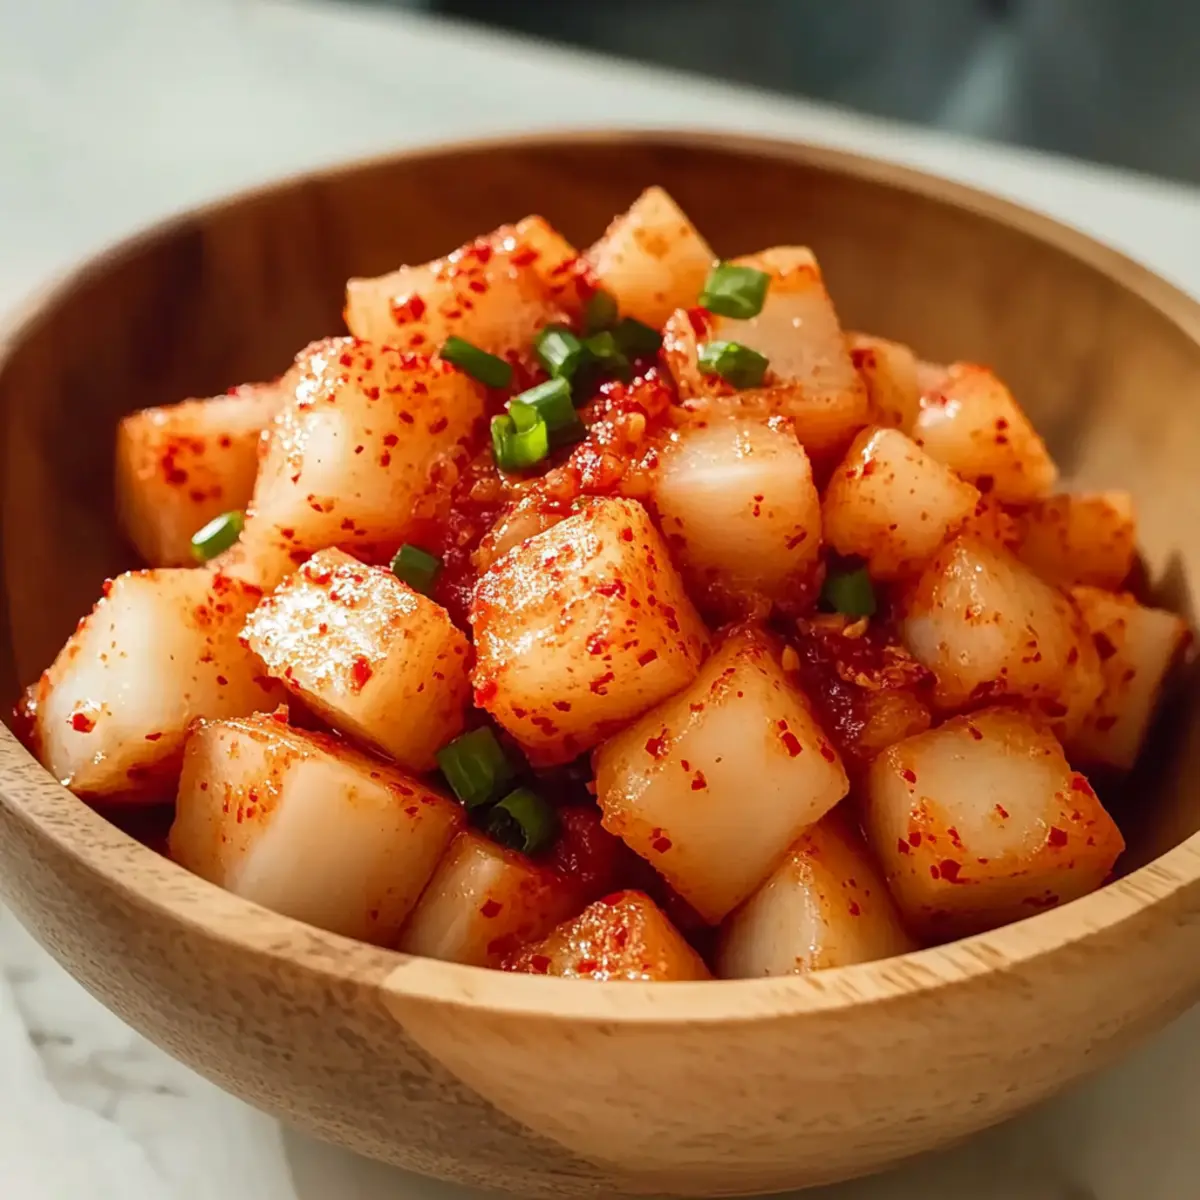
As I stood in my kitchen, the vibrant colors of fresh Korean radish and bold spices ignited my senses, whispering tales of Korean culture and family gatherings. Today, we’re diving into a beloved staple: Authentic Korean Radish Kimchi. This enticing recipe not only transforms humble radish into a crunchy, spicy fermented delight, but it also packs a nutritional punch rich in probiotics. Whether you’re a busy home chef or someone looking to escape the fast-food routine, this kimchi is your answer. Quick to prepare and exceptionally versatile, it makes for an unforgettable side dish that elevates any meal. Curious about how to craft this flavorful homemade treat? Let’s get started!
Why is Korean Radish Kimchi a Must-Try?
Unique Flavor Profile: The mix of spicy gochugaru, garlic, and ginger creates a truly vibrant experience with each crunchy bite.
Healthy Benefits: Packed with probiotics, this fermented dish not only tantalizes your taste buds but also boosts your gut health.
Versatile Addition: Use it as a side for rice bowls, sandwiches, or grilled meats to elevate any meal!
Quick & Easy: With just a few simple steps and ingredients, you can whip up this homemade delight in no time.
Cultural Connection: Enjoying kimchi means savoring a tradition rich in history, making each dish a little celebration.
If you love unique flavors like this, try pairing your kimchi with Korean Beef Sloppy for an unforgettable fusion experience!
Korean Radish Kimchi Ingredients
Craft your own flavorful batch of Korean Radish Kimchi with these essential ingredients!
For the Kimchi
• Korean Radish (Mu) – This crunchy and naturally sweet radish is the star of the dish; daikon can be substituted if needed.
• Kosher Salt – Crucial for drawing out excess moisture; never skip this step for proper fermentation.
• Sugar – Balances the saltiness while adding a touch of sweetness that complements the radish.
• Minced Garlic – Infuses the kimchi with a wonderful aroma and depth of flavor.
• Minced Ginger – Brings a warm, zesty essence that enhances the overall taste.
• Green Onions – Adds a fresh, mild onion flavor to brighten the dish.
• Fish Sauce – Provides umami richness; can be omitted for a vegetarian-friendly option.
• Korean Red Pepper Flakes (Gochugaru) – Key for spiciness and color; make sure they’re fresh for best results.
Step‑by‑Step Instructions for Spicy Authentic Korean Radish Kimchi
Step 1: Prepare the Radish
Peel the Korean radish and rinse it under cold water to remove any residue. Once cleaned, dry the radish thoroughly with a kitchen towel or paper towel. It’s important to have the radish as dry as possible before moving on to the next step to ensure the best texture of your Korean Radish Kimchi.
Step 2: Cut the Radish
Using a sharp knife, cut the radish into ¾ to 1-inch cubes, ensuring uniformity for even fermentation. Place the cubes in a large mixing bowl, allowing enough space for mixing the other ingredients later. The vibrant white color of the radish should be visually striking, perfect for your spicy kimchi!
Step 3: Salt and Sugar Treatment
Sprinkle kosher salt and sugar over the radish cubes. Toss the mixture gently with your hands to ensure that every piece is evenly coated. Allow the radish to sit for about 30 minutes. This process draws out moisture and begins the fermentation process, leading to a crunchy texture in your Korean Radish Kimchi.
Step 4: Drain Excess Liquid
After 30 minutes, you’ll notice that the radish has released some liquid. Carefully drain this liquid into a separate bowl, as you’ll need it later. The radish should appear slightly wilted yet still firm. This step is crucial for achieving the perfect consistency in your kimchi.
Step 5: Add Flavor-Building Ingredients
In the bowl with the drained radish cubes, add minced garlic, minced ginger, chopped green onions, fish sauce (if using), and Korean red pepper flakes. Mix well with clean hands, ensuring every piece of radish gets coated in the flavorful marinade. The vibrant colors from the spices and herbs will make your Korean Radish Kimchi truly enticing.
Step 6: Incorporate Reserved Radish Juice
Pour in approximately ⅓ cup of the reserved radish juice you drained earlier. This will enhance the flavor and moisture in your kimchi. Mix everything together thoroughly, continuing to coat each radish cube. You should see a beautiful blend of colors with the spices evenly distributed throughout.
Step 7: Pack the Kimchi Jar
Transfer the kimchi mixture into a clean, airtight glass jar, pressing down firmly as you go. This helps to eliminate any air pockets, ensuring proper fermentation. Leave about an inch of headspace at the top for the mixture to expand as it ferments. A tight fit will keep your Korean Radish Kimchi fresh and flavorful.
Step 8: Ferment the Kimchi
Cover the jar loosely with a lid or a cloth to allow gases to escape during fermentation. Let the jar sit at room temperature for 1 to 2 days, checking daily for bubbly signs, indicating the fermentation process is working. Once it appears bubbly, your Korean Radish Kimchi is ready to transfer to the refrigerator.
Step 9: Chill and Enjoy
After 1-2 days of fermentation, seal the jar tightly and place it in the fridge. The cool temperature will slow down the fermentation, preserving the tangy flavor. Your homemade Korean Radish Kimchi will continue to develop its taste over time—perfectly timed for enjoying with your favorite dishes!
What to Serve with Spicy Authentic Korean Radish Kimchi?
Pair your delightful Korean radish kimchi with these tasty accompaniments to create a memorable meal experience!
- Steamed White Rice: This classic pairing balances the kimchi’s spice and tang with creamy simplicity, making every bite a delight.
- Grilled Korean BBQ: Savory bites of marinated beef or pork offer a rich contrast to the refreshing crunch of kimchi, enhancing the flavor profile.
- Stir-Fried Noodles: Quick, savory noodles absorb the kimchi’s essence, infusing your dish with an addictive zest and a satisfying texture.
- Egg Fried Rice: Top fried rice with a fried egg for a delightful twist; the richness of the egg complements the bold flavors beautifully.
- Sesame Green Beans: The tender crunch of these green beans adds a fresh element, while the sesame flavors pair nicely with the kimchi’s spice.
- Korean Pancakes (Jeon): Characterized by their crispy texture and savory filling, these pancakes serve as the perfect vehicle for the kimchi’s kick.
- Cucumber Salad: A light, refreshing cucumber salad contrasts the boldness of the kimchi, cleansing the palate between bites.
- Sweet Potato Starch Noodles: These chewy noodles mixed with vegetables provide a satisfying texture, while their neutral flavor lets the kimchi shine.
- Korean Soju or Beer: A chilled glass of soju or beer offers a delightful beverage pairing to cut through the spice and complement the meal.
- Mango Sticky Rice: As a dessert, the sweet, creamy rice paired with ripe mango provides a refreshing finale after the spicy adventure.
Make Ahead Options
Planning ahead with this Korean Radish Kimchi is a breeze! You can prepare the radish cubes and mix them with salt and sugar up to 24 hours in advance, letting the salting process kickstart the fermentation. Simply store the coated radish cubes in an airtight container in the refrigerator to maintain crunchiness. Additionally, you can chop and measure out your spices and aromatics in advance; just keep them in a separate container until you’re ready to mix everything together. When you’re ready to serve, follow through the remaining steps by adding the flavoring ingredients and letting it ferment. With these make-ahead tips, you’ll create delicious kimchi that stays fresh and flavorful, perfect for busy weeknights!
Expert Tips for Korean Radish Kimchi
-
Uniform Cuts: Ensure radish pieces are cut consistently for even fermentation; irregular sizes can lead to uneven texture and flavor.
-
Essential Salting: Never skip the salting step; it draws moisture out, crucial for achieving the right texture in your Korean Radish Kimchi.
-
Airtight Storage: Store your kimchi in an airtight glass jar, leaving headspace for expansion to prevent overflow during fermentation.
-
Monitor Fermentation: Check daily for bubbling; once you see this, it’s time to transfer your kimchi to the fridge for optimal flavor.
-
Gloves On: Wear gloves while mixing to protect your skin from irritation by the spicy ingredients, especially the red pepper flakes.
How to Store and Freeze Korean Radish Kimchi
Fridge: Store your Korean radish kimchi in an airtight glass jar in the refrigerator for up to 2-3 months. The flavors will continue to develop, making it even tastier over time.
Freezer: If you’d like to freeze your kimchi, pack it into a freezer-safe container, leaving some headspace for expansion. It should be consumed within 6 months for the best flavor.
Reheating: While kimchi is typically enjoyed cold, if you prefer it warm, quickly sauté a portion in a pan for a few minutes, adding a splash of water to keep it moist.
Checking Doneness: Always taste your kimchi after the initial fermentation and periodically to ensure it meets your desired level of tanginess.
Korean Radish Kimchi Variations
Feel free to get creative with this kimchi recipe to suit your taste buds and dietary needs!
-
Daikon Substitute: Use daikon radish if you can’t find Korean radish; it provides a similar crunch and flavor. It’s a great option for those in areas where Korean ingredients are hard to come by.
-
Vegetarian Delight: Omit the fish sauce for a vegetarian version, relying on the garlic and ginger for depth of flavor. This way, you can enjoy the savory goodness without compromising on your dietary choices.
-
Spicy Kick: Add sliced jalapeños or a sprinkle of red pepper flakes to amp up the heat level. If you’re a fan of spice, consider pairing it with dishes like Korean Beef Sloppy for a fantastic flavor fusion.
-
Colorful Mix: Incorporate shredded carrots or sliced cucumbers for added color and crunch. Mixing in these veggies not only enhances the aesthetic appeal but also contributes delightful textures.
-
Fruity Twist: Add diced apples or pears for a hint of sweetness that contrasts perfectly with the spice. This unexpected twist brings a delightful fruity note to your kimchi!
-
Garlic Lover’s Dream: Increase the quantity of minced garlic for a more intense flavor. If you’re anything like me, you can never have too much garlic in your dishes!
-
Experiment with Herbs: Toss in some fresh cilantro or mint for a refreshing herbal note. These aromatic additions can elevate the flavor profile, providing a unique twist on the traditional kimchi.
-
Fermentation Time: Adjust fermentation time to suit your preference; a longer fermentation yields tangier flavors. Start tasting after a day to find your ideal balance of sourness—it’s all about your taste!
Korean Radish Kimchi Recipe FAQs
What type of radish should I use for the best kimchi?
Absolutely! For the most authentic flavor and texture, use Korean radish (Mu). If you can’t find it, daikon radish is a great substitute; pick one that feels firm and has crisp green tops. The key is to ensure it’s fresh for the best results.
How should I store my kimchi and how long will it last?
Once your Korean radish kimchi is ready, store it in an airtight glass jar in the refrigerator. It will stay fresh and delicious for up to 2-3 months. Interestingly, it often tastes better the longer it ferments, so make sure to keep an eye out for its developing flavors!
Can I freeze my kimchi and how do I do it?
Yes, you can definitely freeze your kimchi! Pack it tightly into a freezer-safe container, leaving some headspace for expansion—this is crucial as liquids in frozen kimchi can expand. It’s best enjoyed within 6 months for optimal flavor. When you’re ready to use it, let it thaw in the refrigerator overnight or sauté it gently for a warm treat!
Why did my kimchi not ferment properly?
Very! If your kimchi isn’t fermenting, it could be due to a few reasons. Firstly, ensure you’ve added enough salt, as this helps draw out moisture and kickstart the fermentation process. Additionally, check the temperature; kimchi ferments best in a warm environment (around 70-75°F). Give it enough time to ferment—at least 1-2 days should show bubbly signs. If it’s too cool, try moving it to a warmer spot in your kitchen.
Is kimchi safe for my pets, and are there any dietary considerations?
It’s great that you’re thinking about dietary considerations! Kimchi, particularly with its spicy ingredients, is not safe for pets; avoid letting them taste it. Those with allergies should also note that fish sauce is included in the recipe, but it can be easily omitted for a vegetarian version. Just keep an eye on any added seasonings if needed!
What should I do if my kimchi tastes too salty?
Don’t worry! If your kimchi turns out too salty, you can try balancing it by mixing in some fresh, chopped radish or other vegetables to dilute the saltiness. Alternatively, a bit of sugar can help counteract the saltiness too. Just remember, every batch can be a learning experience, and it only gets better from here!
Delicious Korean Radish Kimchi: Fermented Flavor You’ll Love
Ingredients
Equipment
Method
- Peel the Korean radish and rinse it under cold water to remove any residue. Dry thoroughly.
- Cut the radish into ¾ to 1-inch cubes and place in a large bowl.
- Sprinkle kosher salt and sugar over the radish cubes and mix gently. Let sit for about 30 minutes.
- Drain the liquid released from the radish into a separate bowl.
- Add minced garlic, minced ginger, chopped green onions, fish sauce, and gochugaru to the radish cubes. Mix well.
- Pour in about ⅓ cup of the reserved radish juice and mix thoroughly.
- Transfer the kimchi mixture into a clean, airtight jar, pressing down to eliminate air pockets.
- Cover loosely and let ferment at room temperature for 1-2 days.
- After fermentation, seal the jar and refrigerate. The flavor will continue to develop.
Leave a Reply