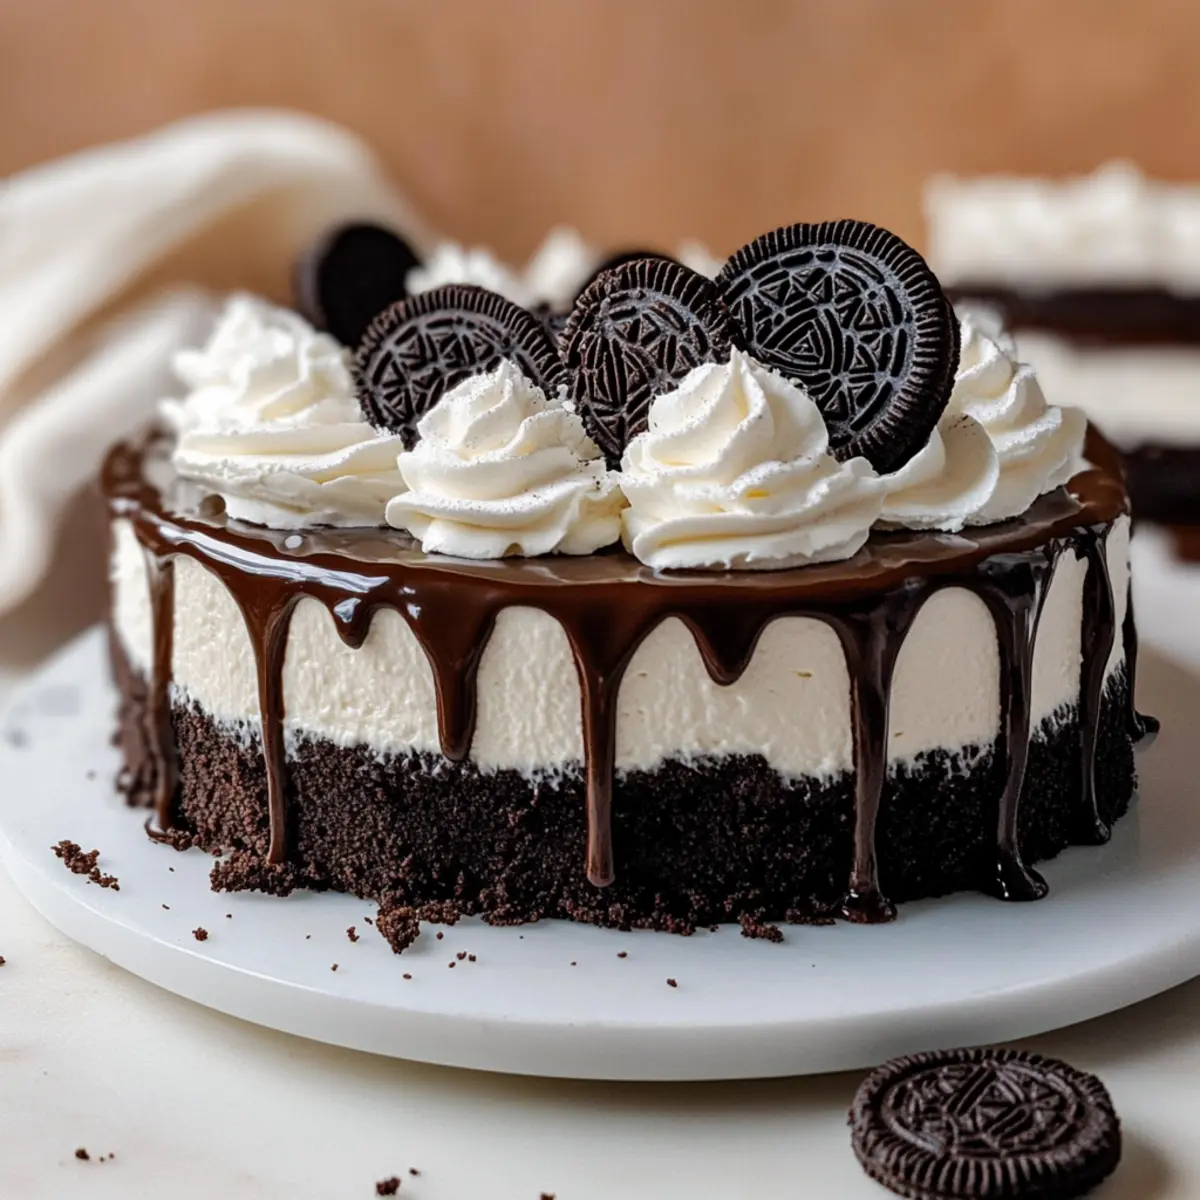
As I turned to grab a slice of dessert, the air was filled with the irresistible aroma of chocolate and crème. This No-Bake Oreo Cheesecake is my secret weapon when I want to impress friends at gatherings or simply indulge in a sweet treat after dinner. With a buttery Oreo crust and a creamy filling that perfectly captures the beloved cookies and cream flavor, it’s a dessert that’s both delightful and simple to whip up. The best part? You don’t need to turn on the oven! This crowd-pleaser is not only quick to prepare but can also be made ahead, giving you more time to relax and savor the compliments. Ready to elevate your dessert game? Let’s dive into this heavenly creation!
Why Is No-Bake Oreo Cheesecake So Loved?
Irresistible Creaminess: This cheesecake brings a velvety texture that melts in your mouth, ensuring each bite is a heavenly experience.
Quick and Easy: No baking means you can whip this dessert up in no time, perfect for those spontaneous gatherings or last-minute cravings.
Endless Crowd Appeal: Whether you’re serving family dinners or parties with friends, this dessert is always a hit and leaves everyone asking for the recipe.
Perfectly Versatile: Top it with whipped cream, chocolate shavings, or fresh berries for an extra flair, just like my Japanese Cotton Cheesecake that offers a delightful twist!
Make-Ahead Friendly: Prep a day in advance and let the flavors meld together; you’ll have a stunning dessert ready to impress without any stress.
Comfort Food Vibes: The combination of Oreo cookies and rich cream cheese evokes feelings of nostalgia and comfort that everyone loves!
No-Bake Oreo Cheesecake Ingredients
For the Crust
- Oreo Cookies – The foundation of flavor and crunch in your crust.
- Butter – Binds the cookie crumbs together for a sturdy base.
Substitution Note: Coconut oil can be used for a dairy-free option.
For the Filling
- Full-Fat Cream Cheese – Creates a creamy and luscious texture essential for the filling.
Ensure cream cheese is cold for optimal mixing. - Powdered Sugar – Sweetens the filling, giving it a smooth consistency.
Granulated sugar can be substituted but may alter texture slightly. - Vanilla Paste – Enhances the overall flavor with a sweet aroma.
Vanilla extract is an alternative. - Heavy Cream – Whipped to add a light and airy touch to the filling.
Can be substituted with coconut whipped cream for a dairy-free version. - Mini Oreos – Perfect for decoration and adding extra cookie flavor.
Regular Oreos can be used as a substitute.
For the Ganache
- Semi-Sweet Dark Chocolate – Adds a rich layer of chocolatey goodness that complements the cheesecake.
Milk chocolate can be used for a sweeter taste. - Additional Heavy Cream – Ensures a silky, smooth texture in the ganache.
- Butter – Enhances the richness and mouthfeel of the ganache.
Unleash your creativity and indulge in the delightful world of this No-Bake Oreo Cheesecake!
Step‑by‑Step Instructions for No-Bake Oreo Cheesecake
Step 1: Prepare the Pan
Begin by lightly greasing a 23 cm (9-inch) springform pan with butter or cooking spray. Next, line the bottom with parchment paper to ensure easy removal, a step that makes serving your No-Bake Oreo Cheesecake a breeze. Set the pan aside as you move to the next step.
Step 2: Make the Oreo Crust
Crush about 24 Oreo cookies into fine crumbs using a food processor until they resemble sand. Melt 5 tablespoons of butter in a small saucepan or microwave, and then combine it with the cookie crumbs in a mixing bowl. Press this mixture firmly into the bottom and slightly up the sides of your prepared pan. Chill in the refrigerator for at least 30 minutes to firm up.
Step 3: Mix the Filling
In a large mixing bowl, beat 16 ounces of full-fat cream cheese until smooth using a hand mixer or stand mixer. Gradually mix in 1 cup of powdered sugar and 1 teaspoon of vanilla paste until fully incorporated. In a separate bowl, whip 1 cup of heavy cream until stiff peaks form, and then gently fold this whipped cream into the cream cheese mixture along with 10 crushed Oreo cookies, creating a light and airy filling.
Step 4: Assemble the Cheesecake
Once your crust has set, pour the cheesecake filling into the chilled Oreo crust. Use a spatula to smooth the top for an even surface. Cover the pan with plastic wrap and refrigerate for 6 to 8 hours, or overnight if possible, allowing the cheesecake to firm up and flavors to meld.
Step 5: Prepare the Ganache
To make the ganache, combine 4 ounces of semi-sweet dark chocolate and 2 tablespoons of butter in a medium bowl. Gently heat 1/2 cup of heavy cream in a saucepan until it’s just about to boil, then pour it over the chocolate mixture. Allow it to sit for a couple of minutes before stirring until smooth and glossy, letting the ganache cool slightly.
Step 6: Decorate
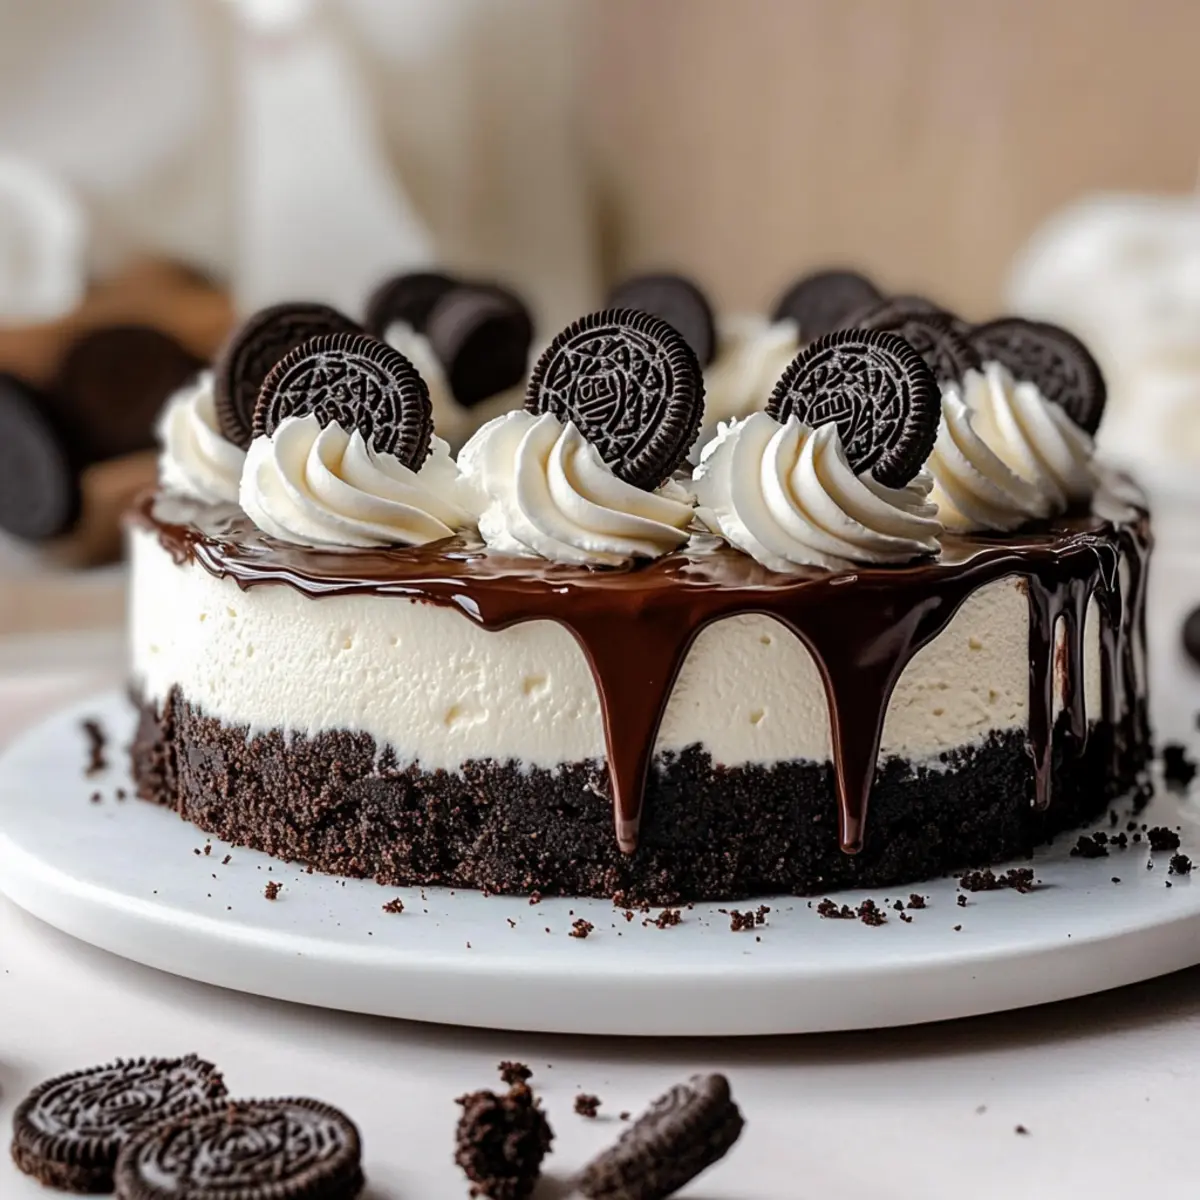
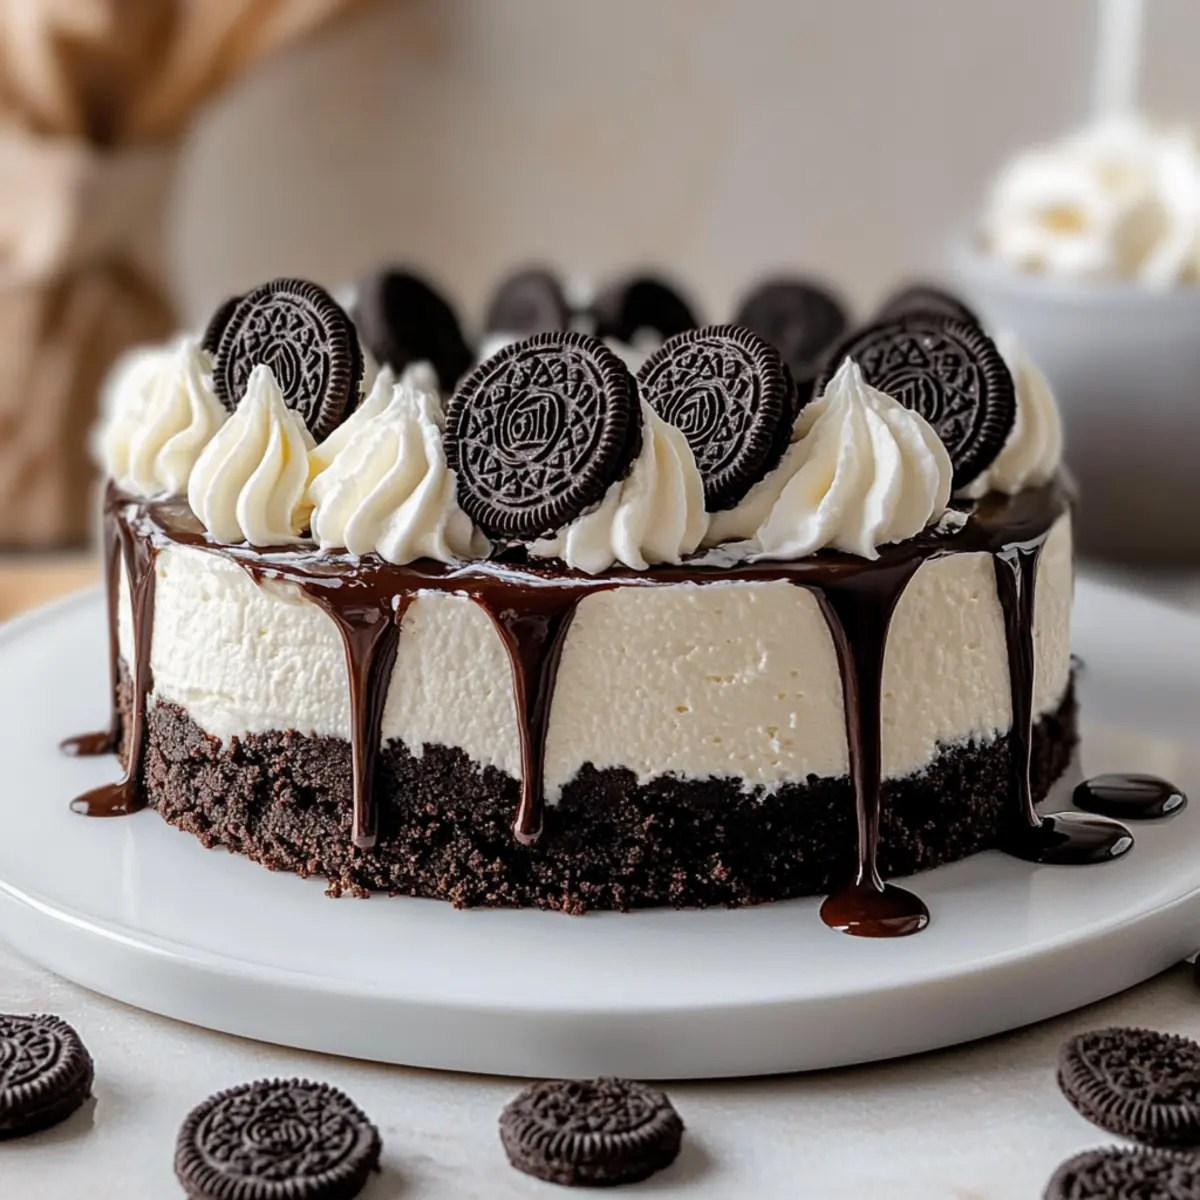
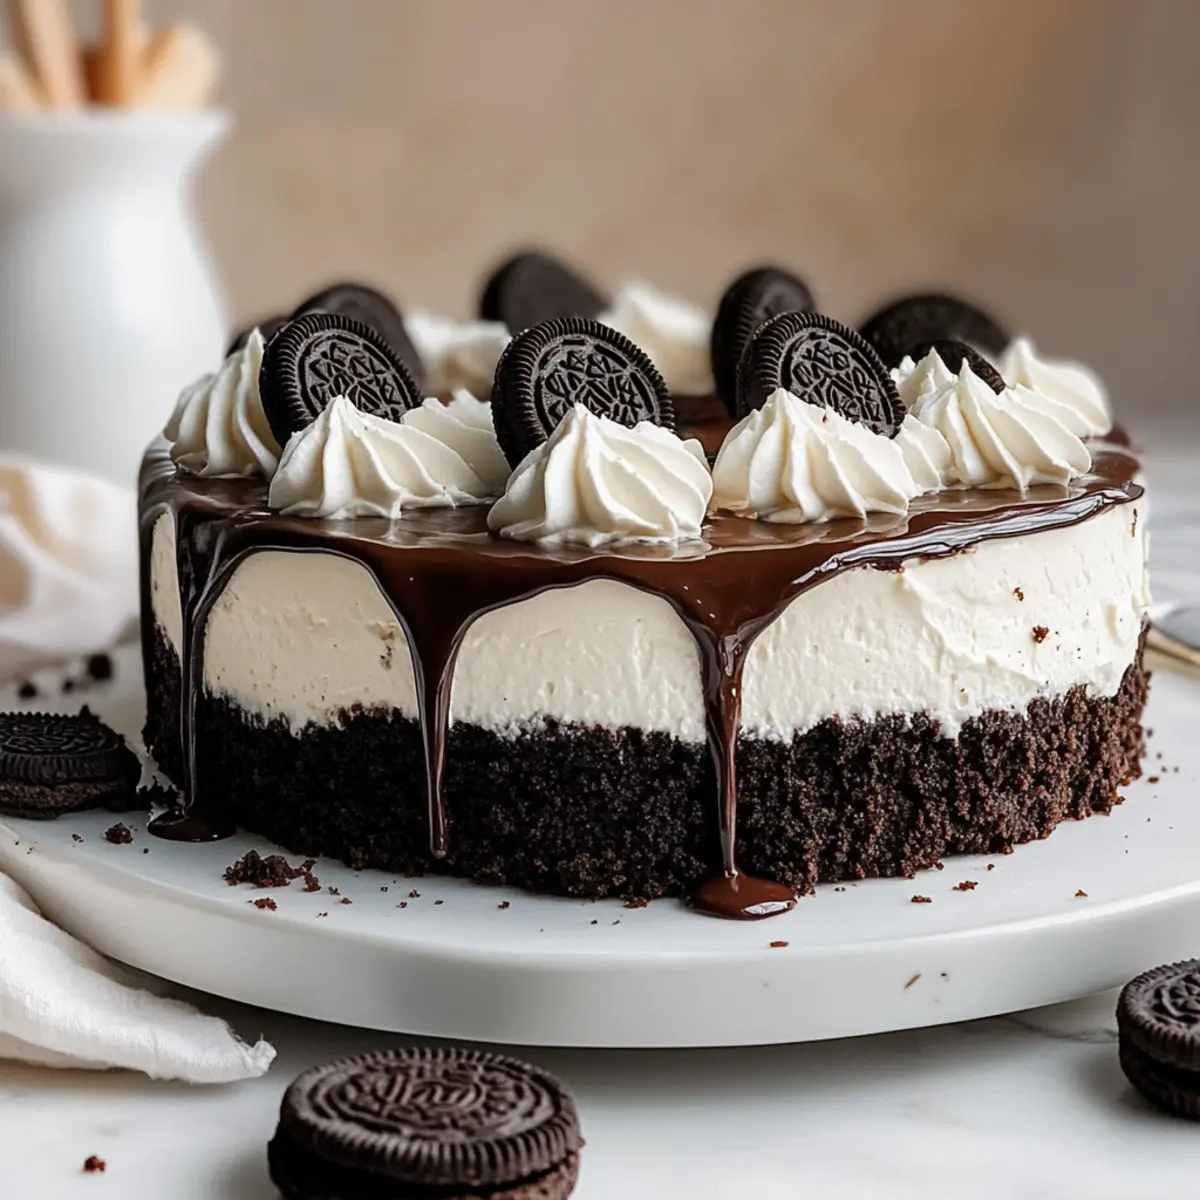
Once the ganache has cooled and your No-Bake Oreo Cheesecake has set, carefully pour the ganache over the cheesecake, using a spatula to create an even layer. For a decorative touch, whip reserved heavy cream and pipe a border around the edges of the cheesecake. Finish with mini Oreos or halved Oreos on top to add a charming flourish!
No-Bake Oreo Cheesecake Variations
Embrace your creativity and transform this beloved recipe into something uniquely yours!
-
Dairy-Free: Substitute cream cheese and heavy cream with vegan cream cheese and coconut whipped cream for a delightful dairy-free option.
-
Fruit Layer: Add a layer of raspberry or strawberry puree beneath the ganache for a refreshing fruit twist. This fruity layer adds a beautiful contrast to the rich cheesecake.
-
Minty Fresh: Mix mint extract into the filling for a refreshing mint chocolate version that feels like a chocolate mint cookie treat!
-
Nutty Crunch: Incorporate crushed nuts such as walnuts or almonds into the crust for added texture and a delicious crunch beneath the creamy filling.
-
Caramel Drizzle: Drizzle caramel sauce over the ganache before adding the whipped cream topping for an irresistible combination of flavors.
-
S’mores Style: Replace Oreos with Graham crackers and add mini marshmallows for a fun s’mores twist on this classic dessert, perfect for campers and cozy gatherings!
-
Chocolate Lovers Delight: Use chocolate Oreos for an extra chocolatey flavor in both the crust and filling. Pair it with a chocolate ganache to amplify the rich taste.
-
Churro Flavor: Add a sprinkle of cinnamon to the crust and garnish with churro bites for a spiced twist reminiscent of homemade churros.
Feel free to explore, and if you’re looking for more inspiration, consider checking out my delicious Japanese Cotton Cheesecake for a lighter dessert option or a unique addition to your dessert repertoire!
Expert Tips for No-Bake Oreo Cheesecake
-
Room Temperature Cream Cheese: Always use cream cheese that’s at room temperature to achieve a silky-smooth filling without lumps.
-
Chill the Crust: Don’t skip chilling the crust! It ensures your No-Bake Oreo Cheesecake holds its shape when sliced.
-
Cool Ganache: Allow the ganache to cool slightly before pouring over the cheesecake to avoid melting the filling.
-
Gentle Folding: When adding whipped cream and crushed Oreos to your filling, fold gently to keep that airy texture intact.
-
Proper Storage: Store any leftovers wrapped tightly in plastic wrap in the fridge for up to 3-4 days to maintain freshness.
-
Make-Ahead Magic: This cheesecake is perfect for prepping a day in advance, letting the flavors deepen while it chill.
Make Ahead Options
These No-Bake Oreo Cheesecakes are ideal for meal prep, saving you precious time on busy days! You can prepare the crust and filling up to 24 hours in advance. Simply make the Oreo crust and press it into the pan, then chill it in the fridge to set. Prepare the filling, pour it into the crust, and cover with plastic wrap before refrigerating. This longer chilling time allows the flavors to meld into a creamy delight. When you’re ready to serve, simply whip up the ganache and pour it over the cheesecake. This ensures that your No-Bake Oreo Cheesecake is just as delicious and fresh, making it perfect for gatherings or family dinners!
What to Serve with No-Bake Oreo Cheesecake?
Nothing pairs better with a slice of sweet indulgence than a delightful selection of flavors and textures to elevate your dessert experience.
- Fresh Berries: The tartness of strawberries or raspberries cuts through the richness, adding a refreshing burst of flavor.
- Vanilla Ice Cream: A scoop of creamy vanilla adds extra sweetness and contrast, creating a little piece of heaven on your plate.
- Chocolate Drizzle: Drizzle melted chocolate over each slice for an added touch of decadence that complements the Oreo flavor.
- Whipped Cream: A dollop of fresh whipped cream enhances your cheesecake’s airiness, giving it that perfect finish.
- Mint Leaves: A sprinkle of mint leaves not only adds a pop of color but also introduces a refreshing element that brightens the rich flavors.
- Coffee or Espresso: Serve it alongside a cup of coffee to balance the sweetness; the bitterness of coffee pairs perfectly with dessert.
- Shortbread Cookies: Crunchy shortbread adds a delightful texture contrast, making each bite a varied experience.
- Caramel Sauce: For those who crave more sweetness, a drizzle of caramel elevates this cheesecake into a truly gourmet experience.
- Milkshakes: For a fun twist, pair slices with a cookies and cream milkshake, creating a wonderful flavor synergy that everyone will adore!
- Cheesecake Bites: Offer mini versions of the cheesecake as bites for a perfect take on the classic, allowing guests to indulge without hesitation.
How to Store and Freeze No-Bake Oreo Cheesecake
-
Fridge: Store your cheesecake wrapped tightly in plastic wrap or an airtight container for up to 3-4 days. This keeps it fresh and delicious while maintaining its creamy texture.
-
Freezer: For longer storage, place slices or the whole cheesecake in an airtight container or wrap well in plastic wrap, then foil. It can be frozen for up to 2 months.
-
Thawing: To enjoy your frozen No-Bake Oreo Cheesecake, transfer it to the fridge for several hours or overnight to thaw. Avoid thawing at room temperature to maintain its texture.
-
Reheating: Unlike baked cheesecakes, there’s no reheating needed! Serve chilled directly from the fridge for the best taste and texture.
No-Bake Oreo Cheesecake Recipe FAQs
How should I choose Oreo cookies for the crust?
It’s best to use standard Oreo cookies for the crust, ensuring they are fresh and not stale. Stale cookies will yield a crust that lacks crunch. If you notice any dark spots all over the cookies, it’s a sign of age.
How long can I store my No-Bake Oreo Cheesecake in the fridge?
You can store your cheesecake wrapped tightly in plastic wrap or in an airtight container for up to 3-4 days. Keeping it well-sealed is crucial to retaining its creamy texture and flavors.
Can I freeze No-Bake Oreo Cheesecake, and how?
Absolutely! You can freeze slices or the entire cheesecake. First, wrap it tightly in plastic wrap and then in aluminum foil or place it in an airtight container. It will keep well for up to 2 months. Thaw it in the fridge overnight before serving for the best texture.
What should I do if my cream cheese filling turns out lumpy?
If you happen to have lumps in your cream cheese filling, it’s likely because the cream cheese was too cold or wasn’t mixed enough. To fix this, try to blend it thoroughly before adding in the heavy cream. If lumps persist, you can pass the mixture through a fine mesh strainer to remove them.
Is No-Bake Oreo Cheesecake suitable for people with gluten allergies?
Unfortunately, traditional Oreo cookies contain gluten. However, you can use gluten-free sandwich cookies as a substitute for making gluten-free version of this No-Bake Oreo Cheesecake. Just always double-check the packaging for any hidden gluten ingredients.
How can I enhance the flavor of my No-Bake Oreo Cheesecake?
If you’re looking to boost the flavor, consider adding a teaspoon of espresso powder to the filling for a mocha twist or a splash of almond extract for a unique taste. For something fruity, layering fresh berries between the filling and the ganache can add a refreshing dimension!
No-Bake Oreo Cheesecake: A Dreamy Dessert Delight
Ingredients
Equipment
Method
- Lightly grease a 23 cm (9-inch) springform pan and line the bottom with parchment paper.
- Crush about 24 Oreo cookies into fine crumbs and mix with melted butter. Press into the pan and chill for 30 minutes.
- Beat cream cheese until smooth. Gradually mix in powdered sugar and vanilla paste. Whip heavy cream until stiff peaks form and fold into the cream cheese mixture along with 10 crushed Oreos.
- Pour the filling into the chilled crust and smooth the top. Cover and refrigerate for 6 to 8 hours.
- For the ganache, melt chocolate and butter together. Heat heavy cream until just boiling and pour over chocolate. Stir until smooth.
- Pour ganache over the set cheesecake and decorate with whipped cream and mini Oreos.
Leave a Reply