As I reached for a snack after a long day, I stumbled upon an old recipe card—scribbled notes for No-Bake Peanut Butter Energy Bites. In just five minutes, I could whip up these sweet, nutritious delights that double as a quick breakfast or guilt-free afternoon pick-me-up. Gone are the days of reaching for pre-packaged snacks! These bites are not only easy to make, but they also come packed with wholesome ingredients, ensuring you stay energized throughout your busy day. Plus, they’re perfect for those adventurous enough to customize with your favorite add-ins. Ready to join me in transforming snack time? Let’s dive into this delicious and hassle-free recipe!
Why are No-Bake Peanut Butter Energy Bites a must-try?
Quick and Easy: In just five minutes, you can whip up these bites without turning on the oven, making them perfect for busy days.
Nutritious Boost: Packed with protein from peanut butter and fiber from oats, they offer a wholesome alternative to sugary snacks.
Versatile Spins: Feel free to customize them! Add chia seeds for extra crunch or swap peanut butter with almond butter for a twist.
Crowd-Pleaser: Whether it’s an after-school snack or a midday treat, these bites are sure to satisfy both kids and adults alike.
Meal Prep Friendliness: These bites can be refrigerated for up to a week, ensuring you always have a delicious snack on hand. Pair them with a cup of yogurt or a smoothie for a balanced breakfast!
No-Bake Peanut Butter Energy Bites Ingredients
For the Bites
• Peanut Butter – Adds creaminess and flavor; choose smooth for a silkier texture or crunchy for added bite.
• Oats – Provides structure and fiber; rolled oats are best, but quick oats work if you’re in a pinch.
• Honey – Acts as a sweetener and binder; use maple syrup for a vegan-friendly alternative.
• Chocolate Chips – Adds a dash of sweetness; dark or semi-sweet chips provide rich flavor options.
Optional Add-ins
• Chia Seeds – Boosts fiber content; sprinkle in for a nutritious crunch.
• Ground Flaxseed – Increases omega-3s; an excellent addition for added health benefits.
• Shredded Coconut – Enhances texture; use for a tropical twist to your bites.
• Chopped Dried Cranberries – Adds a touch of natural sweetness; great for a fruity kick within the bites.
Elevate your snack game with these No-Bake Peanut Butter Energy Bites!
Step‑by‑Step Instructions for No-Bake Peanut Butter Energy Bites
Step 1: Combine Dry Ingredients
In a medium mixing bowl, combine rolled oats and chocolate chips. Stir the ingredients together using a wooden spoon until they are evenly mixed. This should take about 1 minute. The oats will provide a hearty base while the chocolate chips add a delightful sweetness to your No-Bake Peanut Butter Energy Bites.
Step 2: Add Wet Ingredients
Next, scoop in the creamy peanut butter and drizzle the honey over the oats and chocolate mixture. Using the same wooden spoon, mix thoroughly until all components are well combined, around 2–3 minutes. The mixture should become thick and sticky, making it easier to form into bites later on.
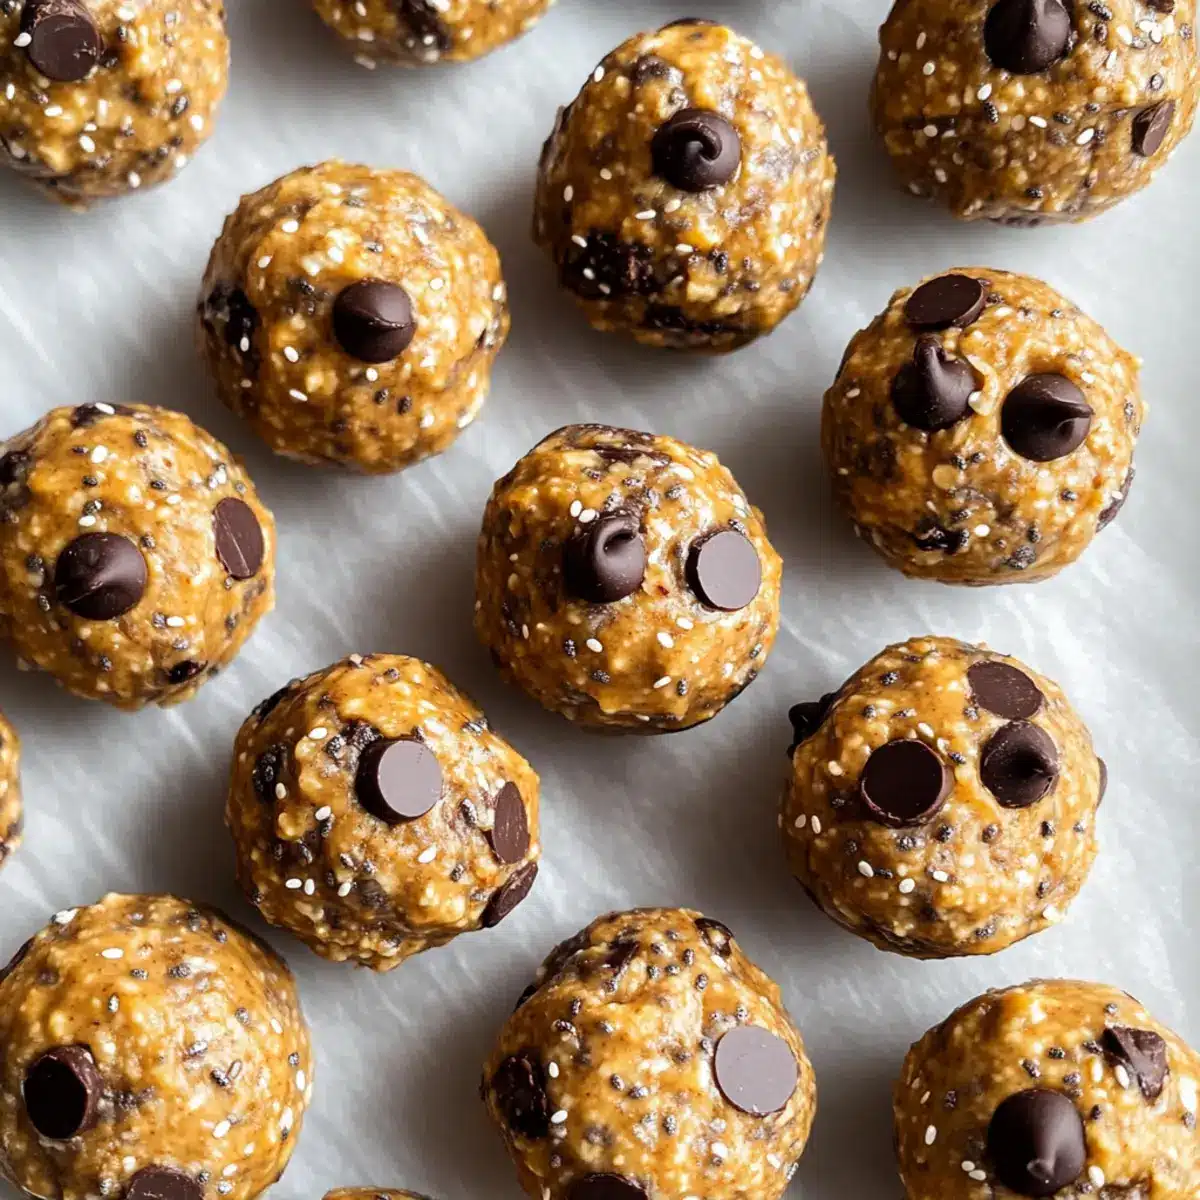
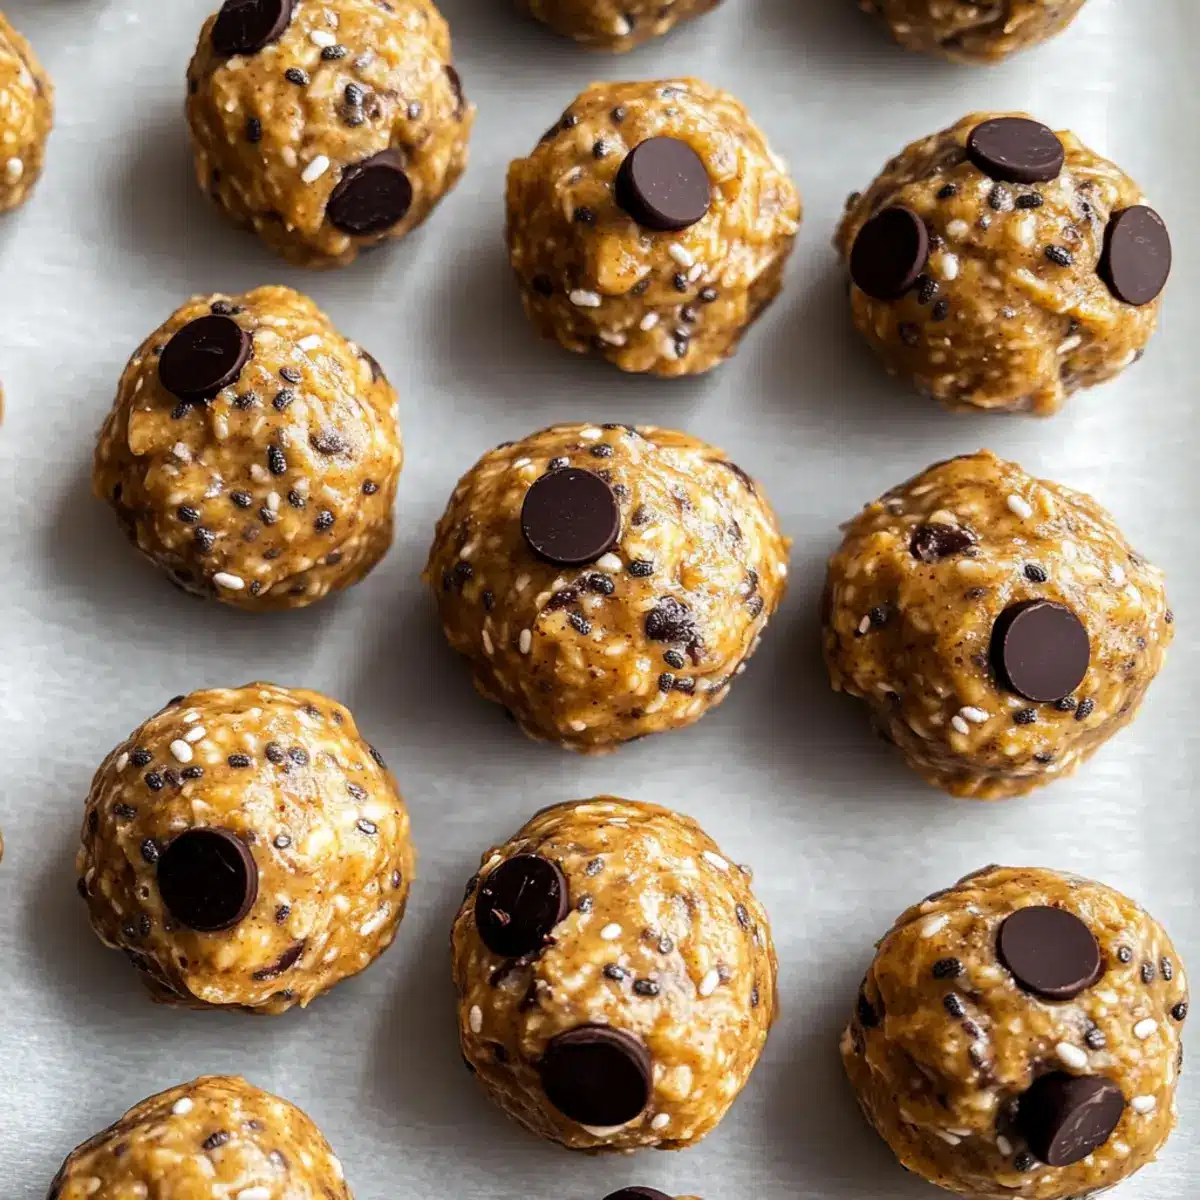
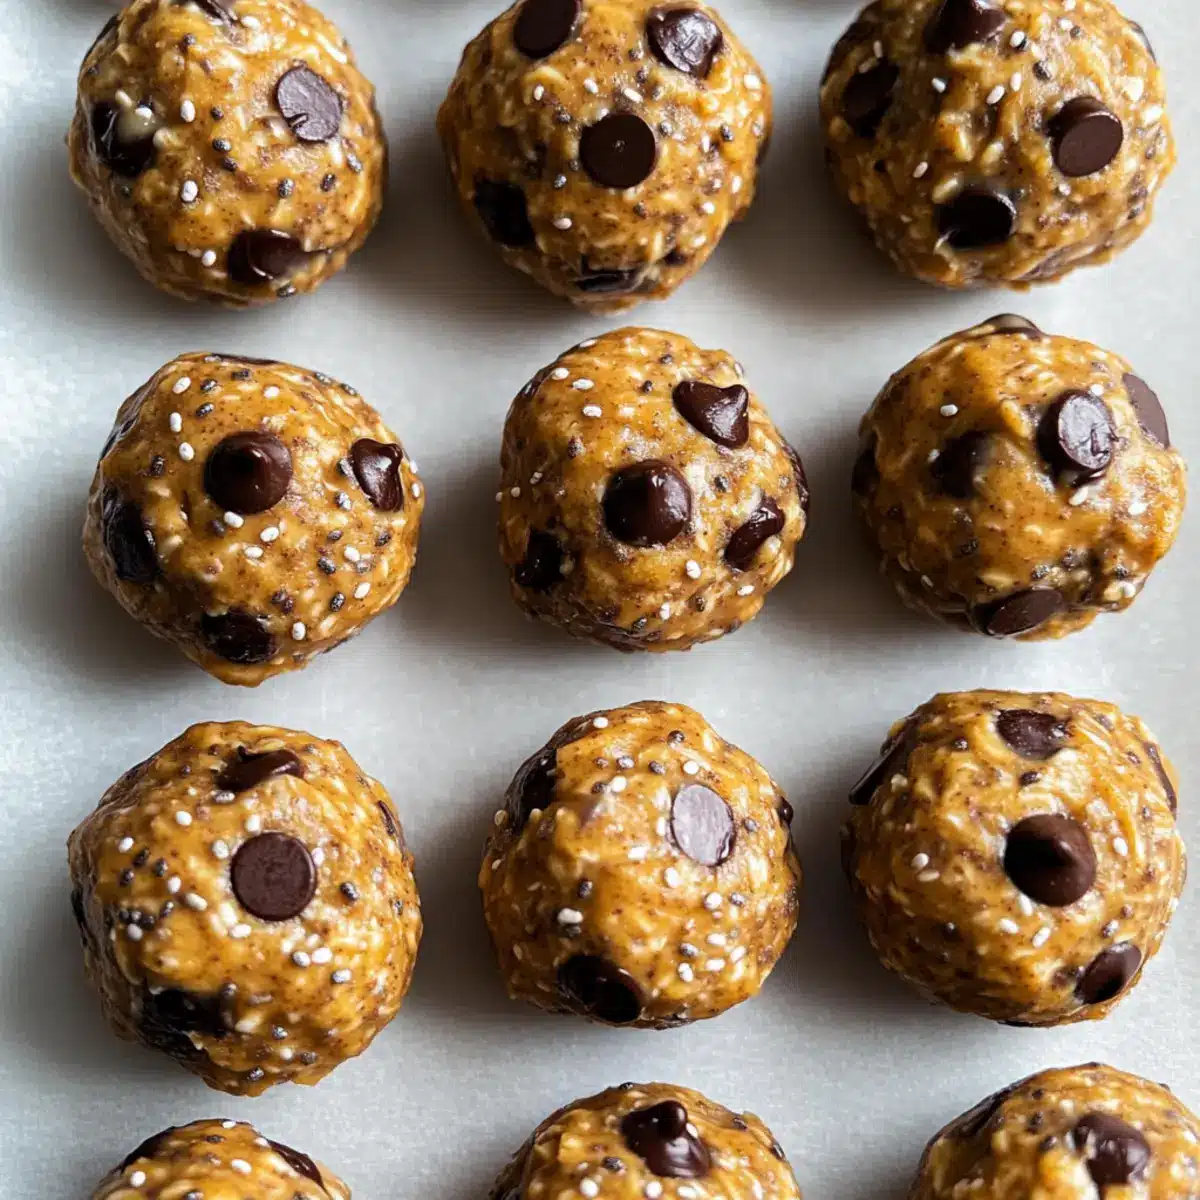
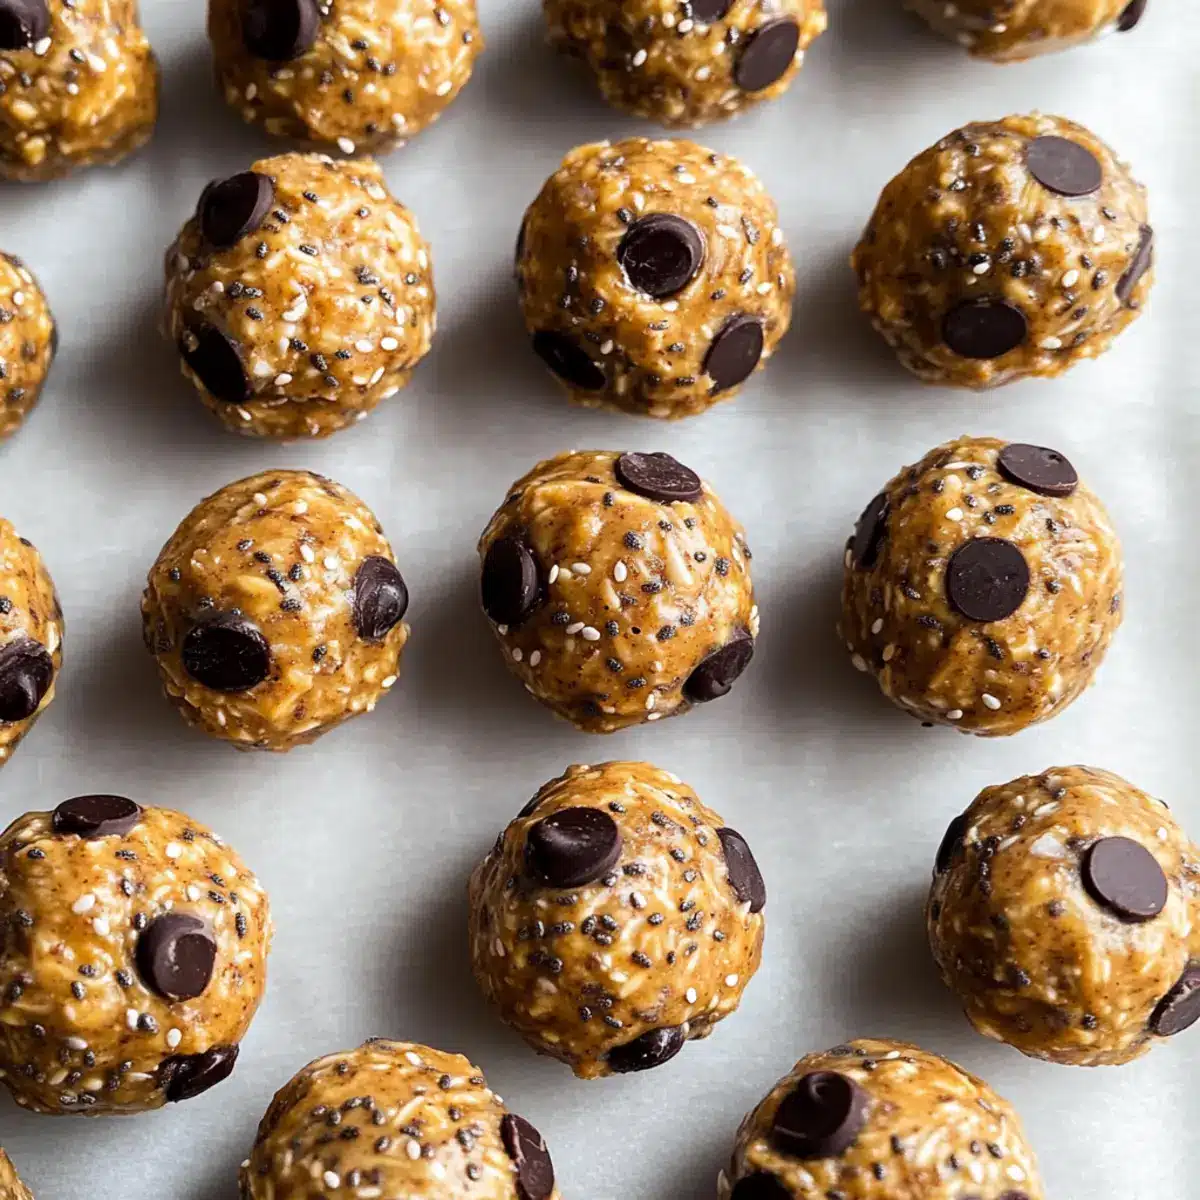
Step 3: Form the Bites
With clean hands or a tablespoon scoop, take the mixture and roll it into 12 evenly sized balls, about 1 inch in diameter. Place the formed bites on a parchment-lined baking sheet or plate. This step should only take about 5 minutes, and you will see the delicious No-Bake Peanut Butter Energy Bites coming together!
Step 4: Chill for Best Texture
For the best texture, refrigerate the energy bites for about 30 minutes. This will help them firm up and hold their shape better. During this time, clean your workspace and prepare any optional add-ins you’d like to enjoy them with later, such as yogurt or extra fruit.
Step 5: Store for Later Enjoyment
Once chilled, transfer the energy bites into an airtight container or zip-top bag for convenient snacking. These No-Bake Peanut Butter Energy Bites can be stored in the refrigerator for up to a week, or you can freeze them to keep on hand for a longer period. Enjoy these nutritious bites whenever you need a quick pick-me-up!
No-Bake Peanut Butter Energy Bites Variations
Feel free to get creative with these bites and make them your own with exciting twists and flavors!
-
Nut Butter Swap: Switch out peanut butter for almond butter or sunflower seed butter for a different taste. Each nut butter brings its own charm and nutrition!
-
Vegan-Friendly: Replace honey with agave syrup or a vegan-friendly maple syrup for a guilt-free, plant-based snack that everyone will love.
-
Flavor Explosion: Add a teaspoon of vanilla extract or cinnamon to the mixture to elevate the flavor profile; a little spice goes a long way!
-
Boost the Crunch: Fold in some chopped nuts or seeds, like walnuts or pumpkin seeds, for extra texture and a unique taste experience that will keep you coming back for more.
-
Heat it Up: For a delightful kick, mix in a sprinkle of cayenne or chili powder for those who love a spiced surprise in their treats!
-
Tropical Twist: Roll the bites in shredded coconut or finely chopped dried mango before chilling for a sweet island flair. Who can resist a tropical getaway in a bite?
-
Decadent Coating: Dip them in melted dark chocolate and sprinkle with sea salt for a gourmet touch that will make every bite a decadent treat.
-
Custom Bites Inspiration: Pair these bites with other delightful snacks like Peanut Butter Bites or Butter Beef Bites to mix and match your energy treats; the combinations are endless!
What to Serve with No-Bake Peanut Butter Energy Bites
These delightful energy bites can elevate your snacking game to whole new heights when paired with the right accompaniments.
-
Creamy Greek Yogurt: This adds a smooth texture and tangy flavor, creating a perfect contrast to the sweet energy bites. Dip or scoop it for a nutritious snack!
-
Fresh Fruit Slices: Apples or bananas bring a refreshing sweetness and extra fiber, making a lovely balance with the rich peanut butter goodness.
-
Smoothie Bowl: A vibrant smoothie bowl topped with berries and nuts offers a refreshing contrast in taste and texture, making breakfast or snack time feel special.
-
Nutty Granola: Crumble or sprinkle some homemade granola on top for added crunch, making each bite even more satisfying while enhancing the wholesome feel.
-
Dark Chocolate Drizzle: A light drizzle of melted dark chocolate boosts the flavor profiles, turning a healthy snack into a decadent treat that indulges sweet cravings.
-
Herbal Tea or Almond Milk: Pair with a soothing cup of herbal tea or a glass of nut milk for a cozy touch, perfect for enjoying while relaxing or unwinding.
-
Cottage Cheese: A scoop of cottage cheese adds protein and creaminess, making a fulfilling snack or light meal alongside your energy bites.
-
Mini Energy Bite Trio: Make an assortment by mixing in different flavors, like coconut and cranberries, and serving with a side of fruit for a colorful platter.
These combinations promise to turn your No-Bake Peanut Butter Energy Bites into a deliciously fulfilling part of your snacking repertoire!
Expert Tips for No-Bake Peanut Butter Energy Bites
- Consistency Matters: If the mixture feels too runny, sprinkle in an extra tablespoon of oats until you reach the right thickness for your No-Bake Peanut Butter Energy Bites.
- Chill to Firm: For best results, refrigerate your bites for at least 30 minutes. This helps them firm up and makes them easier to handle.
- Perfect Portions: Use a tablespoon to scoop the mixture for even-sized bites, ensuring every person gets the same delightful energy boost!
- Flavor Enhancements: Experiment with different nut butters or sweeteners to tailor the flavor to your liking. Almond butter or agave syrup can make tasty variations.
- Storing Right: Keep your energy bites in an airtight container in the fridge to maintain freshness for up to one week. They also freeze well for longer storage.
How to Store and Freeze No-Bake Peanut Butter Energy Bites
Fridge: Store your No-Bake Peanut Butter Energy Bites in an airtight container for up to 1 week. This way, you always have a delicious and nutritious snack on hand!
Freezer: For extended freshness, freeze the bites for up to 3 months. Place them in a single layer on a baking sheet to firm up before transferring to a zip-top bag.
Reheating: Enjoy these bites straight from the fridge or freezer. If you prefer them a little softer, let them sit out for a few minutes before indulging.
Wrapping: If you plan to freeze with individual wrapping, use plastic wrap or parchment paper to separate each bite, preventing them from sticking together.
Make Ahead Options
These No-Bake Peanut Butter Energy Bites are perfect for meal prep, saving you time on busy days! You can prepare the mixture and shape it into balls up to 24 hours ahead of time; simply refrigerate them in an airtight container. Alternatively, form the bites, chill them, and then store them in the fridge for up to 1 week or freeze for longer shelf life. To maintain their delicious texture and avoid drying out, be sure they are tightly sealed. When you’re ready to enjoy, take them out and serve right away, or if frozen, allow them to thaw for about 15 minutes. You’ll have nutritious, convenient snacks at your fingertips!
No-Bake Peanut Butter Energy Bites Recipe FAQs
How do I select the best peanut butter for the recipe?
Absolutely! When selecting peanut butter, it’s best to choose a natural variety without added sugars or hydrogenated oils. Smooth peanut butter gives a creamier texture, making it easier to combine with other ingredients, while crunchy peanut butter adds delightful texture. I personally prefer the natural kind found in the health aisle, which enhances the flavor without unnecessary ingredients.
How should I store the No-Bake Peanut Butter Energy Bites?
You can store your No-Bake Peanut Butter Energy Bites in an airtight container in the refrigerator for up to 1 week. Just be sure to keep them sealed to prevent them from drying out. If you want even longer shelf-life, consider freezing them as detailed below!
Can I freeze No-Bake Peanut Butter Energy Bites?
Definitely! To freeze your delicious bites, first, lay them out in a single layer on a baking sheet to firm them up in the freezer for about 1 hour. Once they’re set, transfer the bites to a zip-top freezer bag, ensuring that you remove as much air as possible. They’ll last in the freezer for up to 3 months! Just pull a few out whenever you need a quick snack—let them sit at room temperature for a few minutes before enjoying.
What should I do if my mixture is too runny?
Very! If your mixture seems too runny to form into bites, don’t worry! Just add 1-2 teaspoons of rolled oats or ground flaxseed, and mix well until you achieve the desired thickness. This will help bind everything together. Remember, mixing thoroughly is key—this will ensure the flavors meld and the texture is just right!
Are there any dietary considerations for the energy bites?
Sure! If you’re making these for someone with allergies, ensure your peanut butter is free of cross-contamination with tree nuts. For a nut-free option, sunbutter (made from sunflower seeds) is a great alternative. If you’re catering to vegans, stick to maple syrup instead of honey, and choose dairy-free chocolate chips. Always check labels to ensure there are no hidden allergens!
What’s the best way to serve No-Bake Peanut Butter Energy Bites?
While these bites are perfect on their own, I highly recommend pairing them with a protein-packed snack like Greek yogurt or a smoothie. This balance will provide a satisfying meal that combines protein and healthy fats, enhancing your energy throughout the day! Whenever I enjoy them with yogurt, I feel like I’m treating myself to something special.
No-Bake Peanut Butter Energy Bites for Quick, Tasty Fuel
Ingredients
Equipment
Method
- In a medium mixing bowl, combine rolled oats and chocolate chips. Stir until evenly mixed.
- Scoop in the peanut butter and drizzle the honey over the mixture. Mix thoroughly until well combined.
- Roll the mixture into 12 evenly sized balls, about 1 inch in diameter. Place on a parchment-lined baking sheet.
- Refrigerate the energy bites for about 30 minutes to firm up.
- Store the chilled bites in an airtight container or zip-top bag.
Leave a Reply