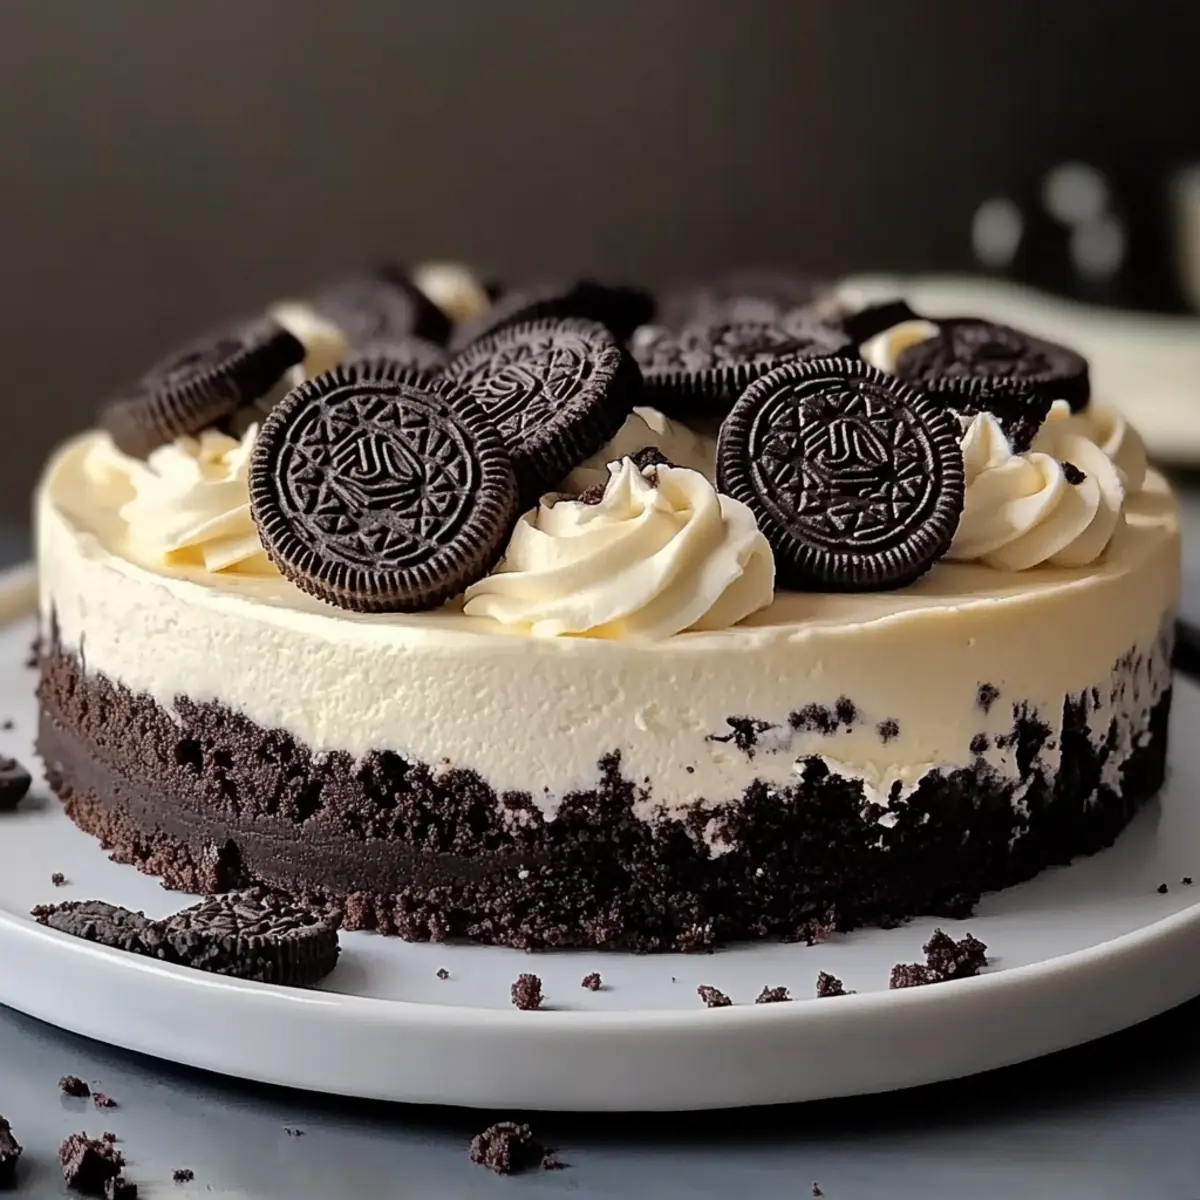
Scooping creamy-filled desserts can sometimes feel like a delight reserved for special occasions, but let me share my little secret: you can whip up a show-stopping Oreo Cheesecake in no time! This no-bake wonder combines the nostalgic taste of Oreos with a luscious cheesecake filling, creating the perfect treat for birthdays, potlucks, or a spontaneous celebration. In just a few simple steps, you’ll have a rich and creamy dessert that’s not only easy to make but also a crowd-pleaser, ideal for those who want to swap out fast food for homemade goodness. Curious about how to make this delicious dessert even more fun? Let’s dive into the world of Oreo Cheesecake together!
Why is this Oreo Cheesecake a Must-Try?
Irresistible Flavor: The fusion of classic Oreos with a creamy cheesecake filling creates a flavor sensation that will have everyone coming back for seconds.
No-Bake Convenience: This Oreo Cheesecake requires no baking, making it a perfect last-minute dessert to whip up for any gathering, just like our delightful Japanese Cotton Cheesecake.
Customizable Options: You can easily personalize this recipe by swapping in different flavored Oreos or adding toppings, ensuring every bite feels unique and special.
Crowd-Pleasing Delight: Whether it’s a birthday party or a cozy family dinner, this dessert is guaranteed to impress guests of all ages, making it an instant favorite.
Quick Prep Time: With minimal fuss and preparation, you can have this decadent dessert ready in no time, freeing you up to enjoy the celebration!
Oreo Cheesecake Ingredients
For the Crust
• Oreos – classic Oreos create the perfect crunchy chocolate base.
• Butter – melted butter binds the crumbs together for a sturdy crust.
For the Filling
• Cream Cheese – choose full-fat for a rich texture; reduced-fat works in a pinch.
• Sour Cream – adds tangy richness; substitute Greek yogurt for a lighter version.
• Sugar – granulated sugar gives balance; try erythritol for a lower-sugar alternative.
• Eggs – add one at a time to achieve a smooth batter; essential for structure.
• Vanilla Extract – use pure vanilla extract to elevate flavor naturally.
• Crushed Oreos – fold these into the filling for that delightful cookies and cream taste.
Optional Toppings
• Whipped Cream – a dollop on top adds an airy finish to your Oreo Cheesecake.
• Oreo Crumbles – sprinkle on top for an extra crunch and visual appeal.
• Chocolate Ganache – drizzle for a decadent touch that chocolate lovers will adore.
Step‑by‑Step Instructions for Oreo Cheesecake
Step 1: Prepare the Crust
Begin by crushing 24 Oreos into fine crumbs using a food processor or rolling pin. Combine the crumbs with 4 tablespoons of melted butter in a mixing bowl, ensuring everything is evenly mixed. Press this mixture firmly into the bottom of an 8-inch springform pan, creating a compact layer. Bake the crust in a preheated oven at 350°F for 10 minutes until slightly firm, then set aside to cool.
Step 2: Make the Filling
In a large mixing bowl, use a hand mixer to beat 16 ounces of softened cream cheese until smooth and creamy, which should take about 2 minutes. Gradually add in ½ cup of granulated sugar while continuing to beat, ensuring no lumps remain. Incorporate 2 eggs, one at a time, mixing well after each addition, followed by 1 teaspoon of vanilla extract.
Step 3: Incorporate Sour Cream and Oreos
Next, gently fold in 1 cup of sour cream and 10 crushed Oreos into the cream cheese mixture. This is where the Oreo Cheesecake gets its delightful cookies and cream flavor. Mix just until everything is blended and you see bits of Oreo throughout, which should take about 1 minute. Be careful not to overmix; you want the texture to remain creamy.
Step 4: Assemble and Bake
Pour the filling over the cooled crust in the springform pan, spreading it evenly. To prevent cracking, place the pan in a larger baking dish filled with hot water, creating a water bath. Bake at 325°F for 45-50 minutes, or until the edges are set but the center still jiggles slightly.
Step 5: Cool Properly
After baking, turn off the oven and crack the door ajar to let the cheesecake cool gradually for an hour. This method helps prevent cracks on the surface. Once cooled, transfer your cheesecake to the refrigerator and chill for at least 4 hours, ideally overnight, allowing the flavors to meld beautifully.
Step 6: Serve and Garnish
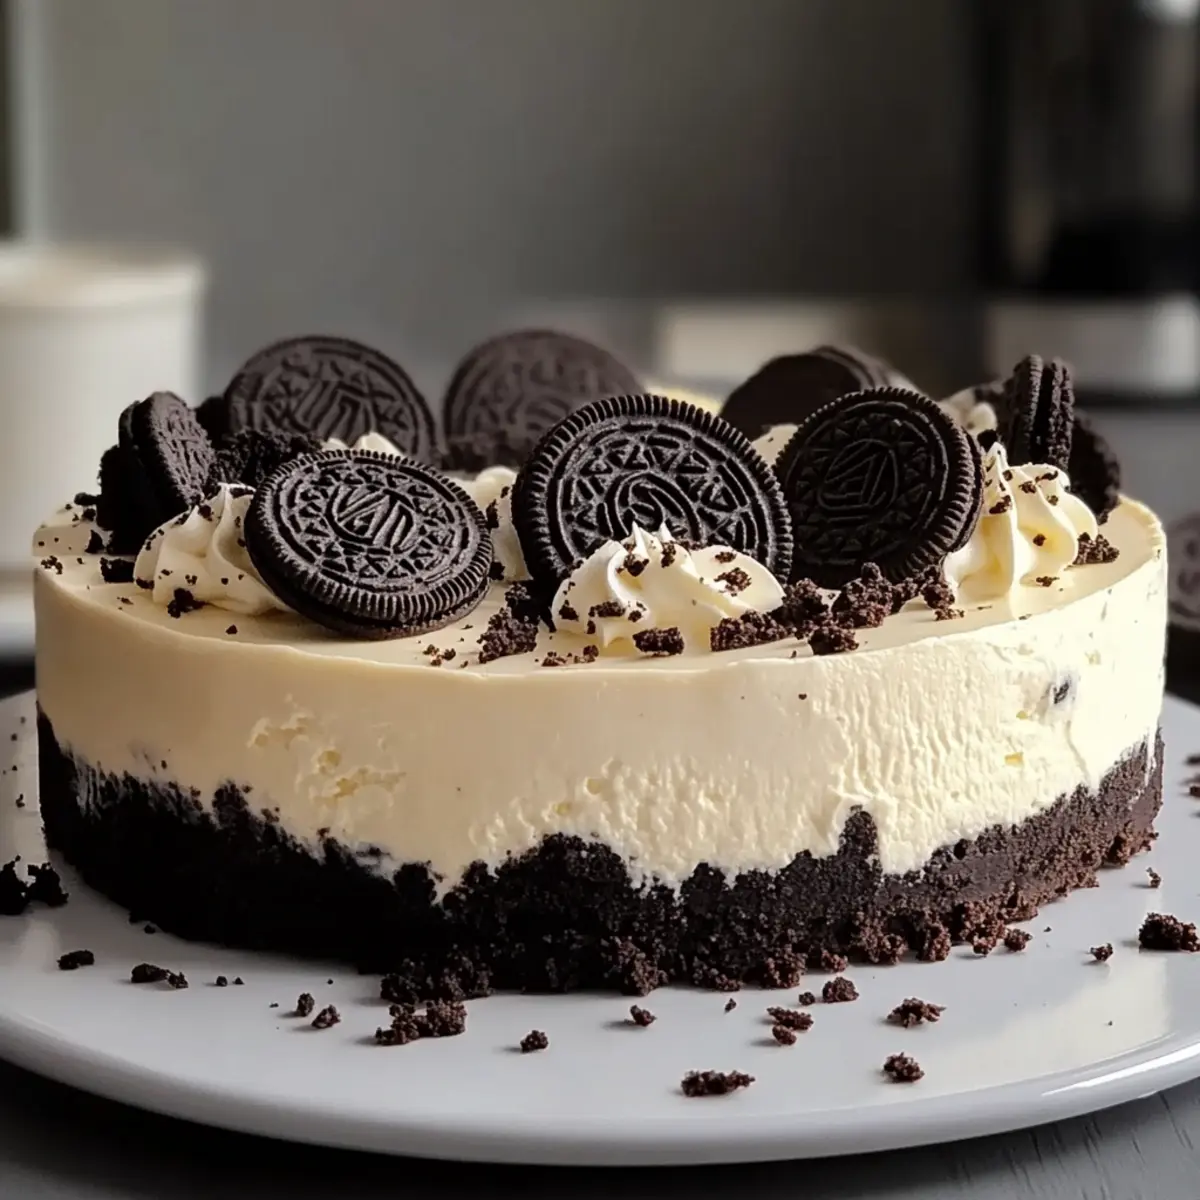
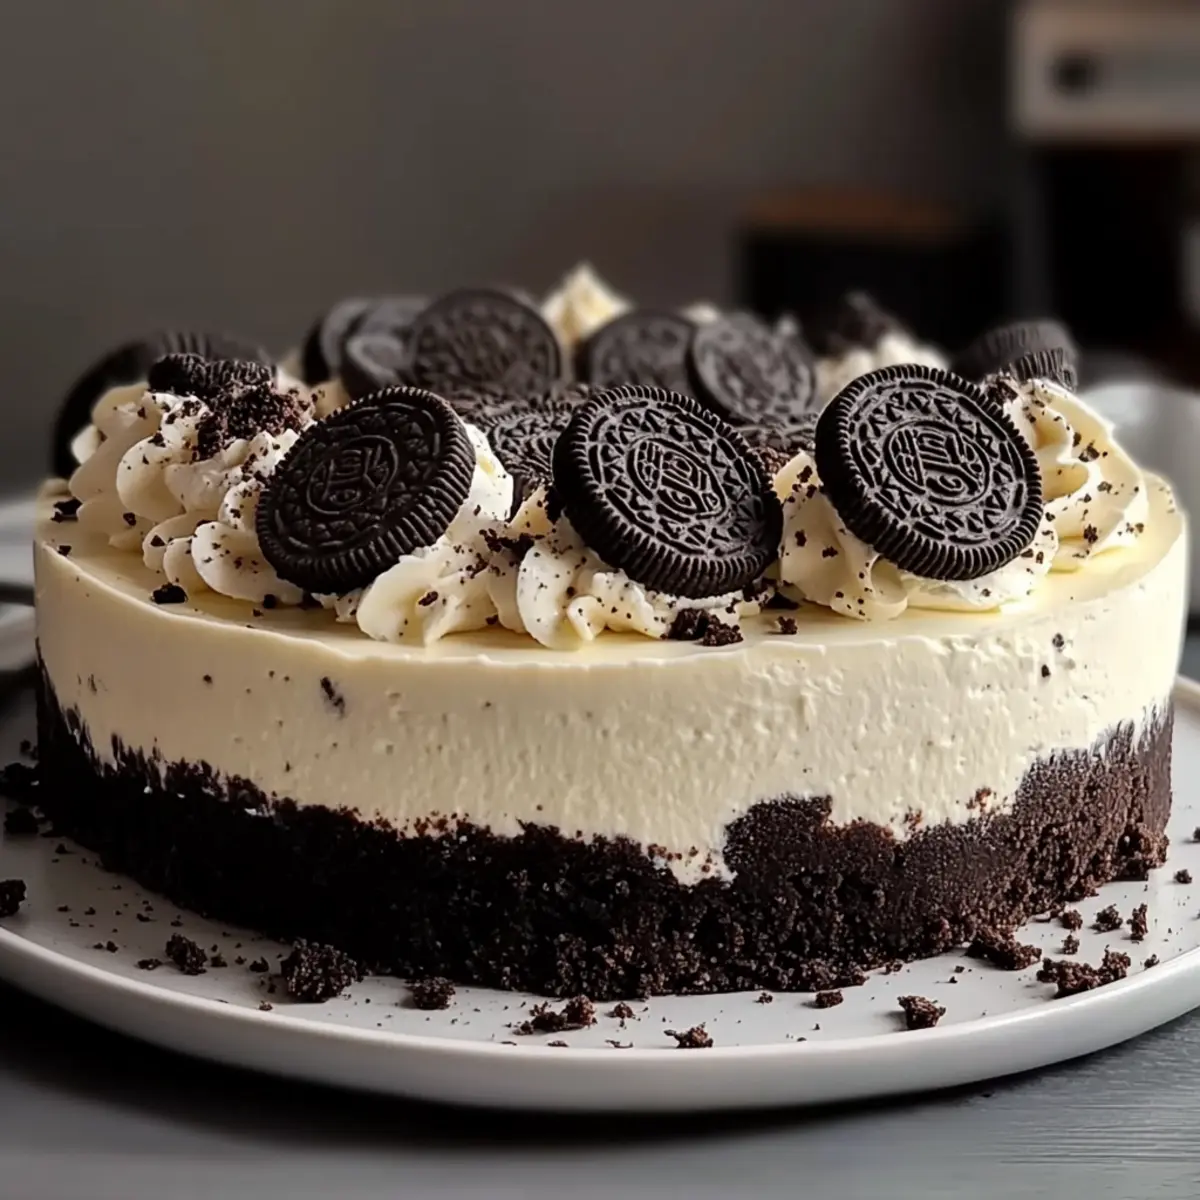
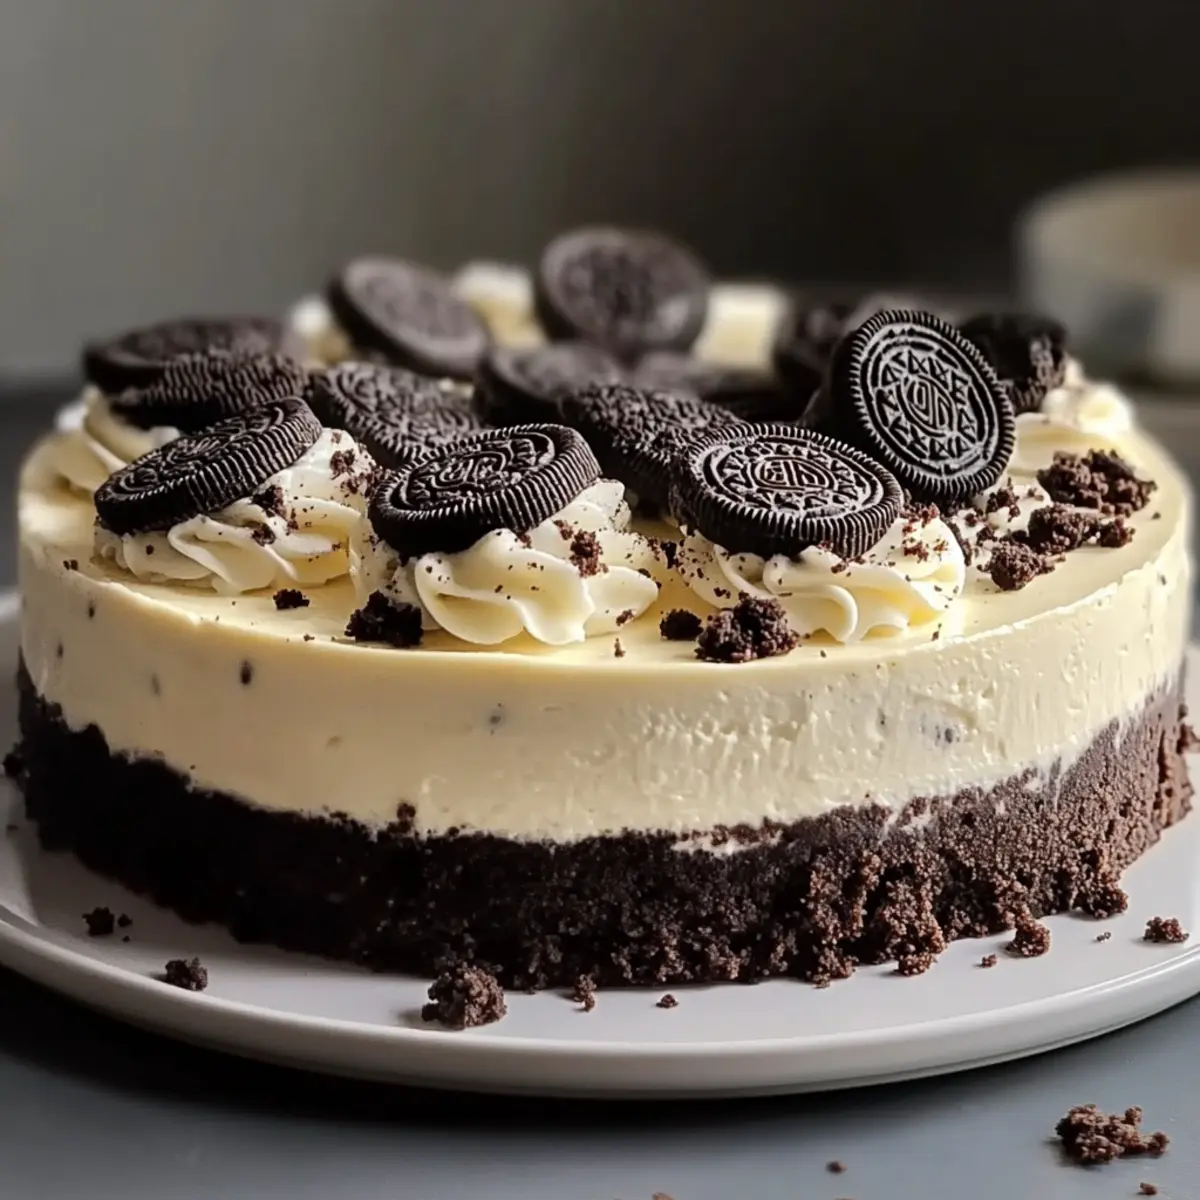
When ready to serve, carefully run a knife around the edges of the springform pan to release the cheesecake. Release the sides and transfer to a serving plate. Top with whipped cream and sprinkle additional crushed Oreos for a delightful final touch. Slice and enjoy your creamy, no-bake Oreo Cheesecake!
Oreo Cheesecake Variations & Substitutions
Feel free to get creative with this recipe, adding your own personal touch to make it even more delightful!
- Greek Yogurt: Replace sour cream with Greek yogurt for a lighter, tangy twist that still keeps it creamy.
- Flavored Oreos: Switch classic Oreos with mint or pumpkin spice versions for a fun flavor experiment.
- Chocolate Overload: Melt some dark chocolate into your filling to elevate the chocolatey goodness. It’s a rich indulgence that chocolate lovers will adore.
- Dairy-Free Decadence: Use non-dairy cream cheese and coconut cream as a substitute for a lactose-free version that’s still luscious.
- Nutty Crunch: Mix in crushed nuts, such as pecans or almonds, into the crust or as a topping for an added crunch.
- Caramel Swirl: Drizzle caramel sauce over the top before chilling for a sweet, sugary surprise in each bite.
- Spicy Kick: Add a pinch of cayenne or chili powder to the filling for a unique heat that complements the sweetness—just a little bit goes a long way!
- Fruit Toppings: Enhance the dessert with fresh berries or a berry sauce that pairs beautifully with the rich creaminess of the cheesecake.
With these options, you can tailor your Oreo Cheesecake to suit any occasion or preference. Just like our delightful Japanese Cotton Cheesecake, each variation brings its own charm! Enjoy experimenting!
Make Ahead Options
These creamy no-bake Oreo Cheesecake bites are perfect for those who love to meal prep! You can prepare the crust and filling up to 24 hours in advance, allowing the flavors to deepen beautifully. Simply crush the Oreos and mix with melted butter for the crust, then store it in the pan. For the filling, mix together cream cheese, sugar, eggs, vanilla, sour cream, and crushed Oreos, and refrigerate in an airtight container. When you’re ready to serve, bake the cheesecake and cool it as directed. By following these tips, you’ll enjoy a delightful dessert that tastes just as fresh, saving you time for more important moments!
What to Serve with Creamy No-Bake Oreo Cheesecake
Imagine indulging in a slice of velvety cheesecake while savoring delightful side dishes that enhance every heavenly bite.
-
Fresh Berries: Ripe strawberries, blueberries, or raspberries add a burst of freshness, balancing the rich creaminess of the cheesecake perfectly.
-
Chocolate Ganache: A smooth drizzle of chocolate ganache elevates the dessert into a luxurious treat, perfect for chocolate lovers’ indulgence!
-
Whipped Cream: Light and airy, a dollop of whipped cream adds an elegant touch, making each slice even more inviting.
-
Mini Fruit Tart: A colorful mini fruit tart offers a crisp contrast in texture and vibrant flavors that beautifully complements the creamy cheesecake.
-
Coffee or Espresso: A warm cup of coffee or a shot of espresso sharpens the sweet taste of the cheesecake, creating a delightful pairing for dessert lovers.
-
Mint Chocolate Chip Ice Cream: The coolness of mint chocolate chip ice cream pairs excellently, refreshing your palate after the richness of the Oreo Cheesecake.
-
Macarons: The delicate, chewy texture of macarons in a variety of flavors make for a chic and satisfying dessert side.
-
Salted Caramel Sauce: A drizzle of salted caramel brings a sweet and salty contrast, enhancing the flavors and making every bite an adventure.
-
Vanilla Custard: Smooth vanilla custard as a side creates a beautiful pairing, adding another layer of creaminess to the mix.
How to Store and Freeze Oreo Cheesecake
Fridge: Store your leftover Oreo Cheesecake covered in plastic wrap or in an airtight container for up to 5 days. This keeps it fresh and delicious.
Freezer: If you want to make it ahead, freeze the cheesecake for up to 2 months. Wrap it tightly in multiple layers of plastic wrap followed by aluminum foil to prevent freezer burn.
Thawing: To enjoy your frozen Oreo Cheesecake, transfer it to the fridge and allow it to thaw overnight before serving. This will help maintain its creamy texture.
Reheating: There’s no need to heat your cheesecake, as it’s best enjoyed chilled straight from the fridge!
Expert Tips for Oreo Cheesecake
-
Soften Cream Cheese: Ensure cream cheese is at room temperature before mixing to avoid lumps in your Oreo Cheesecake filling.
-
Don’t Skimp on Chilling: Allow your cheesecake to chill overnight for optimal texture and flavor; this helps the creaminess develop beautifully.
-
Water Bath Magic: Using a water bath during baking prevents cracking, giving your cheesecake a smooth top and a glossy finish.
-
Fold Gently: When mixing in the crushed Oreos, fold them gently to maintain the luscious creaminess without overmixing.
-
Use Quality Ingredients: Always opt for pure vanilla extract and full-fat cream cheese for the best flavor in your no-bake masterpiece.
Oreo Cheesecake Recipe FAQs
What type of Oreos should I use for the crust?
Absolutely! Classic Oreos are the best choice for creating a delicious chocolate crust thanks to their rich flavor and perfect crumbly texture. However, if you’re feeling adventurous, flavored Oreos like mint or peanut butter can add a unique twist to your cheesecake.
How should I store leftover Oreo Cheesecake?
To keep your Oreo Cheesecake fresh, cover it tightly with plastic wrap or transfer it to an airtight container. It can be stored in the refrigerator for up to 5 days. Make sure to keep it away from any strong odors, as cheesecake can absorb smells quite easily.
Can I freeze Oreo Cheesecake?
Yes, you can! If you’d like to freeze your Oreo Cheesecake, wrap it tightly in multiple layers of plastic wrap and then in aluminum foil to prevent freezer burn. It can be frozen for up to 2 months. When you’re ready to enjoy it, simply move it to the fridge to thaw overnight for the best texture.
Why did my cheesecake crack on top?
Very common! Cracking can occur if the cheesecake was baked at too high of a temperature or cooked too quickly. To help prevent this, always use a water bath while baking. Also, allow the cheesecake to cool gradually in the oven with the door slightly ajar after baking; this gentle cooling will help maintain its structure!
Can I make this recipe gluten-free?
Absolutely! For a gluten-free Oreo Cheesecake, simply choose gluten-free Oreos or another gluten-free cookie that you love for the crust. All other ingredients in this recipe are naturally gluten-free, making it a perfect treat for gluten-sensitive friends and family.
Is it safe to consume raw eggs in the filling?
While the eggs in this recipe provide structure, it’s crucial to use fresh, pasteurized eggs to minimize any health risks. If you’re concerned about raw eggs, you can substitute with a store-bought egg substitute specifically for baking, or simply omit them, adjusting the sugar accordingly to maintain sweetness.
Decadent Oreo Cheesecake That's No-Bake and Simply Irresistible
Ingredients
Equipment
Method
- Begin by crushing 24 Oreos into fine crumbs using a food processor or rolling pin. Combine the crumbs with 4 tablespoons of melted butter in a mixing bowl, ensuring everything is evenly mixed. Press this mixture firmly into the bottom of an 8-inch springform pan, creating a compact layer.
- In a large mixing bowl, use a hand mixer to beat 16 ounces of softened cream cheese until smooth and creamy, which should take about 2 minutes. Gradually add in ½ cup of granulated sugar while continuing to beat, ensuring no lumps remain. Incorporate 2 eggs, one at a time, mixing well after each addition, followed by 1 teaspoon of vanilla extract.
- Next, gently fold in 1 cup of sour cream and 10 crushed Oreos into the cream cheese mixture. This is where the Oreo Cheesecake gets its delightful cookies and cream flavor. Mix just until everything is blended and you see bits of Oreo throughout, which should take about 1 minute.
- Pour the filling over the cooled crust in the springform pan, spreading it evenly. To prevent cracking, place the pan in a larger baking dish filled with hot water, creating a water bath. Bake at 325°F for 45-50 minutes, or until the edges are set but the center still jiggles slightly.
- After baking, turn off the oven and crack the door ajar to let the cheesecake cool gradually for an hour. Once cooled, transfer your cheesecake to the refrigerator and chill for at least 4 hours, ideally overnight.
- When ready to serve, carefully run a knife around the edges of the springform pan to release the cheesecake. Release the sides and transfer to a serving plate. Top with whipped cream and sprinkle additional crushed Oreos for a delightful final touch. Slice and enjoy your creamy, no-bake Oreo Cheesecake!
Leave a Reply