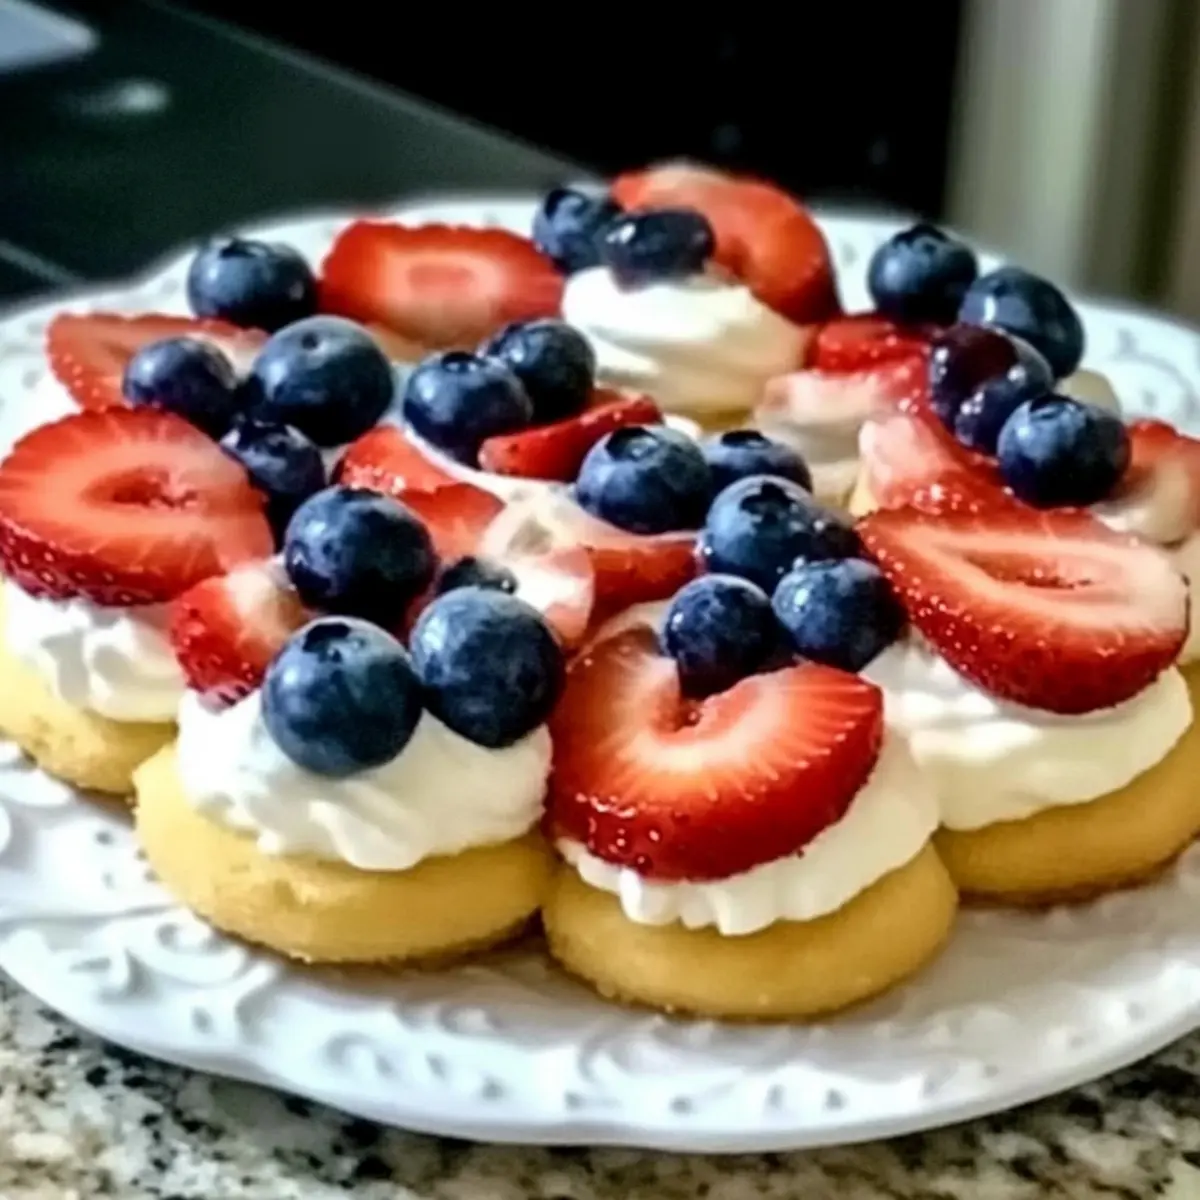
As I flipped through my favorite summer cookbooks, a burst of color caught my eye—a vibrant picture of Mini Red, White, and Blue Fruit Pizzas. Instantly, I felt the warmth of sun-soaked picnics and laughter-filled celebrations. These delightful desserts, with their soft cookie base adorned with creamy frosting and fresh fruits, create a whimsical spirit that’s perfect for summertime gatherings. Not only are they incredibly easy to whip up in just 35 minutes, but they also serve as a fun and festive way to delight your friends and family. Whether it’s a backyard BBQ or a picnic by the lake, these bite-sized treats are bound to steal the show. Are you ready to create some delicious memories together?
Why You’ll Love These Fruit Pizzas?
Easy to Make: With just a few simple steps, these Mini Red, White, and Blue Fruit Pizzas will come together in no time, allowing you to focus on enjoying your summer gatherings.
Festive Presentation: Their vibrant colors and fun layout make them perfect for celebrations, ensuring they’ll be a hit at birthday parties or family reunions.
Versatile Toppings: Feel free to swap in your favorite fruits! Try raspberries or mango for a twist, or add a sprinkle of lemon zest to brighten the frosting.
Healthy Indulgence: At around 150 calories each, these mini treats combine the sweetness of fruit with the comfort of cookies, making them a guilt-free dessert option.
Crowd-Pleaser: Whether serving at a picnic or a backyard BBQ, these delightful snacks will impress guests of all ages—just like my Fall Fruit Salad always does!
Mini Red, White, and Blue Fruit Pizza Ingredients
• For the Cookie Base
- All-purpose flour – Provides structure for the cookies; consider using gluten-free flour for a different take.
- Baking powder – Essential for leavening; it helps the cookies achieve that perfect rise.
- Salt – Enhances flavor and balances the sweetness of the cookie base.
- Unsalted butter – Adds richness and moisture; swap with vegan butter for a dairy-free option.
- Granulated sugar – Sweetens your cookie base perfectly; brown sugar can add a hint of caramel flavor.
- Large egg – Binds ingredients and ensures a tender, chewy texture; a flax egg is a great vegan substitute.
- Vanilla extract – Deepens the flavor of the cookies; almond extract can be used for a unique twist.
• For the Creamy Frosting
- Cream cheese – Forms a luscious frosting base; try dairy-free cream cheese if needed.
- Powdered sugar – Sweetens and thickens the frosting for the ideal creamy consistency.
• For the Toppings
- Fresh strawberries – Add a sweet, juicy flavor; they provide that beautiful red color.
- Blueberries – Bring a burst of freshness and vibrant color; a summer favorite!
- Bananas (optional) – Add slices for a creamy texture; feel free to substitute with kiwi or mango for something exotic.
Get ready to indulge in Mini Red, White, and Blue Fruit Pizzas—your go-to dessert this summer!
Step‑by‑Step Instructions for Mini Red, White, and Blue Fruit Pizzas
Step 1: Preheat the Oven
Begin by preheating your oven to 350°F (175°C). While the oven heats, line a baking sheet with parchment paper to prevent the cookies from sticking. This step is crucial when making these Mini Red, White, and Blue Fruit Pizzas, as it ensures they come out with perfectly golden edges.
Step 2: Mix Dry Ingredients
In a medium bowl, whisk together the all-purpose flour, baking powder, and salt until well combined. This mixture is essential for creating a tender cookie base for your fruit pizzas. Set the bowl aside as you move on to preparing the wet ingredients, ensuring a smooth transition between steps.
Step 3: Cream Butter and Sugar
In a large mixing bowl, use an electric mixer to cream together the softened unsalted butter and granulated sugar until the mixture is light and fluffy, about 2-3 minutes. This process helps incorporate air into the dough, resulting in tender Mini Red, White, and Blue Fruit Pizzas. Add in the large egg and vanilla extract, mixing well until fully combined.
Step 4: Combine Mixtures
Gradually add the dry ingredients to the wet mixture, mixing on low speed until just combined. Be careful not to overmix, as this can lead to tough cookies. You want a soft dough that holds together well but still has a slightly sticky texture, perfect for your upcoming cookie bases.
Step 5: Shape the Cookies
Using a cookie scoop or tablespoon, drop rounds of cookie dough onto the prepared baking sheet, spacing them about 2 inches apart. Flatten each dough ball slightly with your fingers to ensure even baking. These mini cookies will form the delightful bases for your fruit pizzas, so give each one space to spread.
Step 6: Bake the Cookies
Place the baking sheet in the preheated oven and bake for 10-12 minutes, or until the edges are lightly golden and the centers appear set. Keep an eye on them, as oven times vary. Once done, remove the baking sheet and allow the cookies to cool for 5 minutes before transferring them to a wire rack to cool completely.
Step 7: Prepare the Frosting
In a medium bowl, beat together the cream cheese, powdered sugar, and vanilla extract using an electric mixer until the mixture is smooth and creamy, about 2-3 minutes. This frosting will provide a luscious backdrop for the vibrant fruits, so make sure it’s homogenous and ready to spread.
Step 8: Frost the Cookies
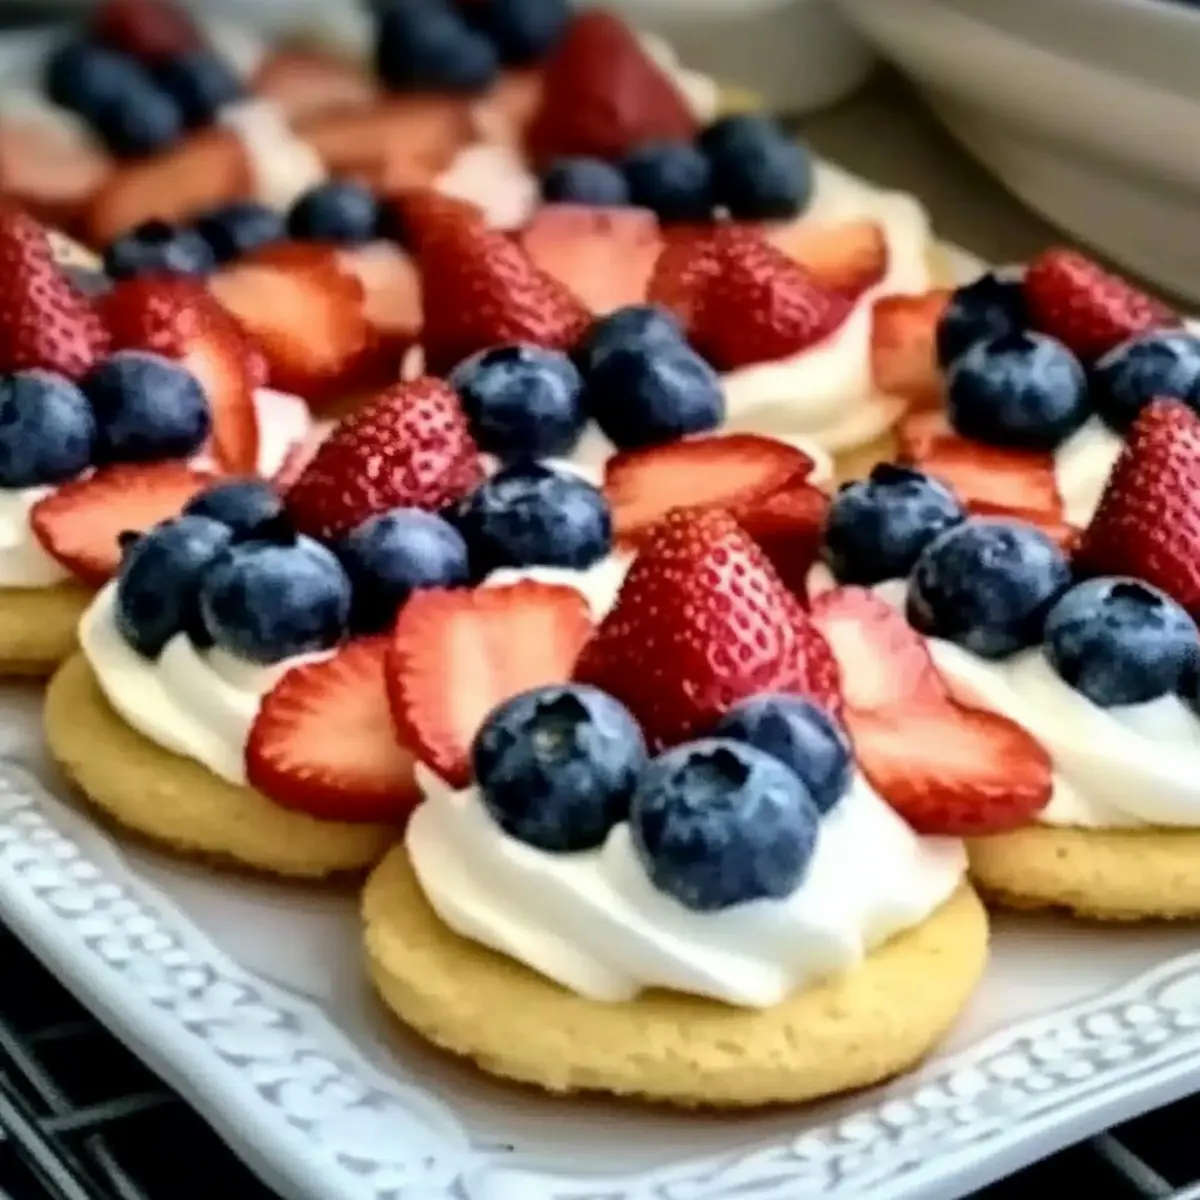
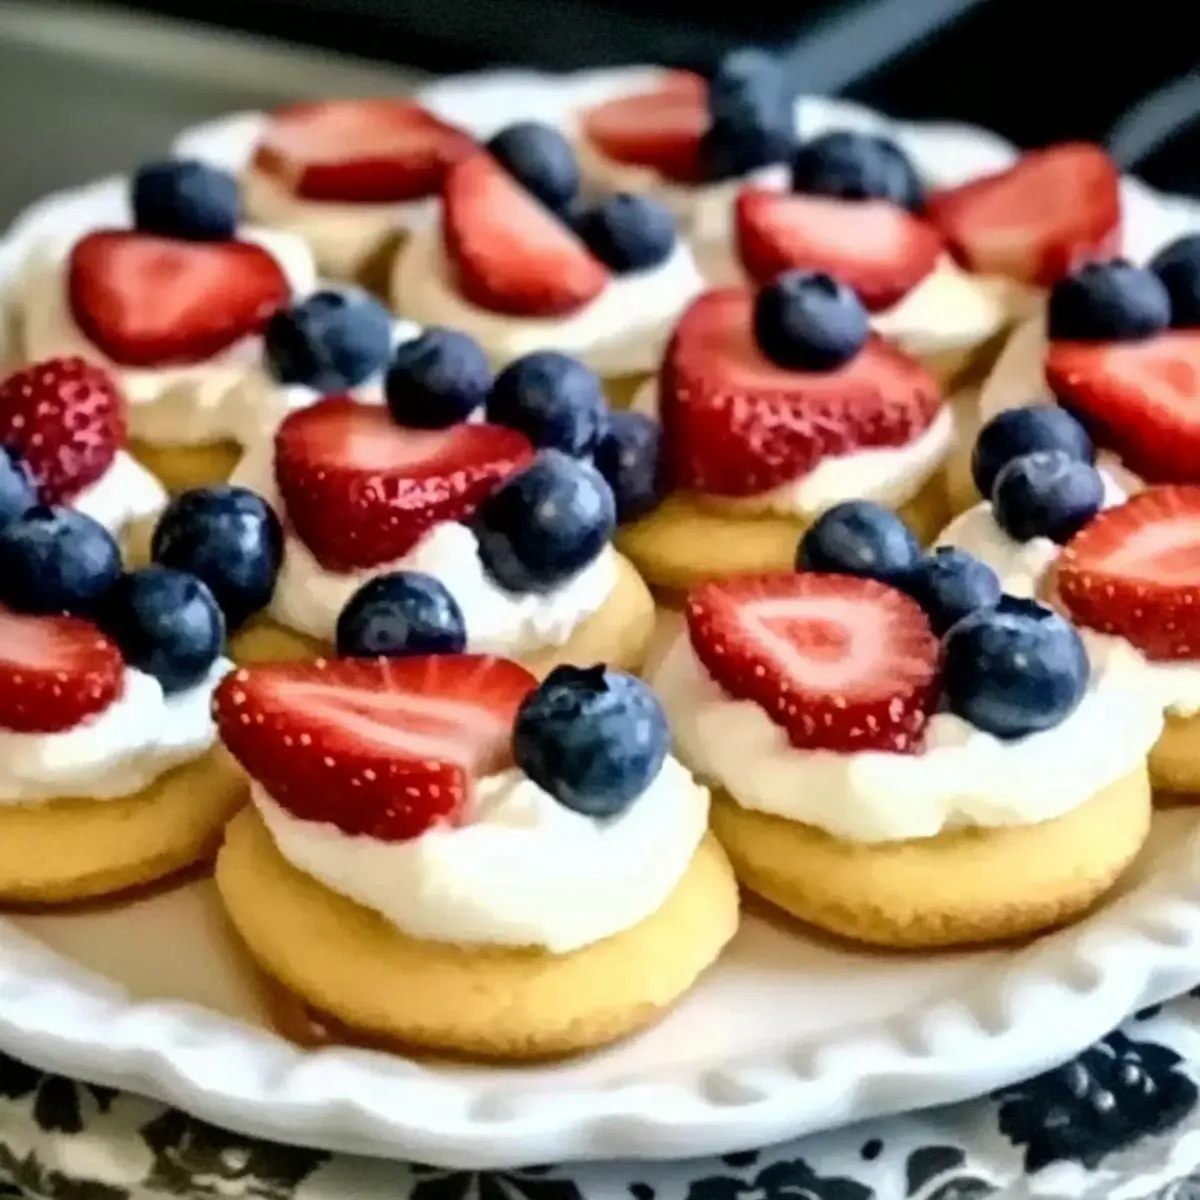
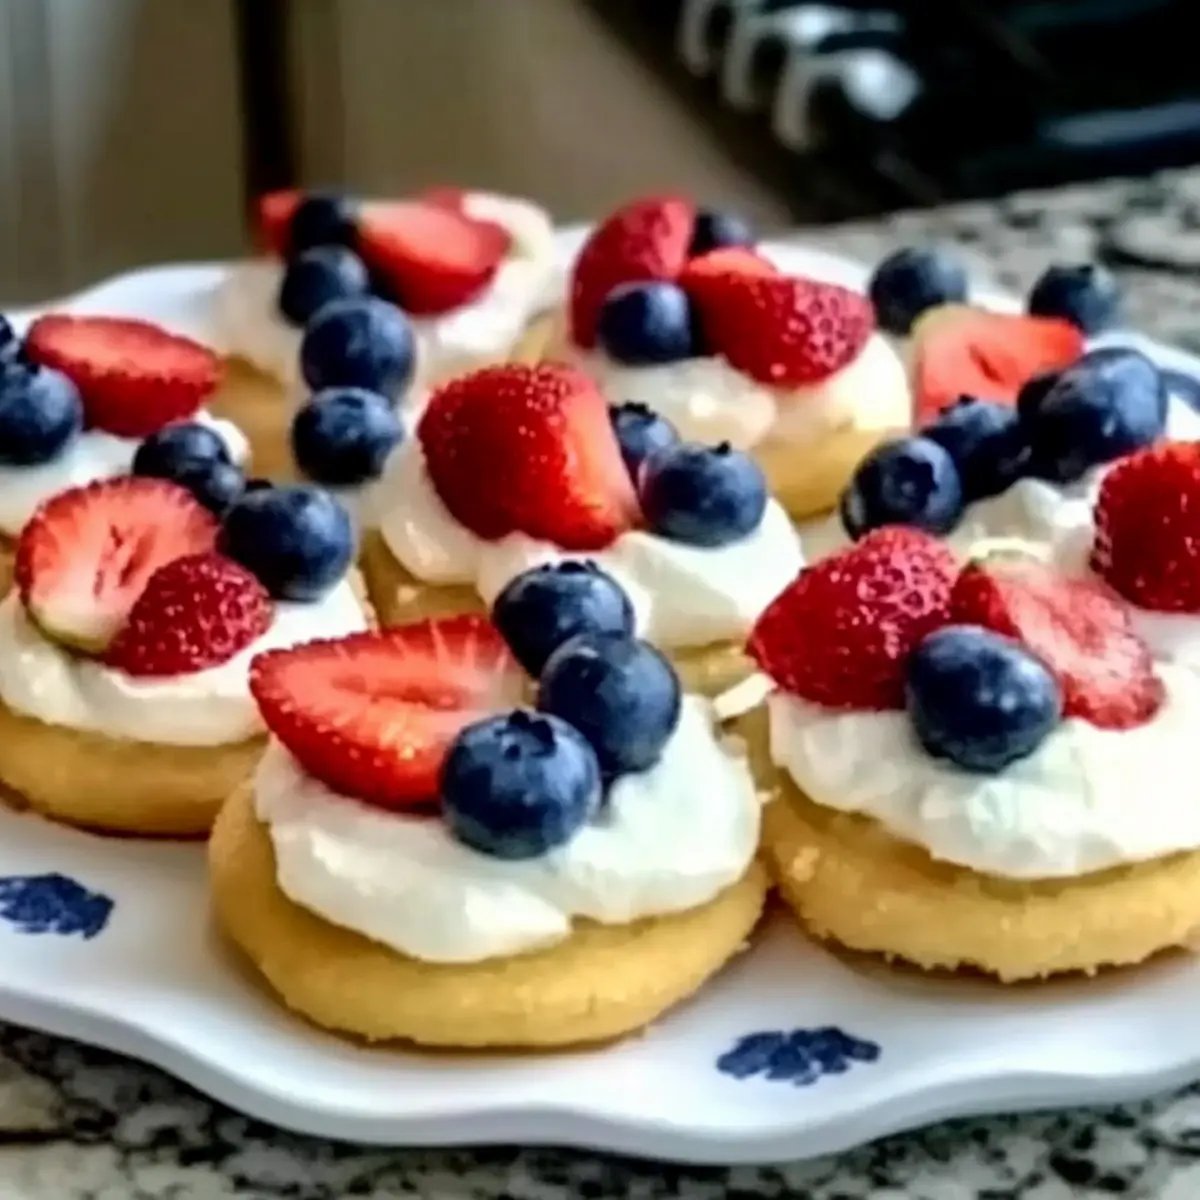
Once the cookies have cooled completely, generously spread the cream cheese frosting over each cookie base using a spatula or a butter knife. Make sure to cover the entire surface, creating a beautiful canvas for your fruit toppings and ensuring each Mini Red, White, and Blue Fruit Pizza is a delight.
Step 9: Add Fresh Toppings
Top each frosted cookie with sliced strawberries and blueberries, arranging them in a festive pattern. Feel free to add banana slices for an extra burst of flavor. This step allows your creativity to shine, as the colorful fruits enhance the look and taste of your delightful desserts.
Step 10: Chill and Serve
Place the assembled Mini Red, White, and Blue Fruit Pizzas in the refrigerator for about 15 minutes to chill. This will help the frosting set slightly and make them refreshing to eat. Serve chilled at your next summer gathering for a delightful treat everyone will love!
Expert Tips for Mini Red, White, and Blue Fruit Pizzas
Butter Temperature: Ensure your unsalted butter is at room temperature to cream it easily with the sugar, resulting in a lighter cookie dough.
Avoid Overmixing: When combining wet and dry ingredients, mix until just combined to maintain a soft, tender cookie base for your Mini Red, White, and Blue Fruit Pizzas.
Watch Baking Time: Keep an eye on your cookies while baking; they should be set but slightly soft in the center. Overbaking can lead to dry cookies, so adjust your time accordingly.
Chill for Freshness: After frosting, chill your Mini Red, White, and Blue Fruit Pizzas for a refreshing treat. This allows the flavors to meld beautifully before serving.
Creative Toppings: Experiment with seasonal fruits or add a sprinkle of zest to the frosting. Personalize each pizza for exciting flavor combinations that surprise your guests!
Make Ahead Options
These Mini Red, White, and Blue Fruit Pizzas are perfect for meal prep, allowing you to enjoy a delightful dessert while saving time! You can prepare the cookie bases up to 24 hours in advance. Simply bake them and store in an airtight container at room temperature. The frosting can also be made ahead and stored in the refrigerator for up to 3 days; just make sure to cover it well to prevent it from drying out. When you’re ready to serve, spread the frosting on the cooled cookies, top with fresh fruits, and chill for 15 minutes before serving. This way, you’ll have a refreshing treat ready to impress your guests with minimal last-minute effort!
What to Serve with Mini Red, White, and Blue Fruit Pizzas?
Elevate your summer celebrations with delightful sides and drinks that beautifully complement these colorful treats!
-
Iced Tea: A refreshing glass of iced tea balances the sweetness of the mini fruit pizzas and offers a soothing contrast on a hot day.
-
Lemonade: The tartness of fresh lemonade enhances the vibrant flavors of the desserts, making each bite feel even more refreshing!
-
Fruit Salad: A light fruit salad with seasonal berries brightens the table and echoes the fruity themes of your mini pizzas. It adds additional textures and colors as well.
-
Grilled Chicken: Lightly seasoned grilled chicken provides a savory contrast to the sweet treat, making for a well-rounded and satisfying meal.
-
Pasta Salad: A chilled pasta salad tossed with veggies and a light vinaigrette complements the fruity flavors while adding a hearty element to the meal.
-
Vanilla Ice Cream: For dessert lovers, pairing a scoop of velvety vanilla ice cream with these fruit pizzas creates a luscious, creamy delight that guests will adore.
-
Sparkling Water: Refreshing and bubbly, sparkling water is a perfect palate cleanser that’s both fancy and hydrating alongside the sweetness of the treats.
-
Chocolate Dipped Strawberries: If you’re feeling indulgent, chocolate-dipped strawberries are a festive twist, adding an elegant touch while beautifully complementing the fresh fruits on the pizzas.
-
Cheese Platter: Serve a variety of cheeses alongside for a fun cheese and fruit pairing experience. The creaminess of brie or the sharpness of cheddar adds depth to your gathering.
-
Coffee or Espresso: For a mid-afternoon treat, serve a warm cup of coffee or espresso. The bitter notes will enhance the sweetness of the mini fruit pizzas, perfect for a sweet finish!
Mini Red, White, and Blue Fruit Pizza Variations
Feel free to bring your creativity to life with these delightful adaptations of your Mini Red, White, and Blue Fruit Pizzas!
-
Berry Swap: Swap strawberries for raspberries or blackberries for a different berry flavor. Each swap adds a unique twist, showcasing delightful variations on a classic summer treat.
-
Citrus Zing: Add a hint of lemon zest to the frosting for an additional layer of brightness. This tangy kick will elevate the sweetness and give your fruit pizzas a refreshing twist.
-
Exotic Fruits: Replace bananas with kiwi or mango for an exotic twist. The vibrant colors and tropical flavors will surely impress your guests!
-
Nutty Crunch: Drizzle with almond or peanut butter for added richness and a delightful crunch. This offers a satisfying contrast to the creamy frosting and fresh fruits.
-
Chocolate Drizzle: Top with melted dark or white chocolate for a decadent flair. A sprinkle of sea salt on top can enhance the sweet and salty flavor balance.
-
Vegan Delight: For a vegan-friendly option, substitute dairy-based cream cheese with a plant-based version. You can also use almond milk in the frosting for a nutty finish.
-
Spiced Frosting: Incorporate a dash of cinnamon or nutmeg into your frosting for warm, cozy flavor notes. This twist is especially delightful during festive seasons, enhancing the dessert’s charm.
-
Savory Touch: Add a sprinkle of crumbled feta cheese on top of the fruits for a surprising savory contrast. This unique take can balance the sweetness while offering a gourmet touch.
Get ready to explore these variations and make your Mini Red, White, and Blue Fruit Pizzas even more delicious! If you’re looking for more inspiration, you might enjoy trying out my Ginger Turmeric Chicken or a fresh Fall Fruit Salad as delightful pairings for your summer gatherings!
Storage Tips for Mini Red, White, and Blue Fruit Pizzas
Room Temperature: Leave uneaten Mini Red, White, and Blue Fruit Pizzas out for a maximum of 2 hours at room temperature, covering them lightly with plastic wrap to avoid drying out.
Fridge: Store leftover fruit pizzas in an airtight container in the refrigerator to maintain freshness, consuming them within 3 days for the best taste and texture.
Freezer: For longer storage, freeze the cookies (without frosting) in a single layer, wrapped tightly with plastic wrap and then aluminum foil, for up to 2 months. Thaw before frosting.
Reheating: If desired, gently reheat cookie bases in a microwave for 10-15 seconds or in the oven briefly, but avoid reheating once topped with frosting and fruit.
Mini Red, White, and Blue Fruit Pizzas Recipe FAQs
How do I select ripe fruits for topping my Mini Red, White, and Blue Fruit Pizzas?
Absolutely! When choosing fruits, look for strawberries that are bright red and firm, blueberries that are plump with a slight powdery coating, and bananas that are ripe but not overly soft. Avoid fruits with dark spots or signs of mold. Fresh, seasonal fruits not only taste better but also offer vibrant colors that enhance the visual appeal of your fruit pizzas.
How should I store leftover Mini Red, White, and Blue Fruit Pizzas?
Very good question! To keep your delicious fruit pizzas fresh, place any uneaten pizzas in an airtight container and store them in the refrigerator. They will stay tasty for up to 3 days. Make sure to eat them within this timeframe, as the fruits can start to lose their texture and flavor after that.
Can I freeze Mini Red, White, and Blue Fruit Pizzas?
Yes, you can definitely freeze them! To freeze, first, remove the frosting and fruits and store them separately. Place the cookie bases in a single layer on a baking sheet and freeze for 1-2 hours until solid. Then wrap each cookie base tightly in plastic wrap, followed by aluminum foil, and store them in the freezer for up to 2 months. When you’re ready to enjoy them, just thaw the cookie bases and frost as desired.
What should I do if my cookies turn out tough or dry?
Don’t worry; many home chefs encounter this. If you find your cookies are tough, it often results from overmixing the dough once the dry ingredients are added. Be sure to mix until just combined. Additionally, always measure flour correctly—too much can lead to dry cookies. Keep an eye on your baking time, too, as overbaking can dry them out. Follow the step-by-step instructions closely, and you’ll get that perfect chewy texture!
Are Mini Red, White, and Blue Fruit Pizzas suitable for those with allergies?
Good point! These fruit pizzas can be customized to meet various dietary needs. For gluten-free options, use a gluten-free flour blend. To make them dairy-free, substitute the butter with vegan butter and use dairy-free cream cheese for the frosting. Always check labels for allergens in your specific ingredients, especially if catering to guests with food sensitivities or allergies.
Delight in Mini Red, White, and Blue Fruit Pizzas for Summer Fun
Ingredients
Equipment
Method
- Preheat your oven to 350°F (175°C) and line a baking sheet with parchment paper.
- Whisk together the all-purpose flour, baking powder, and salt until well combined.
- Cream together the softened unsalted butter and granulated sugar until light and fluffy. Add in the large egg and vanilla extract, mixing well.
- Gradually add the dry ingredients to the wet mixture, mixing on low speed until just combined.
- Drop rounds of cookie dough onto the prepared baking sheet, spacing them about 2 inches apart. Flatten slightly.
- Bake for 10-12 minutes, or until the edges are lightly golden. Allow to cool for 5 minutes before transferring to a wire rack.
- Beat together the cream cheese, powdered sugar, and vanilla extract until smooth and creamy.
- Spread the cream cheese frosting over each cooled cookie base.
- Top each frosted cookie with sliced strawberries and blueberries. Optionally, add banana slices.
- Chill in the refrigerator for about 15 minutes before serving.
Leave a Reply