
As the sun sets and you’re craving something sweet, nothing beats the quick satisfaction of a homemade dessert that’s ready in minutes. Enter my No-Bake Oreo Cheesecake—a creamy, rich delight that perfectly captures the nostalgic flavors of cookies and cream. With just seven simple ingredients and minimal prep time, you can create this showstopper in 20 minutes without ever turning on the oven. Not only is this cheesecake a total crowd-pleaser, but it’s also a life-saver for those busy days when you want to impress family and friends without the fuss. Trust me, once you serve this dessert up, it’s going to become your go-to sweet treat for any occasion! So, are you ready to dive into this decadent, no-bake wonder?
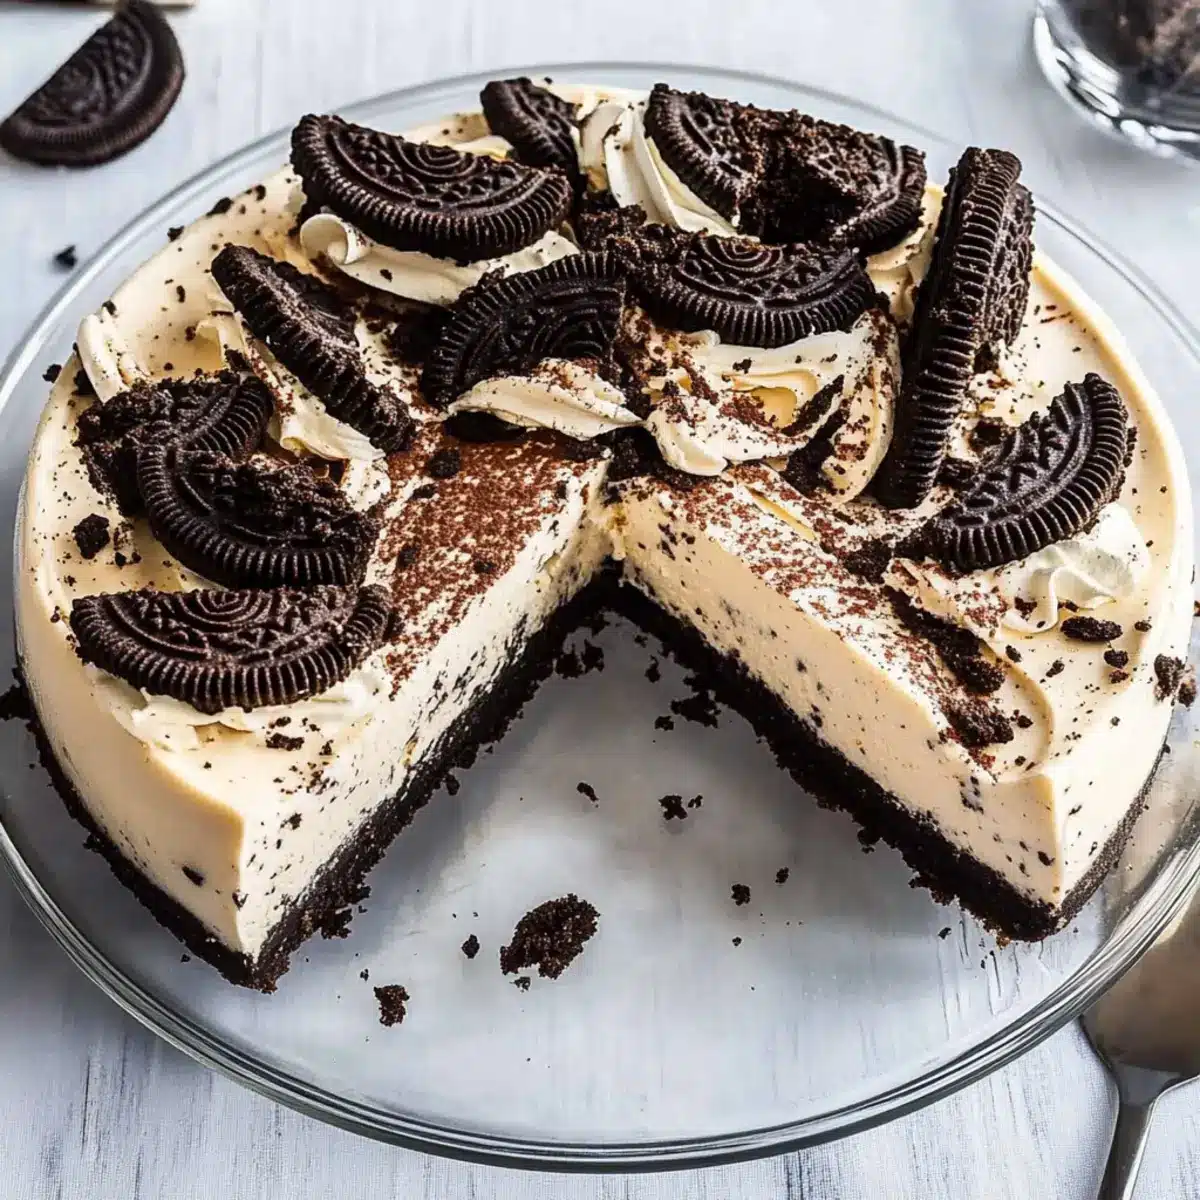
Why is No-Bake Oreo Cheesecake a Must-Try?
Effortless Preparation: Whip up this delicious cheesecake in just 20 minutes—no oven required!
Ultimate Creamy Indulgence: The blend of cream cheese and white chocolate creates a silky texture that melts in your mouth.
Cookie Lovers’ Dream: Featuring crushed Oreo cookies in both the crust and filling, this dessert satisfies every chocolate craving.
Crowd-Pleasing Delight: Perfect for gatherings, this treat is sure to impress guests and make you the life of the party!
Versatile Variations: Want to switch things up? Feel free to try using different cookies or mix-ins for endless possibilities.
Pair this with a refreshing dessert like my Croissant Breakfast Bake or a comforting dish like Southern Spaghetti Bake to complete your meal!
No Bake Oreo Cheesecake Ingredients
• 7 simple ingredients for a quick dessert!
For the Crust
- Oreo Cookies – Use regular Oreos for the classic flavor or get creative with different varieties for a fun twist.
- Unsalted Butter – Melted butter is essential for binding the cookie crumbs into a sturdy crust.
For the Filling
- Cream Cheese – Choose full-fat cream cheese for the best creamy texture and flavor.
- White Chocolate – Adds richness and helps set the cheesecake; use high-quality chocolate for optimal results.
- Whipping Cream – Give your cheesecake a light, airy texture; be sure not to overwhip to avoid graininess.
- Sour Cream – Contributes a nice tang; you can substitute with Greek yogurt for a lighter option.
- Vanilla Extract – Enhances the overall flavor of the cheesecake; pure extract provides the best taste.
Now that you have your ingredients lined up, let’s get ready to create this delightful No Bake Oreo Cheesecake that everyone will love!
Step‑by‑Step Instructions for No Bake Oreo Cheesecake
Step 1: Prepare Pan
Start by greasing and lining an 8-inch round springform pan with baking paper. This will prevent the cheesecake from sticking and make it easier to remove when it’s set. Be sure to cut the baking paper so it fits snugly against the sides of the pan, giving a clean edge for your finished No Bake Oreo Cheesecake.
Step 2: Melt Chocolate
In a microwave-safe bowl, melt 4 ounces of white chocolate using 20-second intervals. Stir between each interval until the chocolate is fully melted and smooth. This will add richness to your cheesecake filling, so keep an eye on it to avoid overheating and burning the chocolate.
Step 3: Whip Cream
Using an electric mixer, whip 1 cup of heavy cream until it forms stiff peaks, which should take about 3-5 minutes. Watch for the cream to hold its shape and appear light and fluffy. Once ready, set the whipped cream aside in the fridge to keep it cool while you prepare the other components for the No Bake Oreo Cheesecake.
Step 4: Make Crust
In a food processor, crush 1.5 packs of Oreo cookies until they become fine crumbs. Combine these crumbs with 5 tablespoons of melted unsalted butter, mixing until the crumbs are well-coated. Press this mixture firmly into the bottom of your prepared springform pan, forming an even layer. Chill in the fridge for about 10 minutes to set.
Step 5: Mix Filling
In a large mixing bowl, beat 16 ounces of cream cheese until it’s smooth and creamy, which should take about 2 minutes. Incorporate the melted white chocolate, 1 cup of sour cream, and 1 teaspoon of vanilla extract, mixing thoroughly until the filling is uniform and free of lumps. This cream cheese mixture will form the decadent layer of your No Bake Oreo Cheesecake.
Step 6: Fold in Cream
Gently fold the chilled whipped cream into the cream cheese mixture in thirds. Be careful not to deflate the whipped cream; this ensures your cheesecake filling remains light and fluffy. Once combined, fold in 6 crushed Oreo cookies for added texture and flavor, completing the filling.
Step 7: Set Cheesecake
Pour the creamy filling onto the chilled crust, smoothing the top with a spatula for an even finish. Refrigerate the No Bake Oreo Cheesecake for at least 4 hours, or ideally overnight, to allow it to set properly. The longer it chills, the firmer and more flavorful it will become.
Step 8: Decorate & Serve
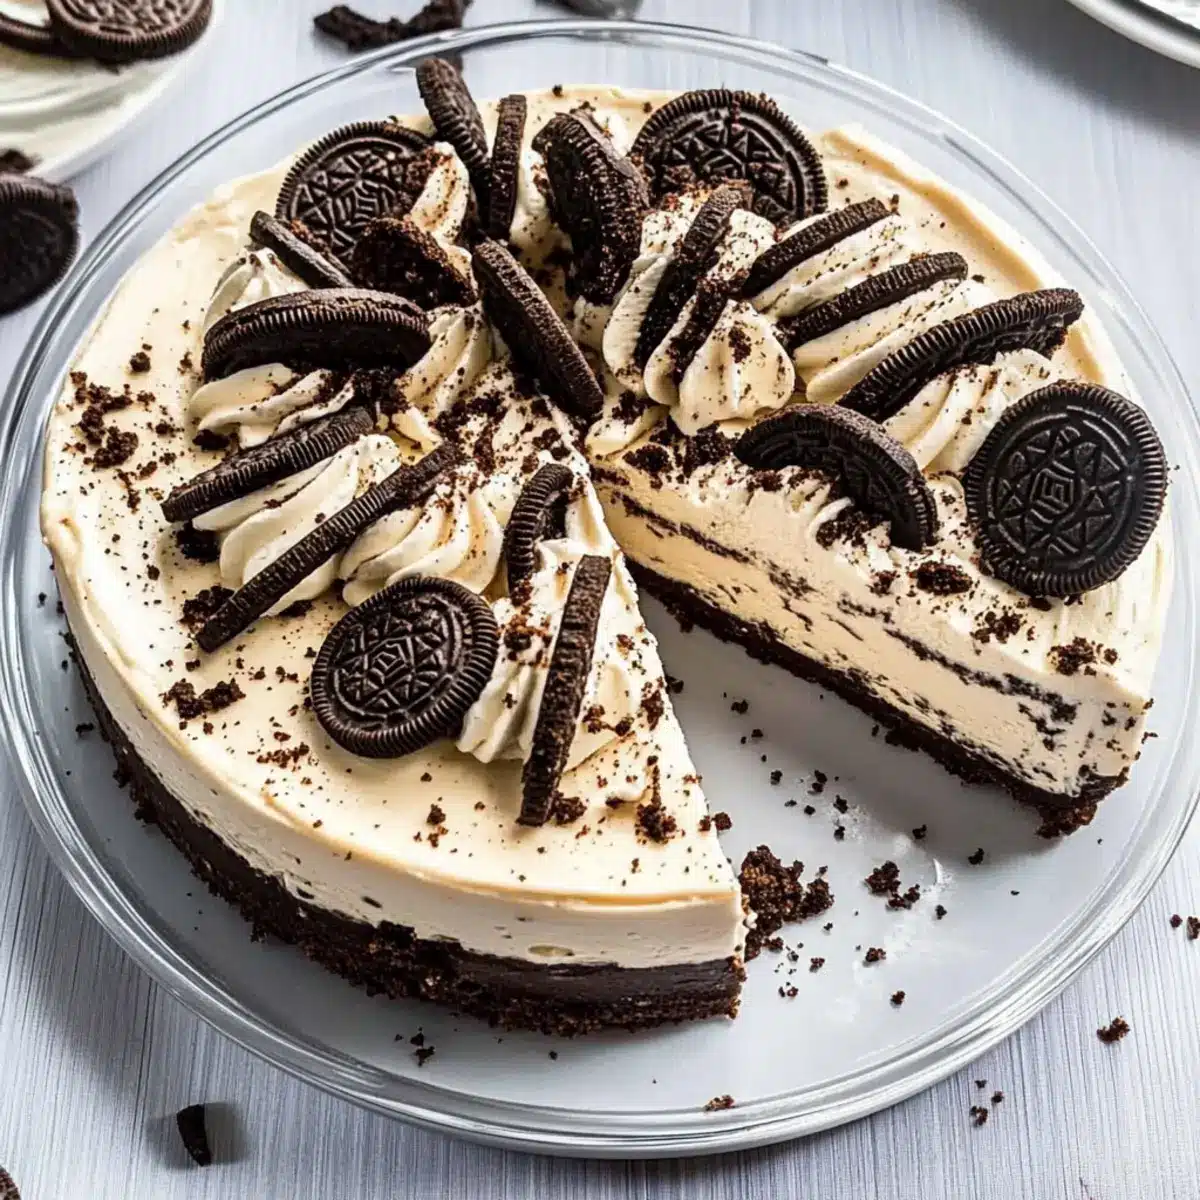
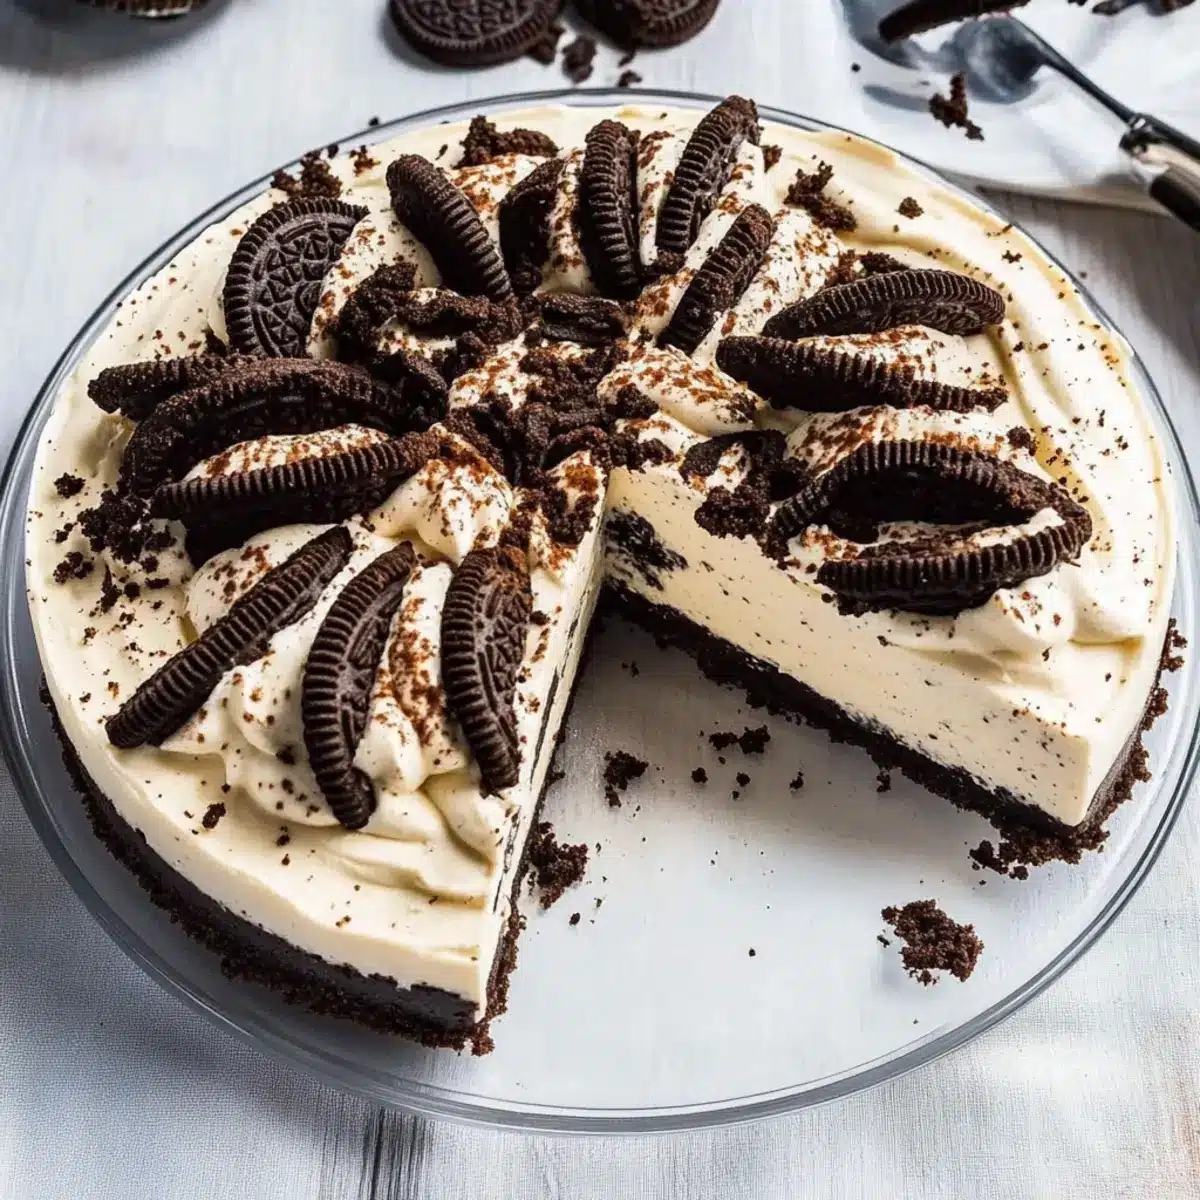
Just before serving, remove the cheesecake from the fridge and decorate the top with halved and crushed Oreo cookies for an extra touch. Carefully remove the sides of the springform pan, slice, and serve this delightful No Bake Oreo Cheesecake to your family and friends for a sweet treat they won’t forget!
Make Ahead Options
You can easily prepare this No-Bake Oreo Cheesecake up to 24 hours in advance, making it a perfect choice for busy weeknights or gatherings. Start by mixing the filling and assembling the crust, then chill the fully assembled cheesecake in the refrigerator for up to a day before serving. To maintain its delicious texture, cover the cheesecake tightly with plastic wrap to prevent it from absorbing any fridge odors. When you’re ready to enjoy, simply remove it from the fridge, add your Oreo decorations, and slice it up for a delightful dessert that feels freshly made. This thoughtful preparation not only saves you time but also ensures you have a crowd-pleasing treat ready to serve!
Expert Tips for No Bake Oreo Cheesecake
-
Room Temperature Cream Cheese: Start with cream cheese that’s at room temperature; it blends more easily and creates a smoother filling for your no bake Oreo cheesecake.
-
Avoid Overwhipping: Be cautious not to overwhip the cream; this can lead to a grainy texture in your cheesecake. Aim for stiff peaks without turning it into butter.
-
Chill for Better Results: For the best flavor and texture, refrigerate the cheesecake overnight. While 4 hours is sufficient, more time will enhance the overall taste.
-
Proper Decoration: When topping your cheesecake, use crushed Oreos for a beautiful finish. This not only adds visual appeal but also extra delicious crunch!
-
Keep It Covered: Store any leftover cheesecake in the fridge, covered with plastic wrap. This helps maintain freshness and prevents it from absorbing other odors in your refrigerator.
What to Serve with No-Bake Oreo Cheesecake
Nothing completes a delightful dessert like a thoughtfully curated meal—here are some perfect pairings to elevate your no-bake experience.
-
Fresh Berries: The tartness of raspberries or strawberries balances the rich sweetness of the cheesecake, adding a burst of freshness to each bite.
-
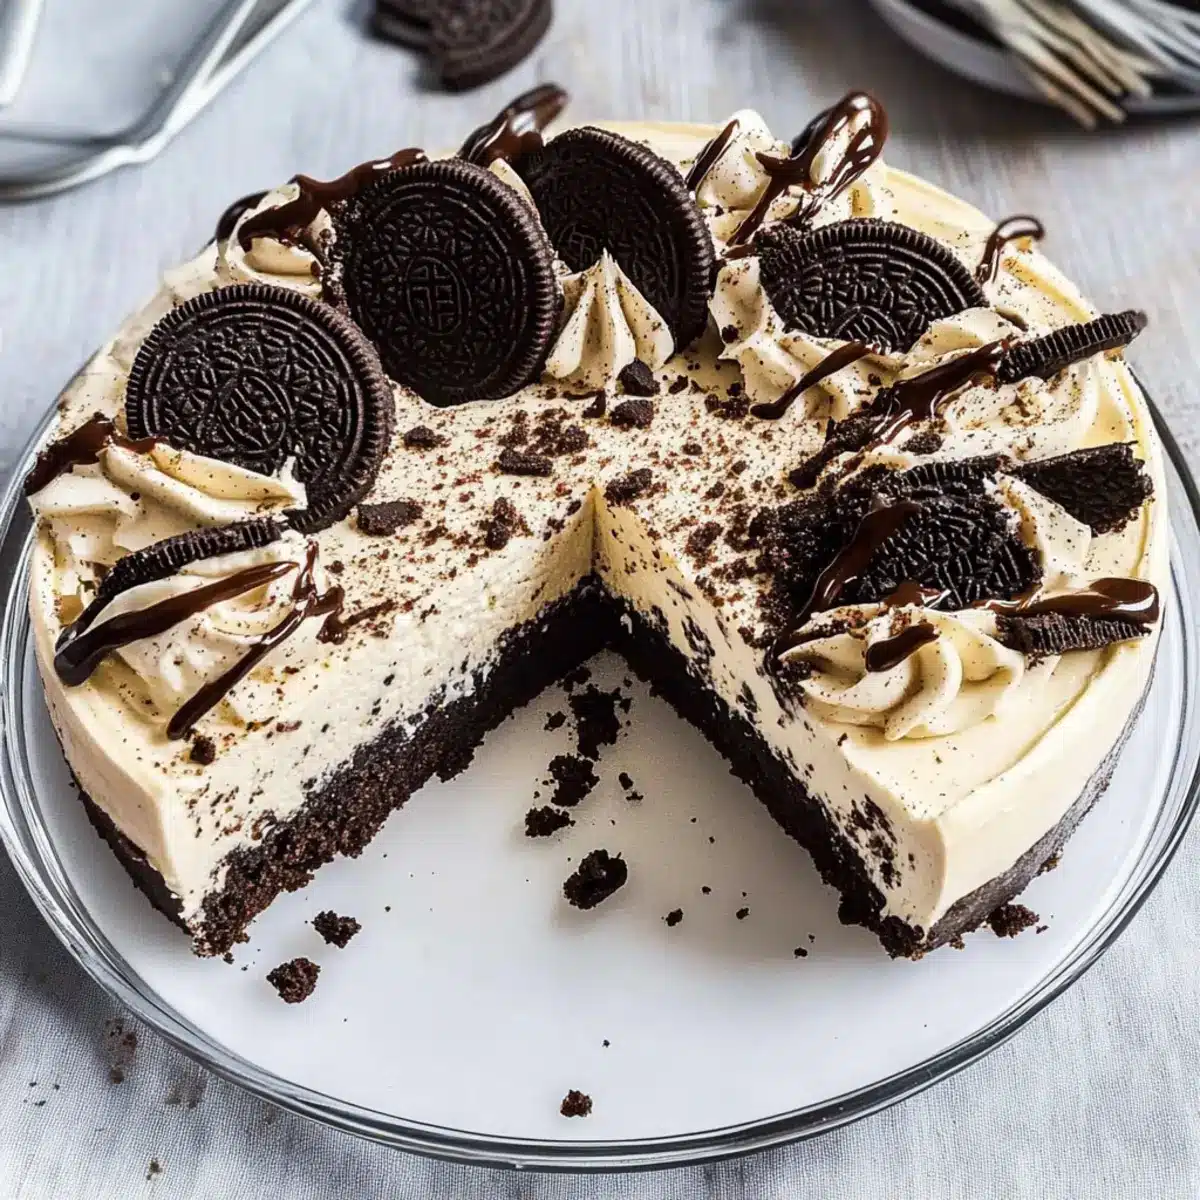
Chocolate Sauce: A drizzle of warm chocolate or even caramel sauce adds a decadent touch, enhancing the creamy texture with a delightful contrast.
-
Coffee or Espresso: The rich, bold flavors of coffee beautifully complement the sweetness of the cheesecake, making for a perfect after-dinner treat.
-
Mint Leaves: A sprinkle of fresh mint leaves or a touch of mint extract in your whipped cream brings a refreshing note that brightens up each bite.
-
Whipped Cream: Classic, light, and airy whipped cream adds a fluffy texture that enhances the cheesecake’s smoothness, making every forkful even more indulgent.
-
Vanilla Ice Cream: A scoop of velvety vanilla ice cream beside the cheesecake adds a creamy contrast while playing up the dessert’s cookie flavors.
-
Sparkling Water with Lime: For a refreshing drink option, sparkling water with a hint of lime cuts through the dessert’s richness, cleansing the palate delightfully.
No Bake Oreo Cheesecake Variations
Feel free to explore exciting twists with your no-bake Oreo cheesecake to match your taste and dietary needs!
-
Dairy-Free: Use coconut cream instead of whipping cream and dairy-free cream cheese for a lactose-free version. Perfect for those who want to indulge without dairy!
-
Gluten-Free: Swap Oreos for gluten-free chocolate cookies to create a deliciously accessible treat for gluten-sensitive friends and family.
-
Chocolate Lover’s Dream: Mix unsweetened cocoa powder into the filling for an extra chocolatey flavor. Each bite will be a blissful journey into chocolate paradise!
-
Fruit Infusion: Add fresh raspberries or strawberries to the filling for a fruity twist. This adds a refreshing layer that beautifully complements the richness of the cheesecake.
-
Nutty Crunch: Fold in crushed nuts like pecans or almonds for added texture and a delightful crunch. It’s a new dimension of flavor that makes each bite interesting!
-
Peanut Butter Bliss: Stir in creamy or crunchy peanut butter to the filling for a nutty flavor explosion. It’s perfect for those who want a little extra indulgence in their dessert!
-
Minty Fresh: Incorporate a few drops of peppermint extract for a refreshing mint variation. The combination of mint and chocolate is always a crowd favorite!
-
Layered Delight: Consider layering your cheesecake with a chocolate ganache or caramel sauce before adding the final layer of filling. This could elevate your dessert to new heights!
With these variations, your no-bake Oreo cheesecake becomes a versatile dessert option that can accommodate a crowd or satisfy your personal cravings. Whether it’s a rich addition like a peanut butter bliss or a refreshing minty twist, each version tells its own sweet story. If you’re in the mood for another delicious and textured treat, don’t forget to try my Crispy Baked Cod for dinner!
Storage Tips for No-Bake Oreo Cheesecake
Fridge: Store leftovers in the fridge, covered with plastic wrap or in an airtight container, for up to 3 days to maintain that creamy texture and fresh flavor.
Freezer: For longer storage, freeze individual slices of the no-bake Oreo cheesecake by wrapping them tightly in plastic wrap and then placing them in a freezer bag. These can be kept for up to 2 months.
Thawing: When ready to enjoy, simply transfer the cheesecake to the refrigerator to thaw overnight. Avoid using a microwave to maintain the cheesecake’s delightful texture.
Reheating: This dessert is best served cold, so there’s no need for reheating; just slice and serve straight from the fridge!
No-Bake Oreo Cheesecake Recipe FAQs
How do I choose ripe ingredients for my No-Bake Oreo Cheesecake?
Absolutely! The key ingredient here is the cream cheese. Make sure it’s at room temperature for easy mixing. This helps achieve a smooth, creamy filling without lumps, allowing all ingredients to blend beautifully.
What’s the best way to store leftover No-Bake Oreo Cheesecake?
Very! Store any leftovers in the fridge, covered with plastic wrap or in an airtight container. This will keep your cheesecake fresh for up to 3 days. If you need it to last longer, I recommend freezing portions.
Can I freeze No-Bake Oreo Cheesecake? If so, how?
Absolutely! You can freeze individual slices of your cheesecake. Just wrap each slice tightly in plastic wrap and place them in a labeled freezer bag. They can be stored in the freezer for up to 2 months. When you’re ready to enjoy, simply transfer it to the fridge to thaw overnight, keeping that delightful texture intact!
What should I do if my cheesecake is too soft after refrigerating?
Don’t worry! If your cheesecake hasn’t set properly, this could be due to under-mixing or not chilling long enough. Ensure that your cream is whipped to stiff peaks and the cheesecake is allowed to chill for at least 4 hours. For a firmer texture, try chilling it overnight next time.
Can I make modifications for dietary preferences with this No-Bake Oreo Cheesecake?
Of course! If you have dietary restrictions, you can substitute regular cream cheese with low-fat or dairy-free options. Additionally, feel free to swap out the sour cream for Greek yogurt for a lighter version. Just keep in mind that the flavor and texture may vary slightly.
Can my pets enjoy any part of this No-Bake Oreo Cheesecake?
Not really! While the cheesecake is delicious for humans, it contains ingredients like chocolate and cream cheese that are not safe for pets. Always keep this treat away from your furry friends to keep them safe.
Irresistible No Bake Oreo Cheesecake in Just 20 Minutes
Ingredients
Equipment
Method
- Grease and line an 8-inch round springform pan with baking paper.
- Melt 4 ounces of white chocolate in a microwave-safe bowl in 20-second intervals.
- Whip 1 cup of heavy cream until stiff peaks form.
- Crush 1.5 packs of Oreo cookies in a food processor and mix with 5 tablespoons of melted butter.
- Press the mixture into the bottom of the springform pan and chill for 10 minutes.
- Beat 16 ounces of cream cheese until smooth, then mix in melted white chocolate, sour cream, and vanilla extract.
- Gently fold the whipped cream into the cream cheese mixture, then fold in crushed Oreo cookies.
- Pour filling onto the chilled crust and smooth the top. Refrigerate for at least 4 hours to set.
- Decorate with halved and crushed Oreos before serving.
Leave a Reply