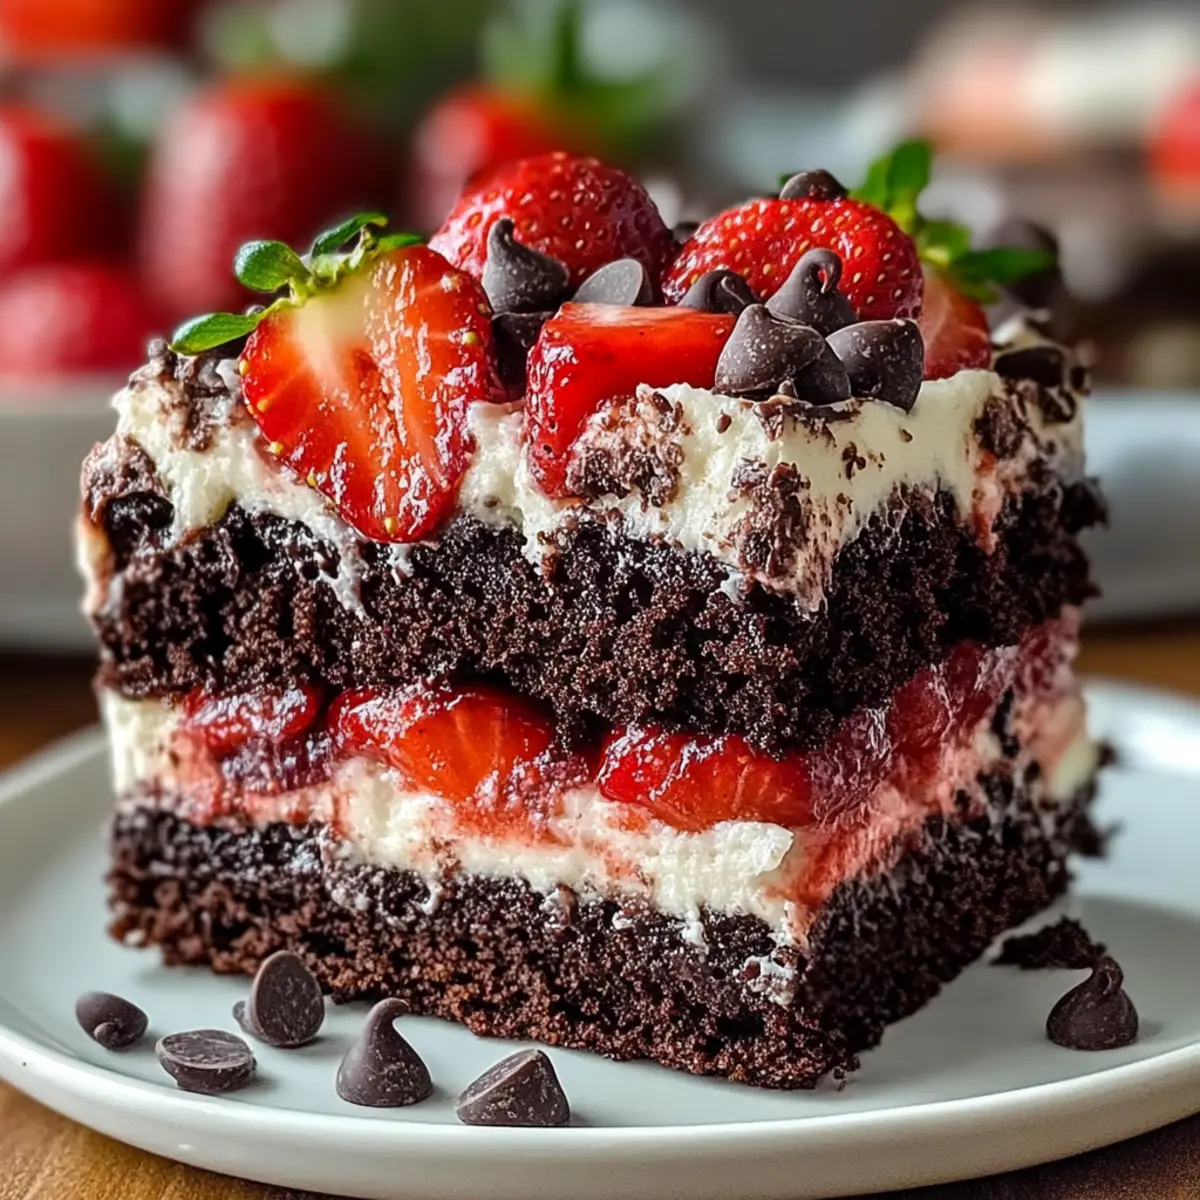
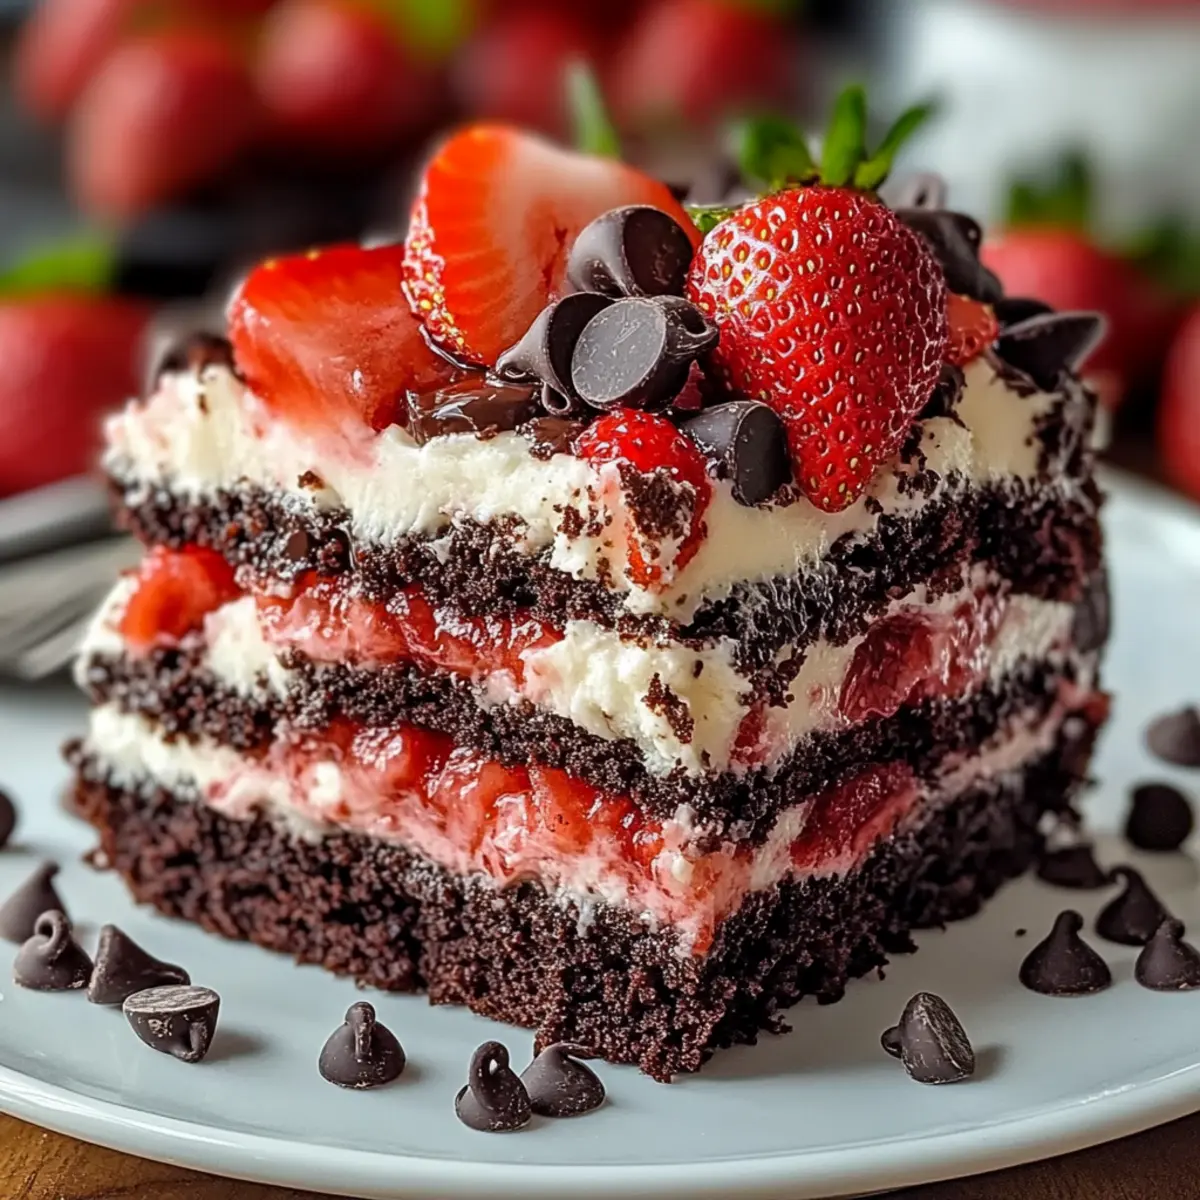
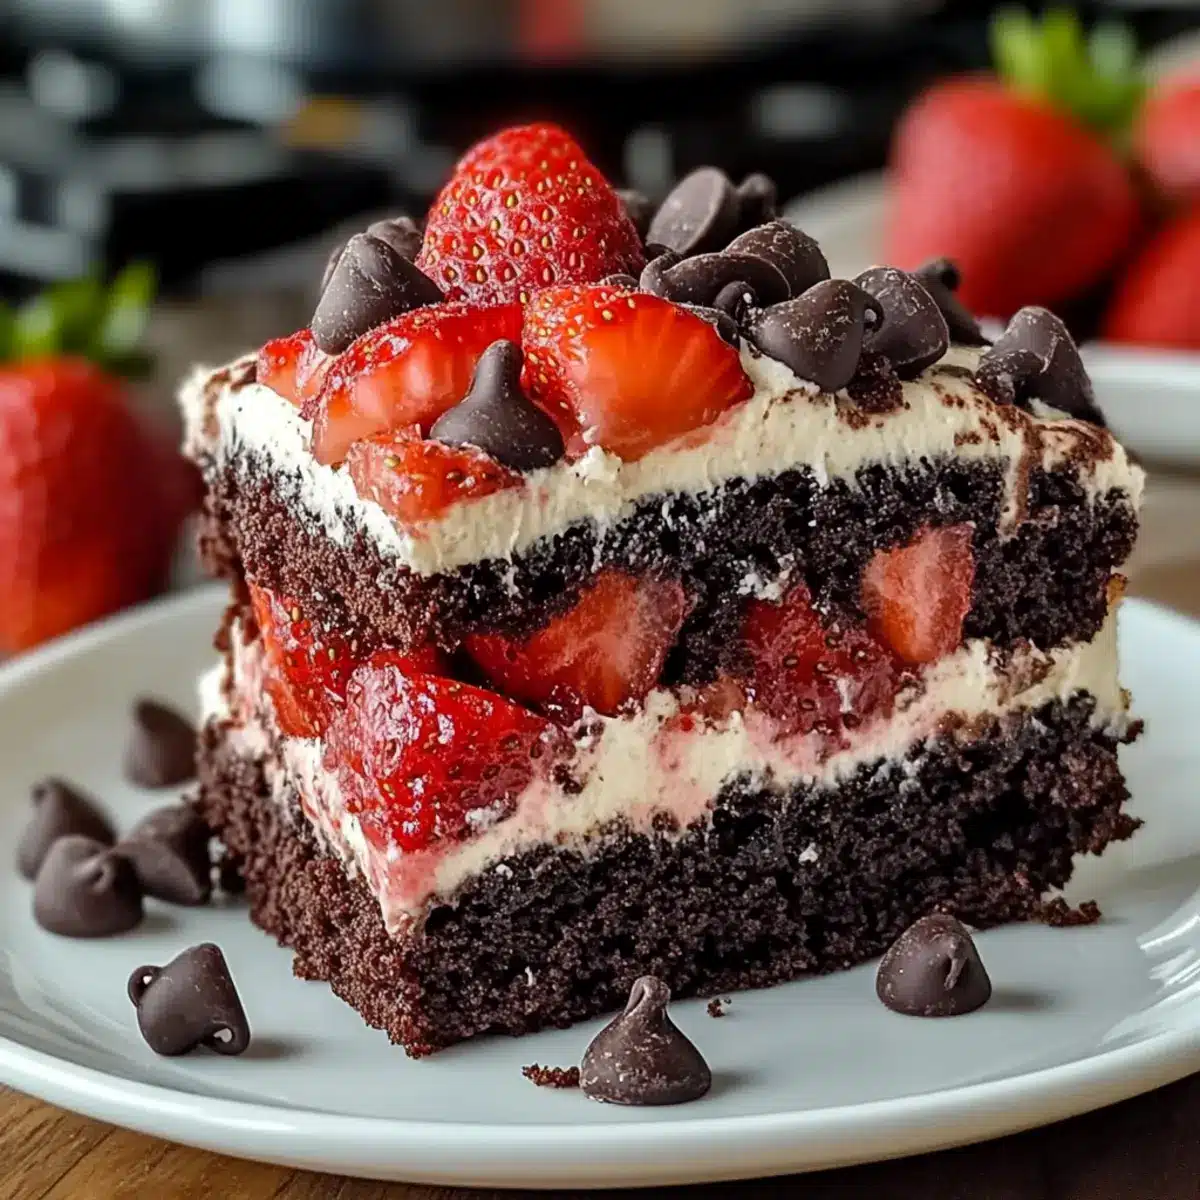
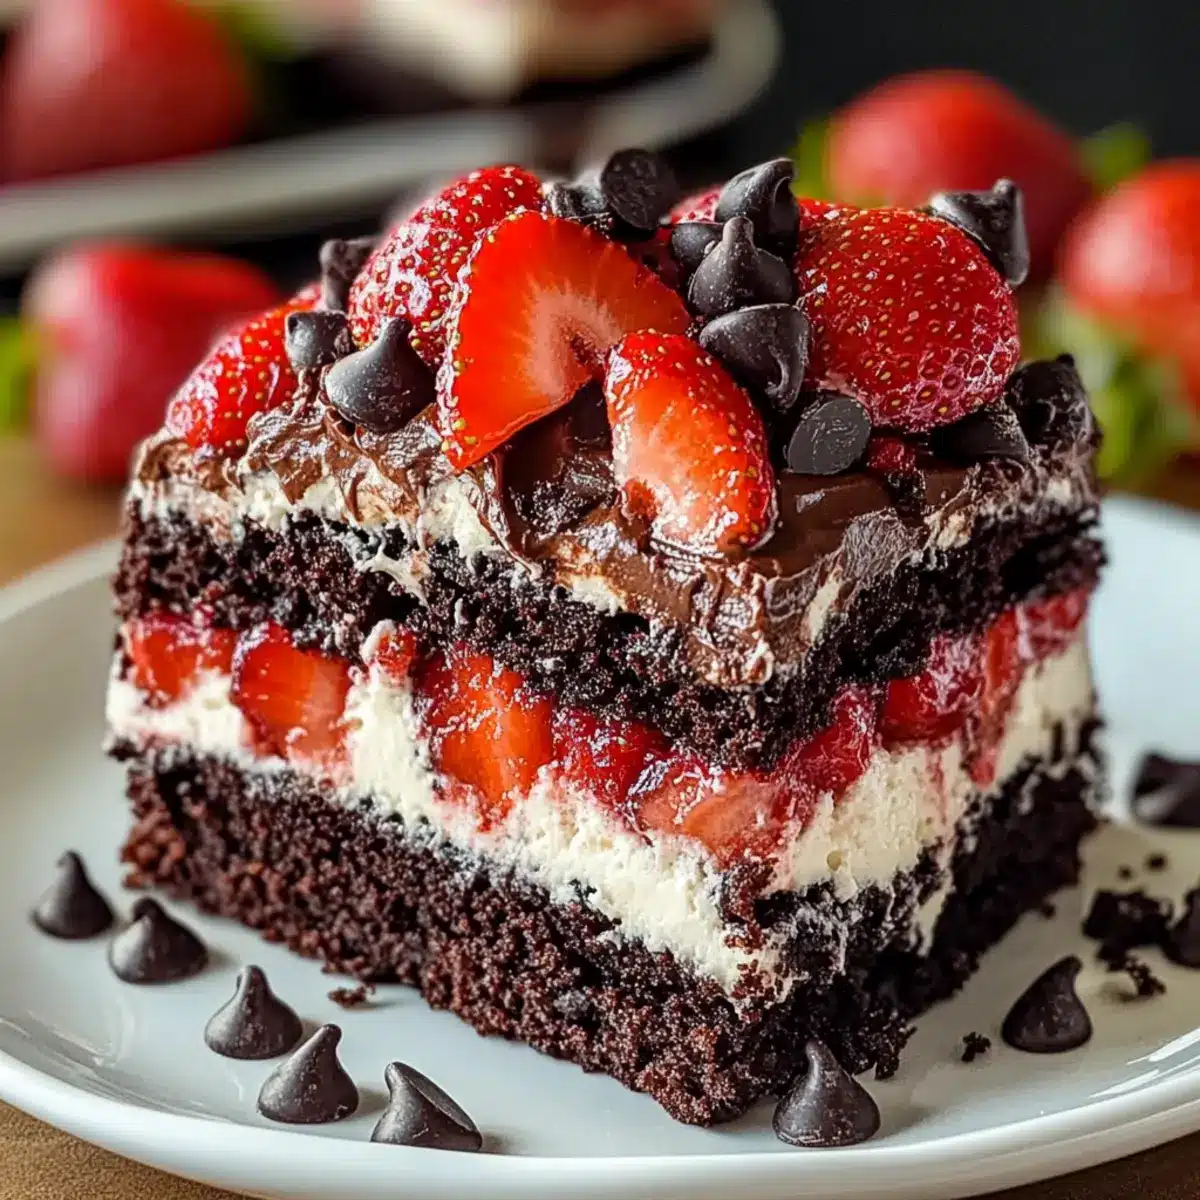
As I reached for the last slice of cake at a recent gathering, I couldn’t help but overhear a friend exclaim, “This is a game-changer!” What was she raving about? The Strawberry Earthquake Cake—a show-stopping dessert that transforms a simple chocolate cake into an irresistible delight. With its rich chocolate base and creamy strawberry filling, this cake is perfect for impressing guests or treating yourself after a long week. Not only is this recipe fun and easy to make, but it also adapts beautifully to various diets, including vegan and gluten-free options. So, whether you’re a skilled baker or just starting out, get ready to dive into this decadent creation that’s sure to become your new favorite. Ready to discover how to make this scrumptious Strawberry Earthquake Cake? Let’s get baking!
Why Will You Love This Cake?
Decadent flavors: The harmonious blending of rich chocolate and sweet strawberries creates an unforgettable taste sensation that will have your taste buds dancing.
Versatile appeal: This Strawberry Earthquake Cake is not just visually stunning but adaptable for various diets—perfect for gluten-free or vegan guests.
Easy to make: With simple steps, even novice bakers will find joy in creating this masterpiece. The fun layers make it a delightful baking adventure!
Impressive dessert: Serve this cake at gatherings, and watch your friends’ eyes light up! It’s sure to spark compliments and become a crowd favorite, just like our delicious Strawberry Custard Cake.
Strawberry Earthquake Cake Ingredients
• Discover the delightful components of the wonderfully layered Strawberry Earthquake Cake!
For the Cake Base
- Chocolate Cake Mix – Provides the rich, chocolatey foundation; substitute with a homemade chocolate recipe if you crave a personal touch.
- Fresh Strawberries – These add bursts of fruity flavor; frozen strawberries work too if dried and lightly floured to prevent sogginess.
For the Filling
- Cream Cheese – This creates a smooth, tangy filling; make sure it’s softened for easy mixing, and feel free to swap in vegan cream cheese for a dairy-free treat.
- Chocolate Chips – Adds delightful sweetness and texture; consider using dairy-free chocolate chips for a vegan-friendly version.
For the Topping
- Nuts (optional) – Introduces a lovely crunch; omit if allergies are a concern or if you’re keeping it nut-free!
With these simple ingredients, you’ll create an eye-catching Strawberry Earthquake Cake that’s perfect for any occasion—enjoy every heavenly bite!
Step‑by‑Step Instructions for Strawberry Earthquake Cake
Step 1: Preheat and Prepare
Preheat your oven to 350°F (175°C). While the oven heats, grease a 9×13-inch baking pan with cooking spray or butter to ensure your Strawberry Earthquake Cake releases easily after baking. Gathering your ingredients nearby will make the process smoother, so have your chocolate cake mix, cream cheese, and strawberries ready for the next steps.
Step 2: Make the Cake Batter
In a large mixing bowl, combine the chocolate cake mix with the required wet ingredients as per the package instructions. Use a hand mixer or whisk to blend until the batter is smooth and well-combined, which should take about 2 minutes. The rich chocolate aroma will begin to fill your kitchen, and you should see bubbles forming in the batter, signaling it’s ready for the next step.
Step 3: Pour and Par-Bake
Pour half of the prepared batter into the greased baking pan, spreading it evenly with a spatula. Place the pan in the preheated oven and par-bake for about 15 minutes or until the edges are set and the center is slightly firm to the touch. Keep an eye on it to ensure it doesn’t overbake; the top should have a light crust.
Step 4: Prepare the Cream Cheese Filling
While the first layer is baking, grab another mixing bowl and blend the softened cream cheese, a bit of flour, and chopped strawberries until creamy and smooth. This sweet filling will create the delightful contrast in your Strawberry Earthquake Cake. Use a hand mixer to combine thoroughly for about 2-3 minutes, ensuring no lumps remain in your mixture.
Step 5: Layer the Filling
Once the par-baked layer has cooled slightly, carefully spread the cream cheese filling evenly over it. Use a spatula to ensure even coverage, and try to touch the edges of the cake to prevent any gaps. The creamy filling should sit on top like a velvety blanket, setting the stage for the next layer of chocolate batter.
Step 6: Add Remaining Batter
Pour the remaining chocolate cake batter over the cream cheese filling. Gently spread it to cover the filling completely while taking care not to disturb the beautiful layer beneath. The batter should envelop the filling snugly, transforming into a decadent Strawberry Earthquake Cake once baked.
Step 7: Finish Baking
Return the pan to the oven and bake for an additional 25-30 minutes. Check for doneness by inserting a toothpick into the center; it should come out clean or with a few moist crumbs attached, indicating that the cake is perfectly baked. The top will be slightly cracked and pulled away from the edges, creating the signature “earthquake” effect.
Step 8: Topping Addition
In the last 5-10 minutes of baking, sprinkle your choice of nuts and chocolate chips generously over the cake. This will create a delightful contrast both in taste and texture once baked. The nuts should be slightly toasted, and the chocolate will melt, giving an irresistible glossy finish to your Strawberry Earthquake Cake.
Step 9: Cool and Serve
Once baked, remove the pan from the oven and allow the cake to cool in the pan for about 15-20 minutes. Then gently transfer it to a wire rack to cool completely. Slicing the cake too soon can cause the filling to spill; once cooled, serve your exquisite Strawberry Earthquake Cake warm or at room temperature, and consider pairing it with a scoop of vanilla ice cream for an extra treat!
Expert Tips for Strawberry Earthquake Cake
- Even Baking: Ensure the first chocolate layer is par-baked until just set before adding the cream cheese filling, preventing it from sinking.
- Soften Cream Cheese: Always use softened cream cheese to achieve a smooth filling. Cold cream cheese may lead to lumps that disrupt the creamy texture.
- Strawberry Preparation: Gently fold in the strawberries when mixing with the cream cheese. This preserves their shape and prevents them from becoming mushy.
- Don’t Overfill: Be cautious with the thickness of the cream cheese filling. Excessive filling can lead to longer baking times and potential sinking in the cake.
- Timing for Toppings: For a delightful crackly top, add chocolate chips and nuts only in the last few minutes of baking, ensuring they melt beautifully without overcooking.
Storage Tips for Strawberry Earthquake Cake
Fridge: Store your Strawberry Earthquake Cake in an airtight container in the refrigerator for up to 3 days to keep it fresh and moist while preserving flavors.
Freezer: For longer storage, wrap individual slices tightly in plastic wrap and then in aluminum foil. Freeze for up to 2 months. Thaw in the fridge before serving.
Reheating: To enjoy it warm, reheat slices in the microwave for about 20-30 seconds or until heated through. Pair with a scoop of ice cream for a delicious treat!
Counter: If you plan to finish the cake quickly, it can be kept at room temperature for up to 1 day but should be covered to prevent drying out.
Make Ahead Options
These Strawberry Earthquake Cakes are perfect for busy home cooks looking to save time! You can prepare the cake batter and the cream cheese filling up to 24 hours in advance. Simply mix the chocolate cake batter and cream cheese filling as instructed, then store them separately in airtight containers in the refrigerator to maintain their freshness. When you’re ready to bake, pour half of the batter into the pan and par-bake it for 15 minutes as per the directions. Next, spread the cream cheese mixture over the baked layer and finish with the remaining batter before baking for a delicious dessert that tastes just as fresh and inviting!
Strawberry Earthquake Cake Variations
Invite your taste buds on an exciting journey of flavor and texture with these creative variations!
-
Gluten-Free: Use a gluten-free chocolate cake mix to make this dessert suitable for those with gluten sensitivities. It’s a delightful way to enjoy without compromise!
-
Vegan Delight: Substitute the cream cheese with vegan cream cheese and use a plant-based cake mix and egg replacer. Your vegan friends will love this just as much!
-
Berry Boost: Swap fresh strawberries for raspberries or blueberries in the cream cheese filling for a fun twist. Each fruit brings a unique burst of flavor that’s sure to surprise!
-
Nut-Free: If you have allergies or simply prefer it without nuts, omit them completely for a smoother finish. The cake will still shine with that lovely crackly top!
-
Choco-Lover’s Dream: Add dark chocolate chips into the cream cheese filling for an extra rich, indulgent taste. A chocolatey surprise makes this cake even more irresistible!
-
Scrumptious Swirl: For a fun look and taste, swirl in strawberry jam into the cream cheese mixture before layering. It creates a visual masterpiece reminiscent of our lovely Italian Grandmas Cake.
-
A Touch of Spice: Add a pinch of cinnamon or a hint of vanilla extract to the chocolate batter to elevate the flavor profile. This subtle infusion can make a world of difference!
-
Add Some Heat: For a surprising kick, mix a dash of cayenne pepper or chipotle powder into the chocolate batter. Spice lovers will adore this fiery rendition!
With these enjoyable variations, you can customize your Strawberry Earthquake Cake to cater to every guest’s palate—making it an unforgettable dessert experience!
What to Serve with Strawberry Earthquake Cake?
Indulge in the delightful experience of pairing dishes that elevate your dessert to the next level.
-
Vanilla Ice Cream: The creamy, cool texture complements the warm cake beautifully, harmonizing with the rich chocolate and sweet strawberries.
-
Fresh Whipped Cream: Light and airy, it adds a lovely contrast to the dense cake, enhancing each bite without overwhelming the flavors.
-
Chocolate Ganache: Drizzle this rich, silky sauce over your cake for an extra layer of decadence that chocolate lovers will adore.
-
Fresh Berries: A mix of raspberries and blueberries adds a tangy freshness and vibrant color, perfectly balancing the sweetness of the cake.
-
Mint Leaves: A few mint sprigs on the side not only brighten the plate but also offer a refreshing hint that complements the strawberry flavors.
-
Brewed Coffee: The subtle bitterness of coffee cuts through the sweetness of the cake, making it an excellent pairing for a dessert coffee experience.
-
Sparkling Water: For a light and refreshing contrast, serve with lemon- or berry-infused sparkling water, enhancing the fruity elements of the cake.
-
Chocolate-covered Strawberries: These make for a lovely side treat that mirrors the cake’s flavors while adding a bit of playful elegance to the presentation.
Strawberry Earthquake Cake Recipe FAQs
What type of strawberries should I use for this recipe?
Absolutely! Fresh strawberries are ideal as they provide the best flavor and texture. If fresh strawberries aren’t available, you can use frozen ones. Just be sure to thaw them, drain excess moisture, and lightly coat them in flour before mixing them into the cream cheese filling. This will help prevent sogginess!
How should I store the Strawberry Earthquake Cake and for how long?
You can store your Strawberry Earthquake Cake in an airtight container in the refrigerator for up to 3 days. This will help maintain its moisture and flavor. If you want to keep it for longer, consider freezing individual slices. Wrap each slice tightly in plastic wrap and then in aluminum foil for up to 2 months. Thaw in the fridge when you’re ready to enjoy!
Can I freeze the cake, and how do I do it properly?
Certainly! To freeze your Strawberry Earthquake Cake, make sure it’s completely cooled first. Wrap individual slices tightly in plastic wrap, ensuring there is no air exposure, and then wrap them again in aluminum foil or place them in a freezer-safe container. They can be frozen for up to 2 months. When you’re ready to enjoy, simply thaw in the fridge and reheat if desired.
What if my cream cheese filling is lumpy?
No worries! If your filling turns out lumpy, it may be because the cream cheese wasn’t softened enough. Make sure your cream cheese is at room temperature before mixing, as this helps it blend smoothly. If you find lumps while mixing, keep whipping it until smooth; you can also give it a quick blend with an electric mixer or food processor to achieve that creamy texture.
Is this recipe suitable for people with dietary restrictions?
Very! The Strawberry Earthquake Cake can easily be adapted for various dietary needs. For a gluten-free version, simply use a gluten-free chocolate cake mix, and for a vegan alternative, choose a plant-based chocolate cake mix and substitute the eggs with applesauce or a commercial egg replacer. Enjoying this delightful cake shouldn’t be a challenge, and I’m sure everyone will appreciate the effort!
Strawberry Earthquake Cake: A Decadent Twist on Classic Flavors
Ingredients
Equipment
Method
- Preheat your oven to 350°F (175°C) and grease a 9x13-inch baking pan.
- Combine the chocolate cake mix with the required wet ingredients as per the package instructions and blend until smooth.
- Pour half of the prepared batter into the greased baking pan and par-bake for about 15 minutes.
- Blend the softened cream cheese, a bit of flour, and chopped strawberries until creamy and smooth.
- Spread the cream cheese filling evenly over the par-baked layer.
- Pour the remaining chocolate cake batter over the cream cheese filling.
- Return the pan to the oven and bake for an additional 25-30 minutes.
- In the last 5-10 minutes of baking, sprinkle nuts and chocolate chips over the cake.
- Allow the cake to cool in the pan for 15-20 minutes before transferring to a wire rack.
Leave a Reply